How to Fold a Trash Origami Box
Origami boxes have a way of becoming the most-used thing on your desk. They cost one sheet of paper, take a few minutes, and then quietly collect paper scraps, paperclips, pencil shavings or whatever small mess turns up that day. This one is open-topped, sturdy at the corners, and honestly nicer than digging out a plastic container.
The whole model hangs off an 8 x 8 pleat grid, so take your time making those divisions line up — everything after that is repetition, not decision-making. Once the grid is right, you fold the same little pattern of mountain and valley folds four times, rotate, repeat, and the sides simply rise. Try it in something thicker than copy paper if you want a bin that survives regular use, and fold a couple while you are at it; oddly, one is never enough.

Here are the instructions for folding a trash origami box — a small open-topped paper bin that is ideal for paper scraps, eraser dust, desk clutter or snack shells.
This trash origami box starts from an 8 x 8 matrix base, and there is no difficult folding technique involved in this model.
Before starting, make sure you are comfortable with valley folds and mountain folds. Once you know these two basic techniques, you should have no trouble making the box.
Any kind of paper will do; the sheet used here measures 15 cm x 15 cm.
This is the front side of the paper.
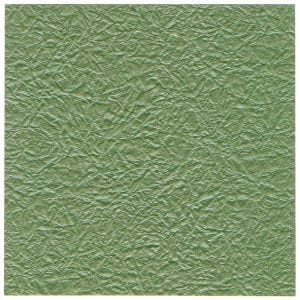
This is the back side of paper.
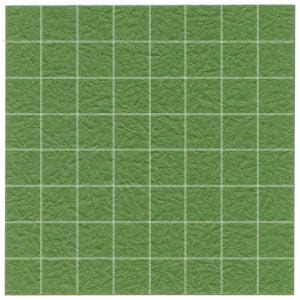
STEP 1. Start with the back side of the paper facing up. Fold an 8 x 8 matrix base with eight equal divisions in each direction.
STEP 2. Prepare to apply four “mountain-folds” and four “valley-folds”.
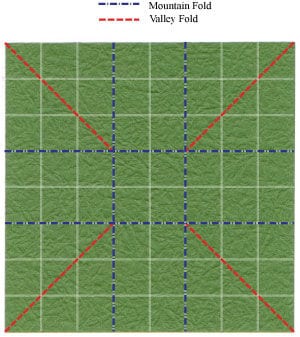
STEP 3. Apply the four mountain folds and four valley folds prepared in step 2. Prepare to rotate the model by 45 degrees.
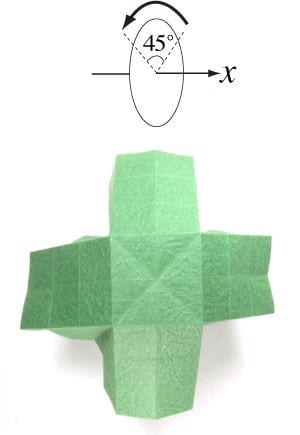
STEP 4. Rotate the model by 45 degrees. Prepare to rotate the model by another 45 degrees.
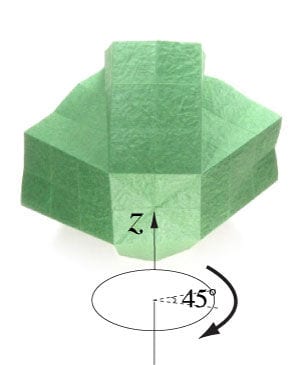
STEP 5. Rotate the model by another 45 degrees. Prepare to apply two valley-folds and one mountain-fold.
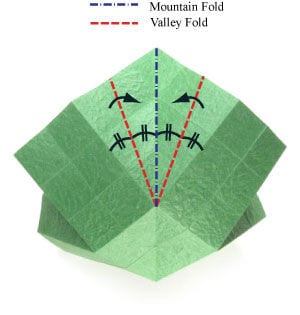
STEP 6. The two valley folds and one mountain fold of step 5 are shown in this square diagram.
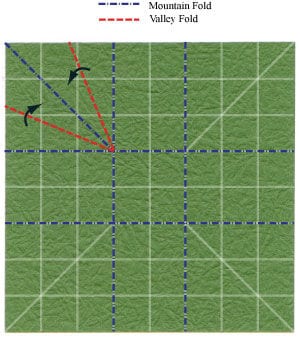
STEP 7. Apply the two valley folds and one mountain fold prepared in step 5. Prepare to apply two valley-folds.
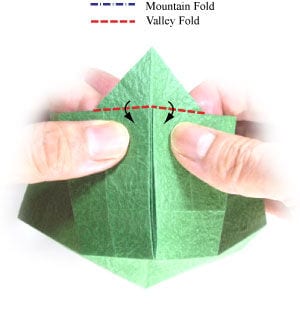
STEP 8. Apply the two valley folds prepared in step 7. Prepare to rotate the origami box model by 90 degrees.
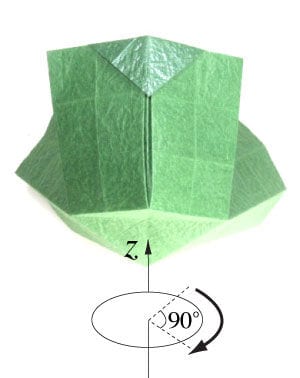
STEP 9. Rotate the origami box model by 90 degrees. Prepare to repeat the steps #5-8 for three more times.
STEP 10. Repeating steps 5-8 like this amounts to the same crease pattern shown here.
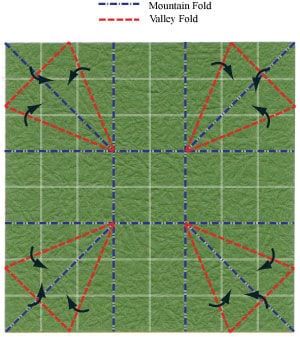
STEP 11. Repeat the steps #5-8 for three more times. This is the top view of the trash origami box. Prepare to rotate the origami box model by 90 degrees.
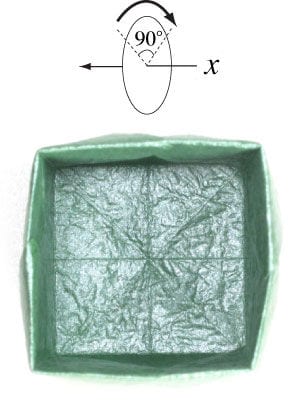
STEP 12. Rotate the origami box model by 90 degrees. This is the side view of the trash origami box.
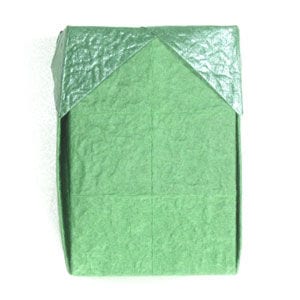
STEP 13. Congratulations, your trash origami box is finished.