How to Fold a Quick Origami Ladybug
Some models are worth knowing simply because they are fast. This ladybug needs one square of paper, nine folds, and a pen — and at the end you have something recognisably alive-looking rather than an abstract paper blob, which is no small thing when children are watching.
The magic happens at the very last minute: those famous black spots are drawn on by hand, not folded. That means you can decide whether your ladybug has two spots, seven, or a whole constellation, and red paper is the only real requirement. Keep a few of these on hand; they make perfect last-minute additions to cards, place settings, and potted plants that could use a bit of company.

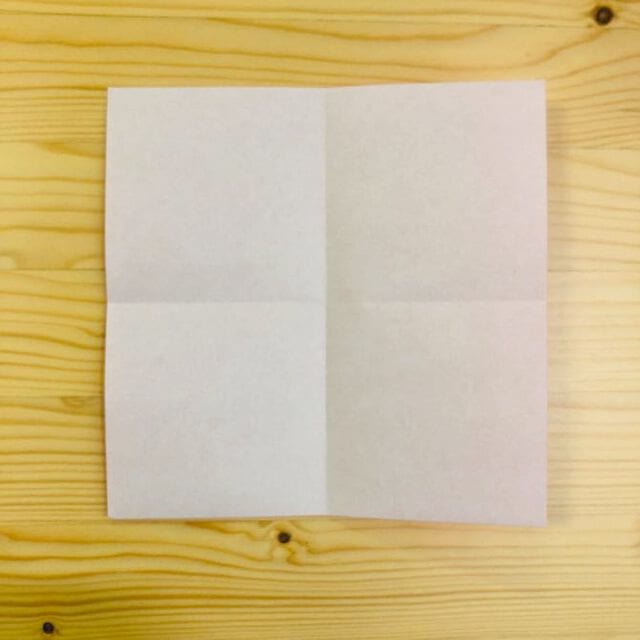
STEP 1.
Fold it in half and make a crease.
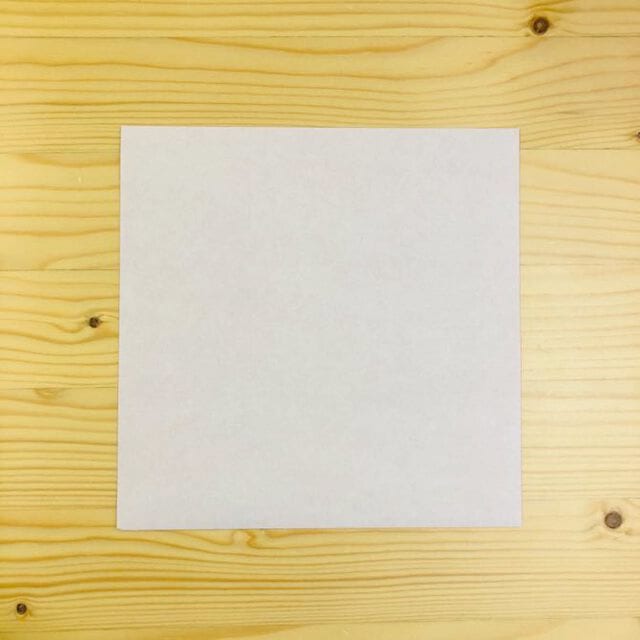
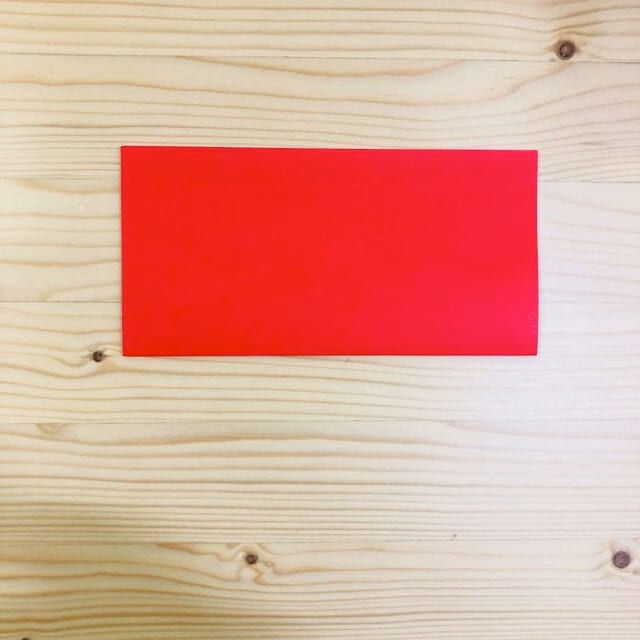
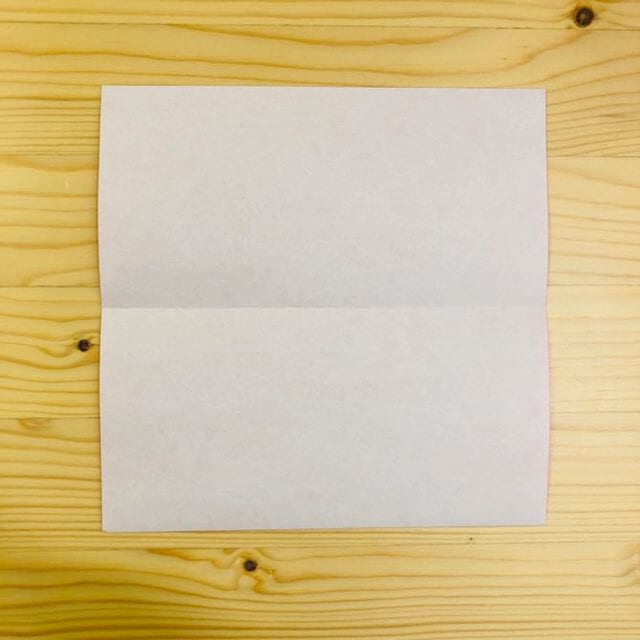
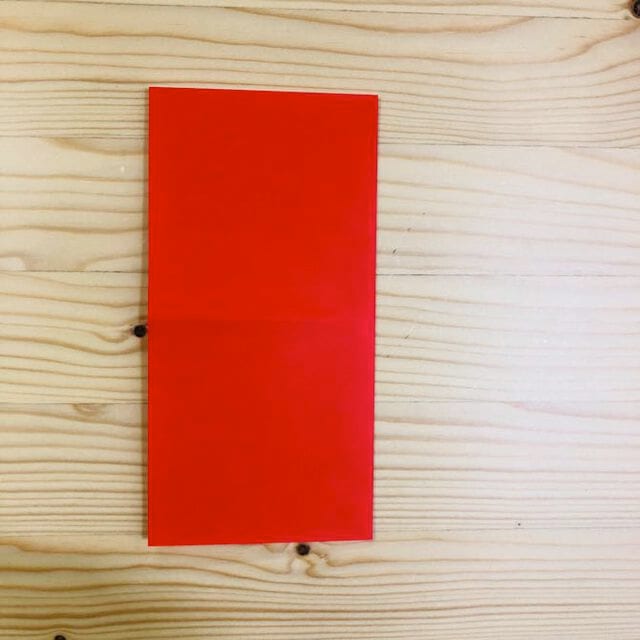
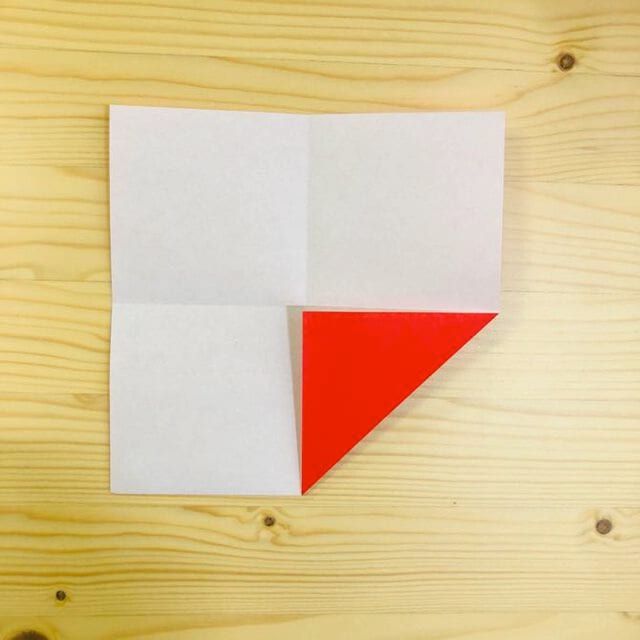
STEP 2.
Fold it up at the position shown in the photo.
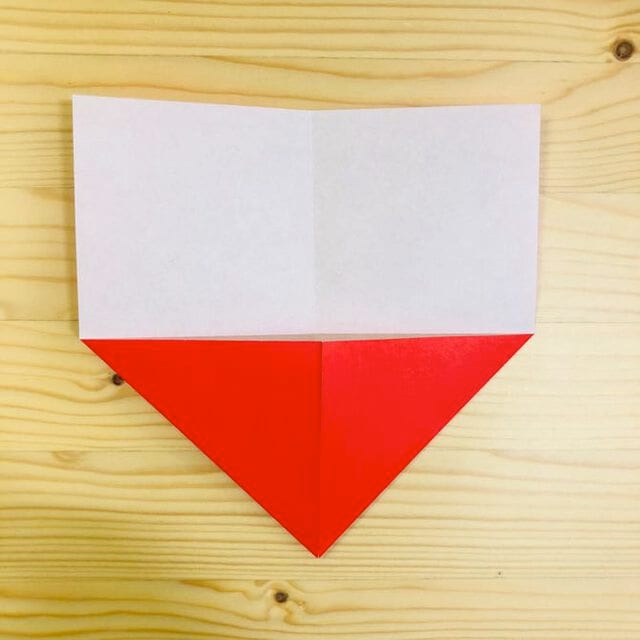
STEP 3.
Fold it down at the position shown in the photo.
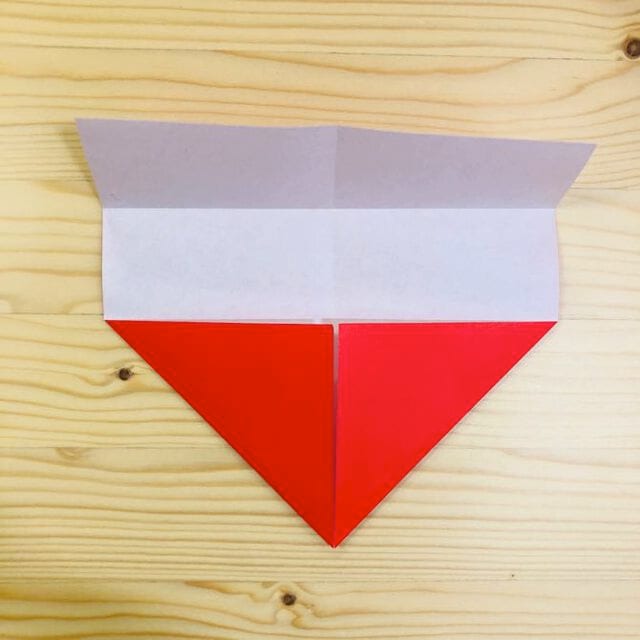
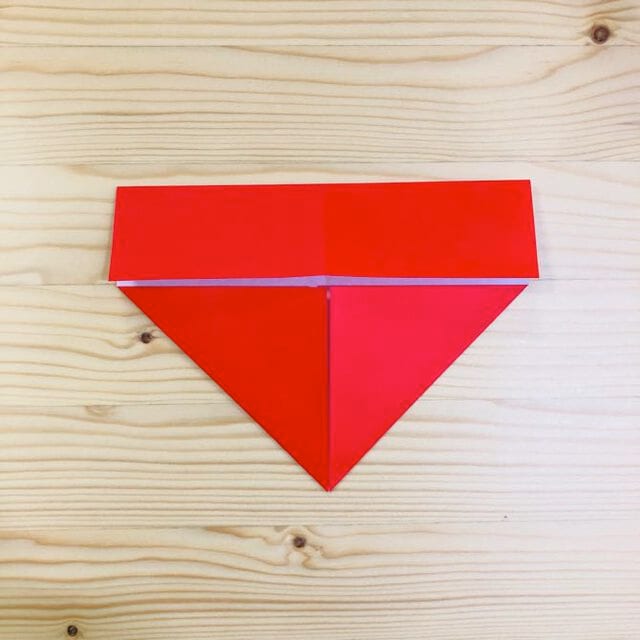
STEP 4.
Fold it down at the position shown in the photo.
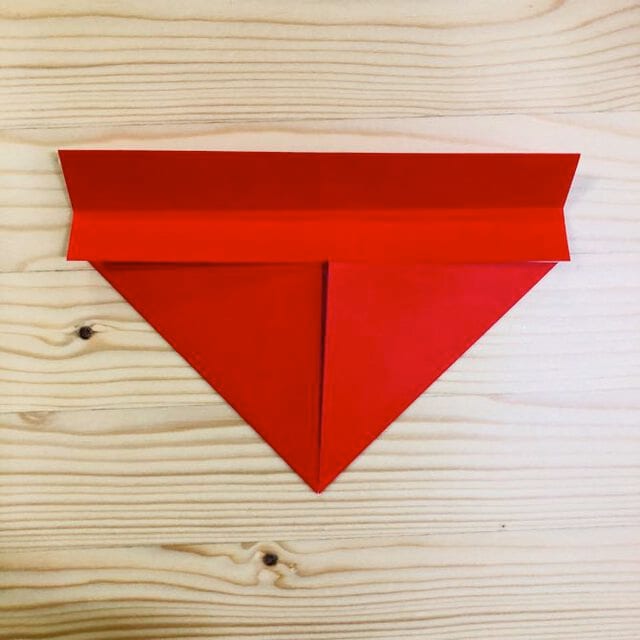
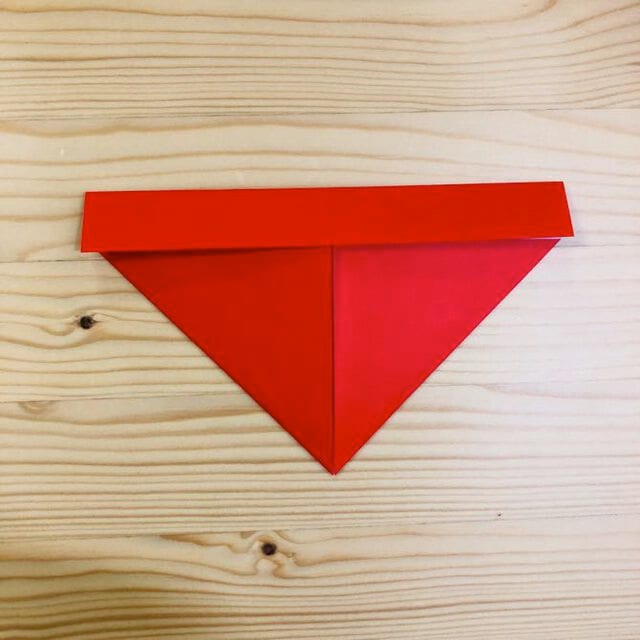
STEP 5.
Turn it over.
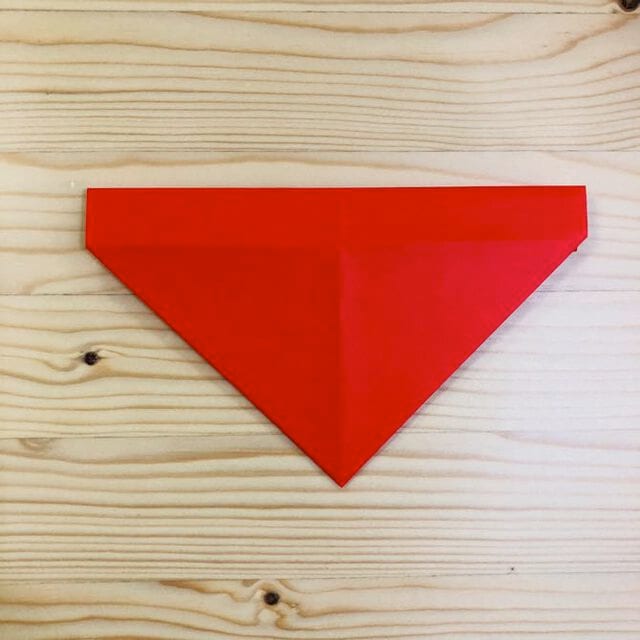
STEP 6.
Fold it down at the position shown in the photo.
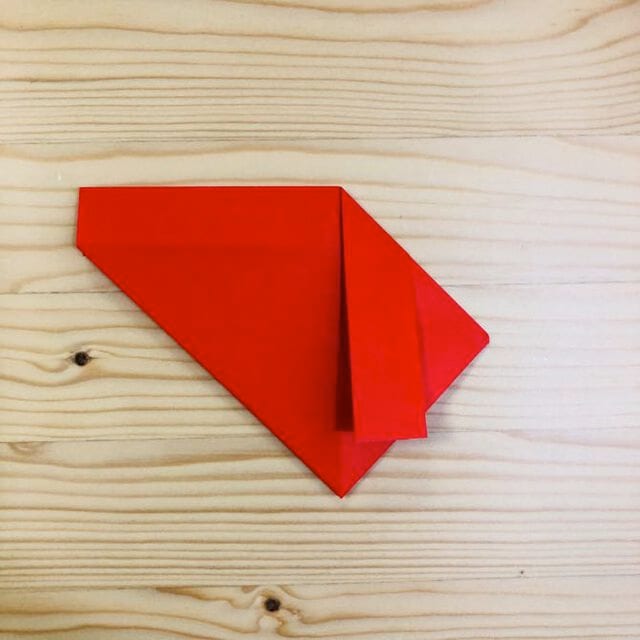
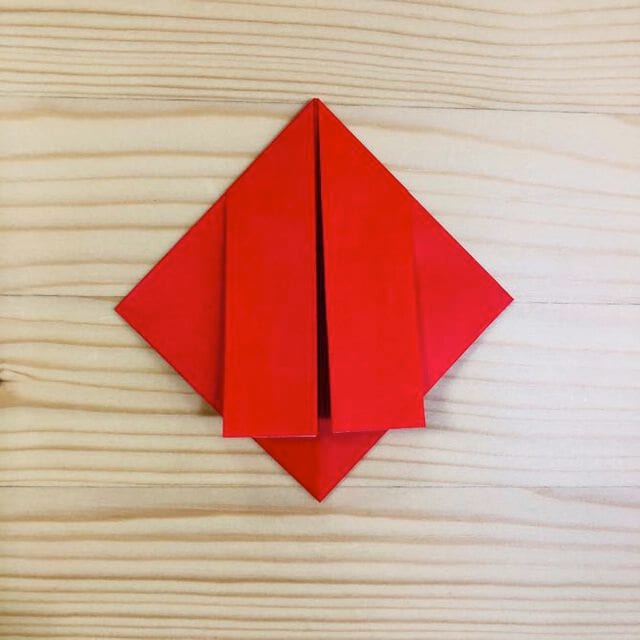
STEP 7.
Fold it up at the position shown in the photo.
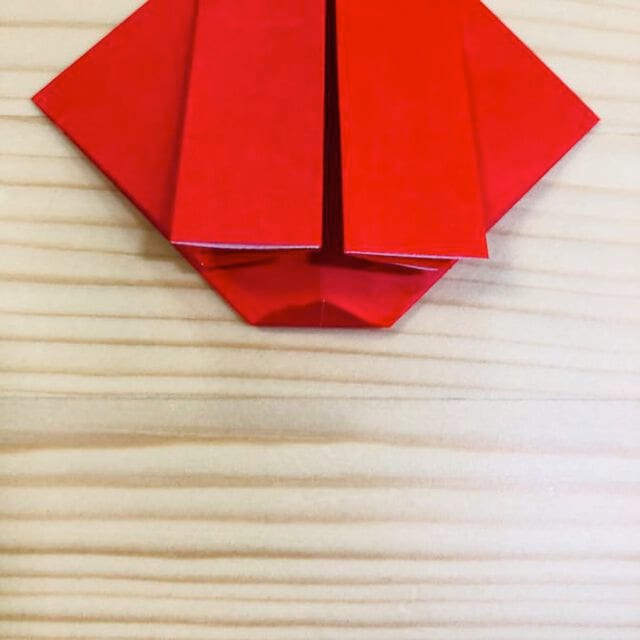
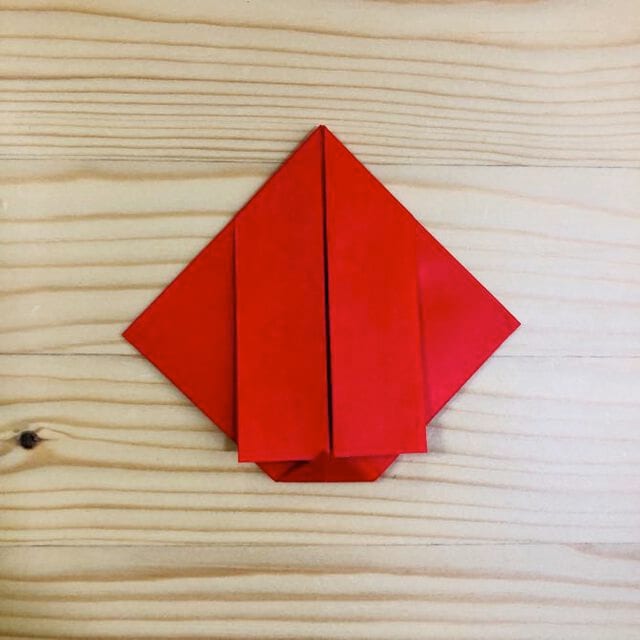
STEP 8.
Fold it as shown in the picture.
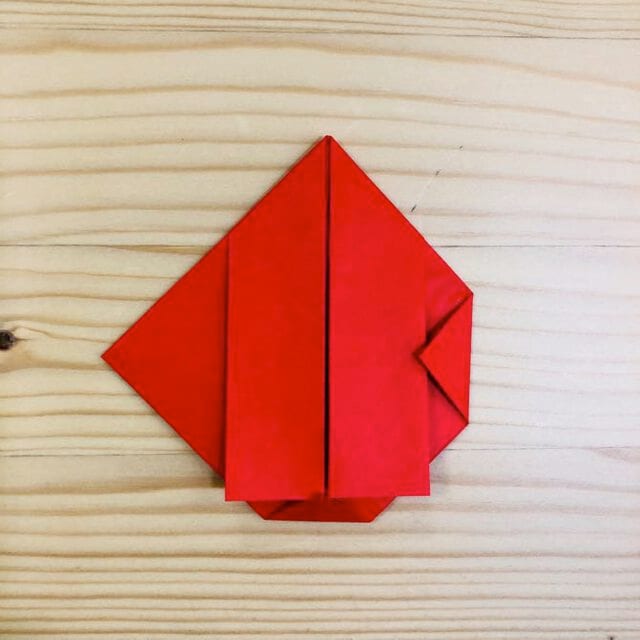
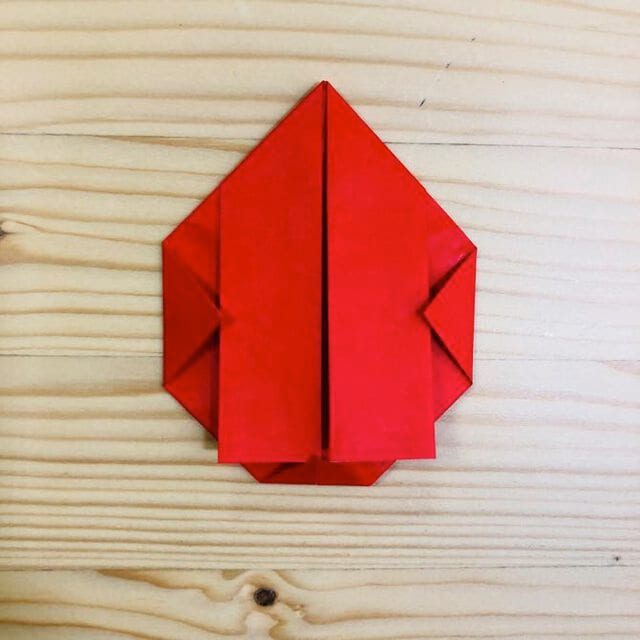
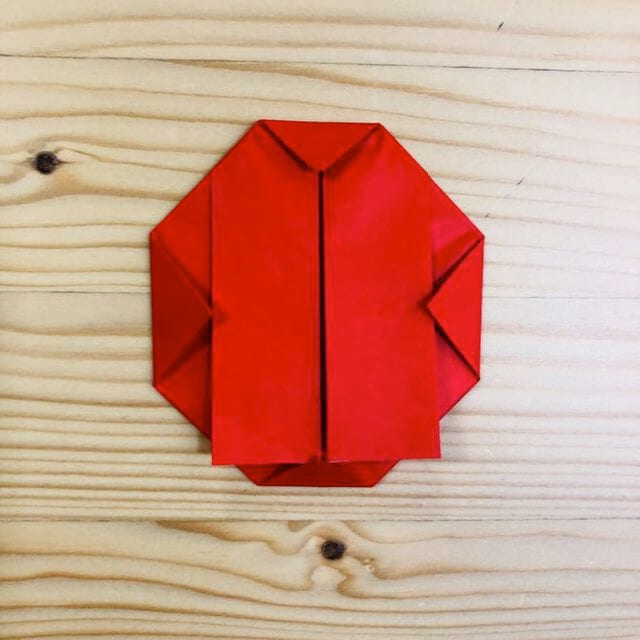
STEP 9.
Turn it over.
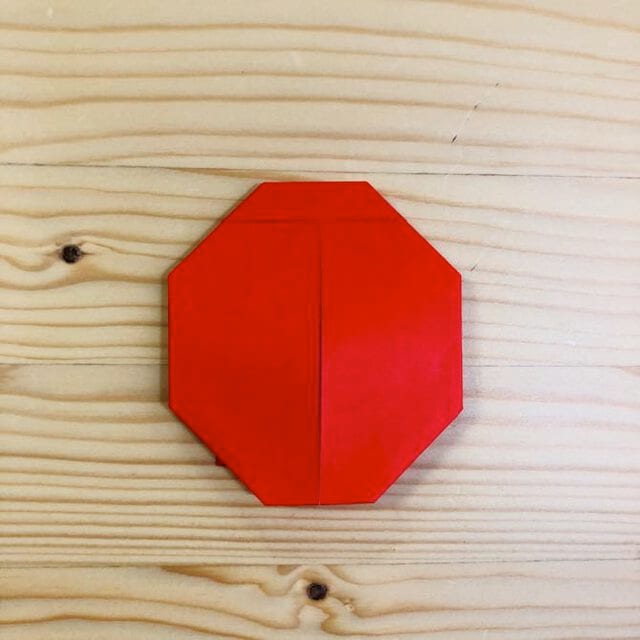
Finished! Add the spots with a pen and your ladybug is ready to crawl away.