How to Fold a Traditional Masu Box
There is history folded into this little square box. The original masu was a wooden measure for rice, later pressed into service as a vessel for drinking sake — and the paper version keeps that same honest, square honesty. Building one is a rite of passage for paper folders; it is also, frankly, one of the trickier paper boxes you will meet.
Nothing here is beyond a careful beginner, though. Every crease you need is made deliberately early in the sequence, and the seemingly difficult part — pinching flat paper into proper corners — is mostly a matter of persuading existing folds to fall as valleys rather than mountains. If a corner fights you, unfold a step or two and start that corner again; paper forgives this more than you would expect. Use crisp rather than floppy paper, work slowly through the pinching steps, and you will end up with a box square and sturdy enough to hold jewellery, tea bags or small gifts with real confidence.
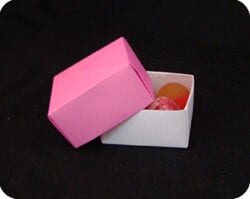
A long time ago, a masu box was a wooden box used to measure rice. Later, a similar square, wooden box was used to drink sake (a Japanese alcoholic drink like wine or beer). In the origami world, a masu box is a traditional, square shaped box made of paper. It is probably one of the trickiest paper boxes you will meet, but it’s a classic that every origami enthusiast knows. You should try it at least once.
Masu Box
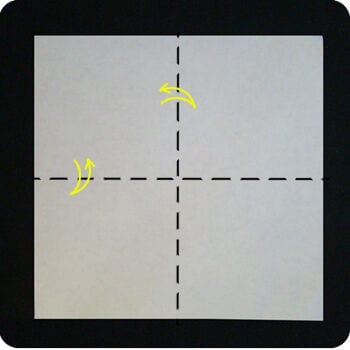
STEP 1. Start with a square sheet of paper with white-side facing up. Fold it in half (left to right) and then unfold. Repeat in the other direction: fold in half (top to bottom) and then unfold.
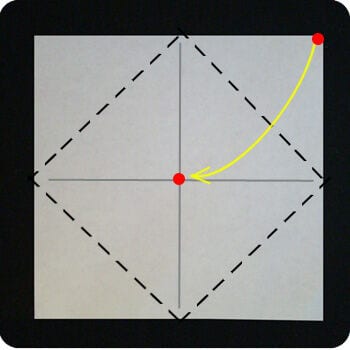
STEP 2. Fold the corner of the paper to the middle of the paper (connect red dots). Do this for all 4 corners. This is called a blintz fold.
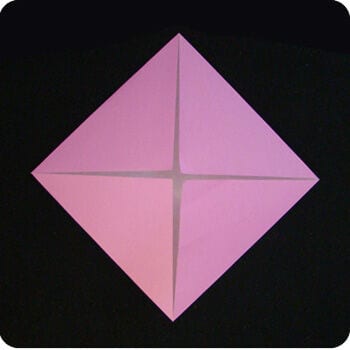
Rotate the model a little so the square is resting along the flat side.
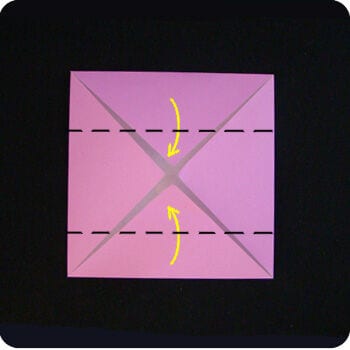
STEP 3. Fold the top-edge and bottom-edge of the paper to the horizontal midline.
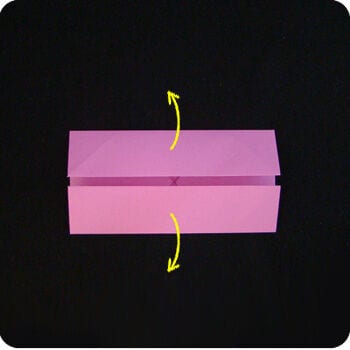
Unfold.
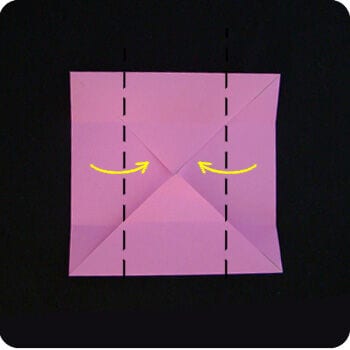
STEP 4. Fold the left-edge and right-edge of the paper to the vertical midline.
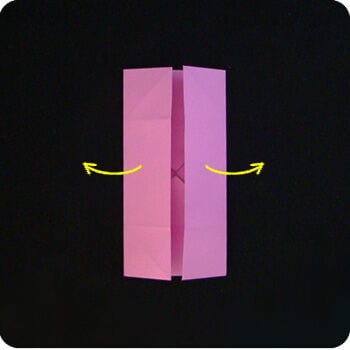
Unfold.
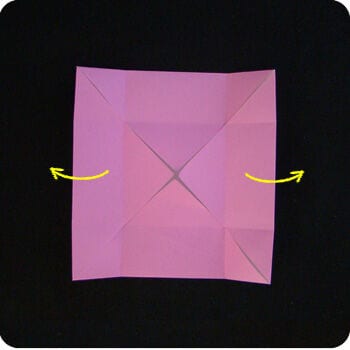
STEP 5. Unfold the left and right sides of the model so the sides become triangular flaps.
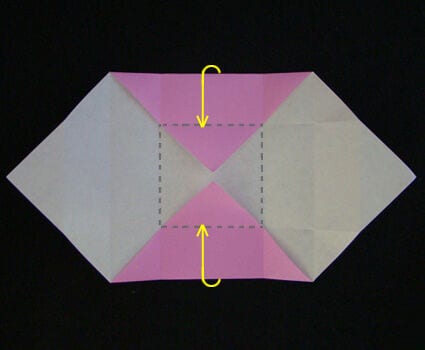
STEP 6. Lift the top and bottom sections of paper up (follow creases made in step 3) so the paper is perpendicular to the rest of the model. These form two walls of the masu box.
The dotted square shows where the base of the box will be.
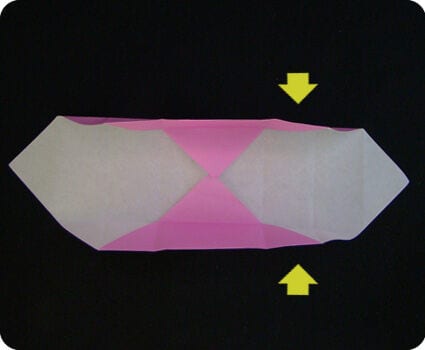
STEP 7. Form the corners of the box by pinching the top and bottom sections of paper.
The creases are already there: you will have to adjust the folds so they are in the proper orientation (valley or mountain folds).
The side of the model will fold up as shown in the next few photos.
Top View.
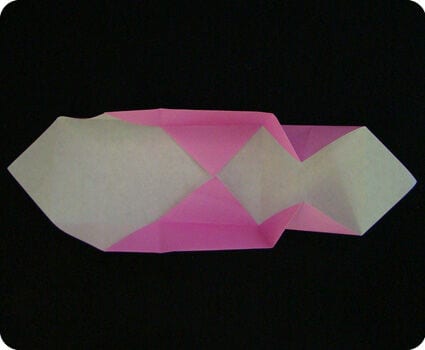
Side view.
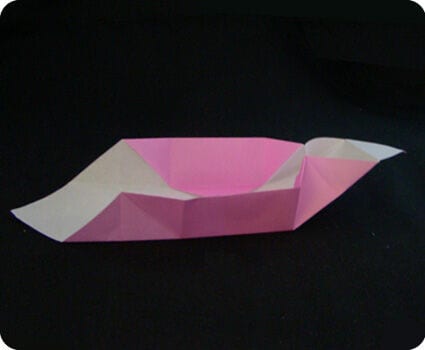
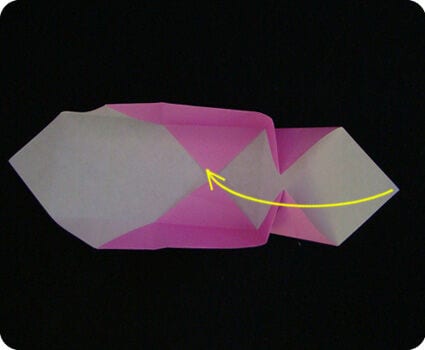
STEP 8. Lift the triangle flap towards the center of the box.
Fold the triangular flap over the edge of the box.
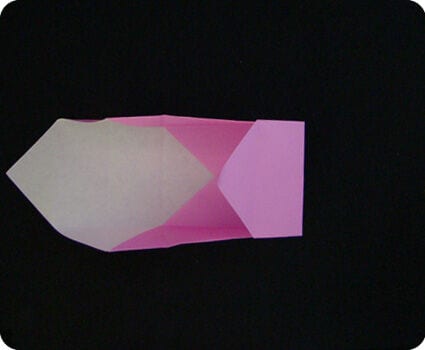
Side view.

Fold and tuck the remaining paper into the base of the box.
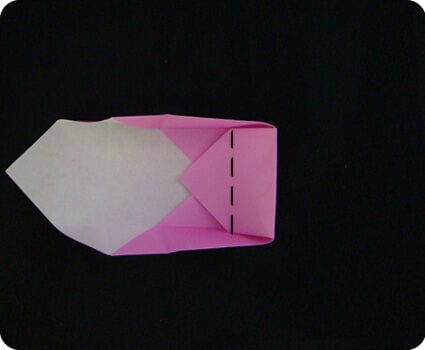
Side view.
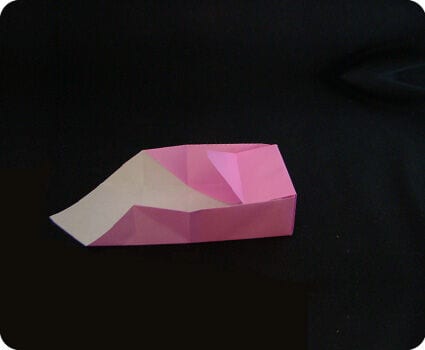
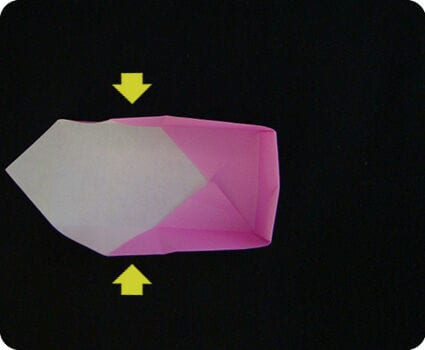
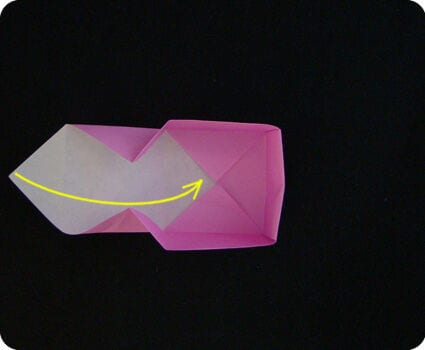
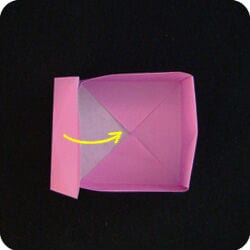
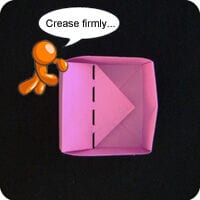
STEP 9. Repeat on the other side to make the fourth wall of the box. Pinch the side of the paper to form the corners of the box.
Lift the flap up…

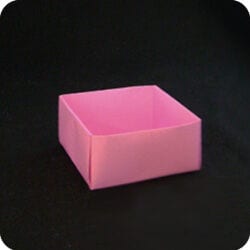
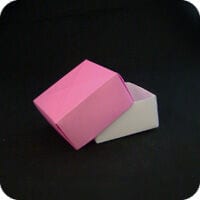
The masu box is a classic for good reason: clean lines, sturdy walls, genuinely useful, and quietly elegant. A sure winner!