How to Fold an Origami Bell
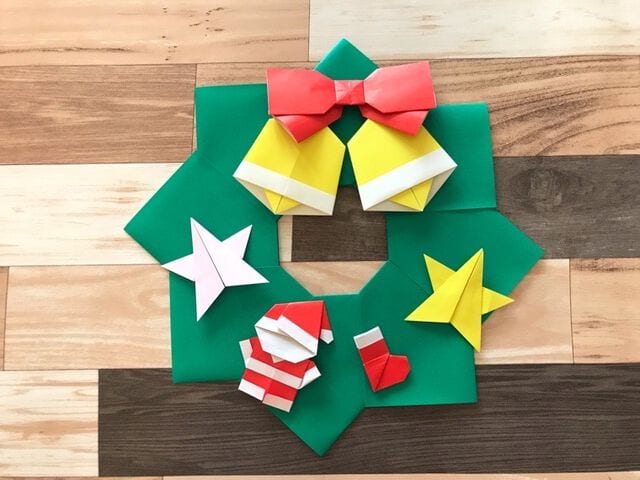
Paper bells belong to Christmas in the same way folded paper cranes belong to weddings: small, cheap, and made in batches while something else cooks. This version is about as simple as a bell gets. There are no sinks or reverse folds here — just centre creases, a handful of valley folds, and a couple of turns that quietly assemble the shape.
Because each step is small, the details matter more than usual: match those circled corners precisely, and keep the 1 cm band along the bottom even, because that becomes the rim of the bell. Gold, red or metallic paper makes it look instantly festive, but honestly any leftover origami paper will do. Fold one as a test, then fold ten while watching something seasonal, thread them onto a garland, and hang the whole string where the light catches it.
Things to prepare
1 square sheet of origami paper
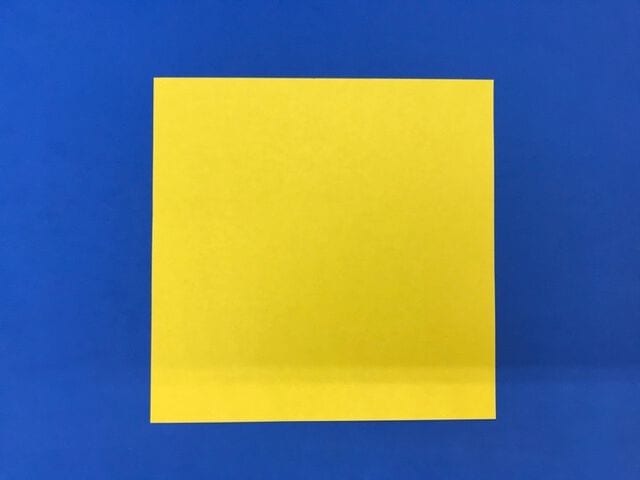
How to fold a bell
STEP 1. Fold the sheet in half sideways to make a centre crease, then unfold.
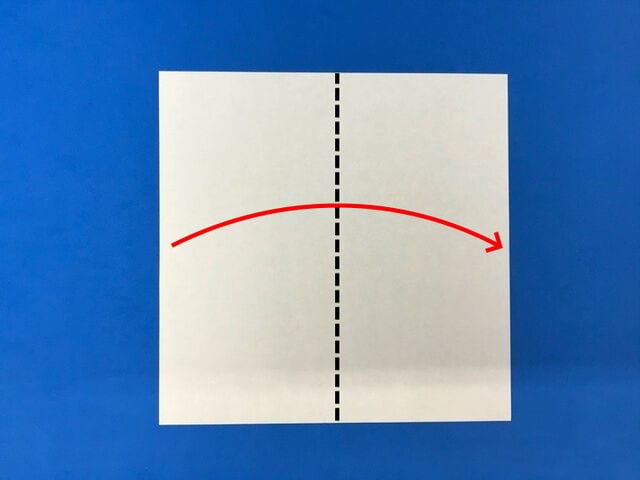
STEP 2. Make a valley fold along the dotted line and then unfold.
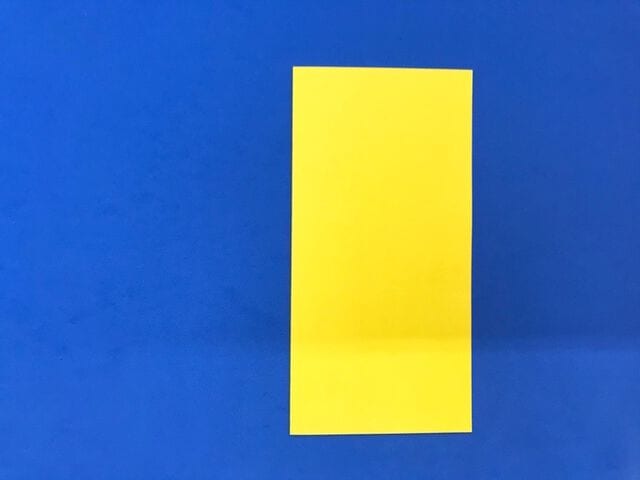
STEP 3. Fold along the dotted line so that the edge meets that middle crease.
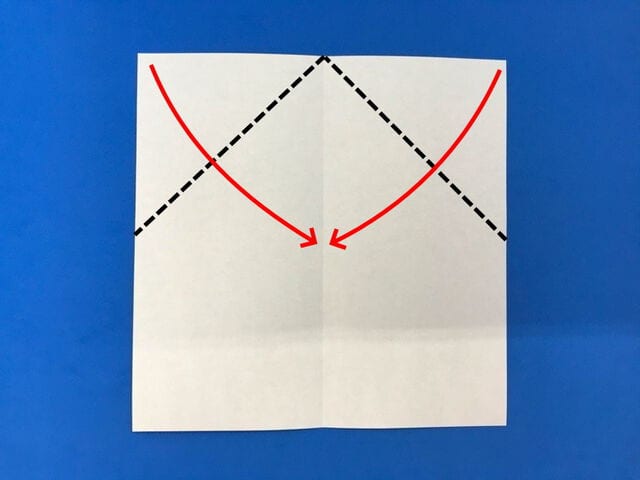
STEP 4. Turn the model over.
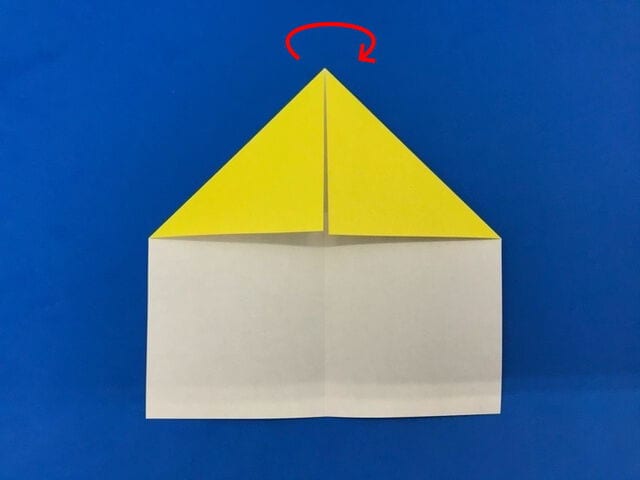
STEP 5. Fold the bottom edge up in a valley fold about 1 cm wide.
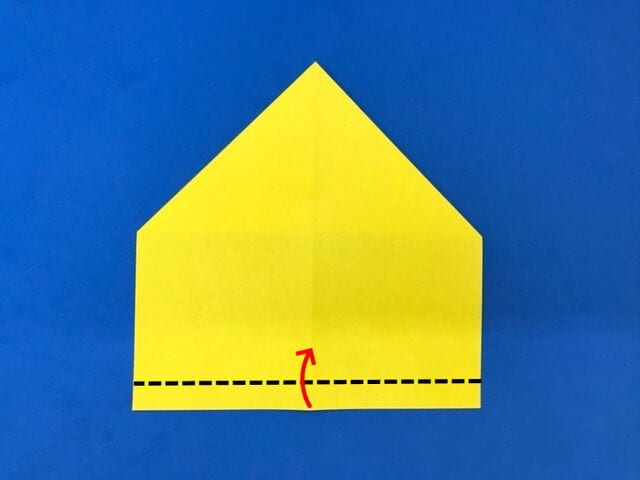
STEP 6. Turn the model over again.
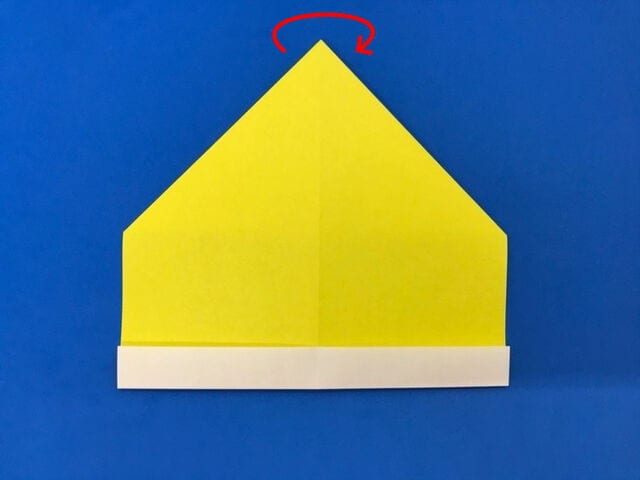
STEP 7. Make a valley fold along the dotted line.
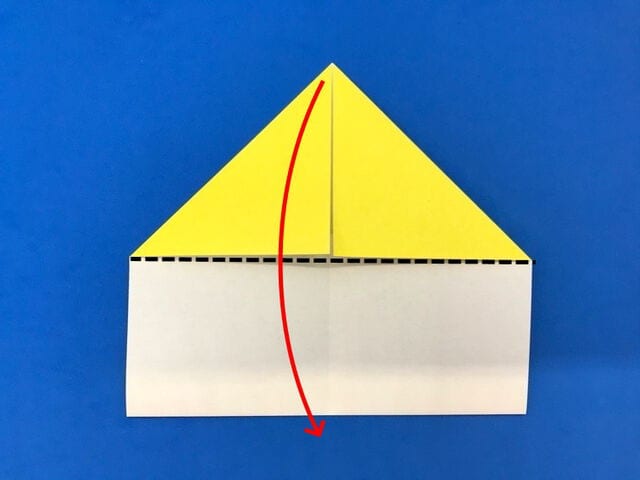
STEP 8. Fold along the dotted line so the corners marked with a circle meet.
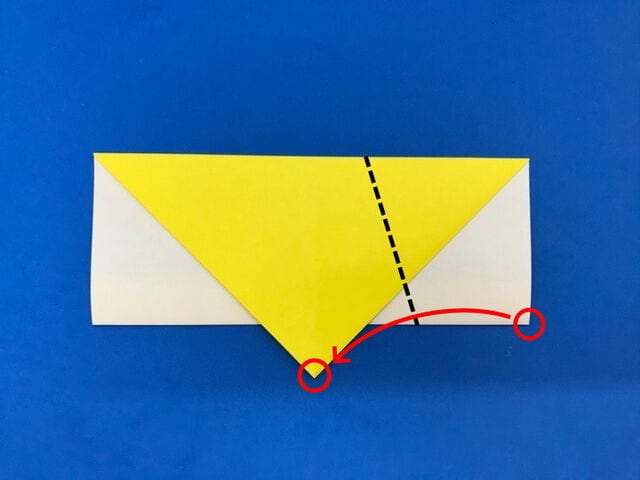
STEP 9. Repeat on the left side so those circled corners meet too.
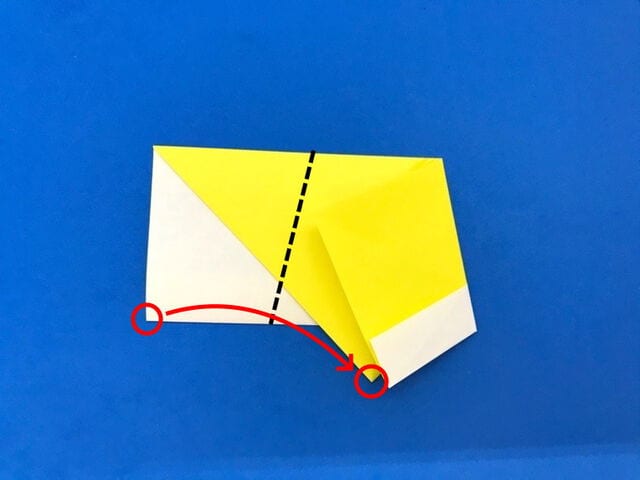
STEP 10. Make another valley fold along the dotted line.
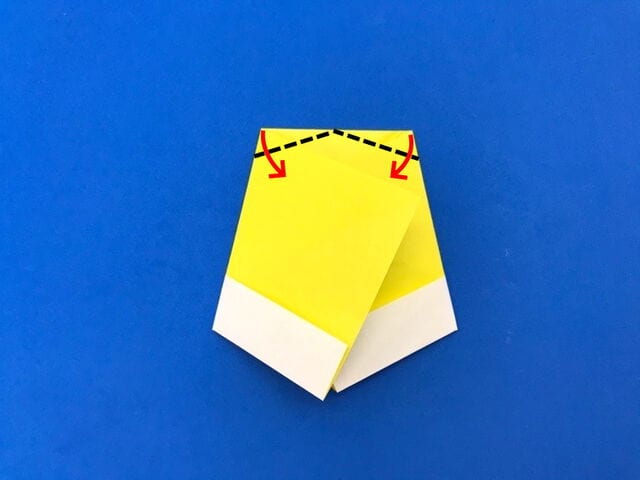
STEP 11. Once it looks like this, turn it over.
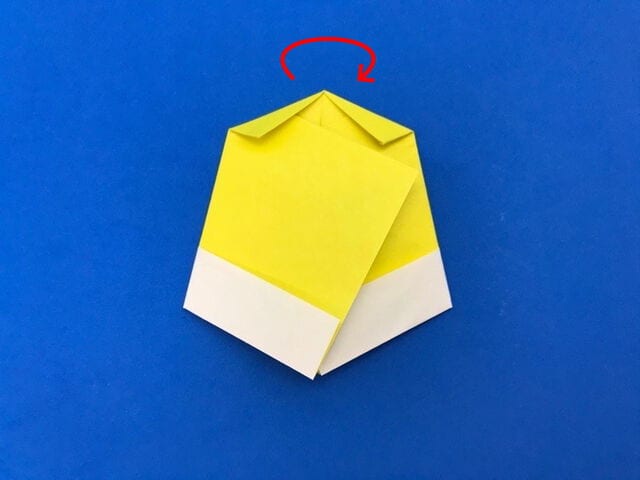
STEP 12. Shape the bell gently and it is finished — add a thread and a small bead as a clapper if you fancy hearing it ring.