Origami Lantern
Paper lanterns have a way of making any room feel like a celebration, and this little origami version is about as close to instant decoration as paper folding gets. There is no glue, no cutting and no complicated collapse: you fold corners into the centre a few times, turn the packet over, and then — this is the fun part — pry it open at both ends so the lantern puffs out into a real 3D shape.
Because every step is a repeat of the one before it, this is a lovely project to do with children or to fold in front of a film. Make one to learn the moves, then fold six or eight in different patterns and string them together for a party.

How to Fold
Step 1. Start with a square sheet of origami paper, colour side down. A larger sheet with patterns on both sides works beautifully here. Fold along both diagonals, crease well and unfold.


Step 2. Fold one corner into the centre — start with the bottom right corner — then repeat with the other three corners.


Step 3. Flip the paper over.

Step 4. Fold the bottom tip into the centre, then repeat with the other three tips.


Step 5. Flip the paper over again.
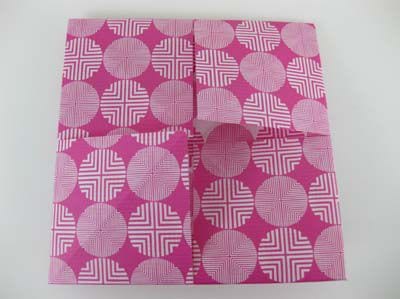
Step 6. Fold the bottom right corner into the centre, then repeat with the other three corners.
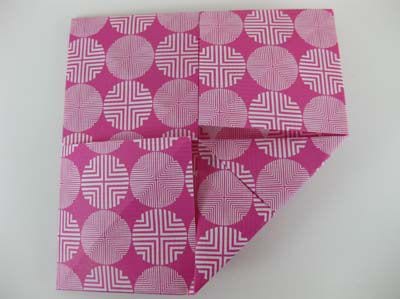
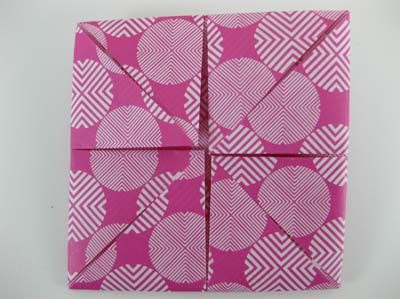
Step 7. Rotate the paper 45 degrees so that it sits as a diamond in front of you.
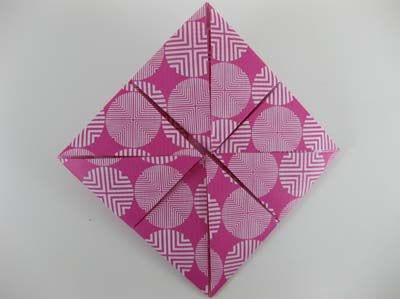
Step 8. Now open the paper up at the top. Pry it open, fold the flap upwards and away from you, then press the paper flat.




Step 9. Repeat step 8 on the bottom half: pry the paper open and fold it downwards, this time towards you, then press the paper flat.




After Folding
Your origami lantern is complete!

These lanterns make lovely party decorations. Fold a whole batch of them, string them together and hang them up just like ordinary paper lanterns.
Lanterns From Our Readers
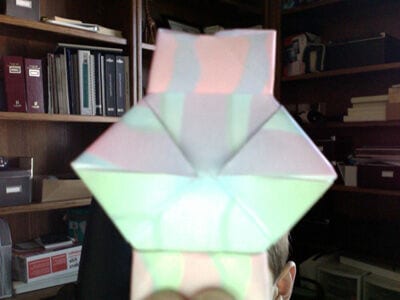
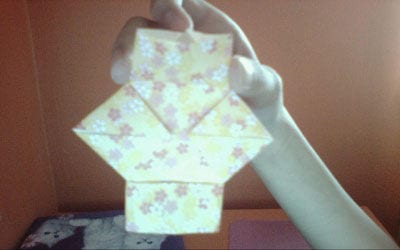
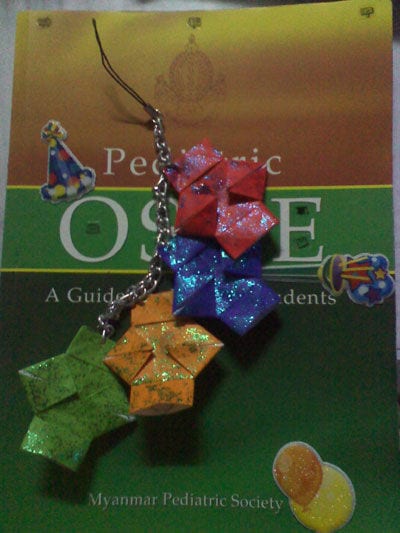
Readers from all over the world have sent in photos of the lanterns they folded. Here are a few of them.