
Origami Party Hat
Every celebration needs a hat, and this one takes about two minutes and zero shopping. Folded from a single square of paper, this little party hat is one of those pleasingly quick projects that looks far more complicated than it is — the secret is that it starts from an origami helmet base, which does most of the shaping for you.
It is also wonderfully forgiving. There is no glue, no cutting, and no fiddly locking step, so you can make one while the cake is in the oven or fold a dozen in different colors for a party table. Try bold patterned paper for a festive look, or make a tiny version for a doll or a desk figurine. Once you know the base, you will never be without a hat again.
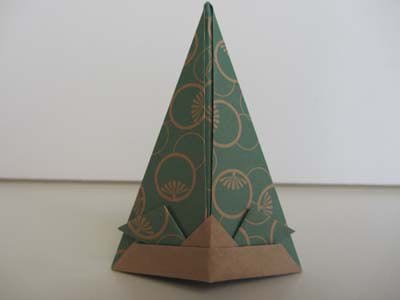
Below are the folding instructions for an easy origami party hat.
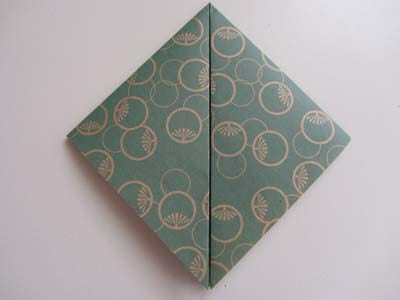
STEP 1
Fold an origami helmet base.
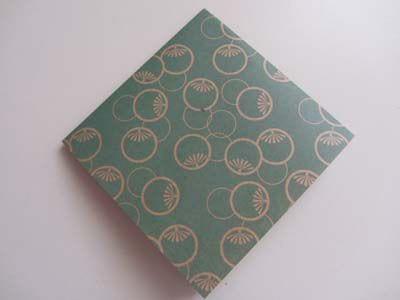
STEP 2
Flip the paper over.
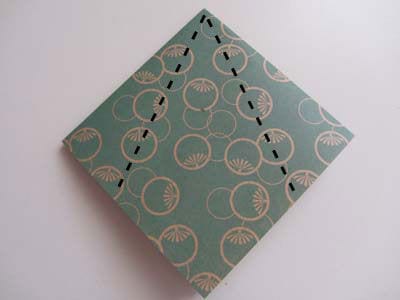
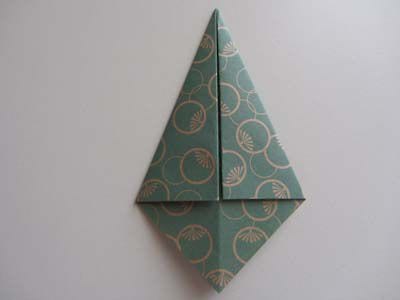
STEP 3
Fold both sides in so they meet at the center.
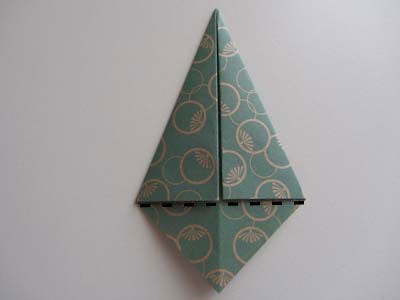
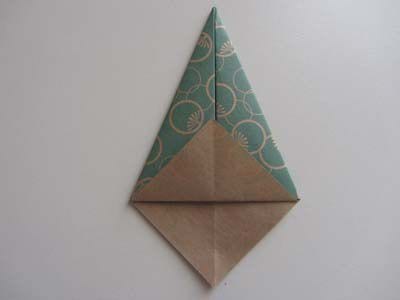
STEP 4
Fold the bottom tip up.
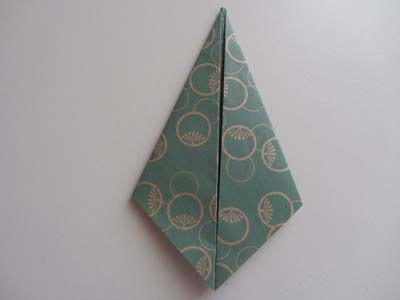
STEP 5
Flip the paper over.
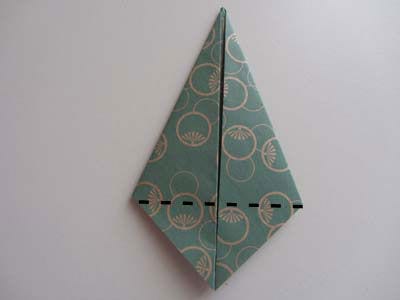
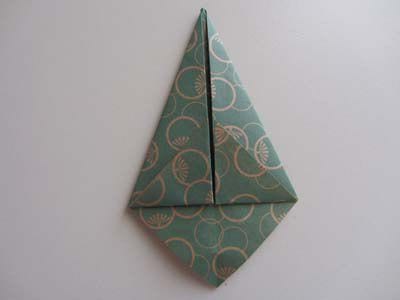
STEP 6
Fold the bottom tips upward.
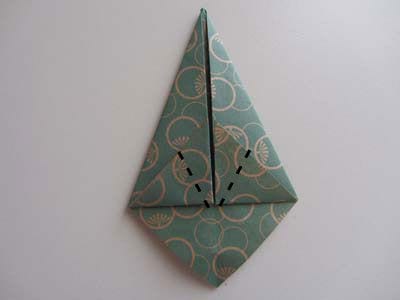
STEP 7
Make two folds at an angle.
Zooming in for a closer look…
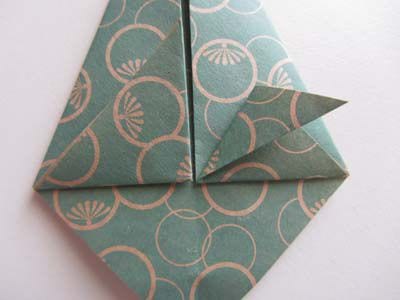
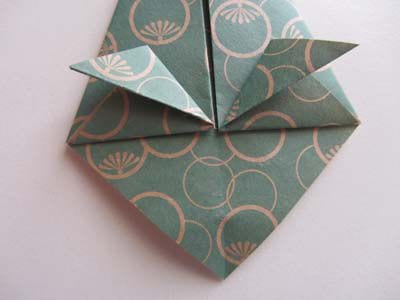
STEP 8
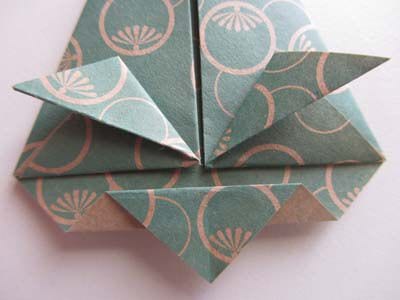
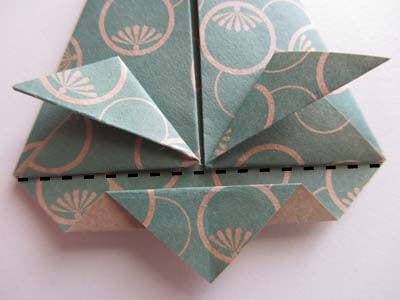
Just a few more folds to complete the hat. Make a valley fold as indicated below.
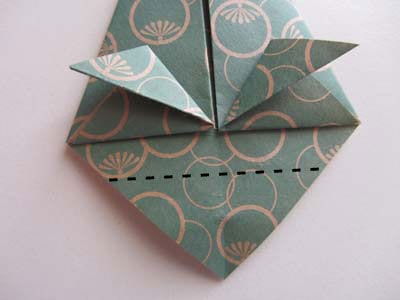
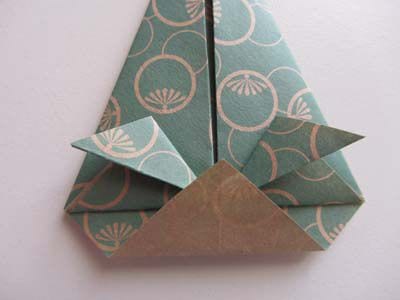
If you are not clear on what valley folds and mountain folds are, please refer to our page about them.
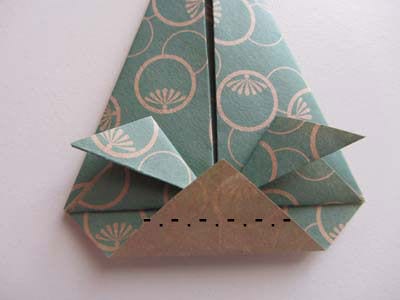
STEP 9
One final fold and you are done!
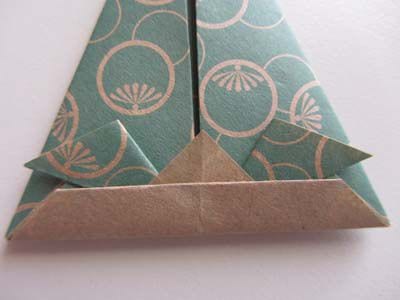
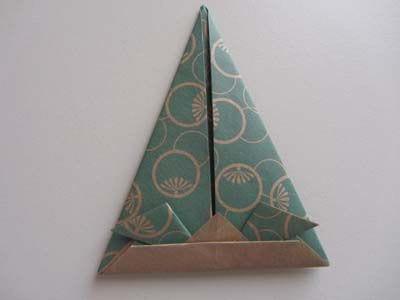
Your origami party hat is complete!
And here is our origami hat model wearing the finished product…





