
2D Origami Boot of Santa Claus
Looking for a quick, festive fold to sprinkle some Christmas cheer into your papercraft? This 2D origami Santa boot is the perfect little project — flat and graphic, yet it stands up all on its own.
It is an easy model that leans on the folds you already know, with just one new trick to learn: the inside reverse fold. In about seventeen relaxed steps you will have a cheerful boot ready for cards, gift tags, or a string of holiday garland.

This page is for anyone who wants instructions to fold a 2D origami boot of Santa Claus.
This 2D Santa boot is an easy model to fold. Even though it is flat (2D), you can make it stand on its own. The one special technique it uses is the inside reverse fold.
Before you start, you should know what a valley fold and a mountain fold are. If you are comfortable with those two basics, you will have no trouble making this boot.
If you are ready, let's get started.
You can use any kind of paper for this boot. Here I am using a standard 15 × 15 cm origami square.
This is the front side of the paper. The 15 × 15 cm square is shown here.

This is the back side of the paper.

Step 1: Start with the front side of the paper facing up. Prepare to valley fold it in half vertically, then unfold.
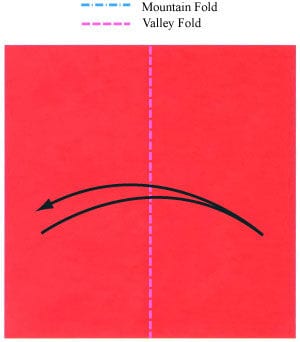
Step 2: Valley fold in half vertically and unfold. Prepare to cut the paper in half along the dotted line.
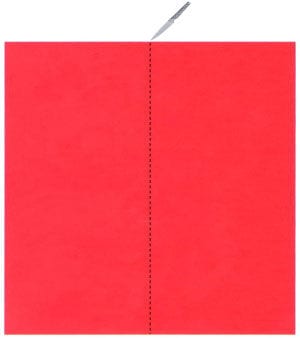
Step 3: Cut the paper in half along the dotted line from step 2. Keep one of the two pieces.
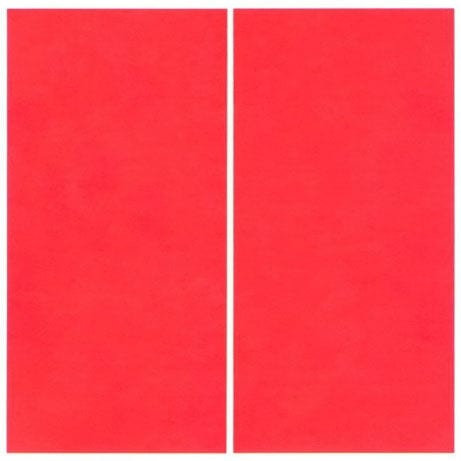
Step 4: Take one piece. Prepare to make a horizontal valley fold.
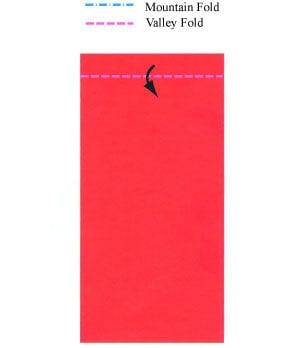
Step 5: Make the horizontal valley fold from step 4. Prepare to turn the model over.

Step 6: Turn the model over. Prepare to make a vertical valley fold.
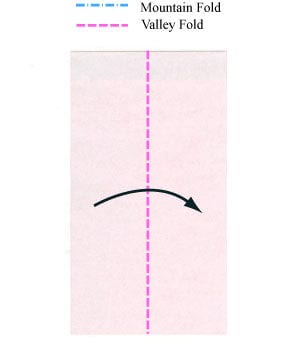
Step 7: Make the vertical valley fold from step 6. Prepare to make a horizontal valley fold.
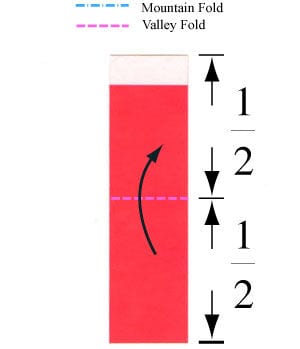
Step 8: Make the horizontal valley fold from step 7. Prepare to make another valley fold.
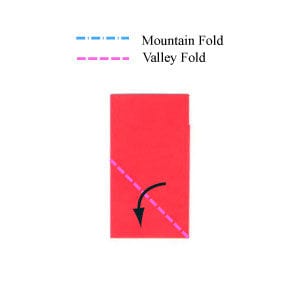
Step 9: Make the valley fold from step 8. Prepare to unfold the last three folds and return to step 5.
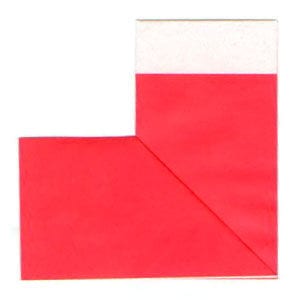
Step 10: Unfold the last three folds to return to step 5. Prepare to apply the crease pattern (CP) shown on the left.
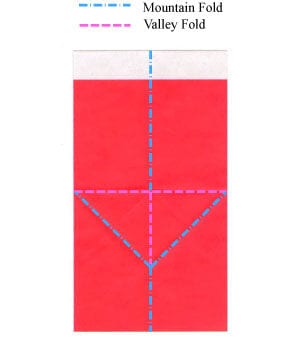
Step 11: Begin applying the crease pattern from step 10.

Step 12: Continue applying the crease pattern from step 10.

Step 13: Finish applying the crease pattern from step 10. Prepare to rotate the model 90 degrees.
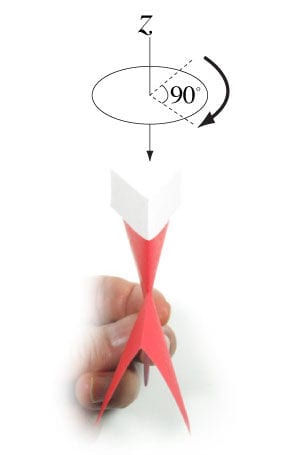
Step 14: Rotate the model 90 degrees. Prepare to make an inside reverse fold and a mountain fold.
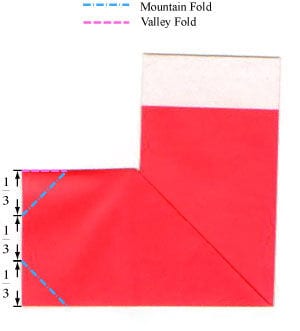
Step 15: Make the inside reverse fold and the mountain fold from step 14. Prepare to make a valley fold that places the folded layer just below the front-most layer.
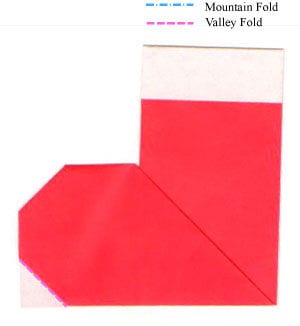
Step 16: Make the valley fold from step 15 so that the folded layer sits just below the front-most layer. Prepare to stand the boot on the ground.
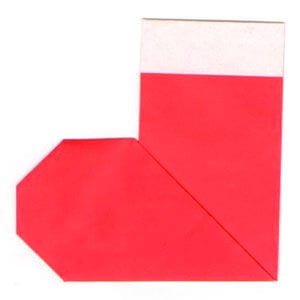
Step 17: Stand the boot on the ground. Congratulations — you have completed your 2D origami Santa boot!




