
Panda
Few origami animals are as instantly recognizable as the panda. With its round face and that classic black-and-white patchwork, a well-folded paper panda looks cheerful even before any details are added.
This tutorial builds the panda in two parts—a characterful face and a poseable body—then joins them together. It takes a little patience across the steps, but every fold is shown with a photo, so you can simply follow along and watch the panda take shape.
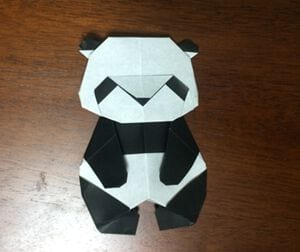
This guide shows how to fold an origami panda in a clear, step-by-step way.
It takes a little time, but the steps are explained clearly so it is easy to follow—please use this as a reference while you fold.
How to fold a panda
The origami panda we are making is assembled from a face and a body.
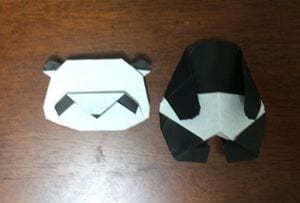
The face alone already reads as a panda, so fold the body only if you want a fuller model.
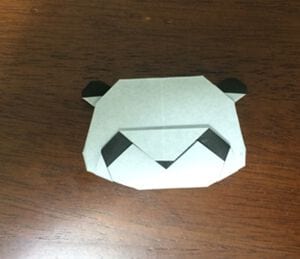
First, let’s make the face.
STEP 1. Fold the paper in half to make a crease.
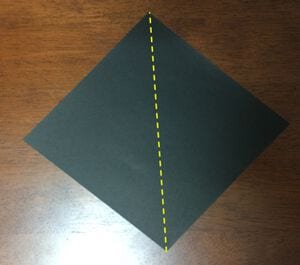
STEP 2. Fold the top corner down, leaving a margin of about 2.1 cm.
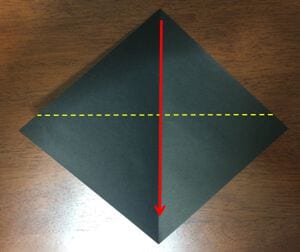
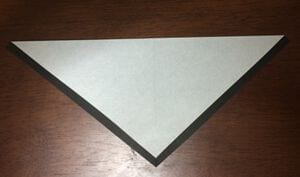
STEP 3. Make a crease so the white-side corner lines up with the top edge.
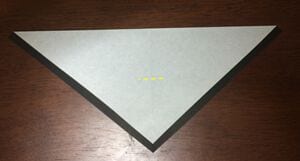
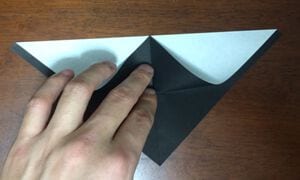
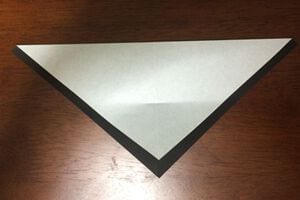
STEP 4. Make a crease so the corner meets the crease you just made.
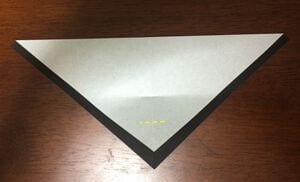
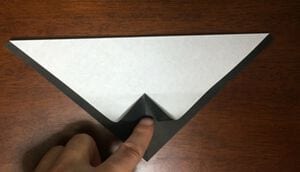
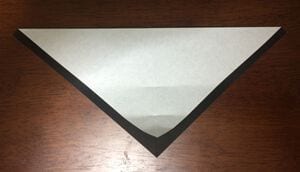
STEP 5. Fold the bottom corner down a little more to match the crease.
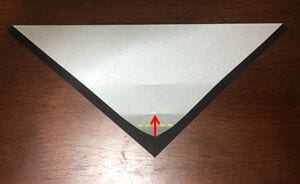
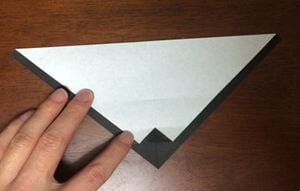
STEP 6. Fold the bottom corner to fit the crease.
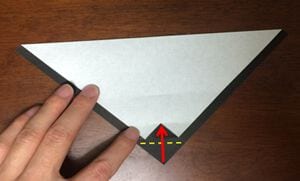
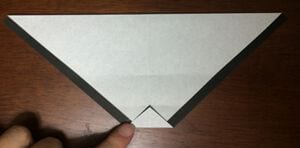
STEP 7. Fold the left and right sides in to meet the center crease.
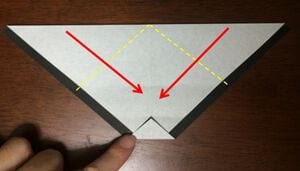
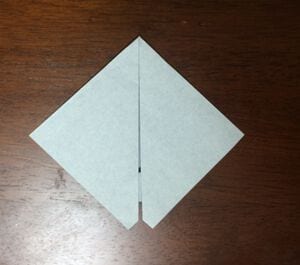
STEP 8. Fold the bottom corner up.
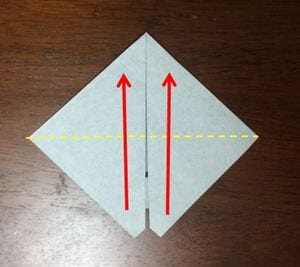
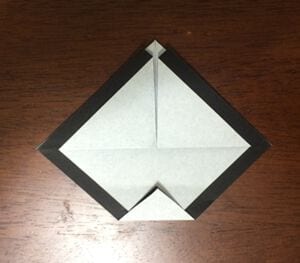
STEP 9. Fold it diagonally as shown.
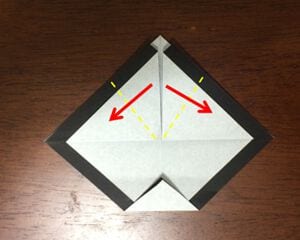
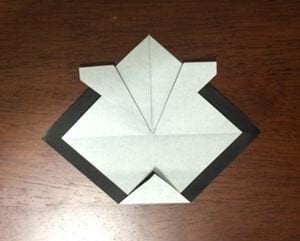
STEP 10. Fold the left and right sides as shown.
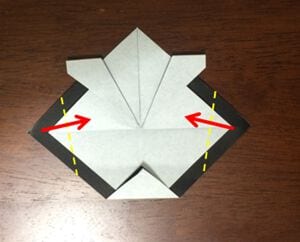
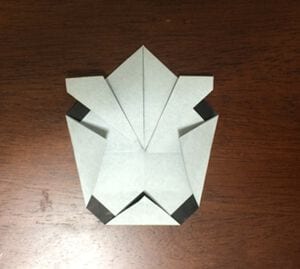
STEP 11. Fold the corners in slightly as shown.
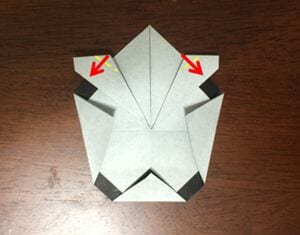
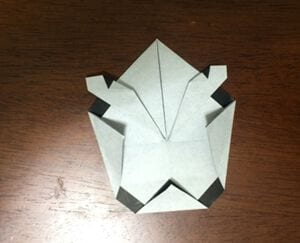
STEP 12. Turn it over and fold the lower part upward.
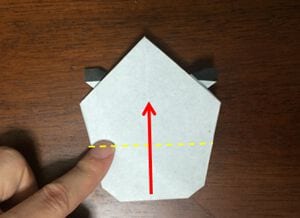
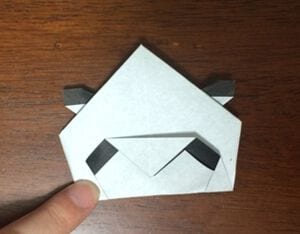
STEP 13. Fold the top part back.
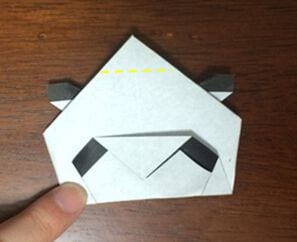
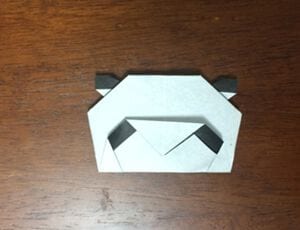
STEP 14. Then fold the dashed line to the back.
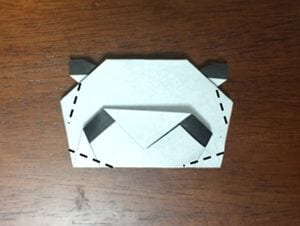
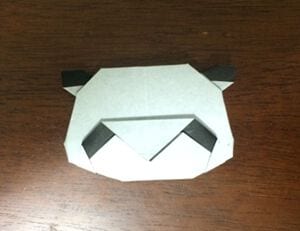
STEP 15. Fold the dashed line inward; once it resembles a flower, the panda's face is complete.
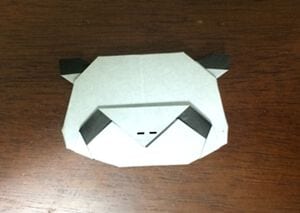
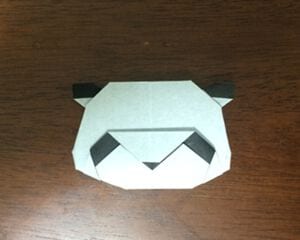
Next, here is how to fold the panda's body parts.
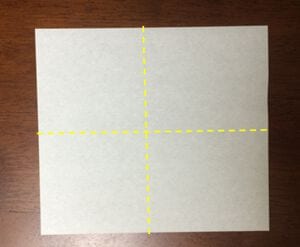
STEP 1. Fold the paper in half both vertically and horizontally to make creases.
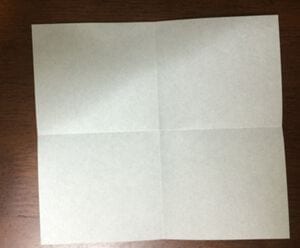
STEP 2. Fold the left and right edges in to meet the center crease.
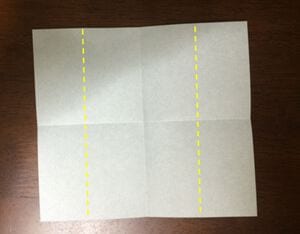
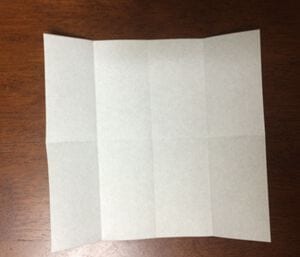
STEP 3. Fold the top and bottom edges to the center crease, then unfold only the bottom.
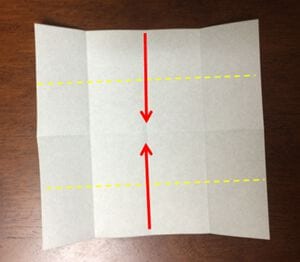
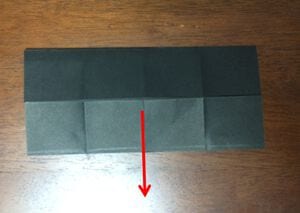
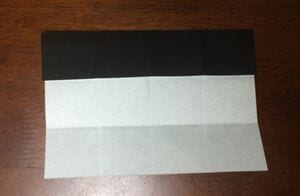
STEP 4. Fold it diagonally to make a crease.
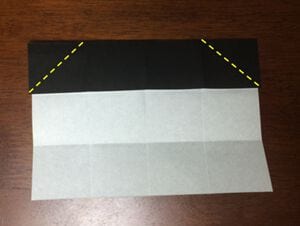
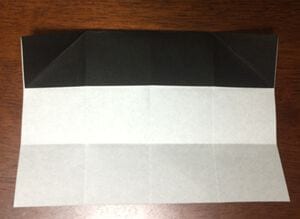
STEP 5. Fold it so the paper opens inward along the crease.
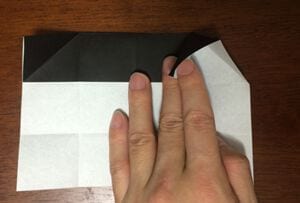
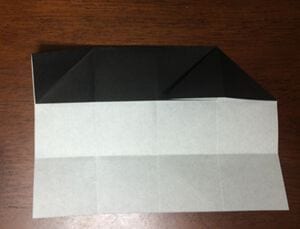
STEP 6. Do the same on the right side.
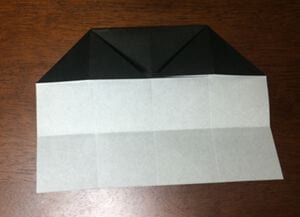
STEP 7. Fold so the lower-left and lower-right corners meet where the creases cross.
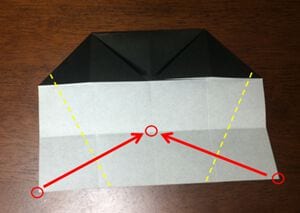
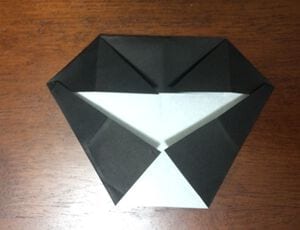
STEP 8. Turn the inner triangle outward as shown.
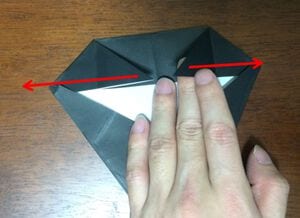
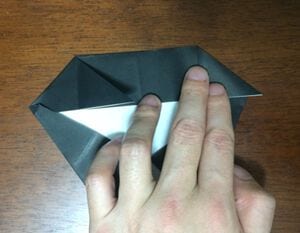
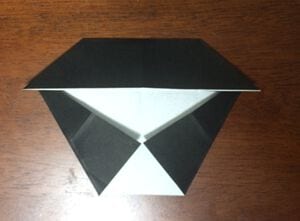
STEP 9. Turn it over and fold it along the crease.
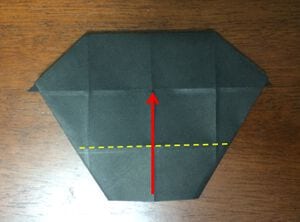
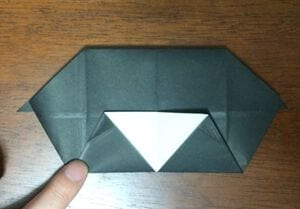
STEP 10. Fold it as shown and make a crease.
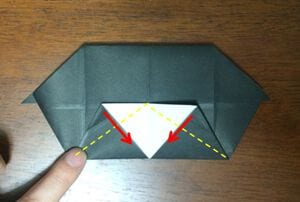
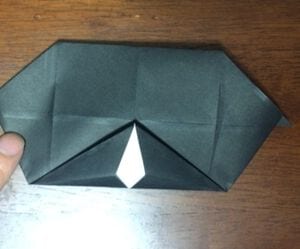
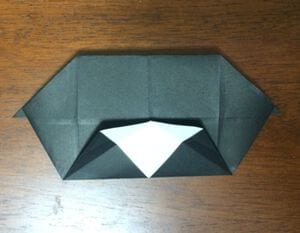
STEP 11. Fold it down along the crease.
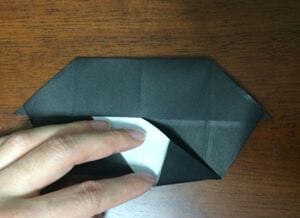
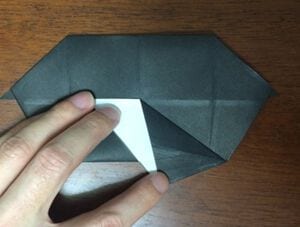
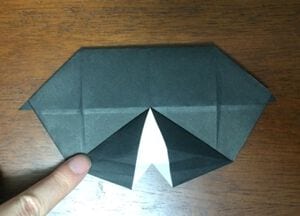
STEP 12. Fold the left and right corners along the creases.
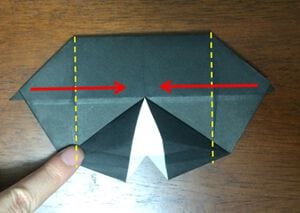
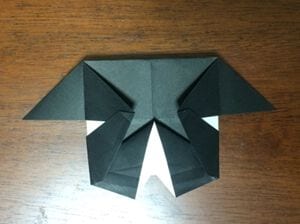
STEP 13. Turn it over and fold it diagonally as shown.
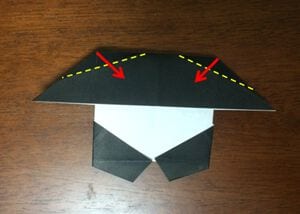
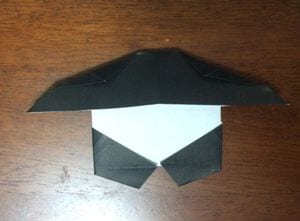
STEP 14. Fold the left and right corners.
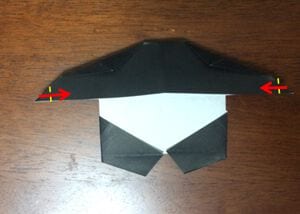
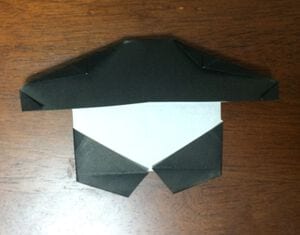
STEP 15. Fold it as shown.
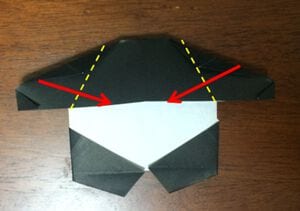
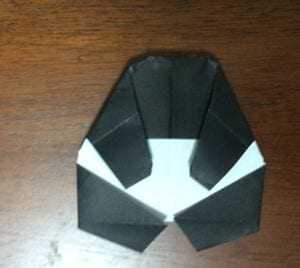
STEP 16. Fold the dashed line inward.
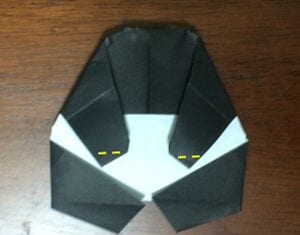
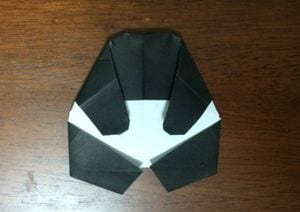
STEP 17. Fold the corners back.
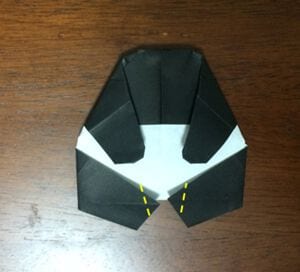
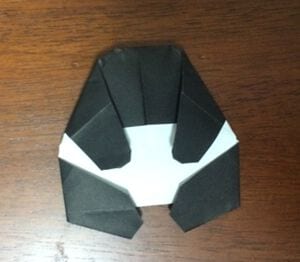
STEP 18. Fold the corner back further.
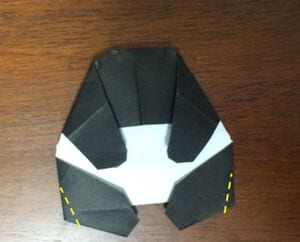
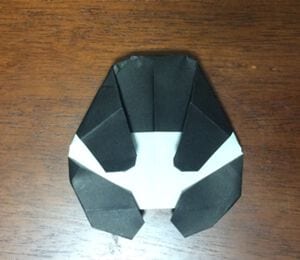
STEP 19. Make a crease to fit the edge.
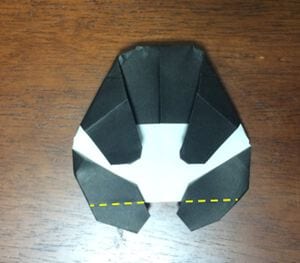
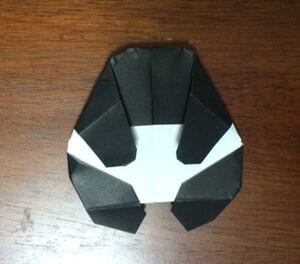
STEP 20. Fold it back in half.
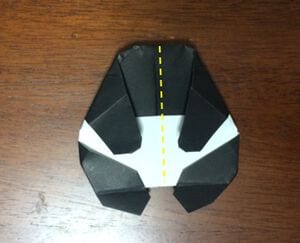
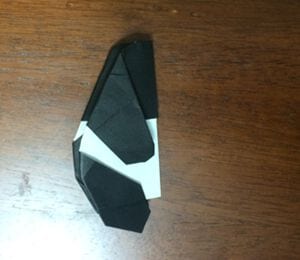
STEP 21. Fold it as shown.
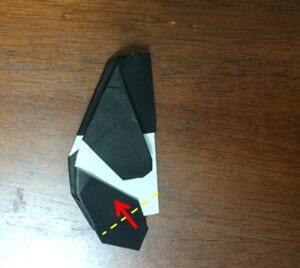
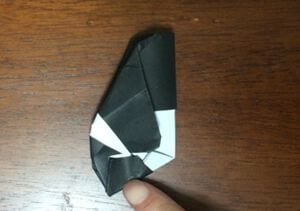
STEP 22. Fold it inward along the creases.
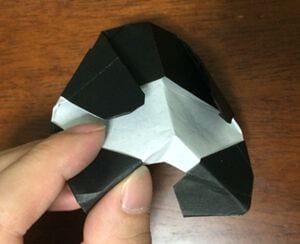
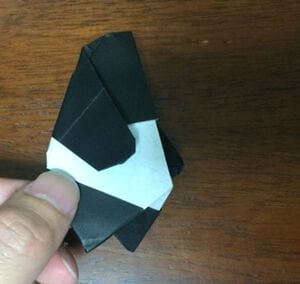
STEP 23. Use the creases you made in step 19 to push the corners downward. Do the same on the other side.
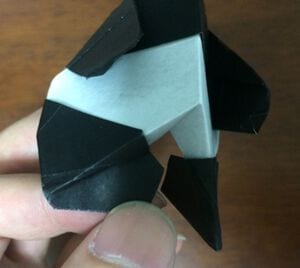
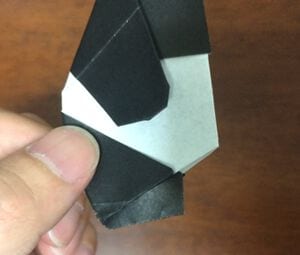
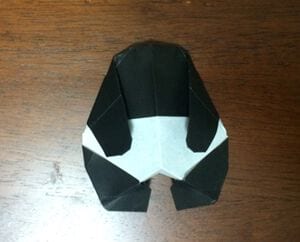
STEP 24. Open it up gently and the panda's body is complete.
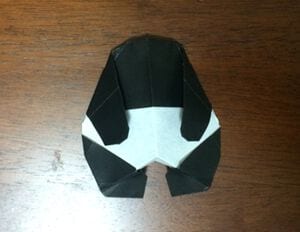
Finally, attach the face to the body and your panda is complete.
The finished model has a nice bit of dimension to it.




