
Origami Kite Fold
Some origami moves sound impressive and turn out to be surprisingly simple - the kite fold is exactly one of them. Three folds, and a plain square of paper becomes a clean kite shape. There is no special preparation and no hidden trick: you crease one diagonal, then bring each edge in to meet it, and the shape basically builds itself.
The kite fold is worth learning because it shows up again and again. The motion of aligning a diagonal edge with a central crease appears in dozens of models, from classic birds to geometric boxes. This tutorial walks you through it in six quick, photo-illustrated steps, and once you have done it a few times you will recognize the move everywhere.
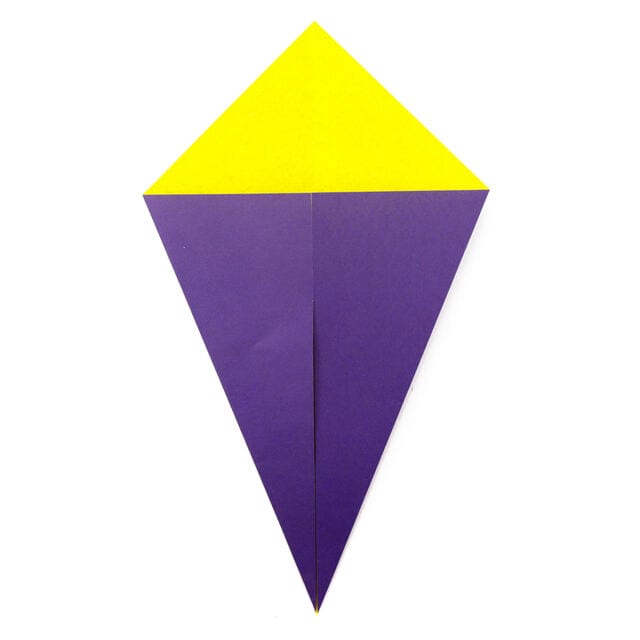
The origami kite fold is one of the simplest folding techniques in origami - just three folds turn a plain square into a kite shape. The trick of folding diagonal edges in to meet a central crease shows up again and again across countless origami sequences, so it is well worth learning early.
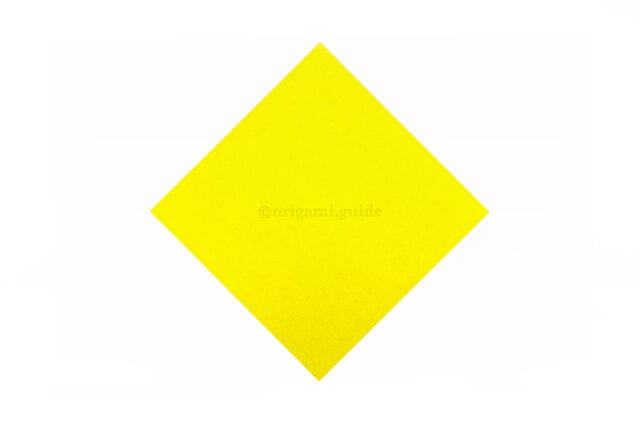
Step 1
Start with the back of the paper facing you (usually the white side).
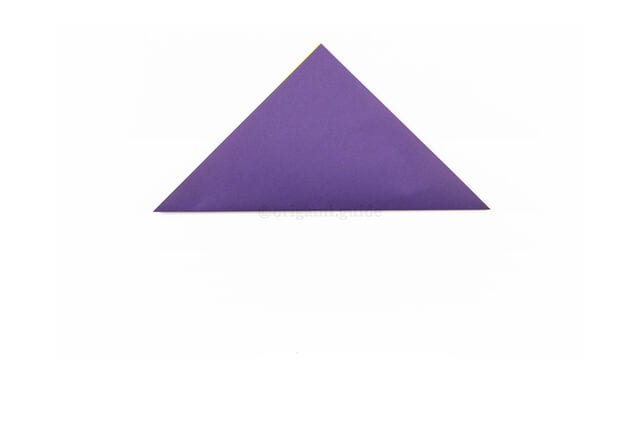
Step 2
Fold the bottom corner up to the top corner.
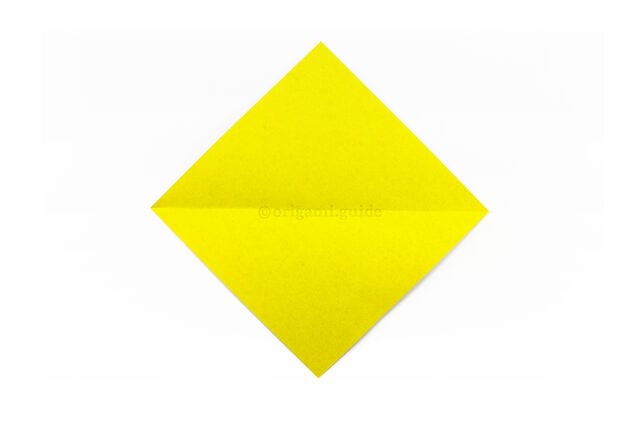
Step 3
Unfold the previous step.
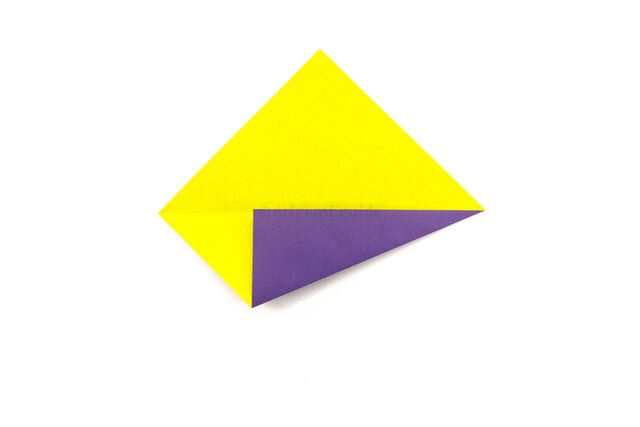
Step 4
Take the lower right diagonal edge and bring it up to align with the central crease.
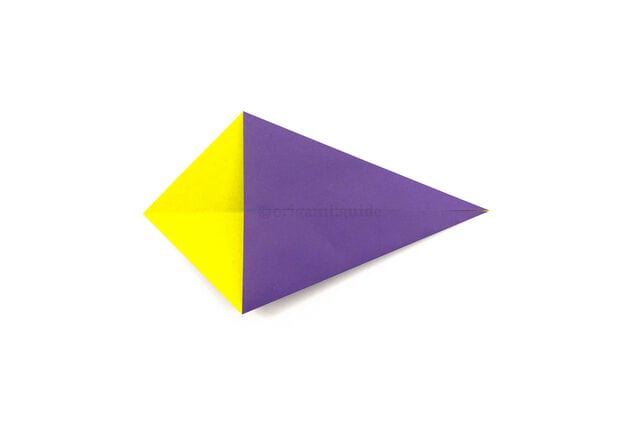
Step 5
Bring the top right diagonal edge down to align with the central crease.
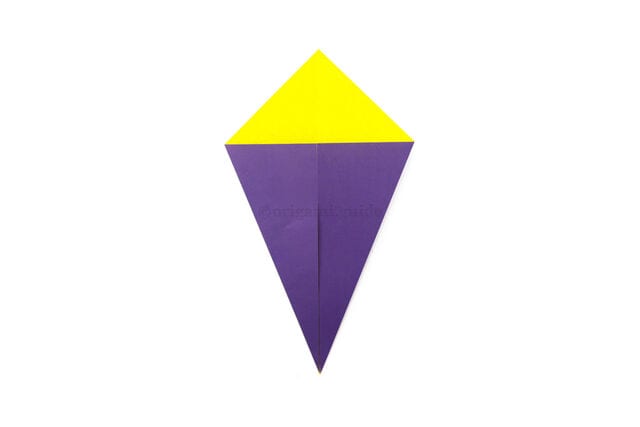
Step 6
Rotate the paper - now it is a kite shape! The origami kite fold is complete.




