
Crow (Version 2)
Crows are an odd favourite among folders: almost entirely one colour, no pretty pattern to hide behind, so the silhouette has to do all the work. This version gets there with a single square and a rhythm of crease-open-flatten that repeats on both sides until a beak, a head, and a pair of wings appear.
It is a good model for building muscle memory. By the third repetition your hands know what the photo is about to show, and the last few folds come together quickly. Stand it on a shelf and it reads as a crow from across the room.
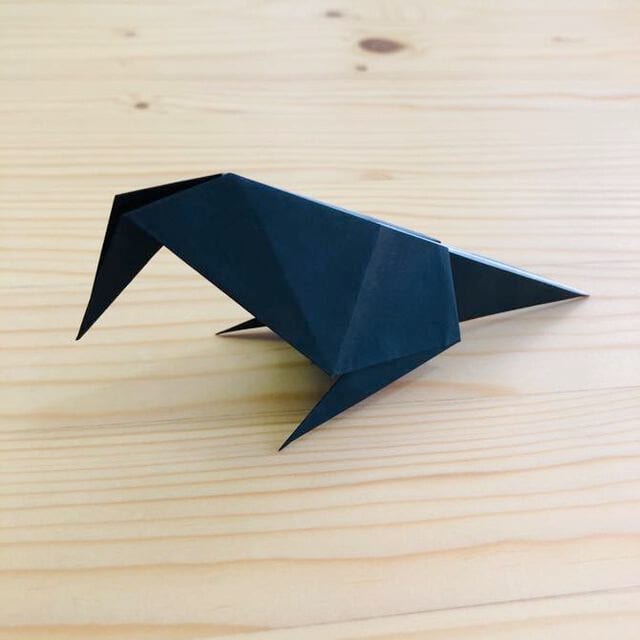
This crow is folded from a single square with nothing but valley folds, creases, and a few squash-style openings, which makes it a friendly step up from the simplest bird models. The sequence repeats itself: make a crease, open the flap, flatten it down, then turn the paper and do the same thing on the other side.
Every stage is photographed, so you can always check the shape in your hands against the picture. A 15 cm square gives a crow about 10 cm tall, and a slightly stiff paper keeps the wings crisp when the model is finished.
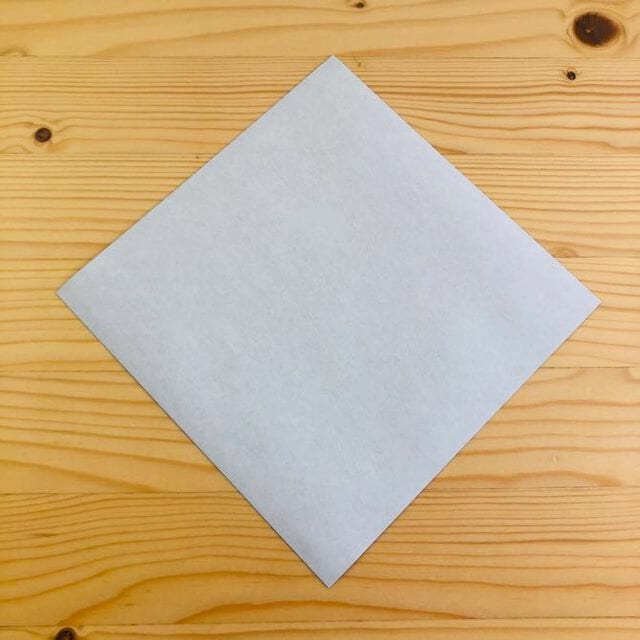
Step 1.
Fold the paper in half.
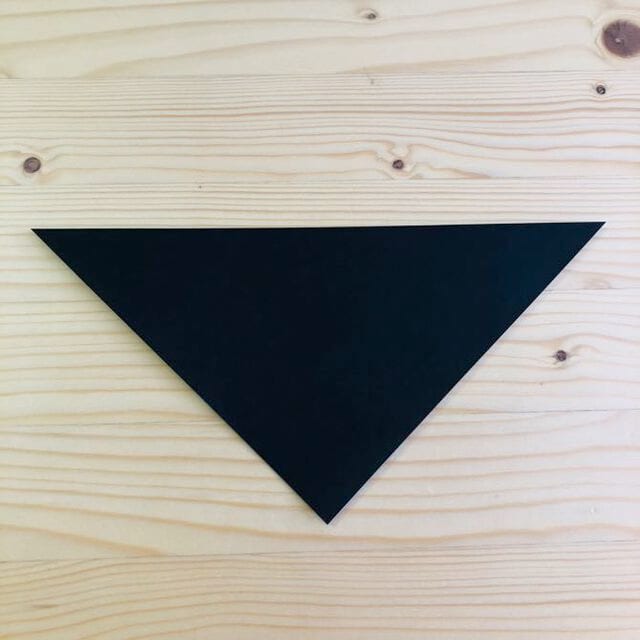
Step 2.
Fold it in half once more and press the crease firmly.
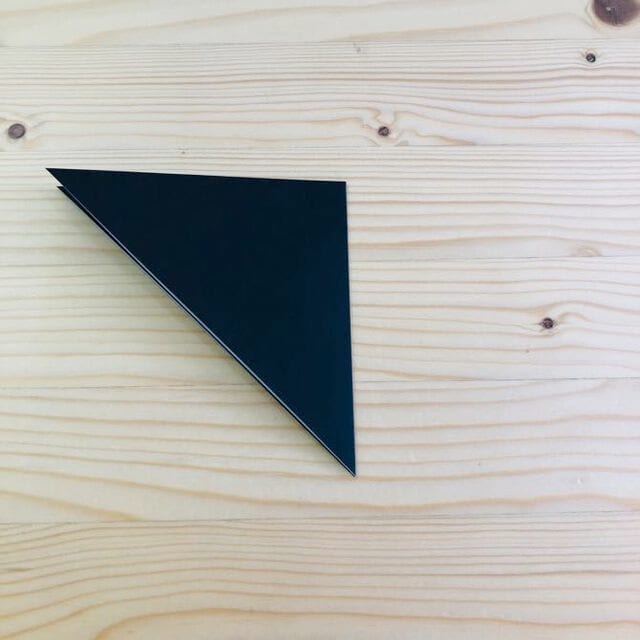
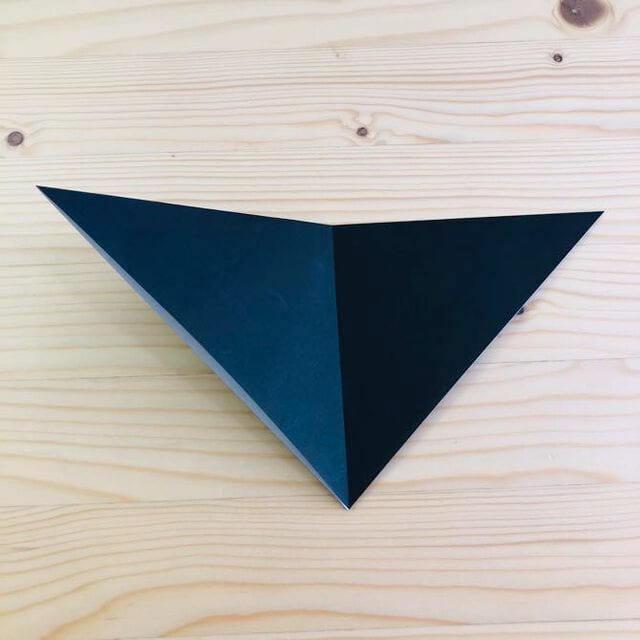
Step 3.
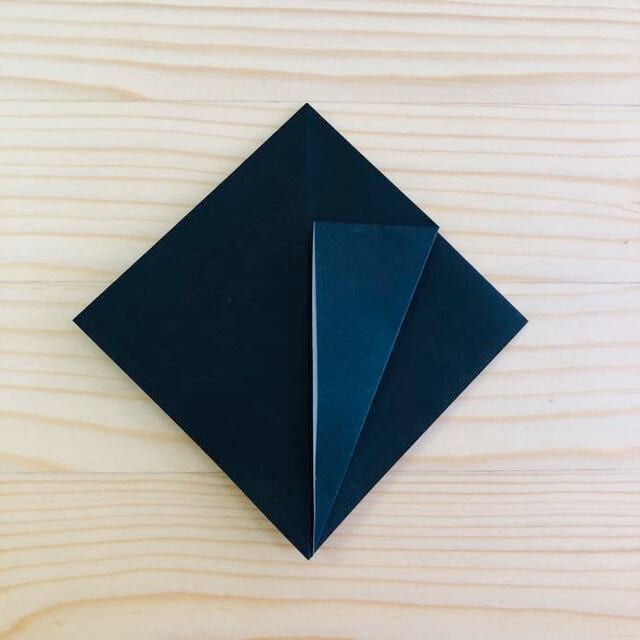
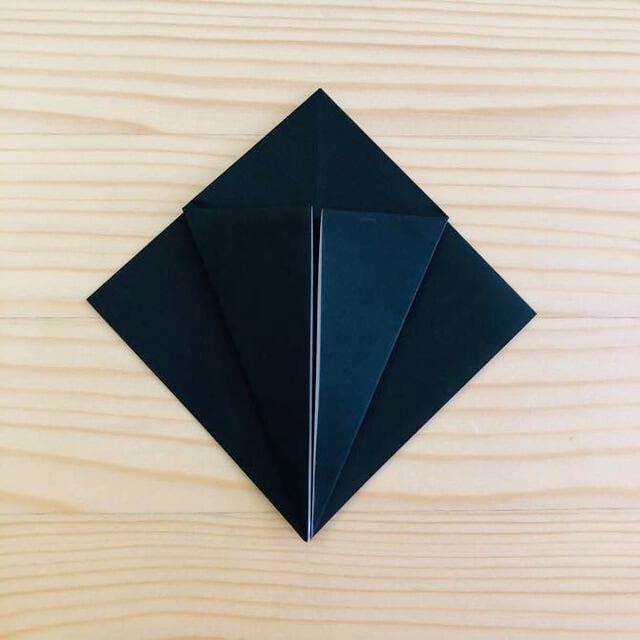
Open the flap and fold it down as shown in the photo.
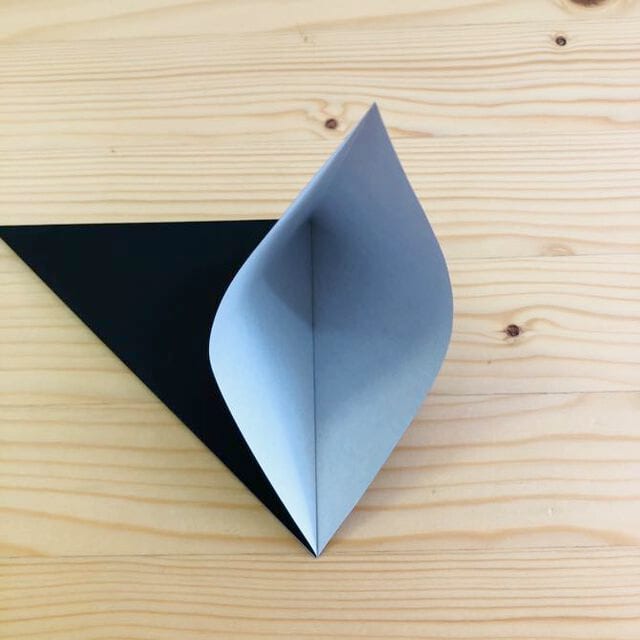
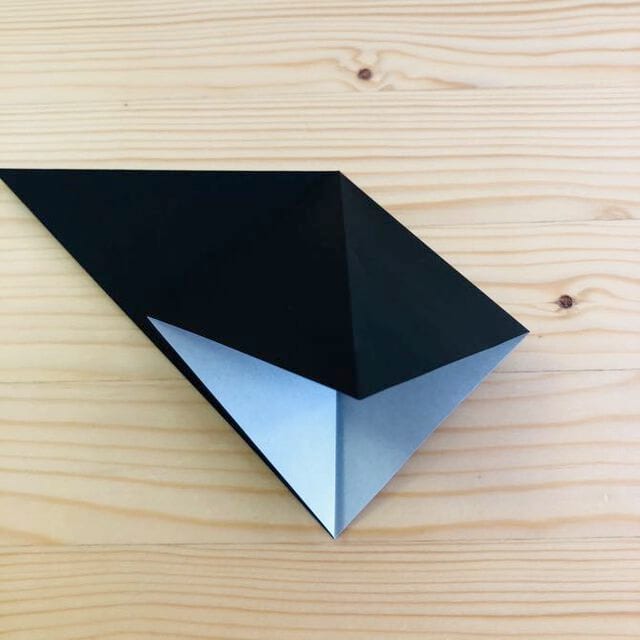
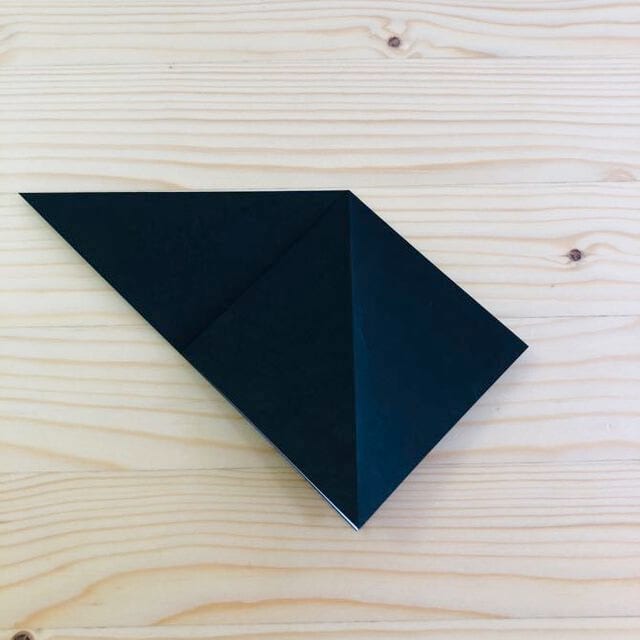
Step 4.
Repeat the same fold on the back side.
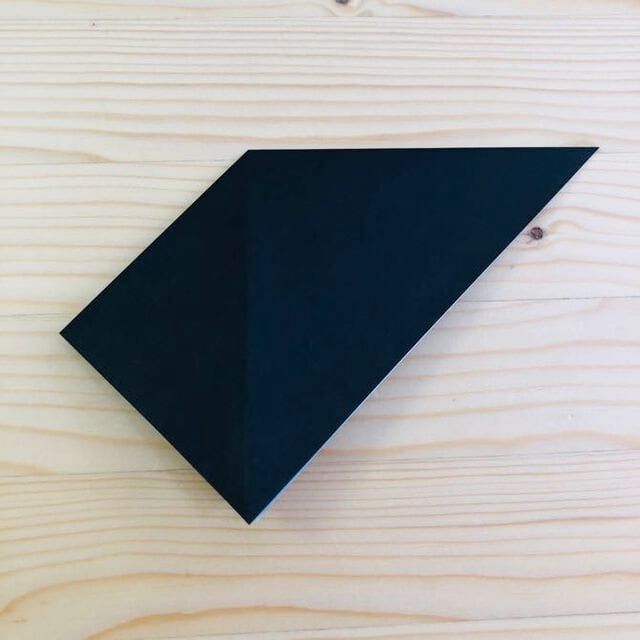
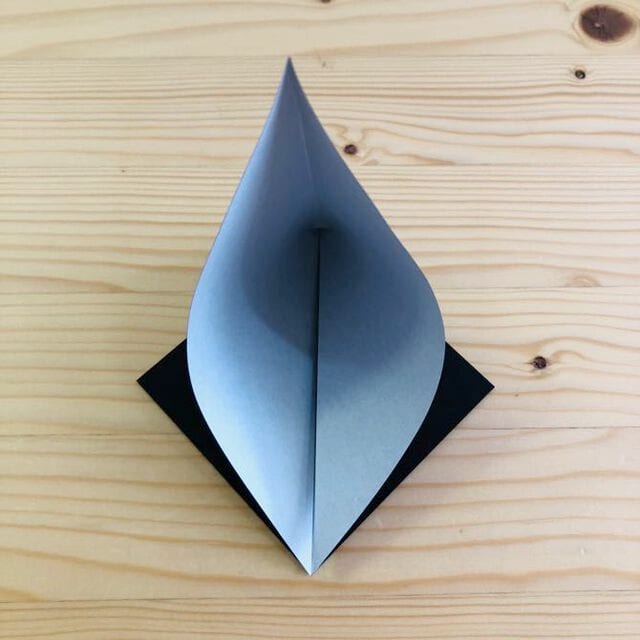
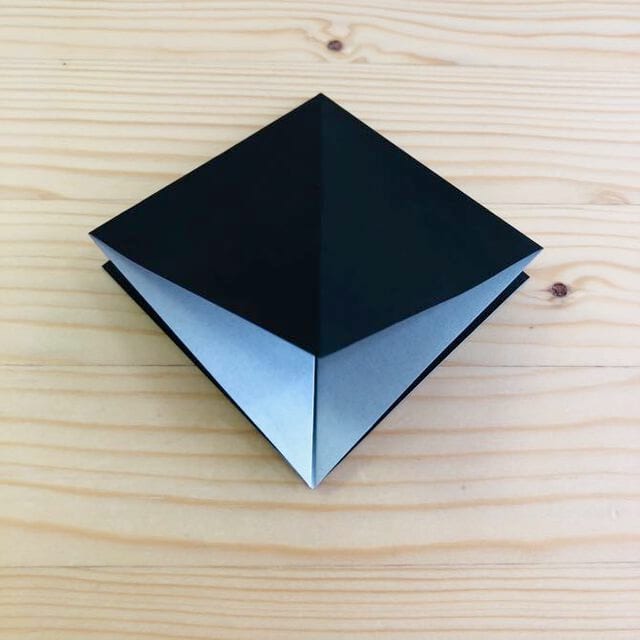
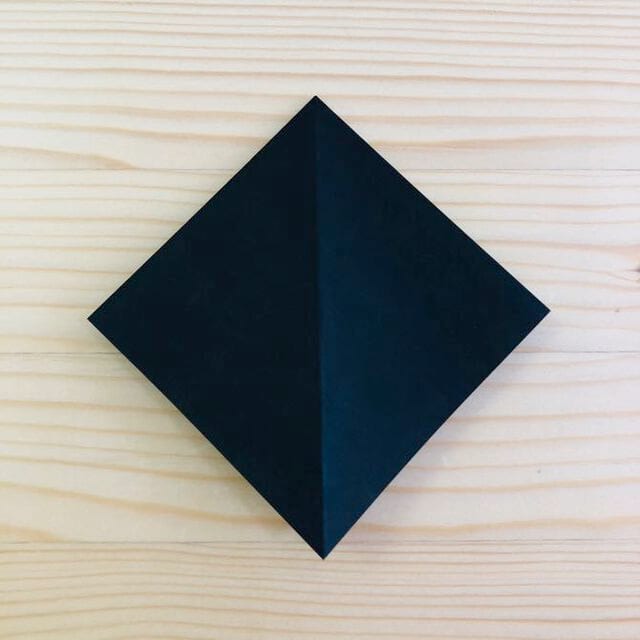
Step 5.
Make a crease at the position shown in the photo.
Step 6.
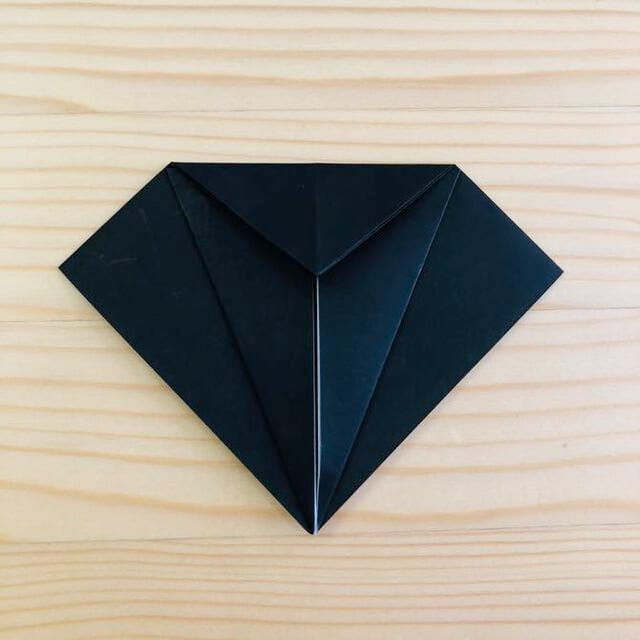
Open the flap and fold it down as shown in the photo.
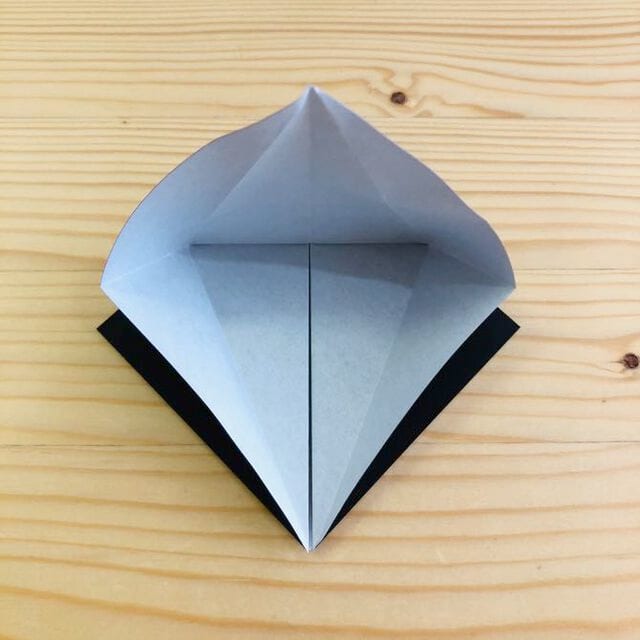
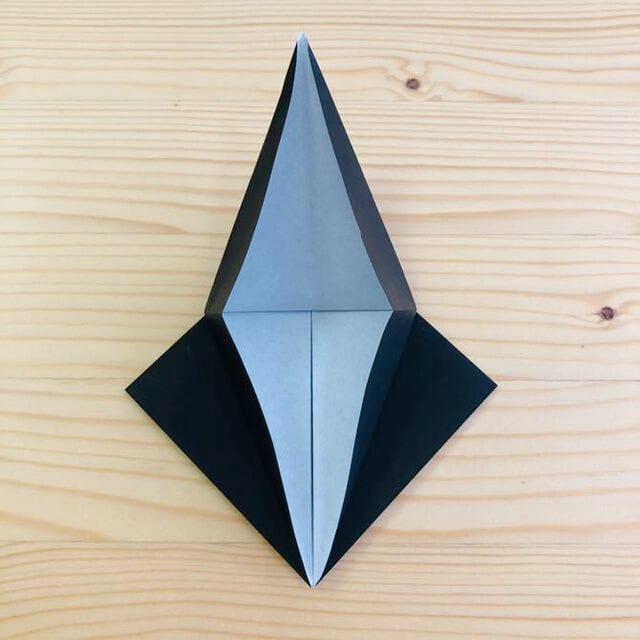
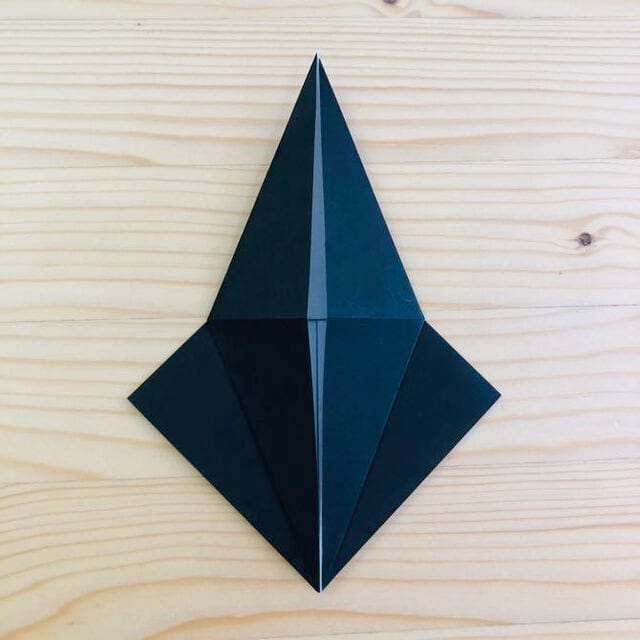
Step 7.
Repeat the same fold on the back side.
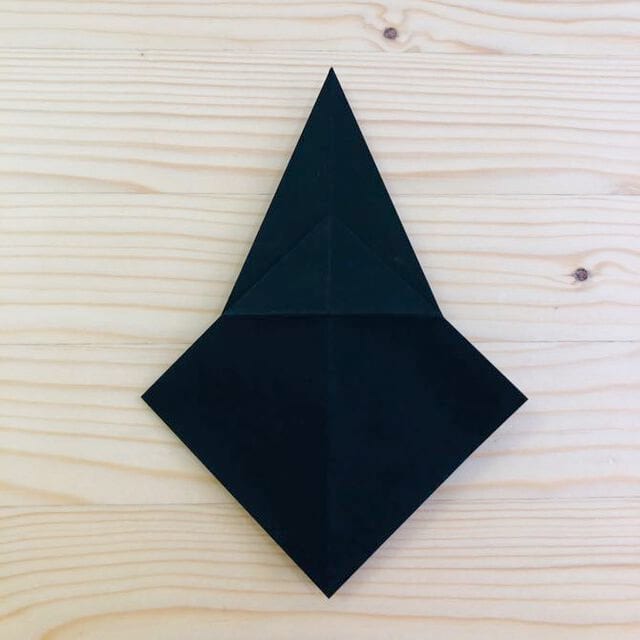
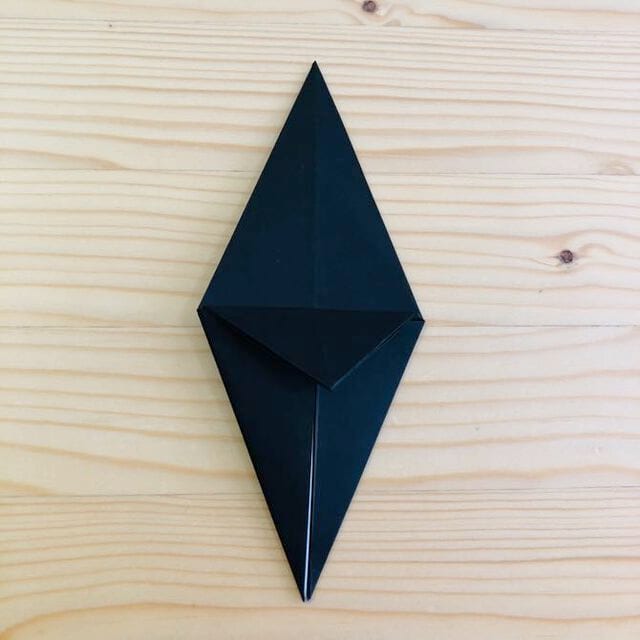
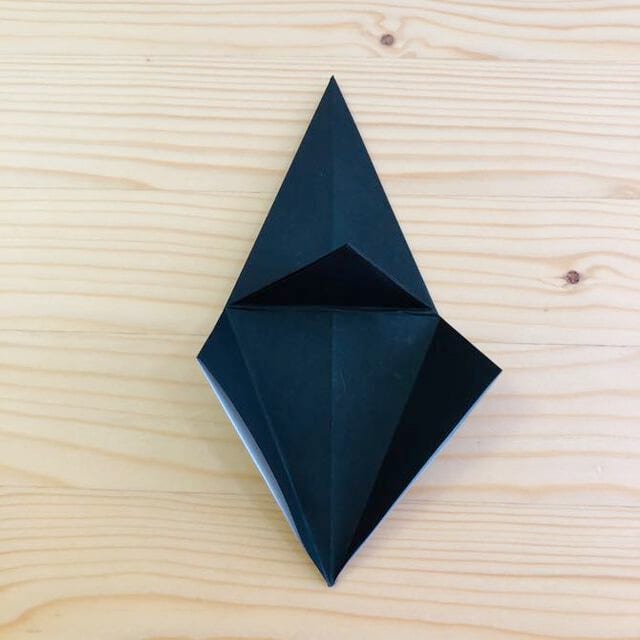
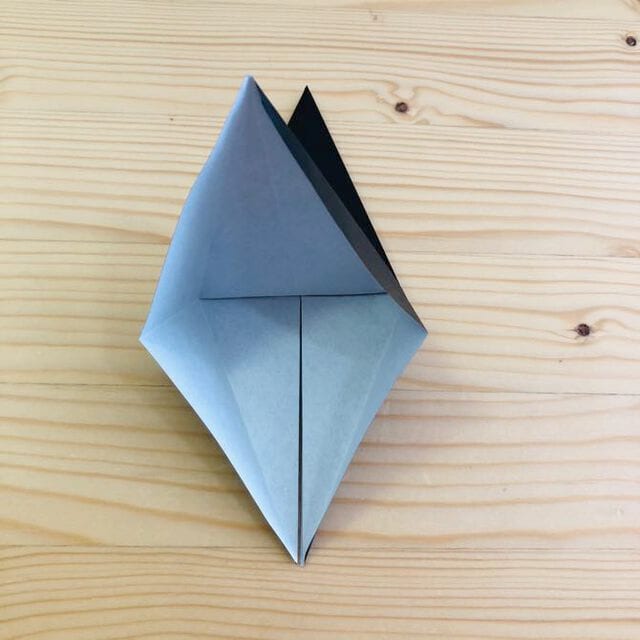
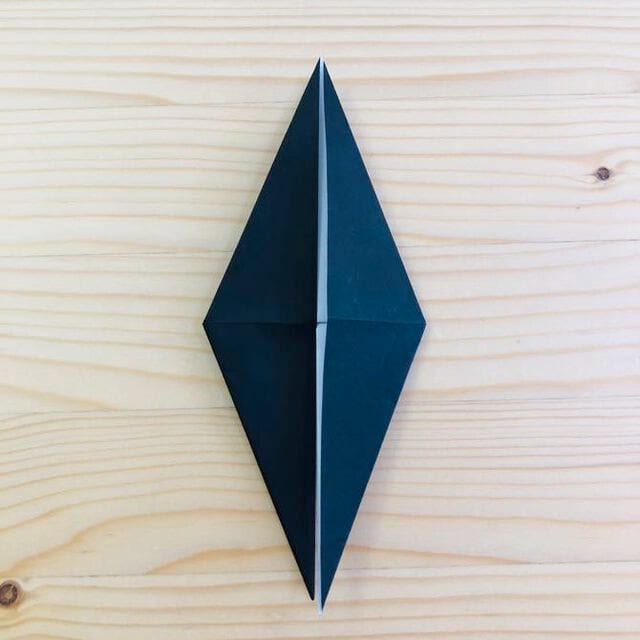
Step 8.
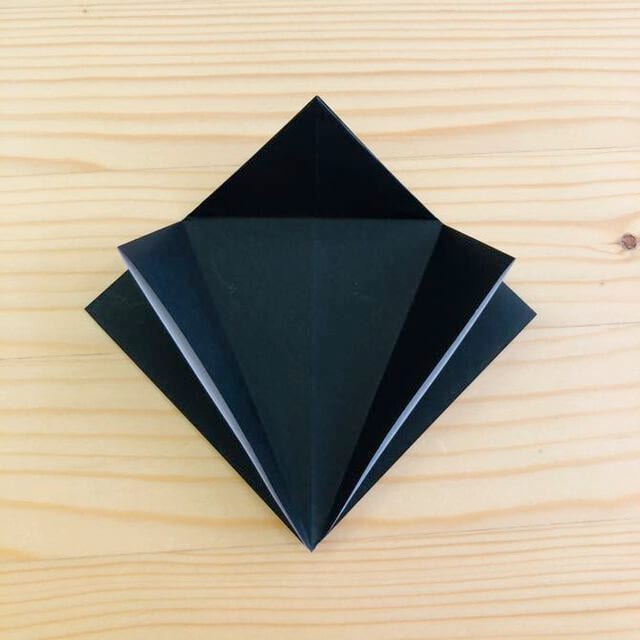
Open the flap and fold it down as shown in the photo.
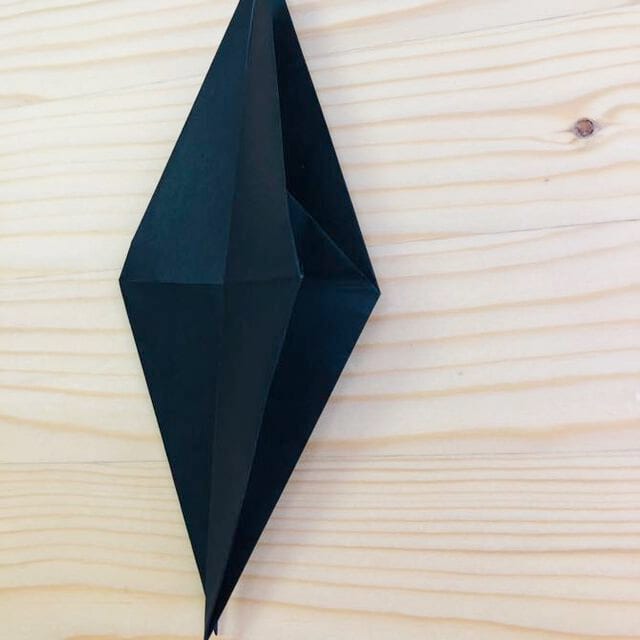
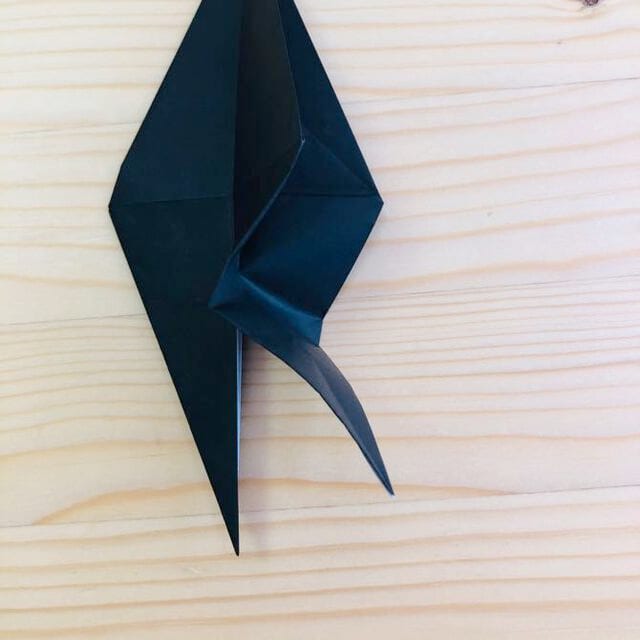
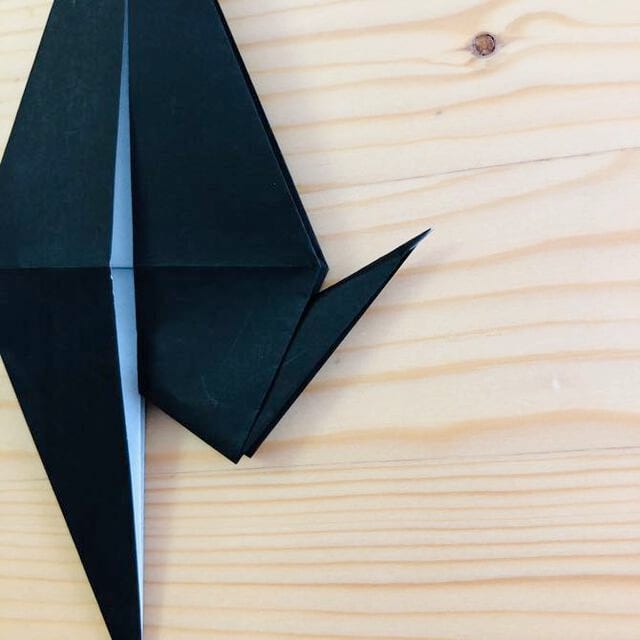
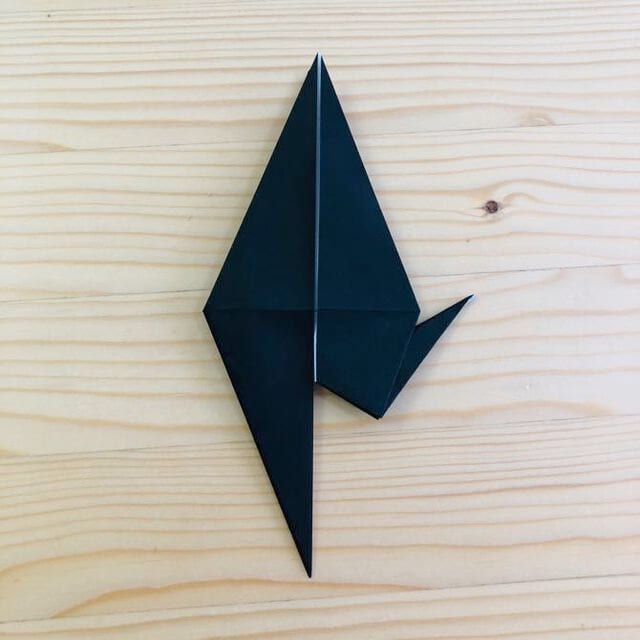
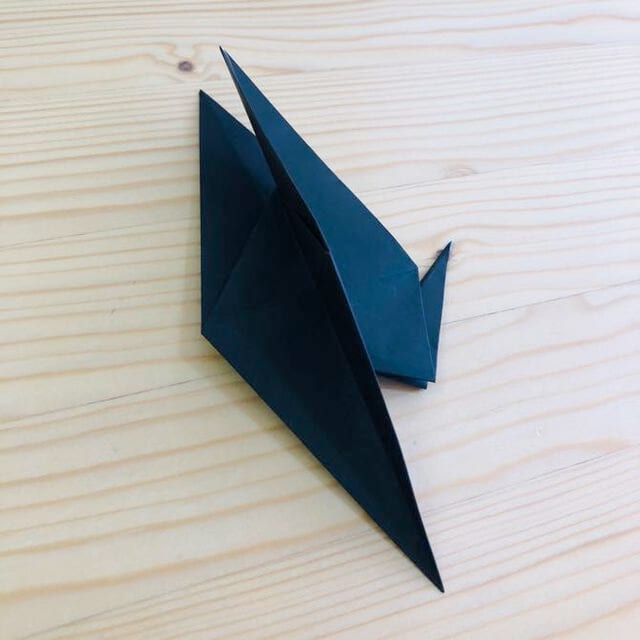
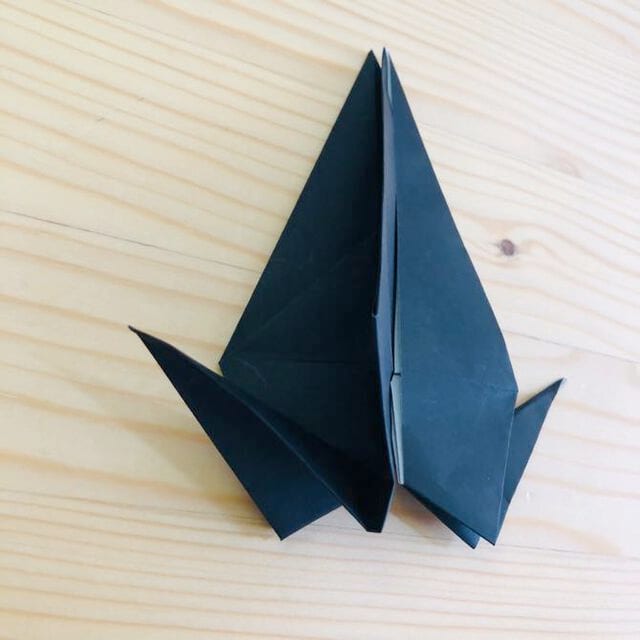
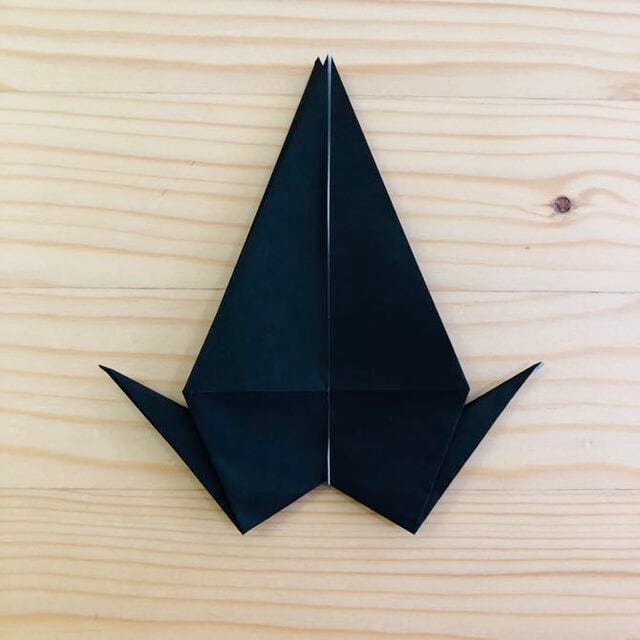
Step 9.
Fold the flap down at the position shown in the photo.
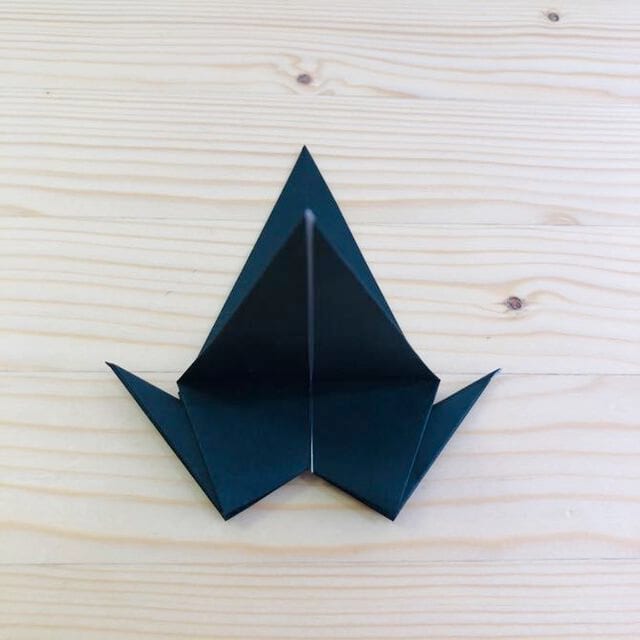
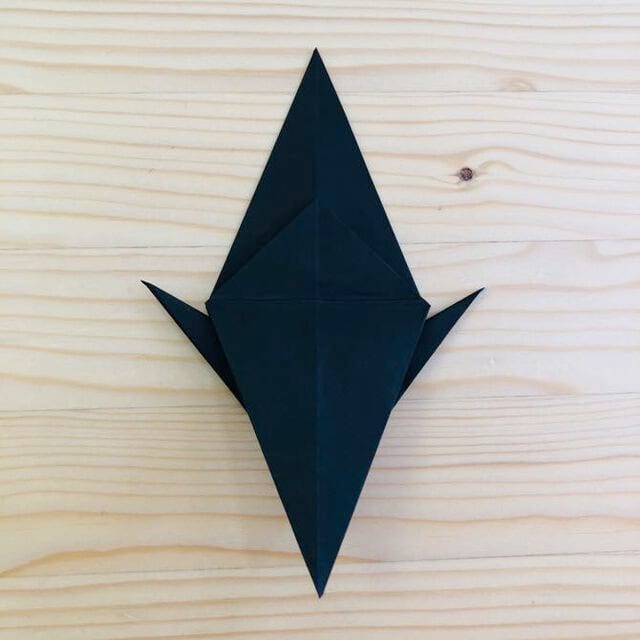
Step 10.
Fold the paper in half.
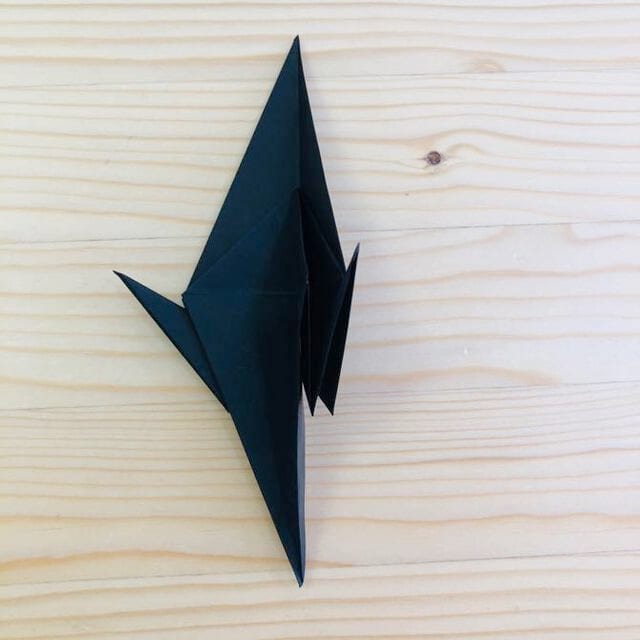
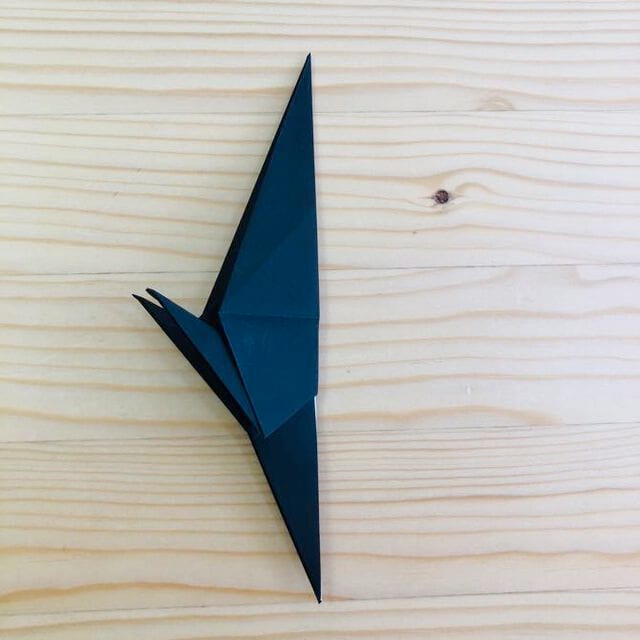
Step 11.
Open the flap and fold it down as shown in the photo.
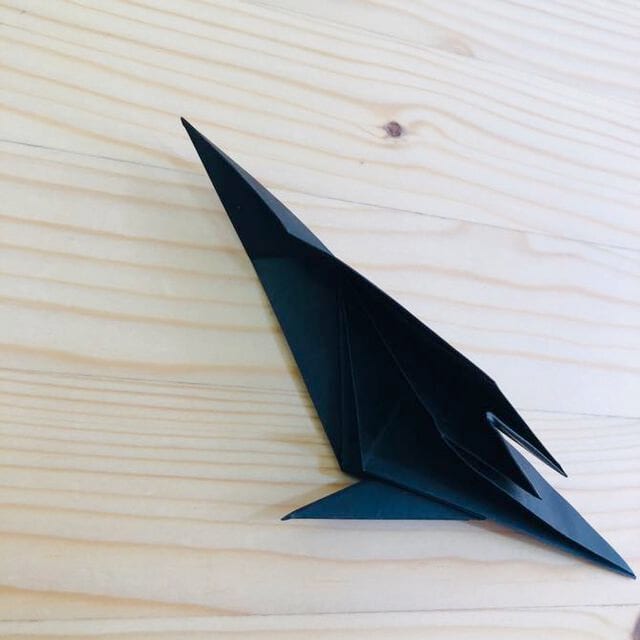
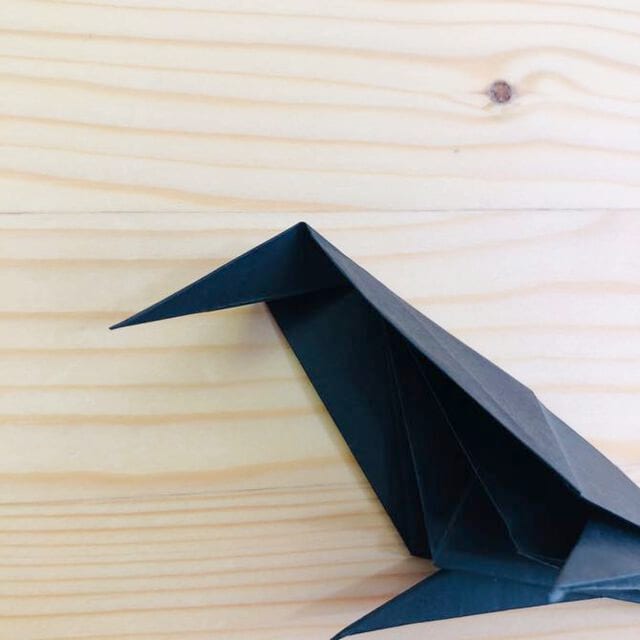
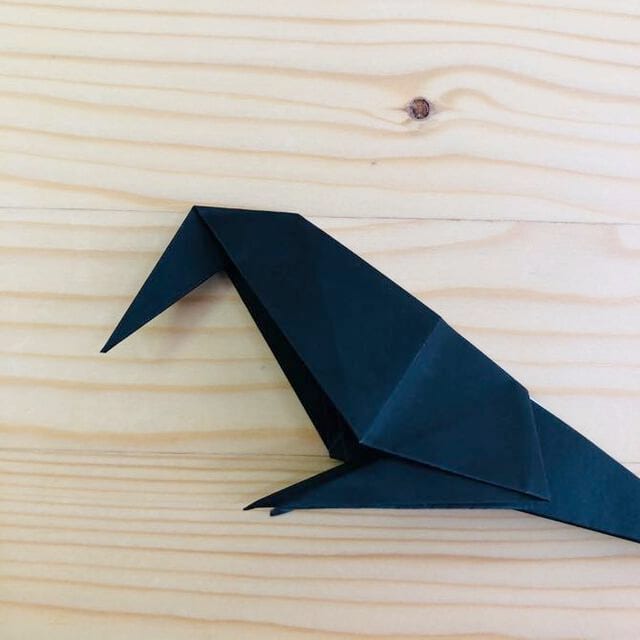
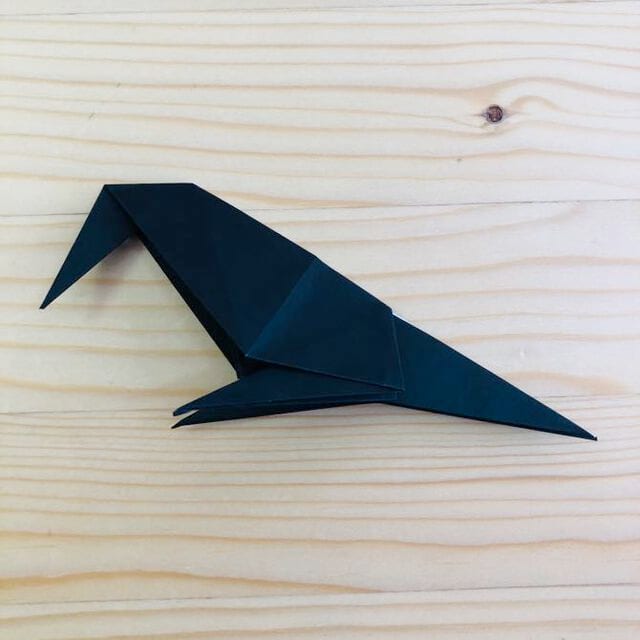
Completion.
Your crow is complete. Open the body slightly and adjust the wings so it stands on its own.




