
3D Origami Car
Boxy origami models have a secret: they are nearly all the same grid wearing different clothes. Once you can fold an 8x8 matrix base - eight divisions each way, sixty-four little squares of crease - you have the raw material for boxes, vases, and, as it turns out, a rather convincing little car.
This one is aimed at intermediate folders, and not because any single step is fiendish. It is the length: thirty-seven steps, most of them small, and quite a few of them asking you to rotate the model ninety degrees and do the same thing again on the next face. Go slowly through the first eleven steps, where the grid collapses into a shell and the "doors" close, and the rest of the model falls into place. A dab of glue along the outer edges is worth it if you want the body to keep its shape.
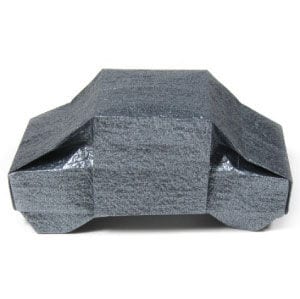
This page is for those who want instructions for folding a 3D origami car.
This 3D origami car is derived from the 8x8 matrix origami base. It takes 37 steps to complete this model. This origami car is recommended for an intermediate level origamist.
If you are ready, then let's get started.
You may use any kind of paper to fold this origami car. Make sure the paper you use is a square (all sides are equal and all the angles equal 90 degrees). The paper I am using here is a 20cm x 20cm square.
This is the front side of the paper.
This is the back side of the paper.
STEP 1.
Let's start with “8x8 matrix base”. Make sure that the back side of the paper is facing up. Prepare to turn the paper over.
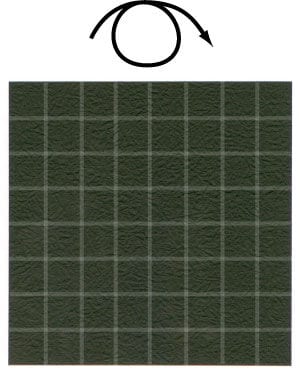
STEP 2.
Turn the paper over. Make sure that there are 8x8 matrix cells on the front side of the paper.
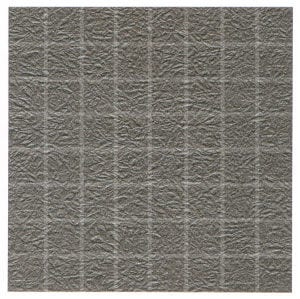
STEP 3.
Prepare to apply four valley-folds, using the existing crease lines as guidelines.
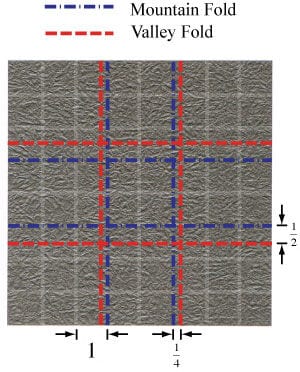
STEP 4.
Apply four valley-folds of the step #3. Prepare to apply the crease pattern (CP) shown on the left.
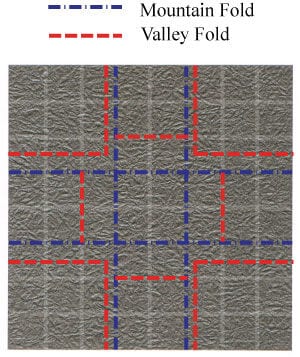
STEP 5.
Apply the CP of the step #4.
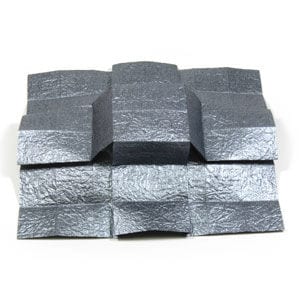
STEP 6.
This is the top view. Prepare to apply two valley-folds.
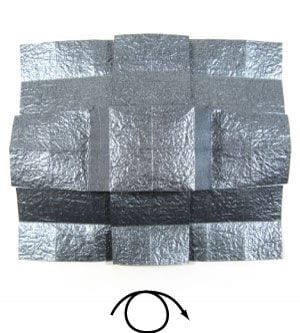
STEP 7.
Apply two valley-folds of the step #6. Prepare to turn the paper over.
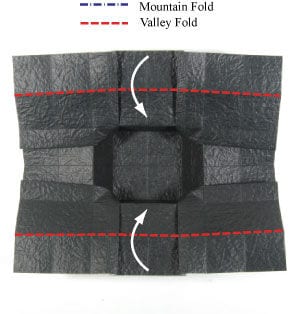
STEP 8.
Turn the paper over. Prepare to apply two valley-folds near the outer edges. Here you need to make two crease lines by applying two valley-folds. Make delta as small as 1/4 of a grid line.
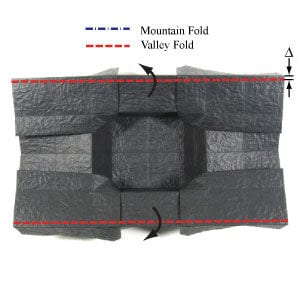
STEP 9.
Apply two valley-folds of the step #8. Prepare to close two doors.
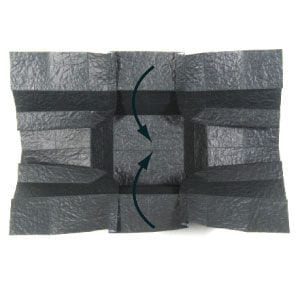
STEP 10.
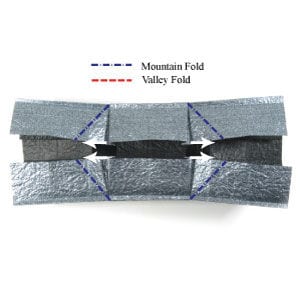
Close two doors according to the step #9. Prepare to apply four mountain-folds and then pull the paper following the arrow directions.
STEP 11.
Apply four mountain-folds of the step #10 and then pull the paper following the arrow directions. Prepare to rotate the model by 90 degrees.
STEP 12.
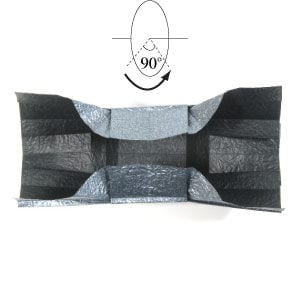
Rotate the model by 90 degrees. This is the side view of the model. Make sure your model has the same shape. Prepare to rotate the model by 90 degrees.
STEP 13.
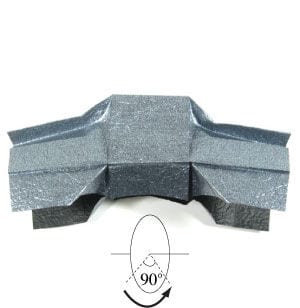
Rotate the model by 90 degrees. This is the top view of the model. Make sure your model has the same shape. Prepare to rotate the model by 90 degrees in the clockwise direction.
STEP 14.
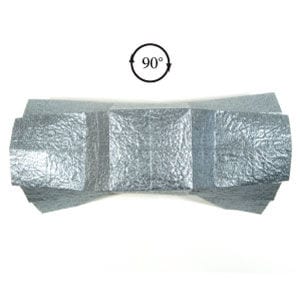
Rotate the model by 90 degrees in the clockwise direction. Prepare to rotate the model by 90 degrees vertically.
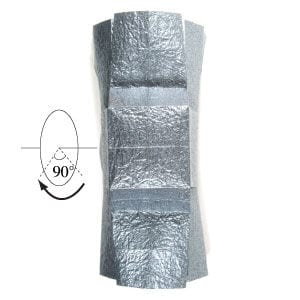
STEP 15.
Rotate the model by 90 degrees vertically. This is the front view of the origami car. Prepare to work on the right side encircled with a dotted ellipse.
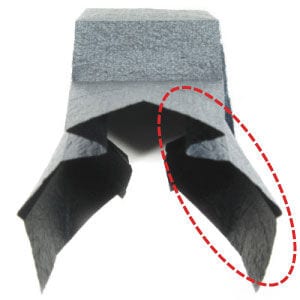
STEP 16.
Let's work on the front right-side of origami car. Prepare to apply a mountain-fold.
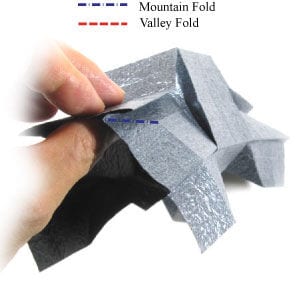
STEP 17.
Apply the mountain-fold of the step #16. Prepare to work on the front left-side of the origami car.
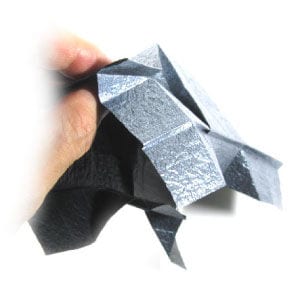
STEP 18.
Let's work on the front left-side of the origami car. Prepare to apply a mountain-fold.
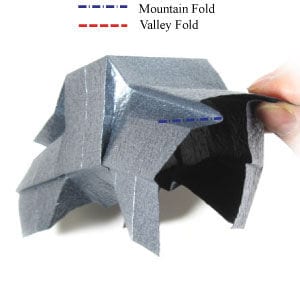
STEP 19.
Apply the mountain-fold of the step #18.
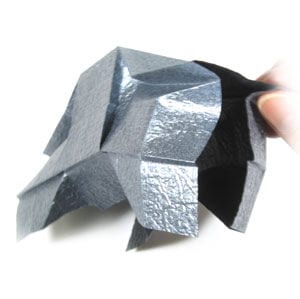
STEP 20.
Make sure your model has the same shape. Prepare to work on the right side again.
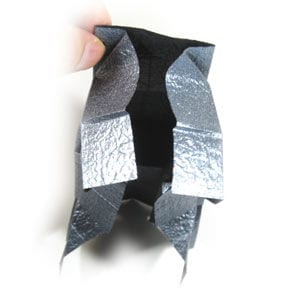
STEP 21.
Let's work on the right side again. Prepare to apply a mountain-fold.
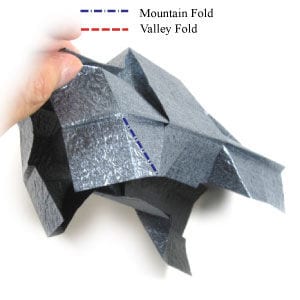
STEP 22.
Apply the mountain-fold of the step #21. Prepare to work on the left side too.
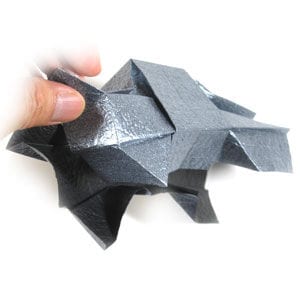
STEP 23.
Let's work on the left side. Prepare to apply a mountain-fold.
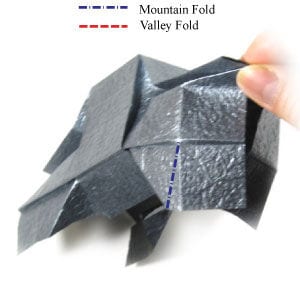
STEP 24.
Apply the mountain-fold of the step #23. Prepare to rotate the origami car model by 180 degrees.
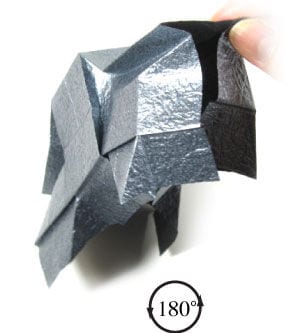
STEP 25.
Rotate the origami car model by 180 degrees. Prepare to apply a valley-fold.
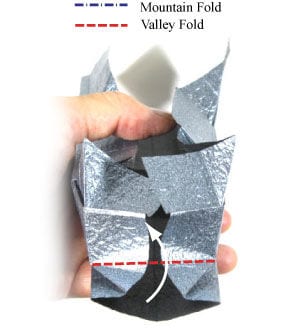
STEP 26.
Start applying the valley-fold of the step #25.
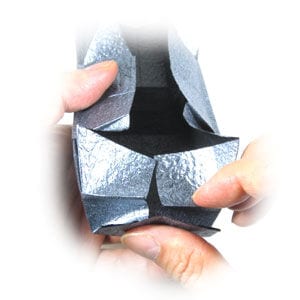
STEP 27.
Complete applying the valley-fold of the step #25. Putting some glue on the outer edge might be a good idea.
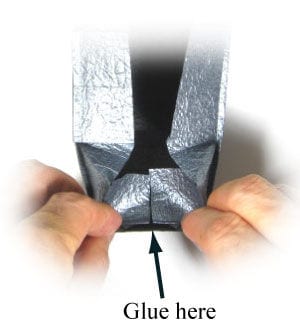
STEP 28.
Prepare to apply a valley-fold.
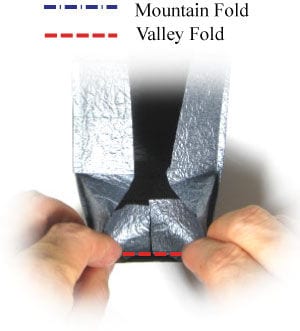
STEP 29.
Apply the valley-fold of the step #28. Now, the work on the front part of origami car is completed. Prepare to rotate the origami car model by 90 degrees.
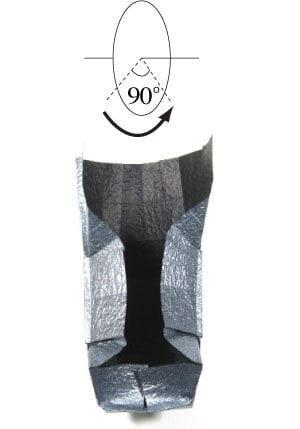
STEP 30.
Rotate the origami car model by 90 degrees. This is the same view as in step #15. Prepare to repeat the steps #16-29.
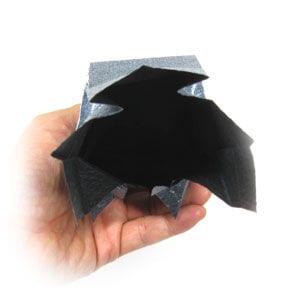
STEP 31.
Repeat the steps #16-29. Prepare to rotate the origami car model by 90 degrees.
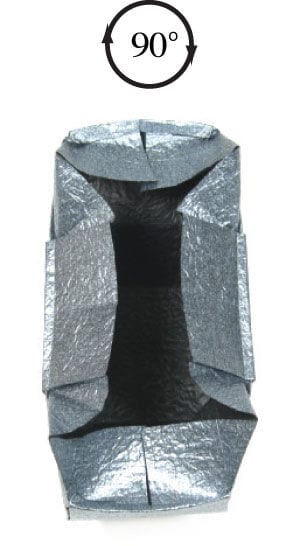
STEP 32.
Rotate the origami car model by 90 degrees. Prepare to rotate the origami car model by another 90 degrees.
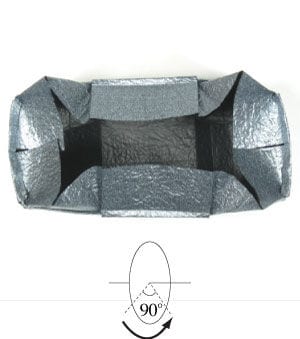
STEP 33.
Rotate the origami car model by 90 degrees according to the step #32. This is the side view of the origami car model. Prepare to apply two mountain-folds.
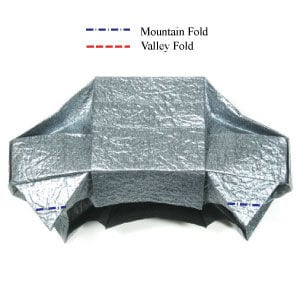
STEP 34.
Apply two mountain-folds of the step #33. Prepare to turn the origami car model over.
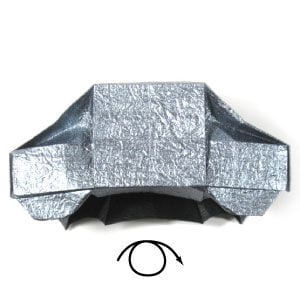
STEP 35.
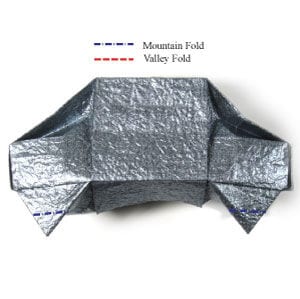
Turn the origami car model over. Prepare to apply two mountain-folds.
STEP 36.
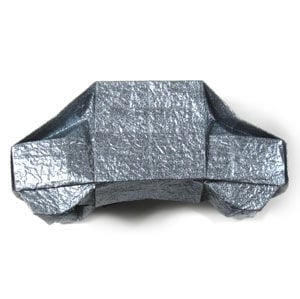
Apply two mountain-folds of the step #35. Prepare to lay the origami car on the ground.
STEP 37.
Set the origami car model down on the ground. Congratulations! You have completed making an origami car.





