
Windmill (Pinwheel)
Few paper toys are as timeless as the windmill. Also called a pinwheel, this four-bladed spinner has been turning in the wind for centuries, and it is one of the first folds many of us remember from childhood. What looks like a simple toy is actually a neat lesson in crease patterns: you build a dense grid of valley and mountain folds, then collapse them all at once with a satisfying squash. Hang it from a stick on a breezy day and it really spins. Grab a single square of origami paper and about twenty patient minutes—no scissors, no glue, just folds.
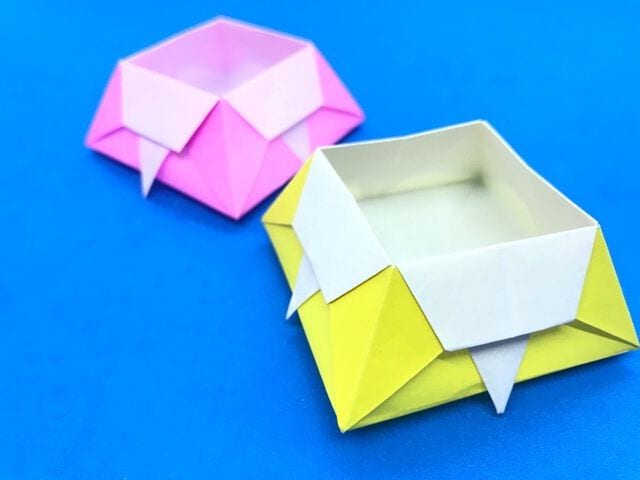
Things to prepare
1 sheet of standard origami paper (15 cm × 15 cm).
How to fold a windmill (pinwheel)
STEP 1.
Place the paper white side up and valley-fold it in half horizontally to make a crease.
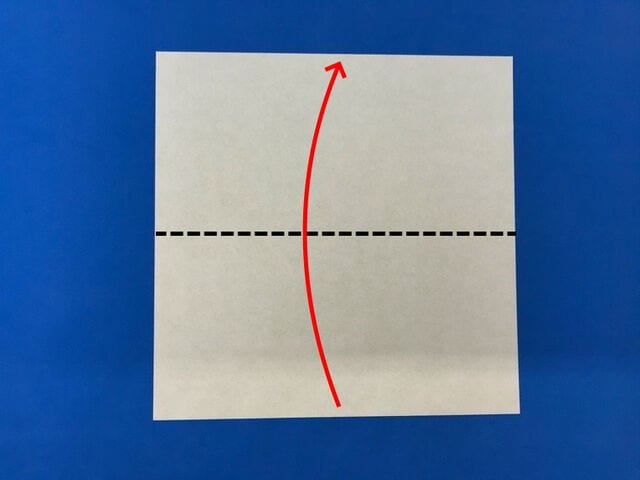
STEP 2.
Unfold it again.
STEP 3.
Open it out, then valley-fold it in half vertically to make a crease.
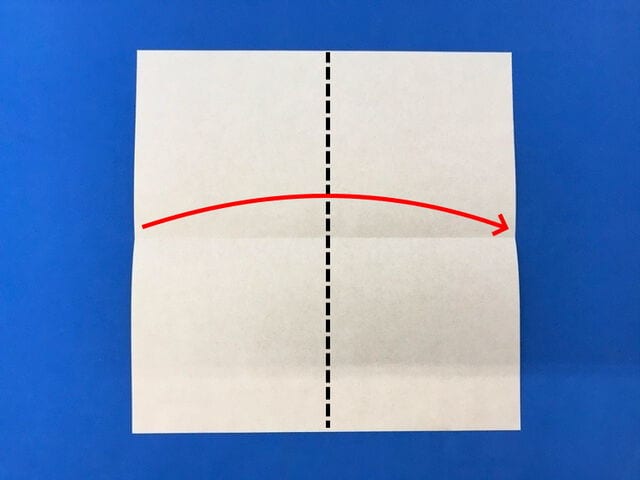
STEP 4.
Unfold it again.
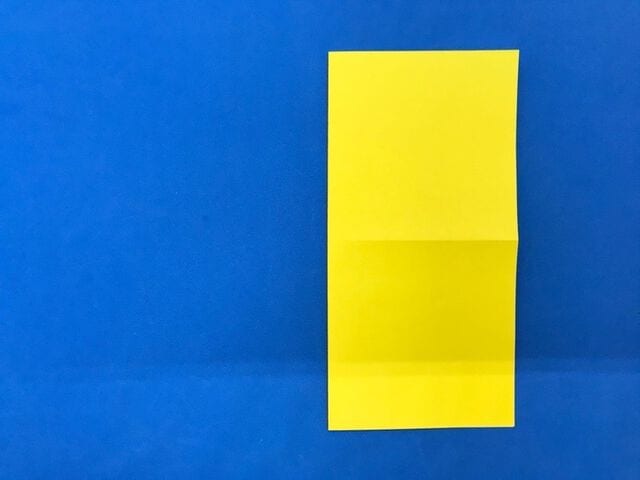
STEP 5.
Open it out, then valley-fold it diagonally to make a crease.
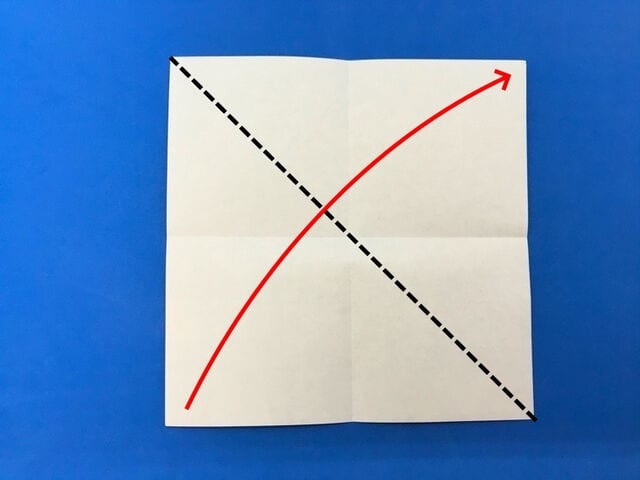
STEP 6.
Unfold it again.
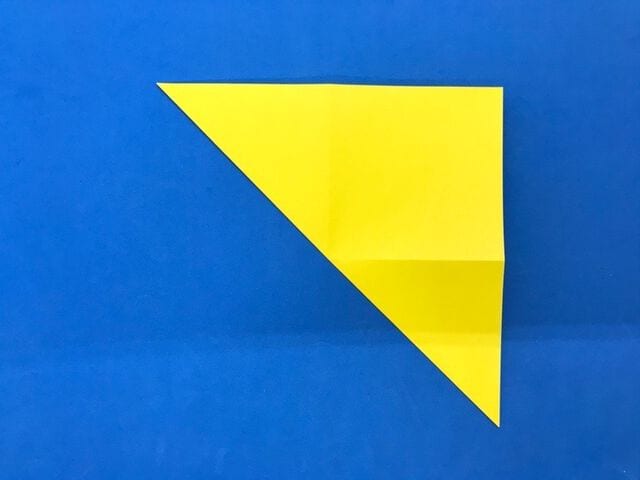
STEP 7.
Open it out, then valley-fold along the dotted line to make a crease.
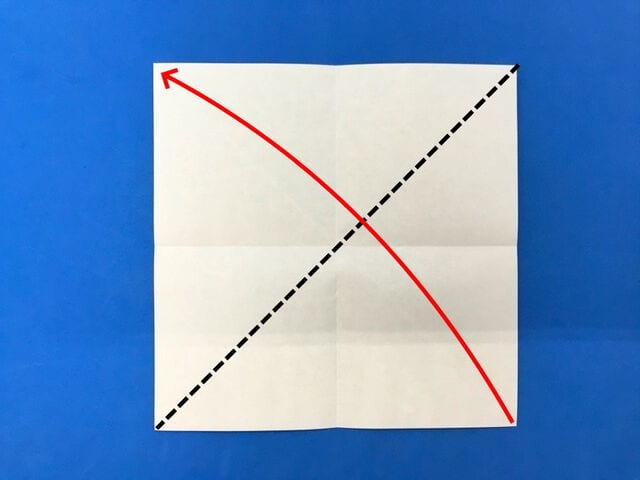
STEP 8.
Unfold it again.
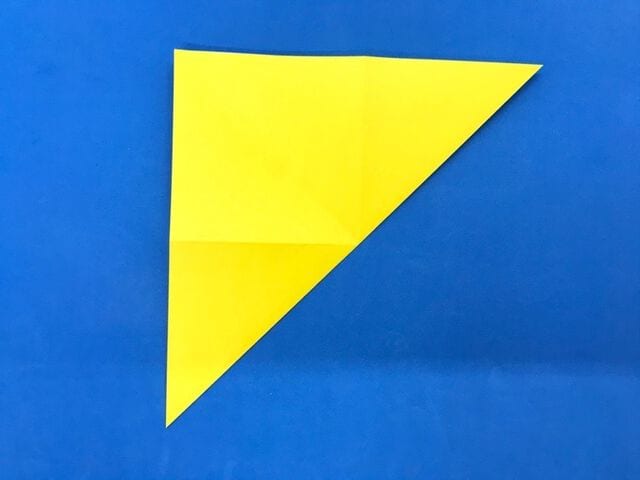
STEP 9.
Valley-fold along the dotted line so that the top and bottom edges meet the centre crease.
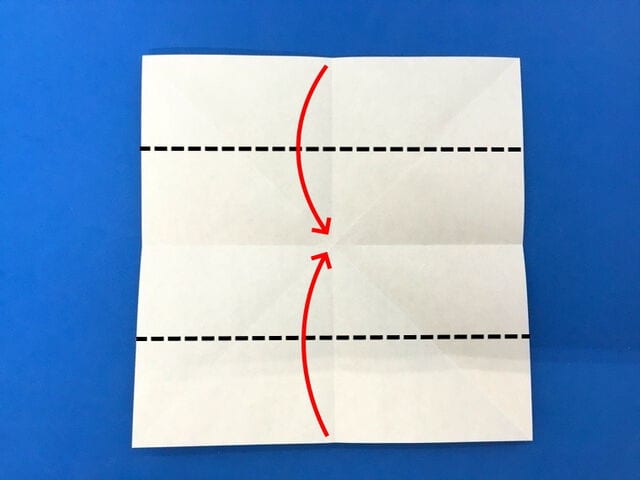
STEP 10.
Valley-fold along the dotted line so that the left and right edges meet the centre crease.
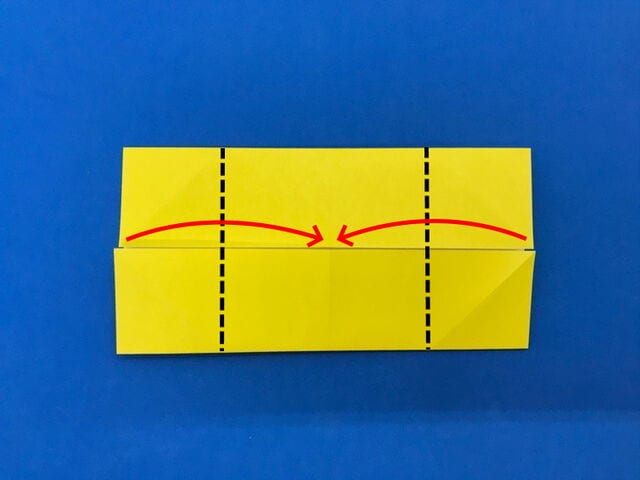
STEP 11.
Unfold it again.
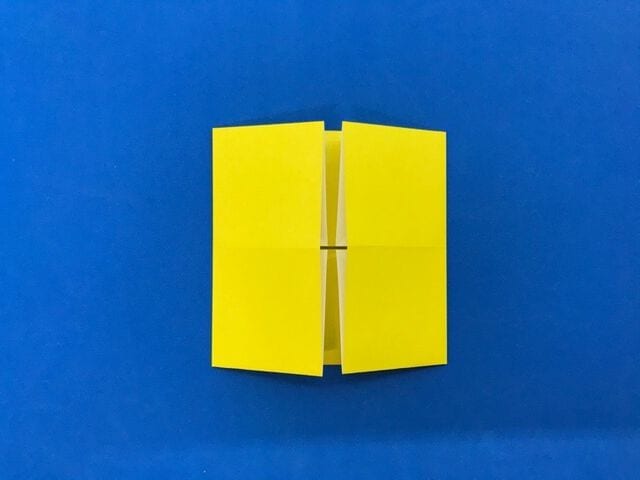
STEP 12.
Valley-fold along the dotted line so that the creases marked with a circle line up.
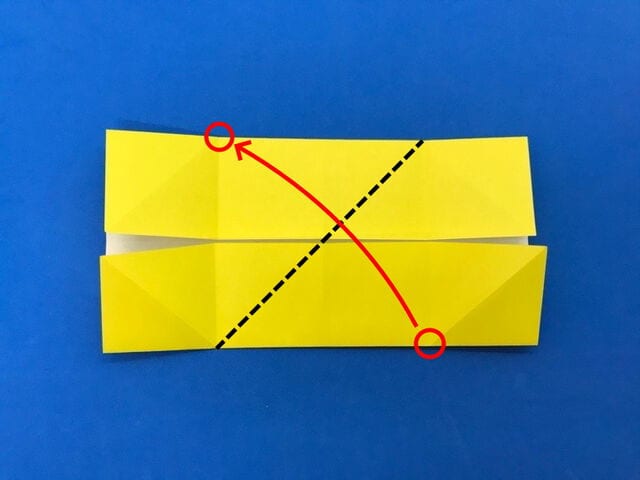
STEP 13.
Unfold it again.
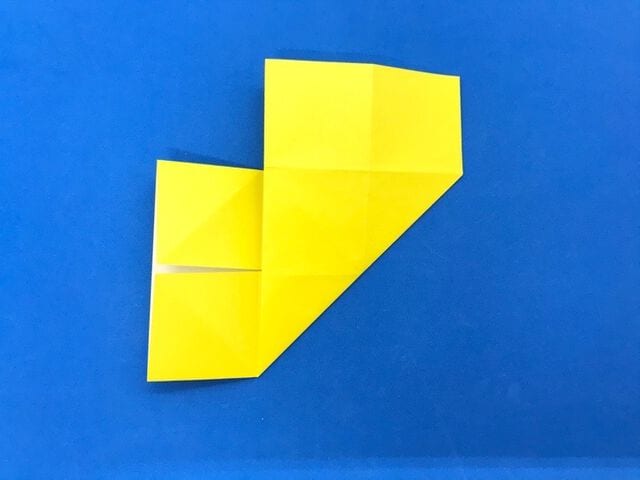
STEP 14.
Valley-fold along the dotted line so that the creases marked with a circle line up.
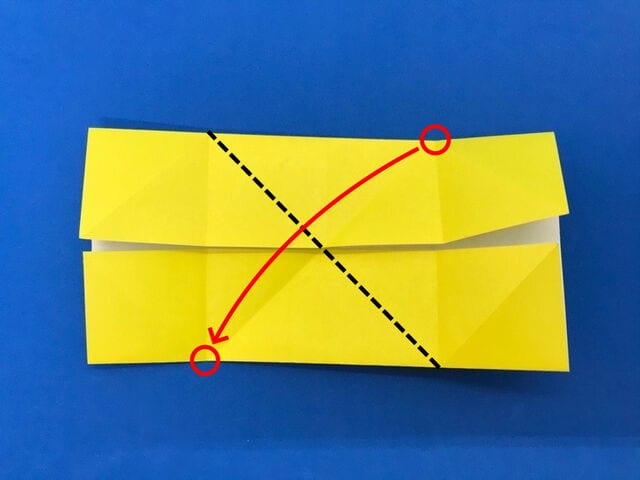
STEP 15.
Unfold it again.
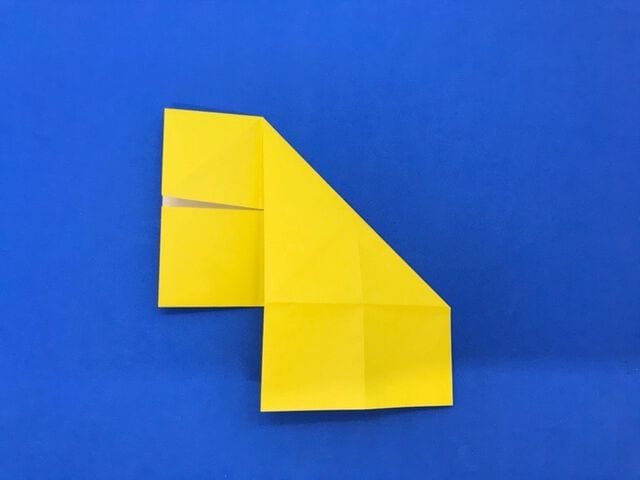
STEP 16.
Spread the marked corners outward, then open the pocket and squash-fold it, combining mountain and valley folds along the dotted crease lines.
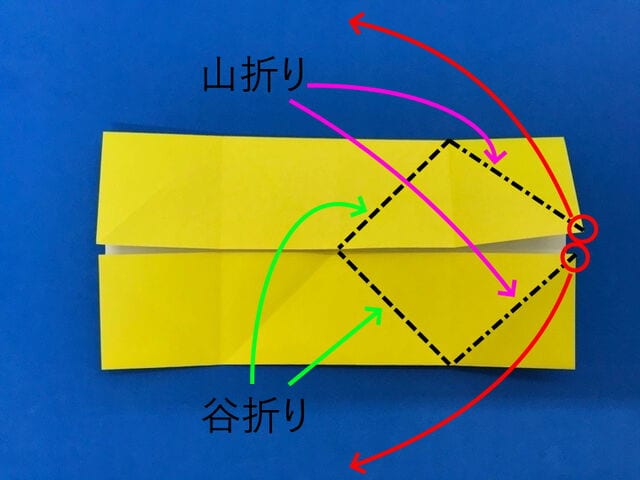
Open it out like this,
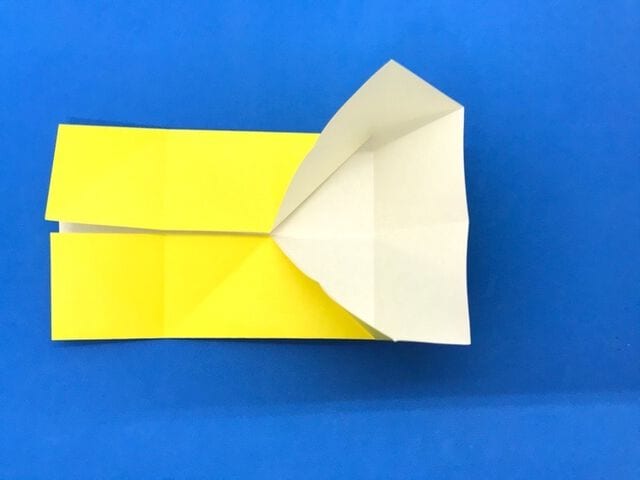
and continue folding as if flattening the pocket.
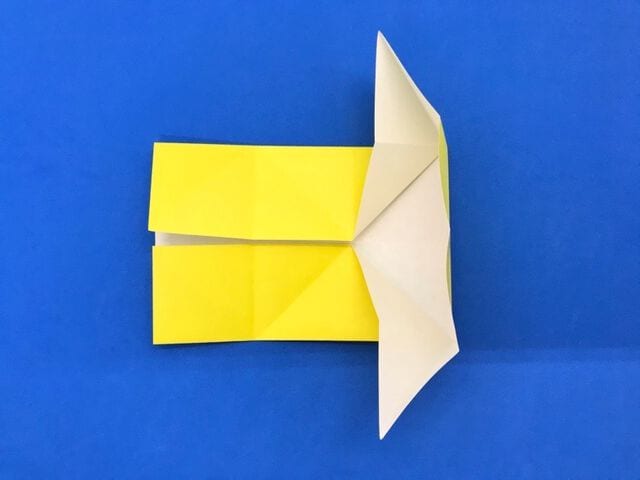
STEP 17.
Do the same on the left side: open the pocket and squash-fold it.
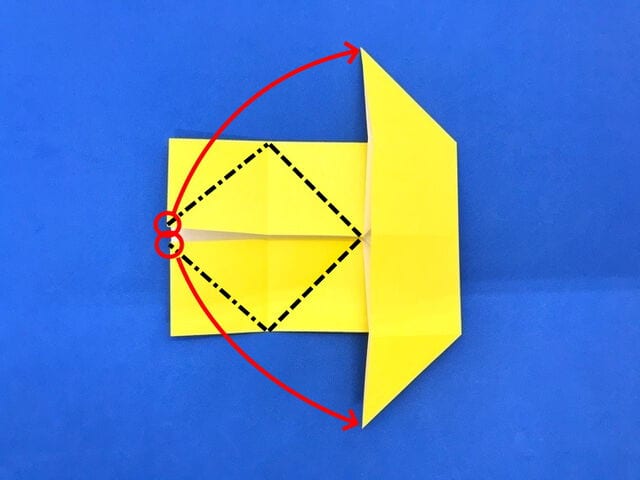
STEP 18.
Valley-fold along the dotted line.
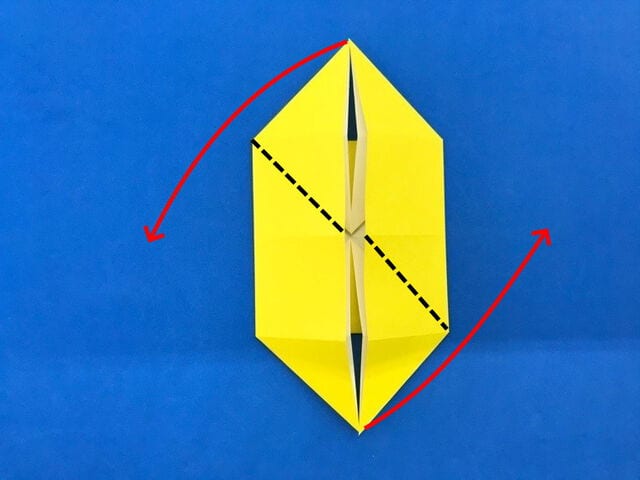
STEP 19.
This completes the windmill!





