
3D Origami Hydrangea (2 Methods)
Hydrangea is the flower that instantly brings the rainy season to mind — those soft, rounded clusters of blue and purple that seem to swell with the damp air. Recreating one in paper is deeply satisfying, because the secret is not in any single fold but in the repetition: you fold a whole pile of tiny four-petal blossoms, then gather them together with a couple of leaves until a flower head emerges.
This tutorial gives you two ways to make the blooms. The first is quick and simple, worked from very small squares; the second takes a few more steps but produces a puffier, more rounded flower that really looks three-dimensional. Neither is difficult — it's mostly the same handful of moves, over and over. Make yourself a stack of little squares, settle in, and let the cluster grow. Somewhere around the tenth blossom, it starts to look like a real hydrangea.
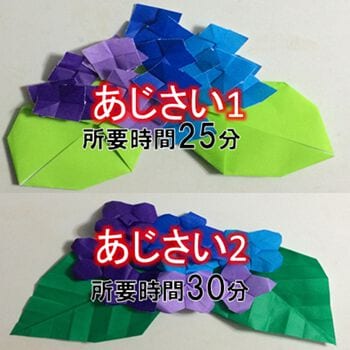
Hydrangea is the flower that instantly brings the rainy season to mind.
This time, I will show you how to make a three-dimensional hydrangea out of origami.
The diagrams are easy to follow, so even children can make one without trouble — give it a try.

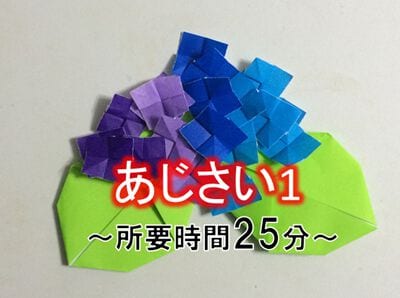
How to fold hydrangea — method 1
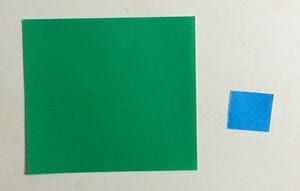
For the flower part, use square origami paper that is 1/16 the size of the leaf sheet (1/4 on each side).
Step 1
Make creases with vertical and horizontal valley folds.
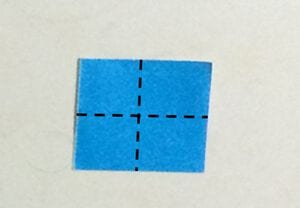
Step 2
Fold it diagonally and make a crease.
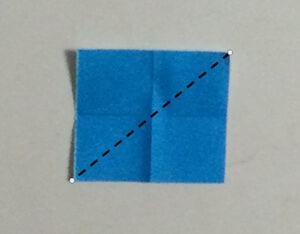
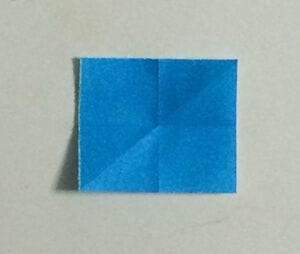
Step 3
Turn it over and use the creases to push it in as shown, forming a rhombus.
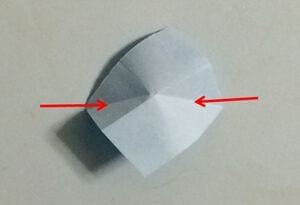
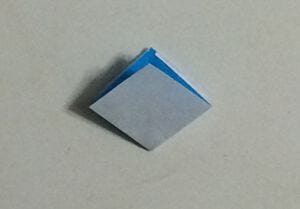
Step 4
Fold it as shown.
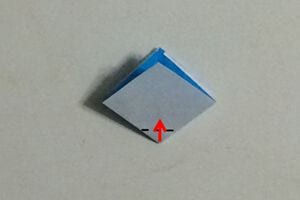
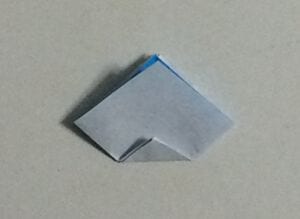
Step 5
Crease it and open it out to finish the flower.
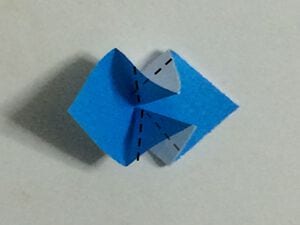
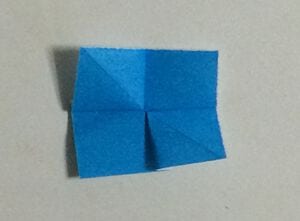
The back side looks like this.
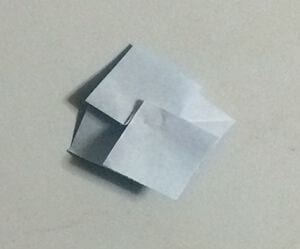
Make about 10 to 15 of these flowers.
Use two sheets of green origami paper for the leaves.
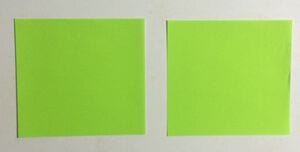
Step 1
Make a crease.
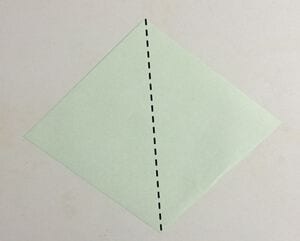
Step 2
Fold it toward the center.
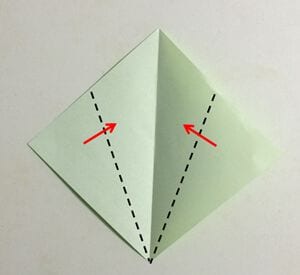
Step 3
Fold the upper side toward the center in the same way.
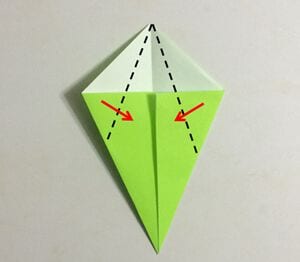
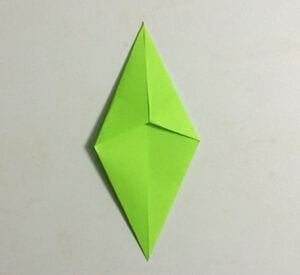
Step 4
Turn it over and fold it as shown.
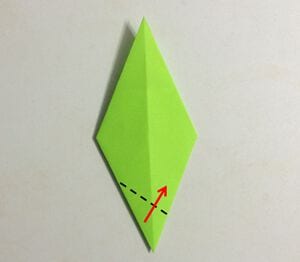
Step 5
Fold it back again to finish the leaf.
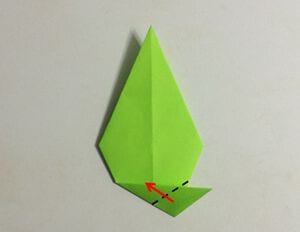
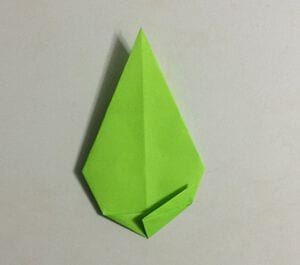
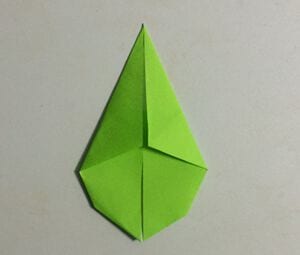
Make one more in the same way.
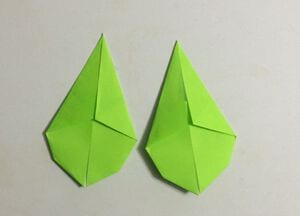
Finally, arrange the leaves and top them with the flowers to finish.
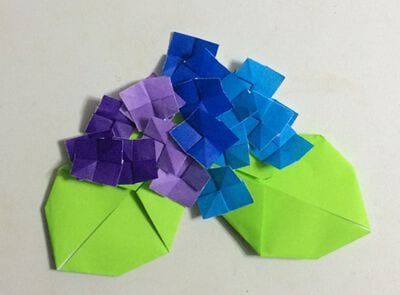
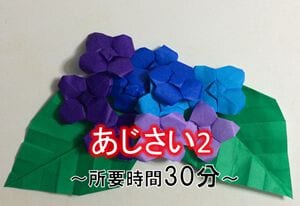
How to fold hydrangea — method 2
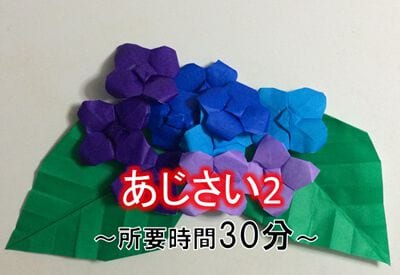
The origami used for the flower part is 1/4 the size of the leaf sheet (1/2 on each side).
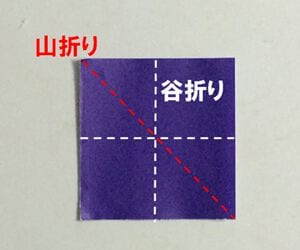
Step 1
As shown, make a mountain fold diagonally and valley folds vertically and horizontally.
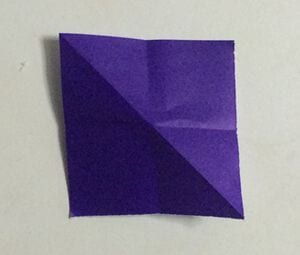
Step 2
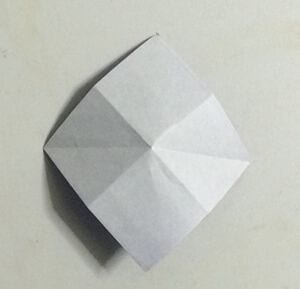
Turn it over and fold it into a diamond shape using the creases.
Step 3
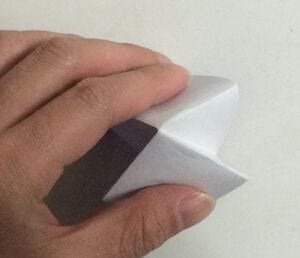
Make a crease as shown below.
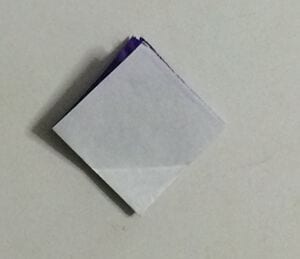
Step 4
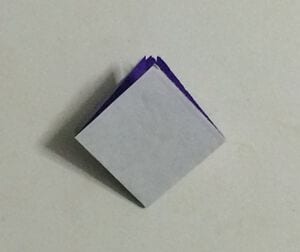
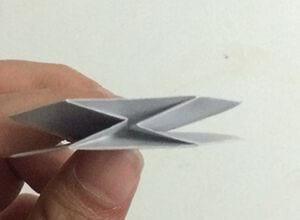
Open it out, then fold it again while pushing the center part inward.
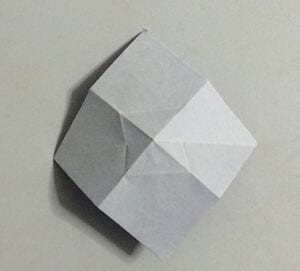
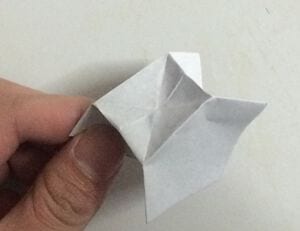
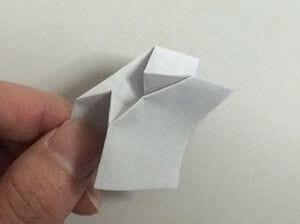
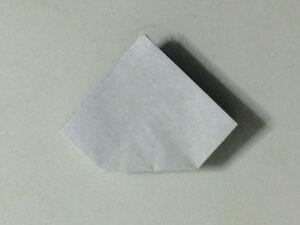
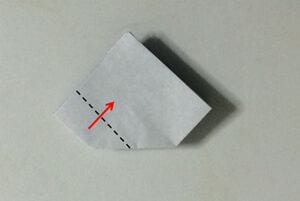
Step 5
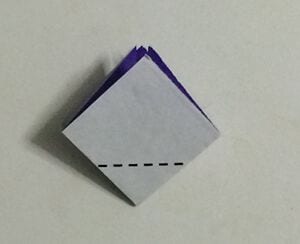
Fold it along the dotted line.
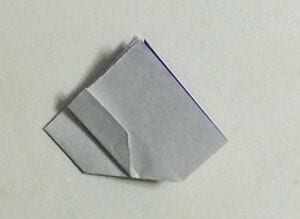
Step 6
Turn over one layer and fold the left side over to the right in the same way.
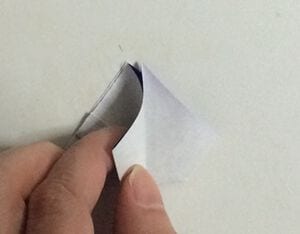
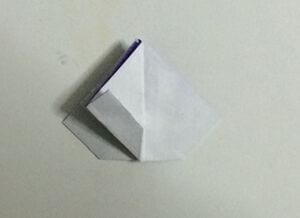
Step 7
Repeat this, and once you have folded back 4 places it will look like this.
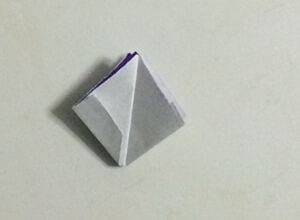
Step 8
Unfold it and pull it gently so the center puffs out.
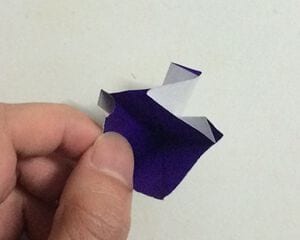
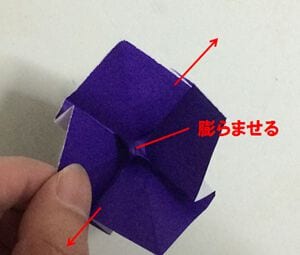
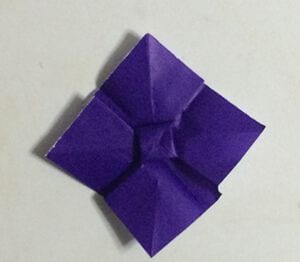
Step 9
Turn it over and fold it in 4 places as shown.
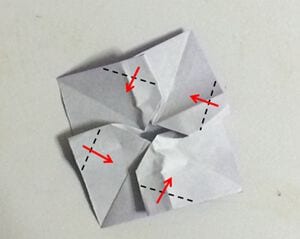
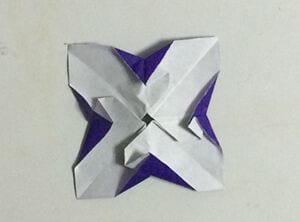
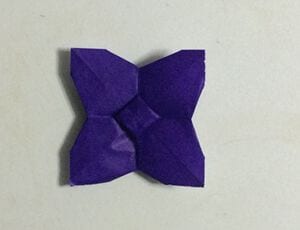
Step 10
Round off the square to finish the flower.
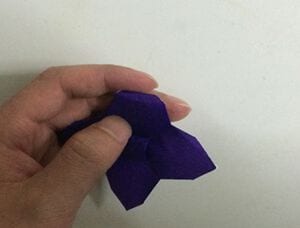
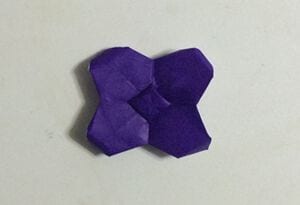
Make about 8 to 15 of these.
Now for the leaves.
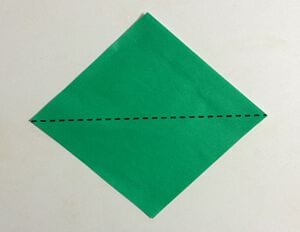
Step 1
Fold it in half.
Step 2
Fold it so that the vertices of the triangle line up as shown.
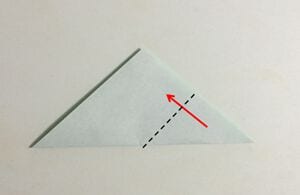
Step 3
Repeat this two more times.
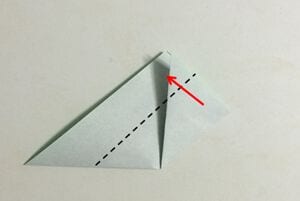
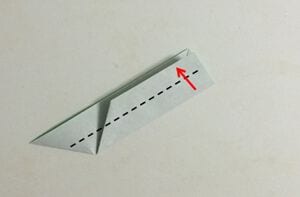
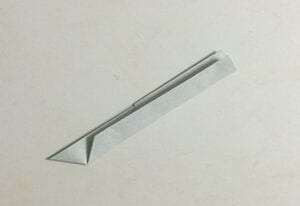
Step 4
Open it out.
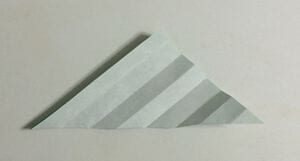
Step 5
Working from one end, alternate mountain and valley folds along the creases to form step folds.
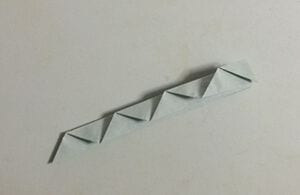
Step 6
Open it out again and fold along the dotted line.
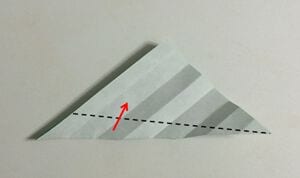
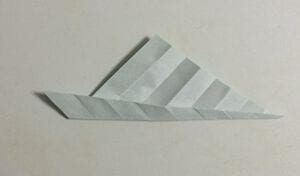
Step 7
Open it and fold the dotted line section over to the back.
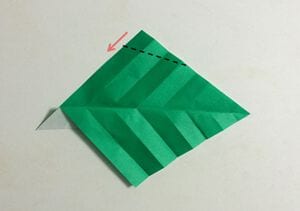
Step 8
Fold it once more.
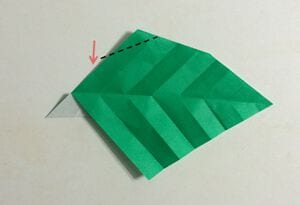
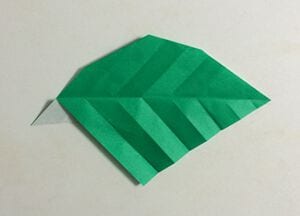
Step 9
Fold the bottom side in the same way.
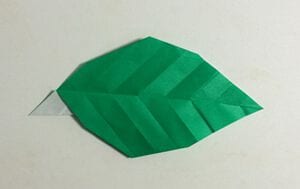
Step 10
Make one more and the leaf is done.
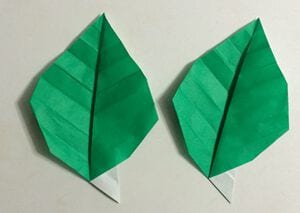
Arrange the leaves and lay the finished flowers on top, and you are done.





