
Brachiosaurus
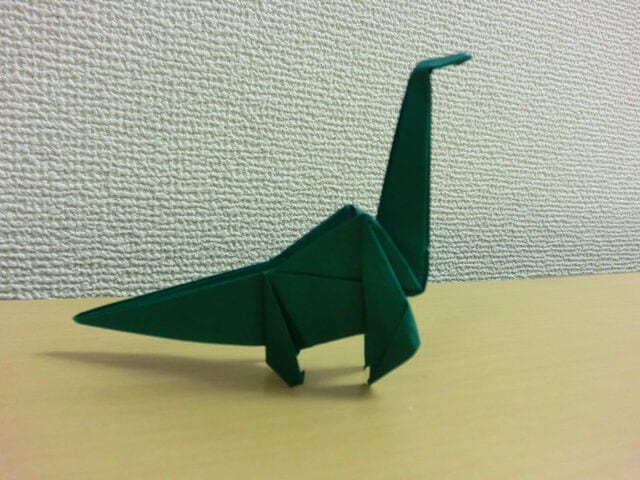
The Brachiosaurus is the gentle giant with the giraffe-like neck — the dinosaur that could graze on treetops while the others nibbled grass. Folding one in paper turns out to be just as ambitious as the animal is big.
Honestly, this is a tough one. The author rates it harder than the Seismosaurus, and the middle section gets genuinely fiddly as the neck, legs, and tail all take shape. But that's exactly why it's worth it: stick with the photos, take it step by step, and you'll end up with a sauropod that actually stands on its own four legs. Let's fold it.
It is said that many long-necked dinosaurs, like Diplodocus and Supersaurus, stretched their necks and tails back and forth to balance their heavy bodies. At full length they reached 30 to 40 m, so that’s a considerable weight.
I’d like to make another dinosaur — the Brachiosaurus. Yes, it’s the dinosaur that appeared as “Baylene” in the movie “Dinosaur”, and it also showed up in “Jurassic Park”.
This one is a little over 20 m long, but its tail hangs down while its neck reaches upward — it evolved to graze on grass at really high places, almost like a giraffe.
It evolved this way so it could eat grass in high places.
How to fold it is quite difficult — probably harder than the Seismosaurus (Diplodocus).
So this time I’ll introduce the Brachiosaurus with a challenging way to fold a dinosaur in origami.
How to Fold a Difficult Dinosaur: Brachiosaurus Origami
Let’s fold it now. There are quite a lot of photos because it gets complicated in the middle.
Step 1.
Prepare a sheet of origami paper.
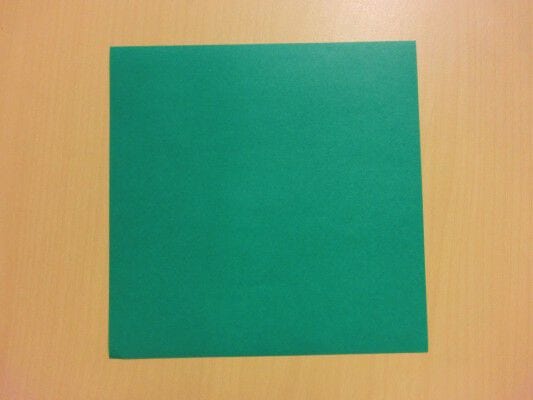
Step 2.
Fold it into a triangle with the coloured side on the inside.
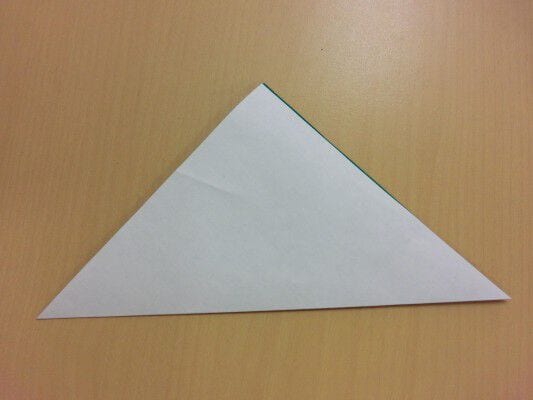
Step 3.
Open it up, then fold the other diagonal in half the same way.
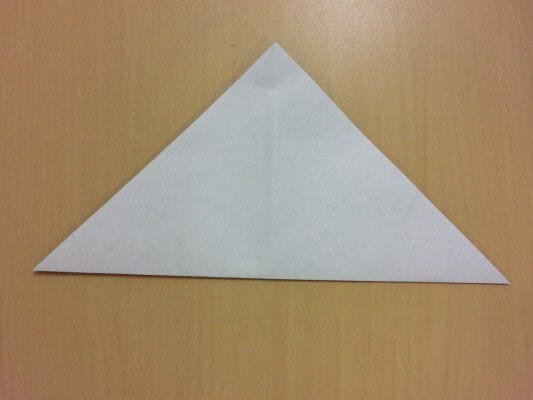
Step 4.
Open it up again.
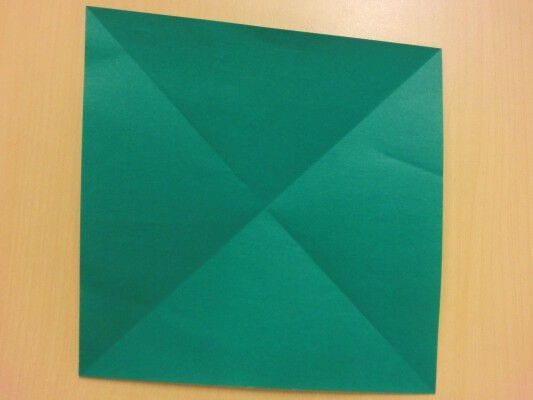
Step 5.
Fold all four corners into the centre.
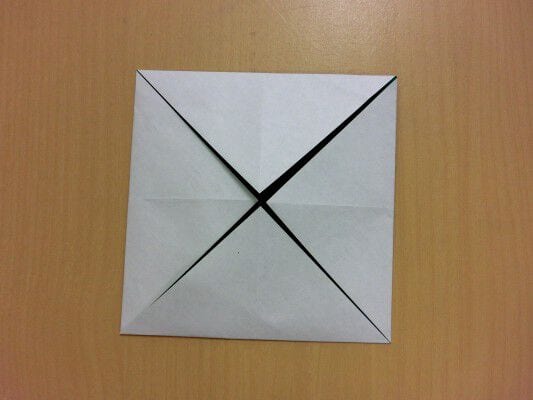
Step 6.
Fold along the sides as shown in the picture.
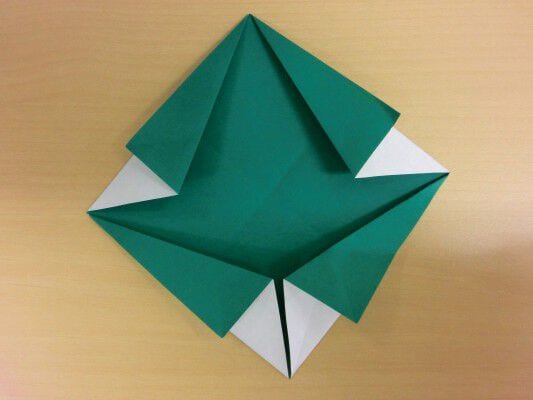
Step 7.
Fold the black line as a mountain fold and follow the red line along the arrow.
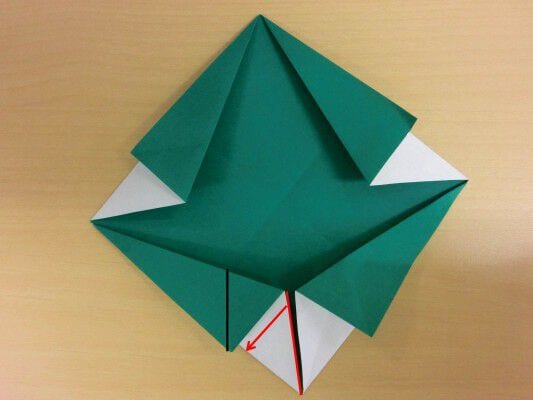
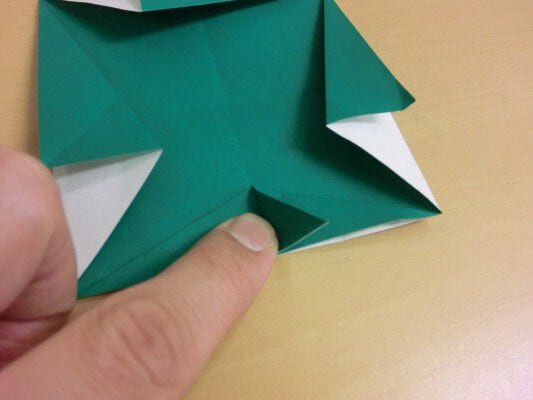
Step 8.
Fold it to the right.
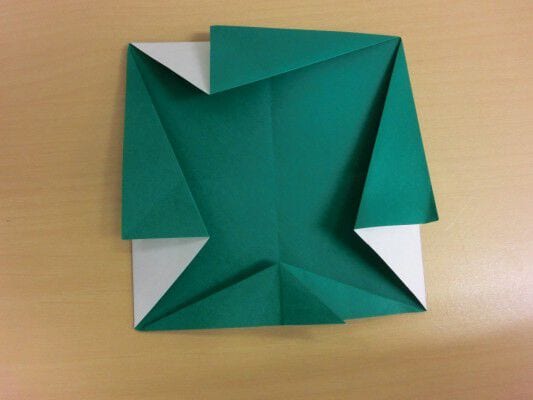
Step 9.
Fold the right side symmetrically as well.
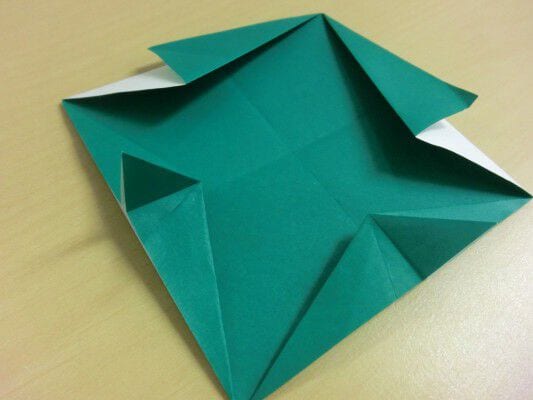
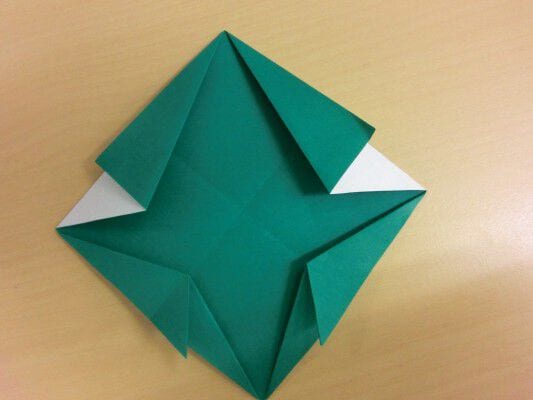
Step 10.
Fold the upper-left and upper-right edges along the outer line.
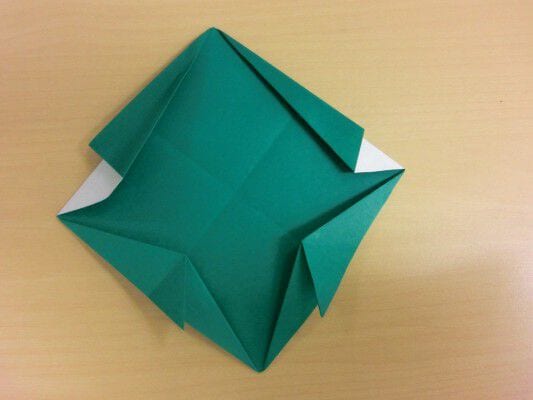
Step 11.
Open the crease.
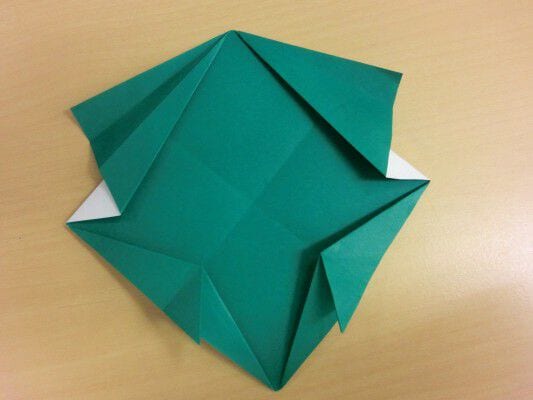
Step 12.
Turn it over.
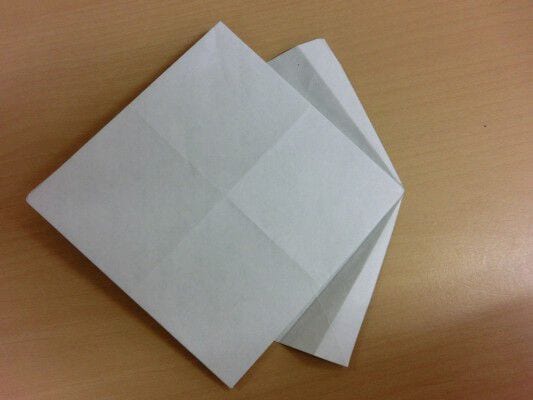
Step 13.
Fold it inward.
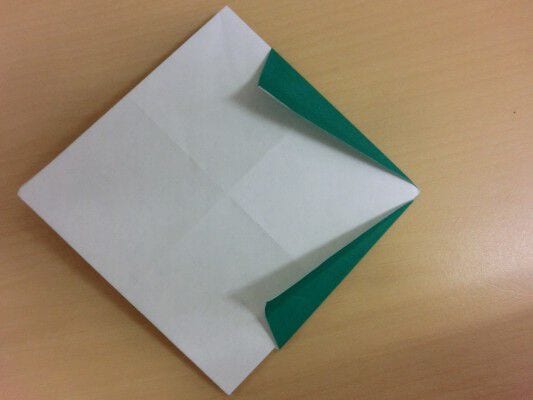
Step 14.
Make a crease so the red outer line lines up with the black line running through the centre.
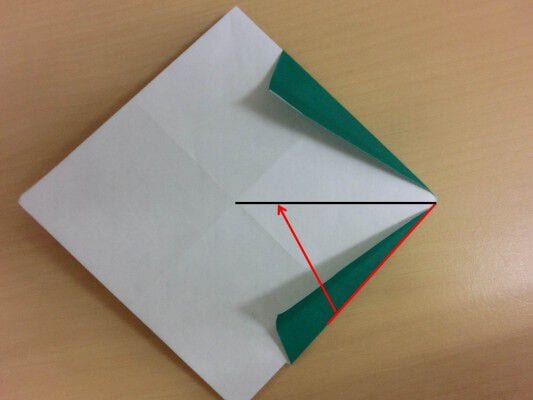
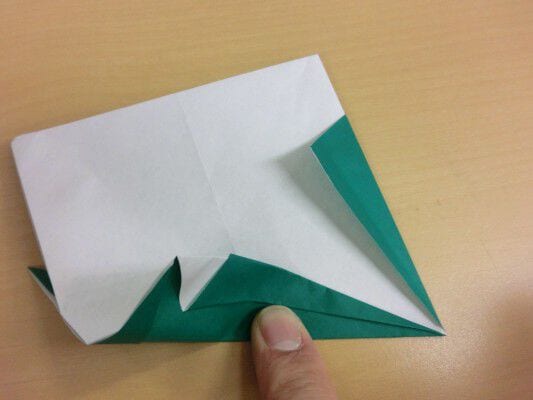
Step 15.
Make a crease on the next red edge so it meets the black centre line.
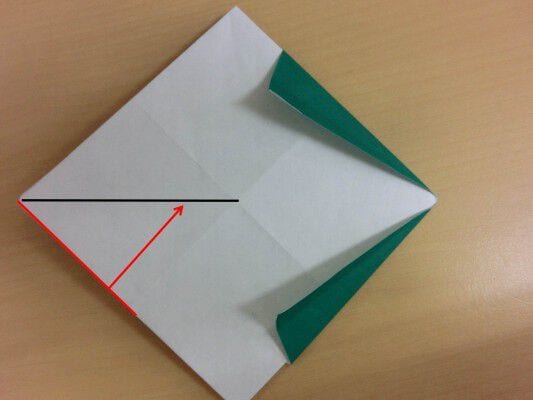
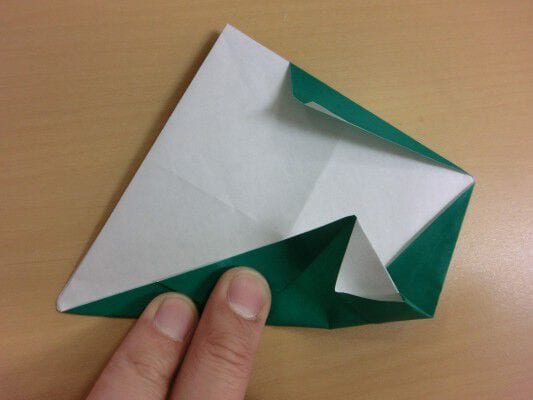
Step 16.
Fold along one of the creases and pinch the middle so it stands up.
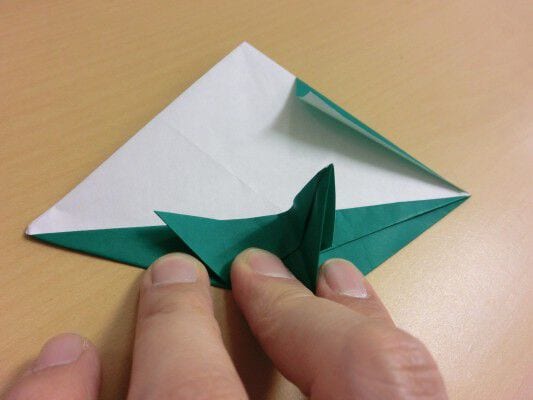
Step 17.
Fold it to the left.
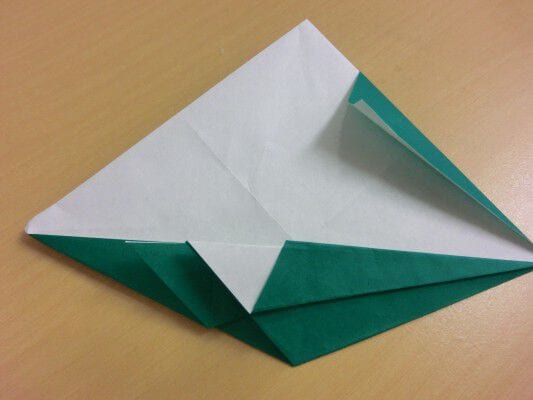
Step 18.
On the other side, make a crease along the outer line and the centre line the same way.
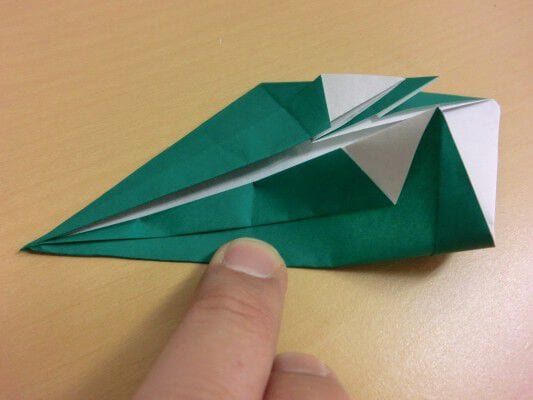
Step 19.
Make a crease on the next side in the same way.
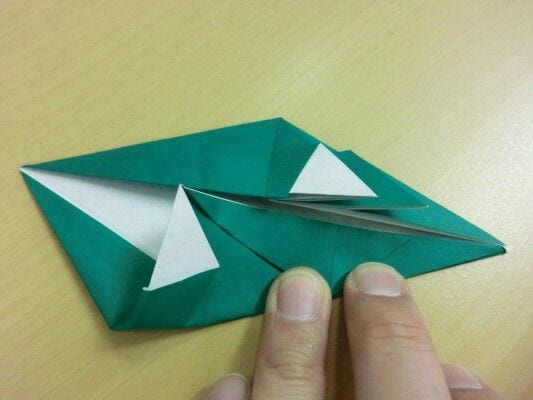
Step 20.
Fold along the crease and let it stand up.
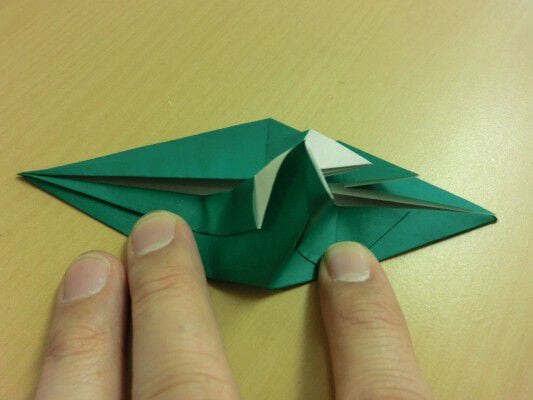
Step 21.
After adjusting the centre, pinch it.
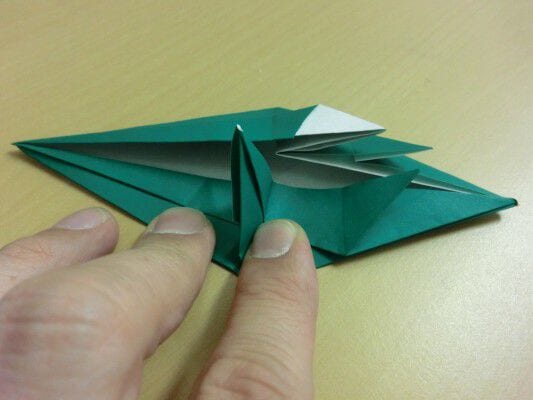
Step 22.
Tilt it to the right.
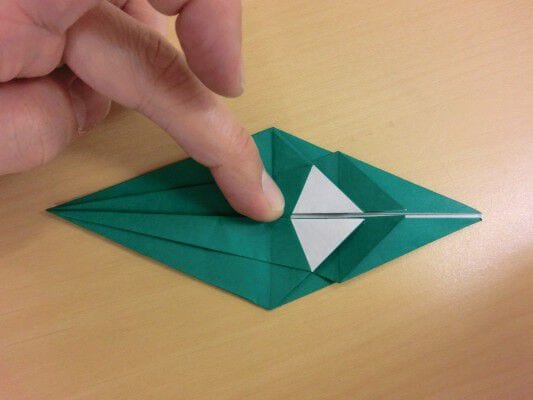
Step 23.
Fold it in half with a mountain fold.
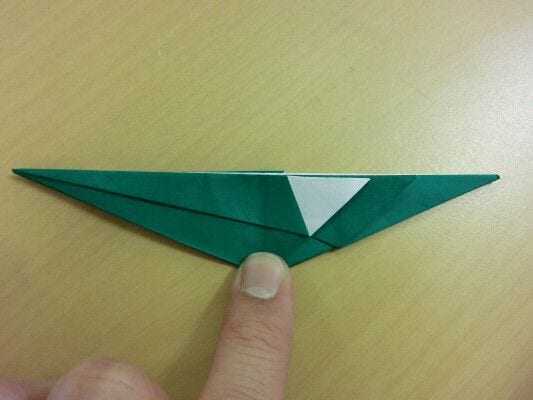
Step 24.
Swap top and bottom.
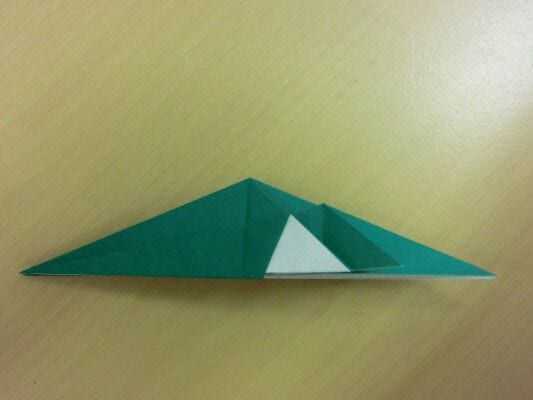
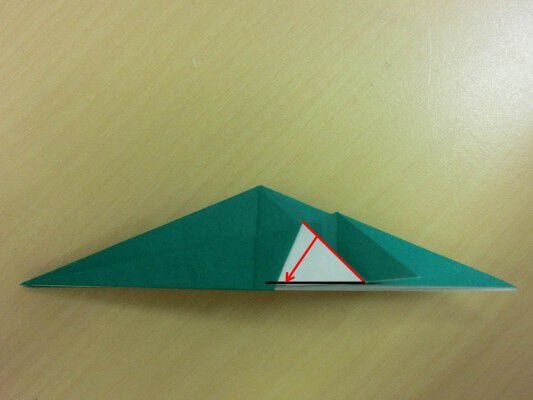
Step 25.
Fold the red line down along the black line below.
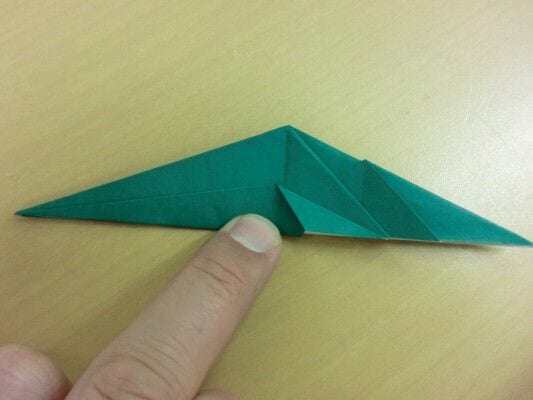
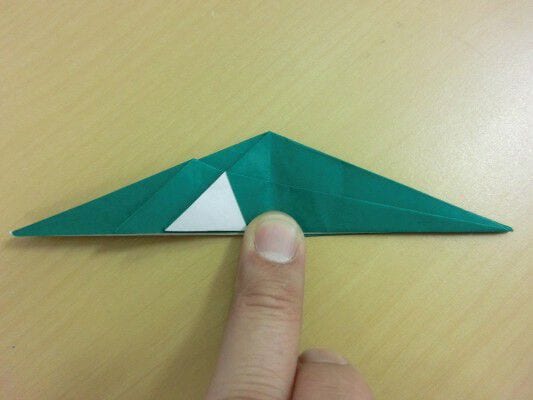
Step 26.
Turn it over.
Step 27.
Fold the other side the same way.
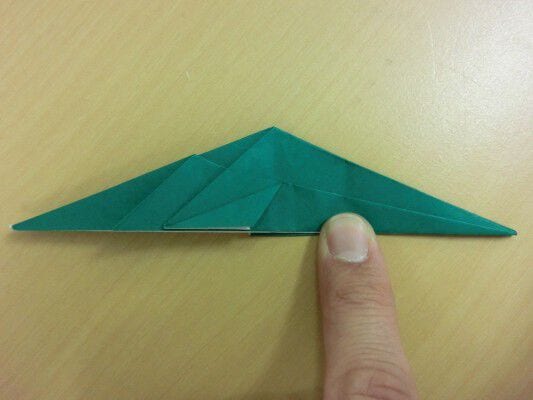
Step 28.
Fold only the top layer from left to right.
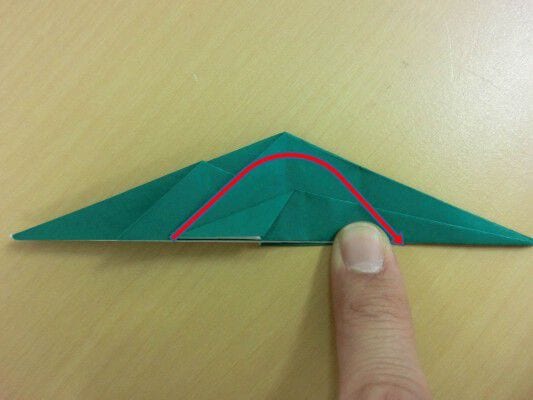
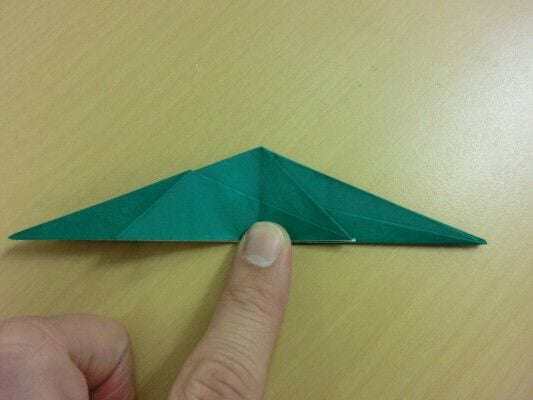
Step 29.
Turn it over.
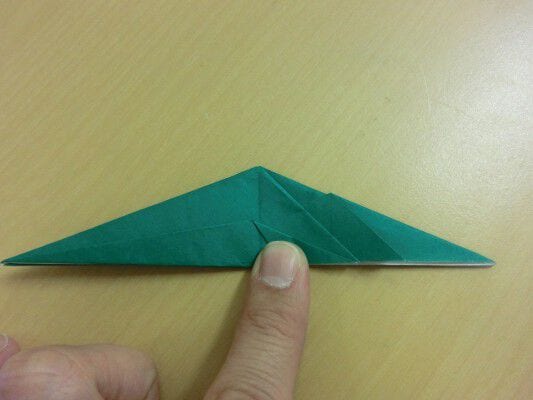
Step 30.
Fold the other layer from right to left the same way.
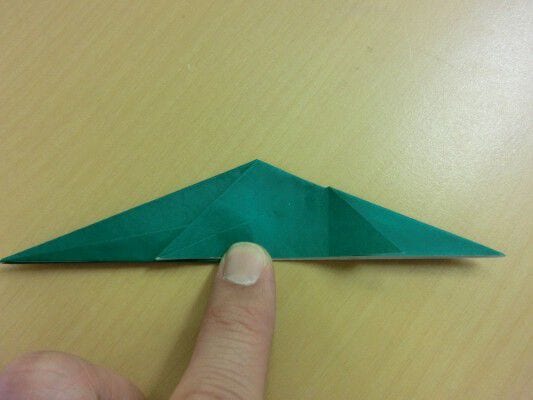
Step 31.
Turn it over again.
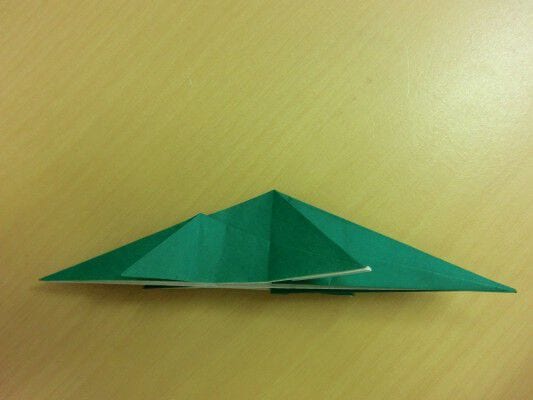
Step 32.
View it from above.
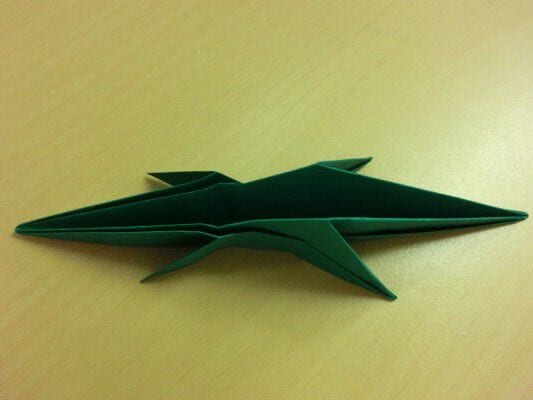
Step 33.
Push in from the left and right of the left bulge (the leg) to flatten it.
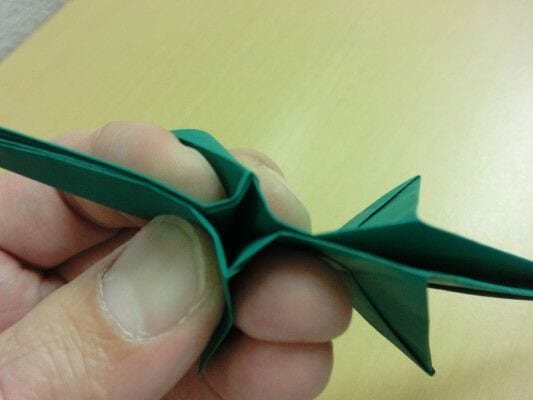
Step 34.
Move the left tail diagonally upward to form an angle.
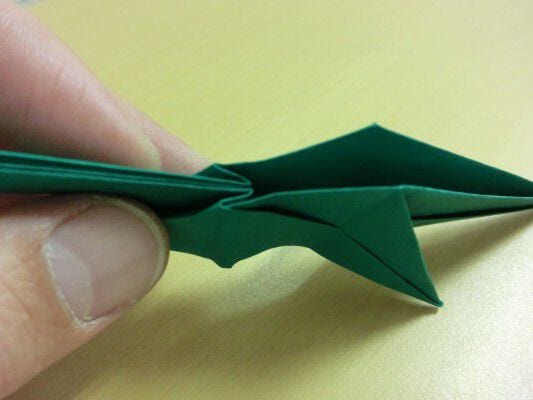
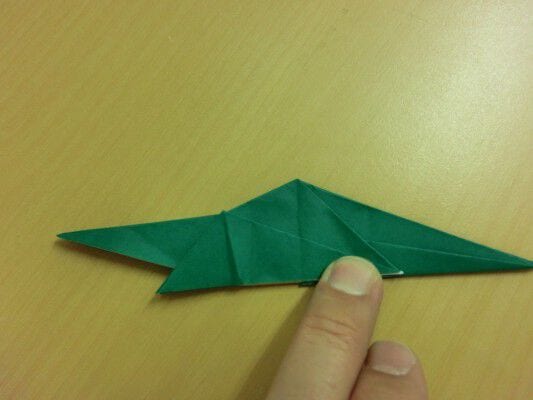
Step 35.
View it from above again.
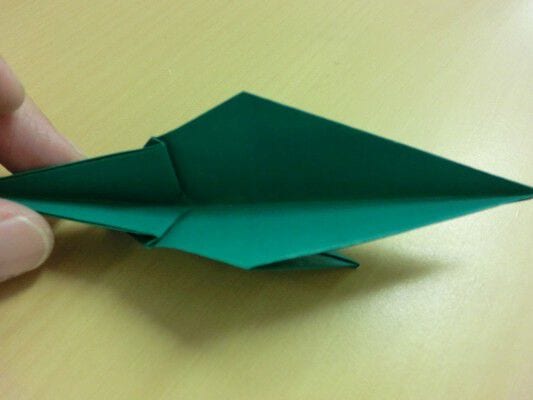
Step 36.
Fold the right side inward.
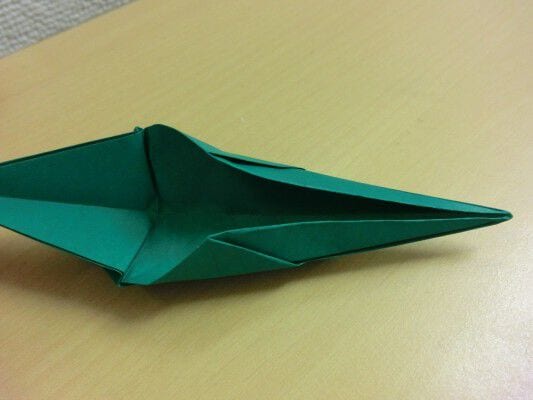
Step 37.
Open the middle.
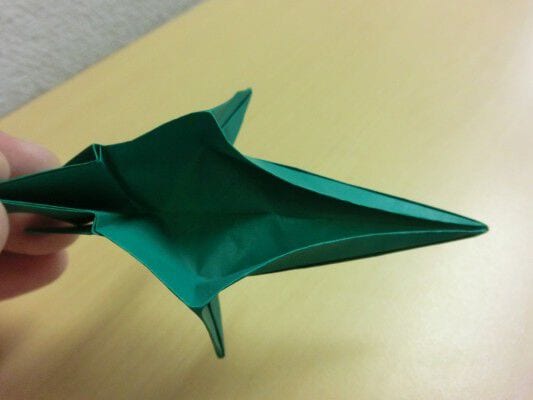
Step 38.
Lift the bottom centre line up and fold it as a mountain fold.
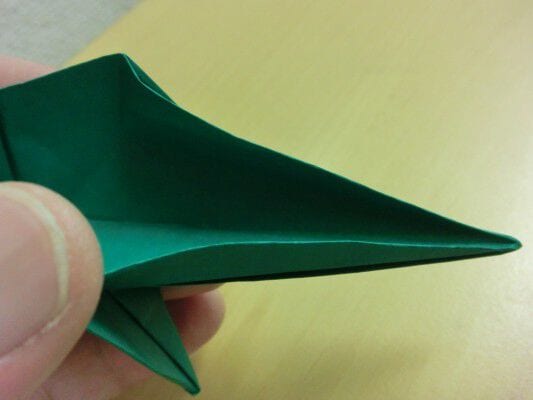
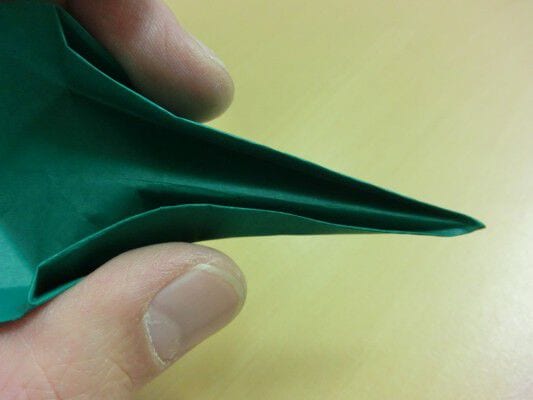
Step 39.
Shape and fold.
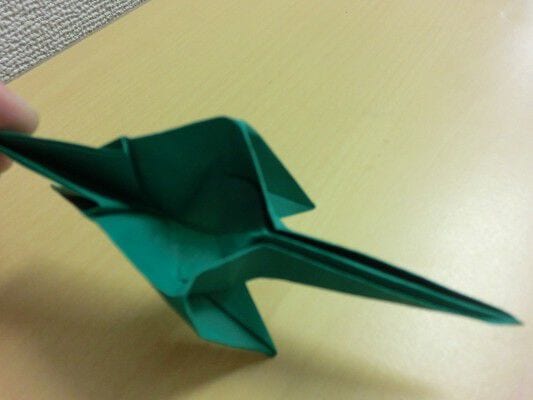
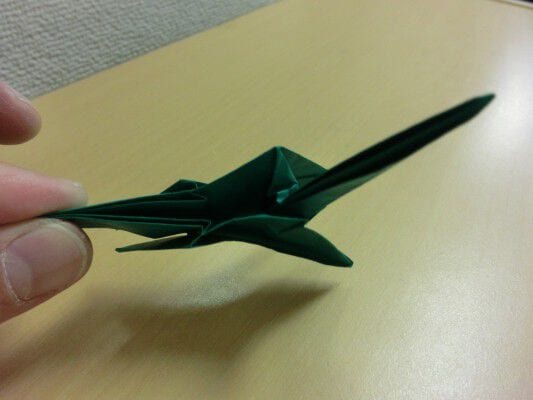
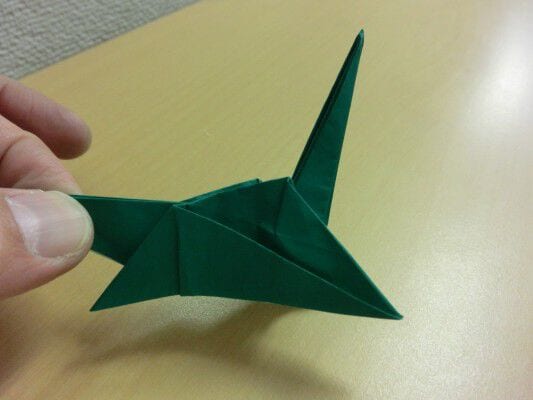
Step 40.
Fold the hind legs downward.
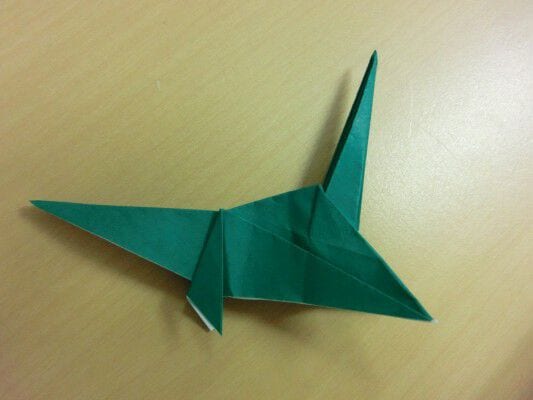
Step 41.
Fold the tip of the foot slightly.
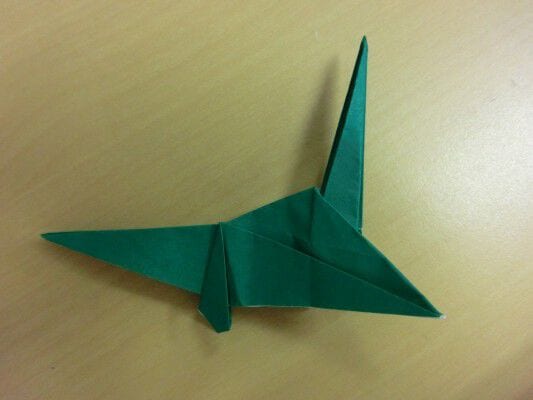
Step 42.
Fold the front legs downward as well.
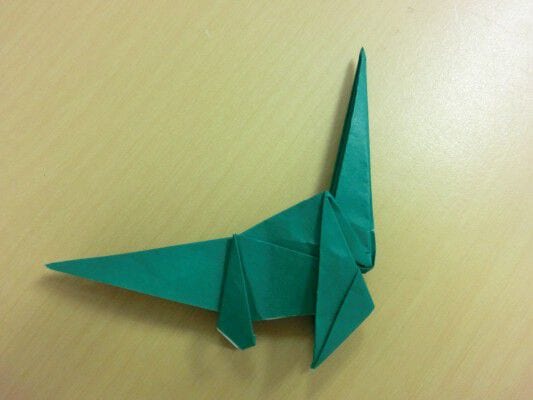
Step 43.
Fold the legs down on the other side too.
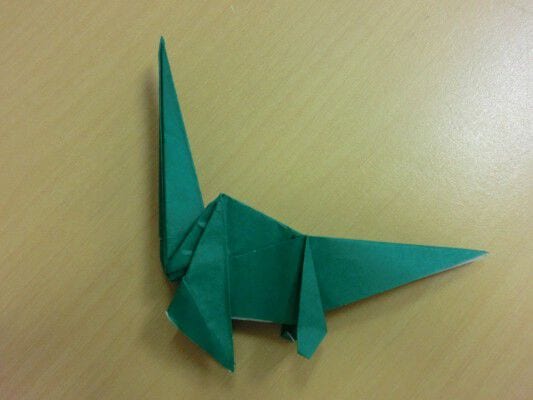
Step 44.
It’s a little thick, so fold the legs in half.
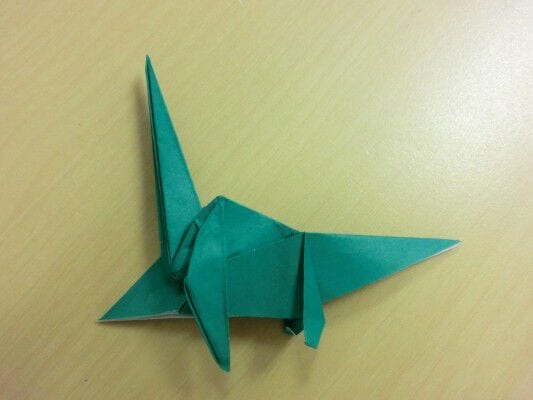
Step 45.
Fold the neck in half, and you’re done.





