
Penguins (Short Tutorial)
Few origami models are as instantly lovable as a tiny penguin — and this one has a fun trick up its sleeve: it stands up on its own, and a puff of breath from behind sends it waddling forward.
Grab a square of paper (two sizes if you want a parent and chick), and in just a handful of folds you’ll have a wobbly little penguin ready to race its friends.
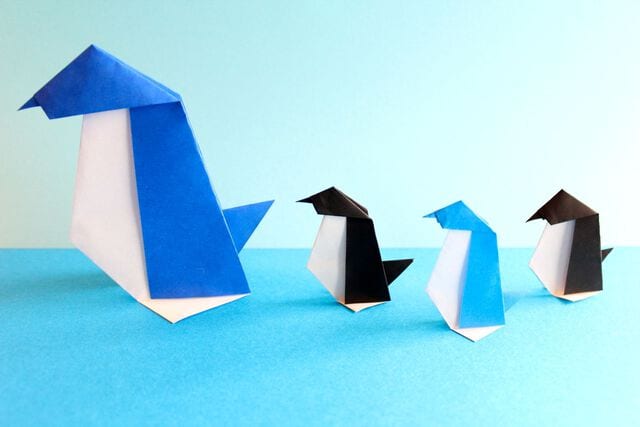
Here we’ll show you how to fold origami penguins. The steps are explained clearly with photos, so please use this as a reference.
How to fold origami penguins
I folded a few origami penguins.
Using one large sheet and one small sheet makes them look like a parent and baby penguin.
Folding them from blue, black, or gray paper makes them look like real penguins, but since origami is a world of creativity, feel free to use any colors you like. Pink or yellow penguins? Why not — it’s art!
Today we’ll walk through how to fold origami penguins.
It’s very easy to fold.
The penguins will be ready in no time.
Be sure to give these origami penguins a try.
Finished penguins
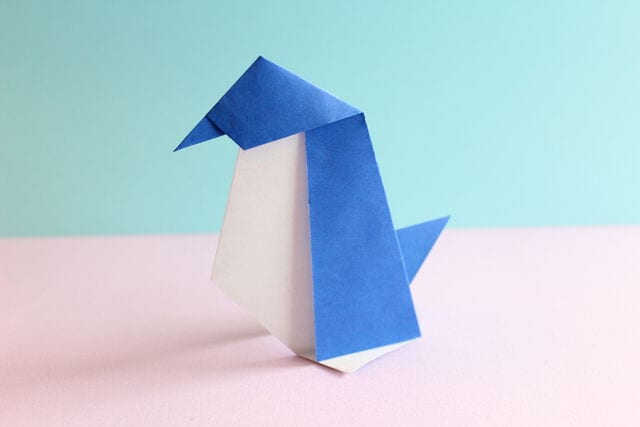
Once finished, your penguin will look like the one above.
Since it is self-supporting, it can also stand up.
You can also blow gently from behind to make it scoot forward.
It’s fun to race them with friends, too.
A fun origami penguin you can both make and play with.
It’s very cute, isn’t it?
How to fold a penguin
STEP 1. First, fold the paper into a triangle with the colored side facing inward.
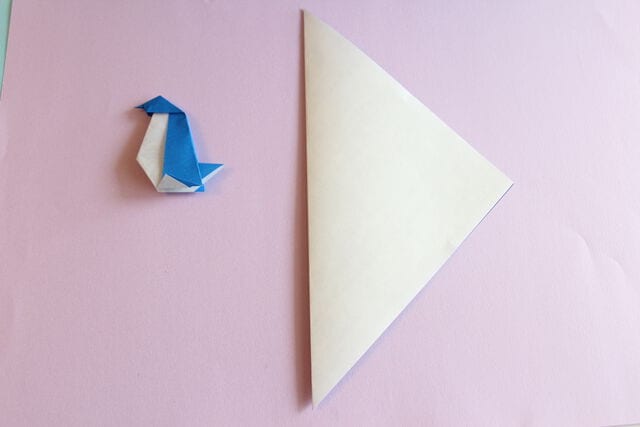
STEP 2. Next, make a diagonal valley fold at about one-third, as shown. Fold the back side the same way.
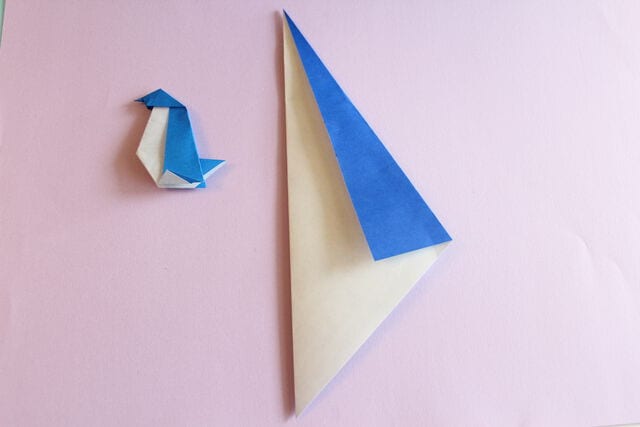
STEP 3. Make the tail by folding the bottom part down with a large fold.
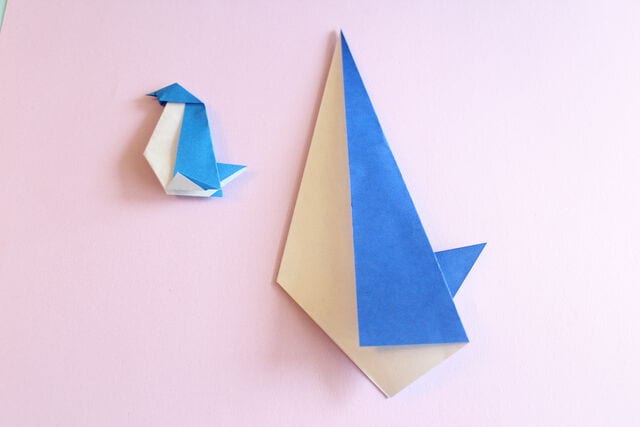
STEP 4. Next, fold the top part outward.
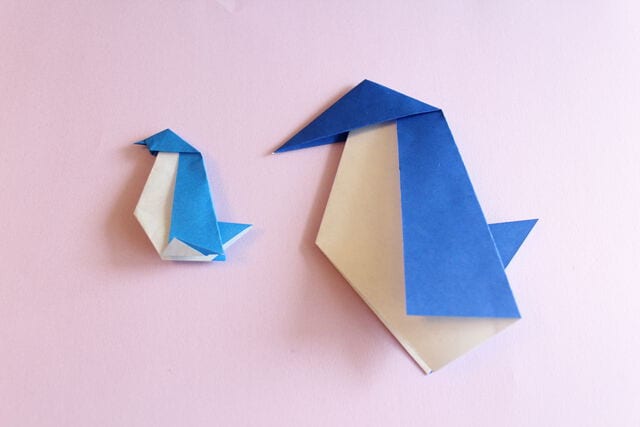
STEP 5. Next, make the beak. Fold it in half as shown.
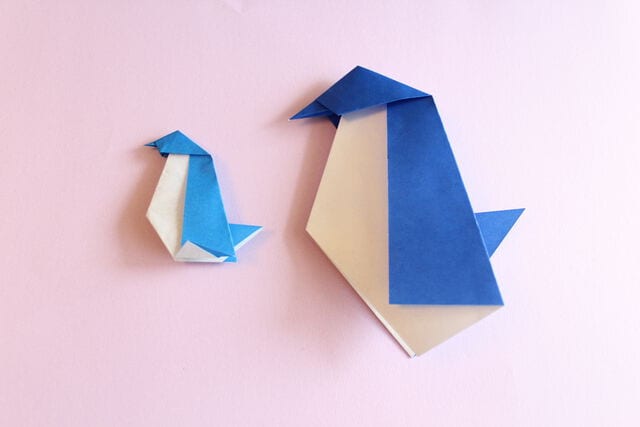
STEP 6. Finally, make the feet by folding the bottom part forward and to the opposite side.
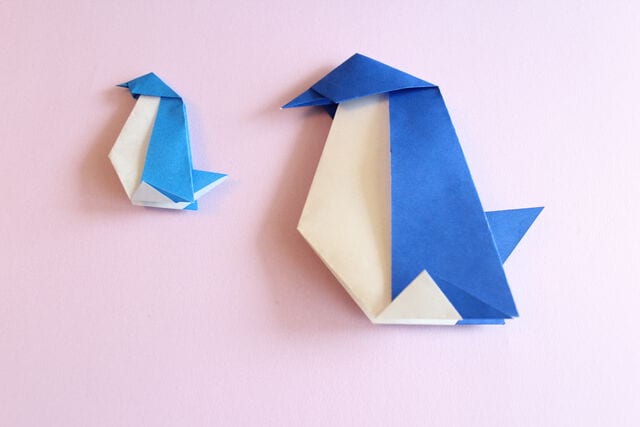
Then the penguin is ready! It is self-supporting, so please try standing it up.




