
Origami Turtle
There is something quietly charming about an origami turtle. It is not the flashiest creature you can fold, yet this design manages to look complete and confident — a proper little animal with a domed shell, tucked tail and stubby legs, standing right on your desk. And here is the good news: despite how finished it looks, the turtle is surprisingly beginner-friendly.
The only moment that asks for patience is the neck. The guide walks you through sliding a crease from the corner tip toward the center and squashing the head flat, so it is less about talent and more about following the photos at your own pace. Everything after that feels like finishing touches — rounding the shell, locking the tail, stretching out the limbs. Fold it from a deep green to match a real pond turtle, or a bright yellow if you want something playful.
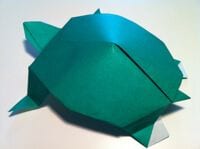
Although this origami turtle looks pretty complete and awesome, it's surprisingly somewhat easy to fold. Nice looking turtles usually require complex folding techniques, and simple turtles although easier to fold, is rather plain and unsatisfying. This origami turtle strikes the perfect balance of “foldability” and aesthetics.
There is one caveat however. The neck may be a tad on the tricky side, but I'm sure you'll be able to tackle it thanks to my awesome instructions. You should be able to fold everything else pretty effortlessly.
STEP 1. Start with a square piece of origami paper with color side up. If you only have regular 8.5x11 paper, follow these instructions to make it into a square sheet.
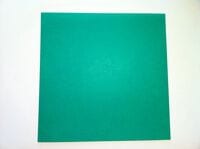
STEP 2. Fold the paper in half, then unfold.
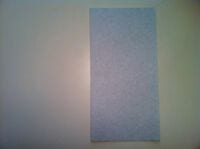
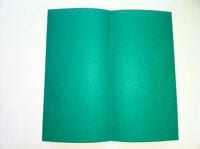
STEP 3. Fold the corners to the center crease.
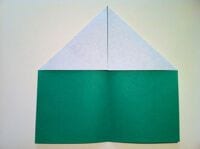
STEP 4. Turn the paper over.
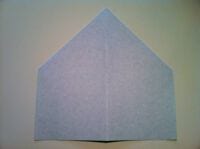
STEP 5. Fold the slants to meet at the center and allow the flaps in back to come loose.
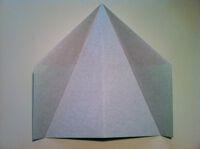
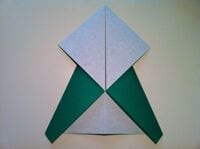
STEP 6. Fold the bottom flaps to the center as shown.
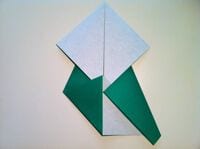
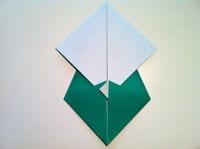
STEP 7. Fold about 2/3rds of the flap back down as shown.
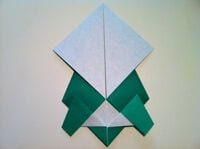
STEP 8. Fold the “diamond” down in half.
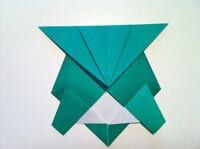
STEP 9. Fold about 3/4ths of it back up.
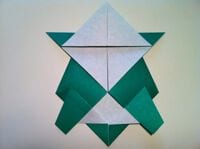
STEP 10. Here's the tricky fold. Begin creasing at the left corner tip and slide the crease to the center, then squash parts of the head.
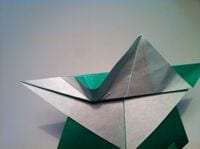

STEP 11. Repeat on the right side.
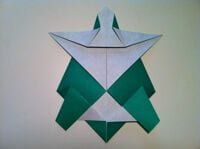
STEP 12. Turn the figure over.

STEP 13. Squeeze the sides of the tail together to create a hump on the shell. Make sure the peak of the hump does not go past the halfway point. After squeezing the tail, fold it to the side.

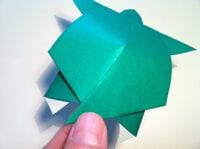
STEP 14. Fold the tail under the body.

STEP 15. Fold the corners on both sides in to give the shell a rounded appearance.
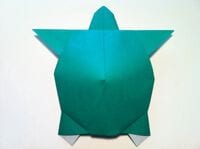
STEP 16. Fold only part of the tail back out so that the base locks the shell's shape in place while the tip sticks out.

STEP 17. Turn over.
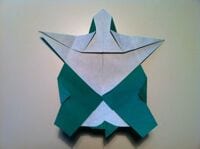
STEP 18. Fold the arms in and then fold the tip back out to the center of the shoulders' edge.
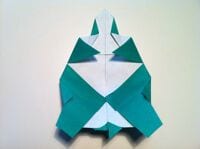
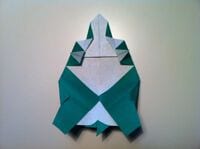
STEP 19. Fold the legs in and half of it back out to the edge.
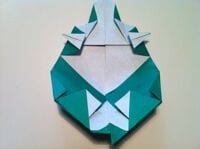
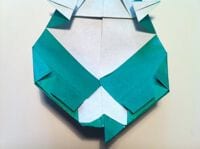
STEP 20. Turn the turtle over and stretch the arms and legs out a little so it can stand. Good job! Now your little turtle is ready to stand proudly on your desk.





