
Butterfly (Complete Tutorial)
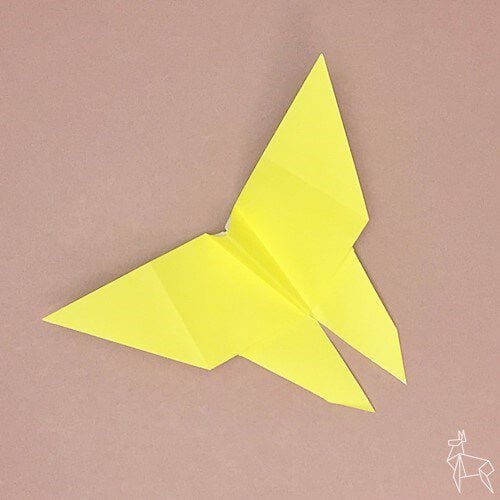
Butterflies are probably the first thing most people try to fold — and also the thing that goes wrong most often when the creases aren't set right. This complete tutorial slows the process down to sixteen photo-backed steps so you can see exactly where each fold lands.
You'll start with a simple square and build up a centered base, then shape the body and wings with a rhythm of diagonal and book folds. The satisfying part is the last step: spread the wings and suddenly it's unmistakably a butterfly. Use a sheet with a colored back if you have one — the two-tone effect on the wings looks great.
STEP 1.
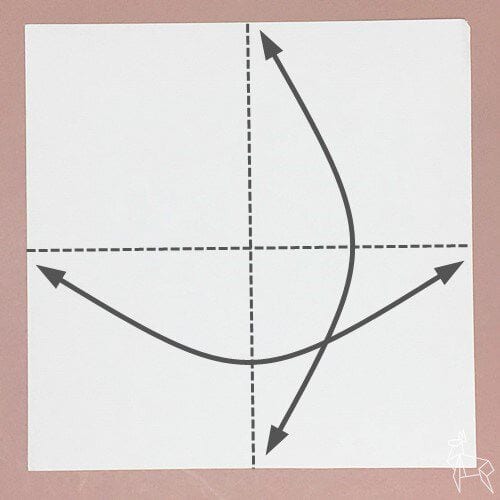
Place the origami paper with the white side facing up, halve it along the dotted line, and make a crease.
STEP 2.
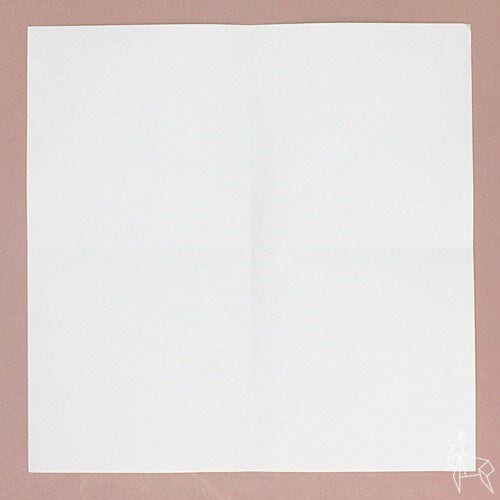
Cut it in half along the dotted line and make a crease.
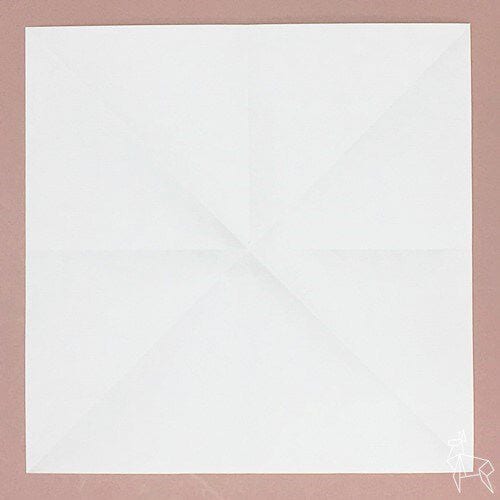
STEP 3.
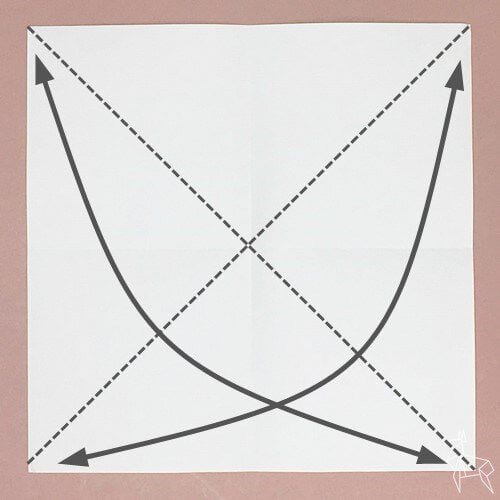
Turn it over.
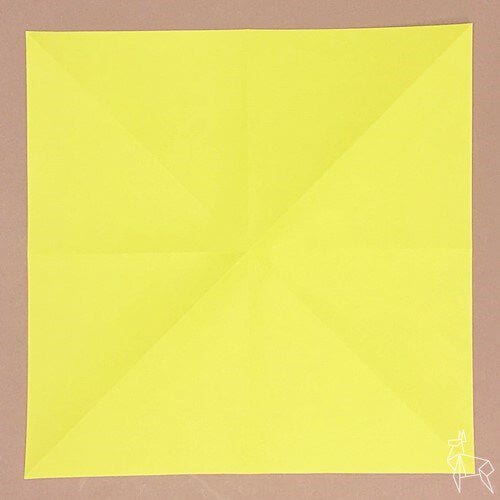
STEP 4.
Make creases so that the corners are centered.
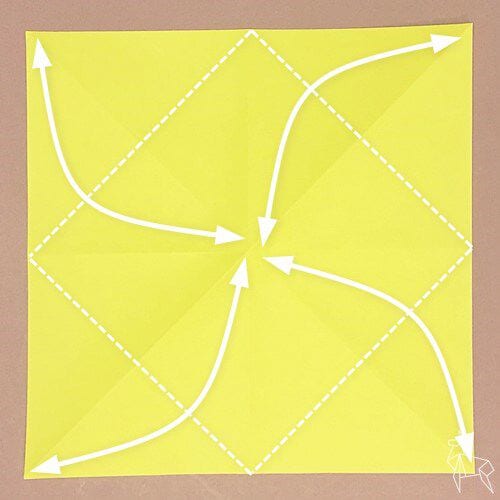
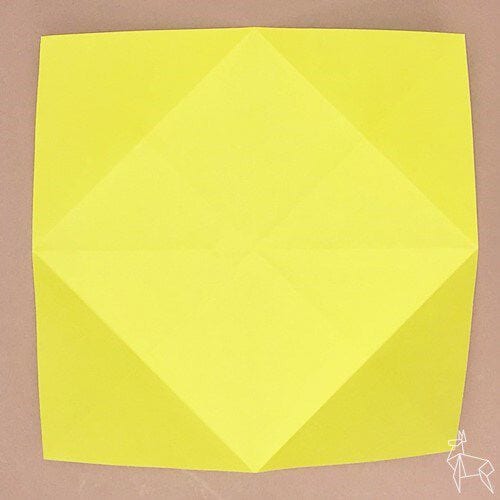
STEP 5.
Turn it over.
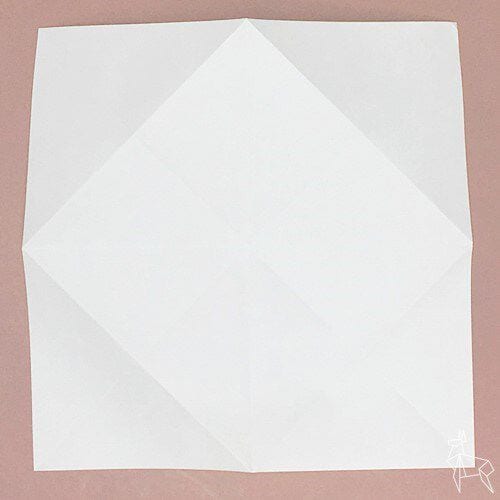
STEP 6.
Fold it along the dotted line so that the left and right edges are centered.
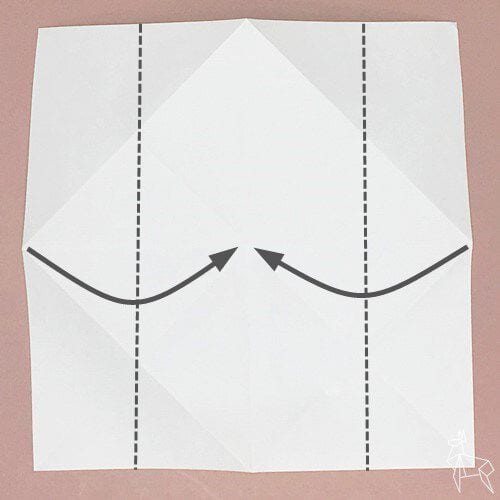
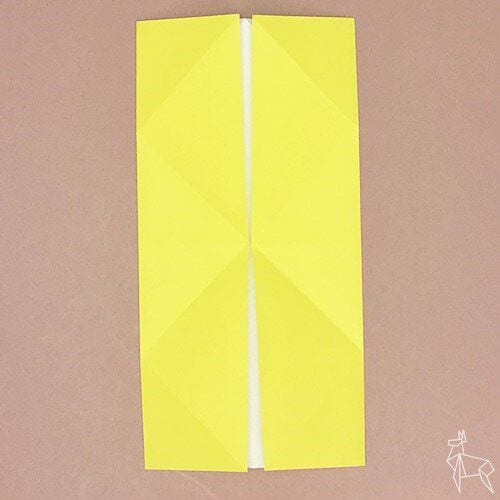
STEP 7.
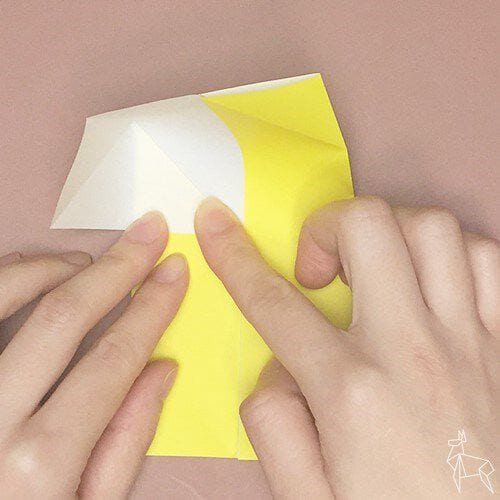
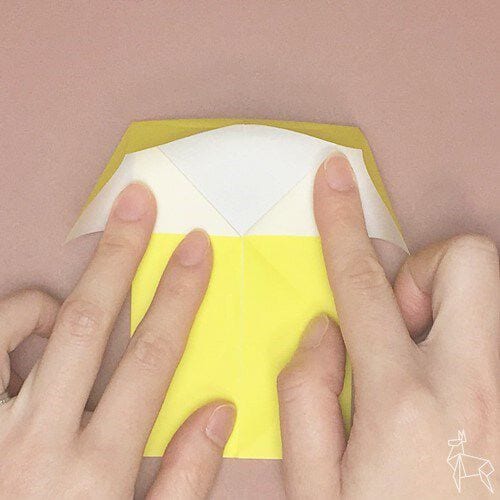
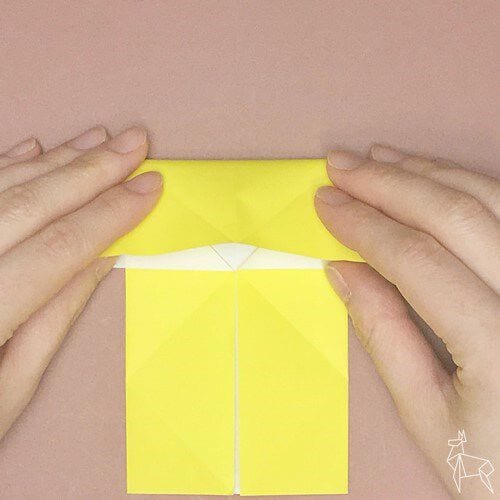
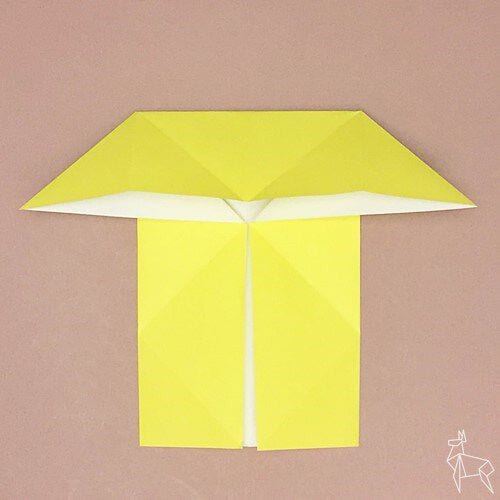
Open the corners along the creases and fold them to crush them.
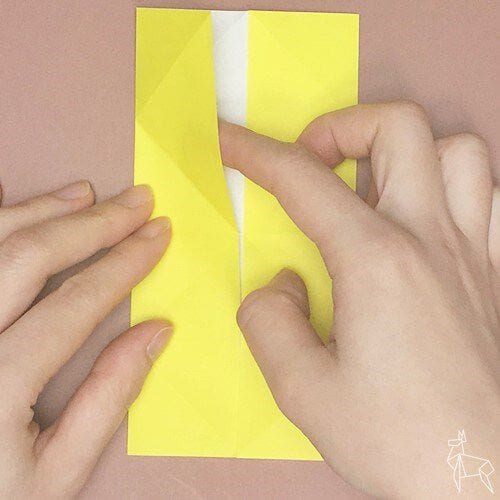
STEP 8.
Fold the other side in the same way.
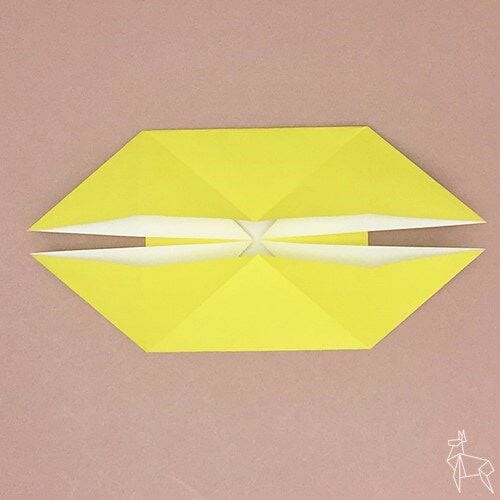
STEP 9.
Fold it along the dotted line.
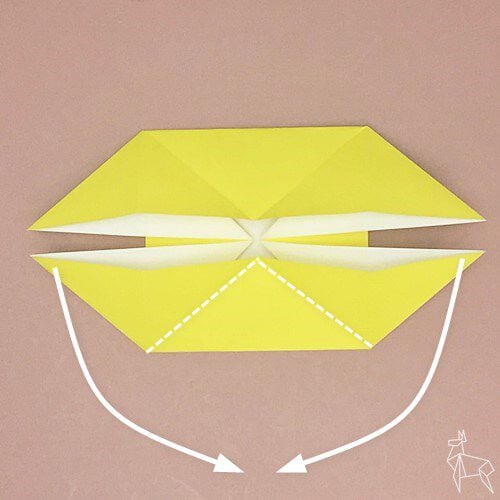
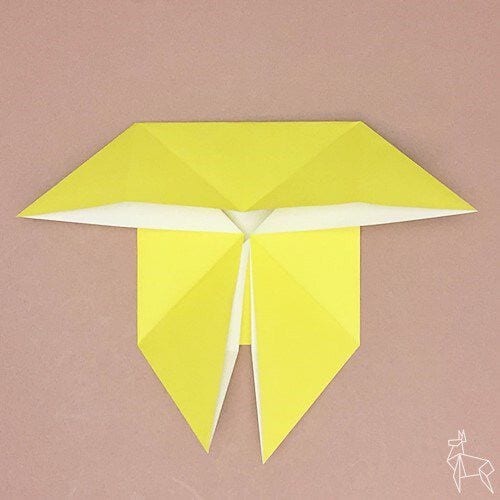
STEP 10.
Fold it back along the dotted line.
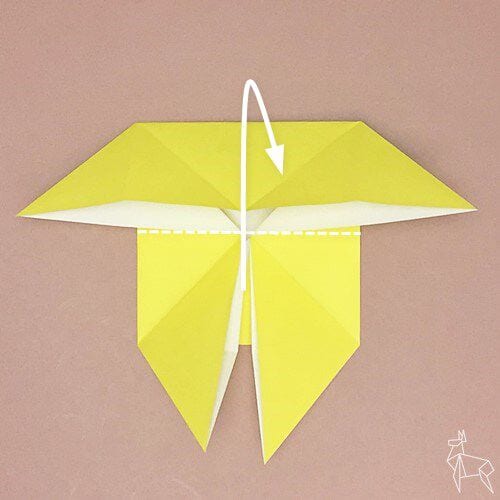
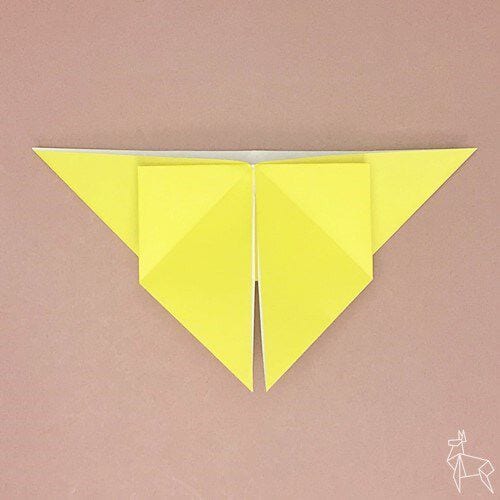
STEP 11.
Fold it along the dotted line.
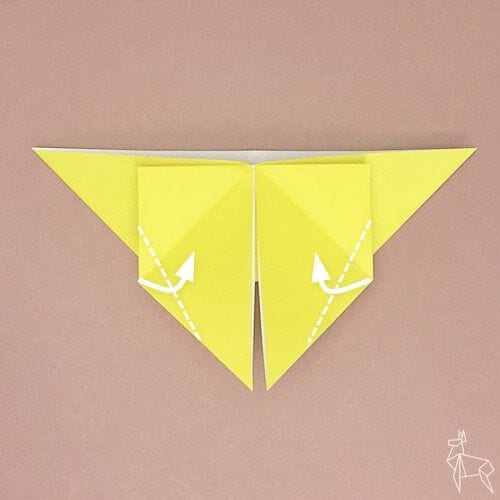
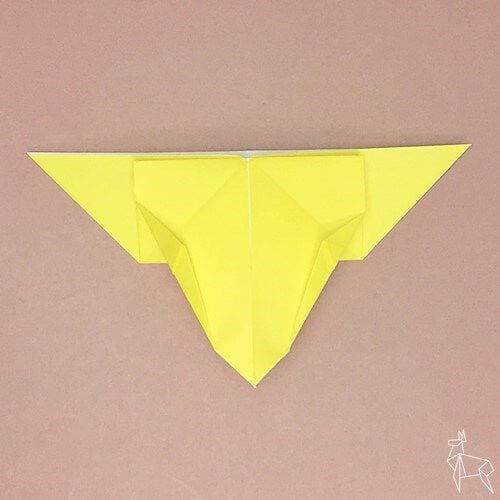
STEP 12.
Fold it in half along the dotted line.
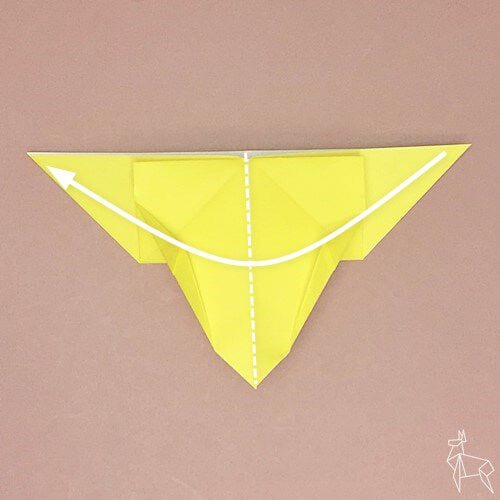
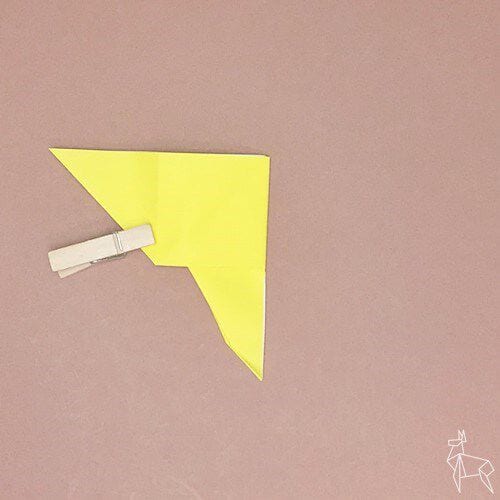
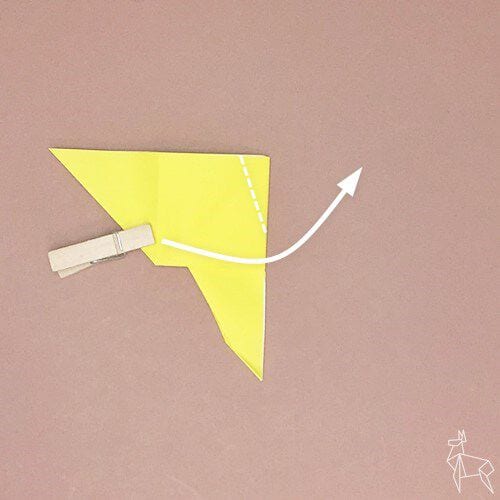
STEP 13.
Fold only the top one diagonally along the dotted line.
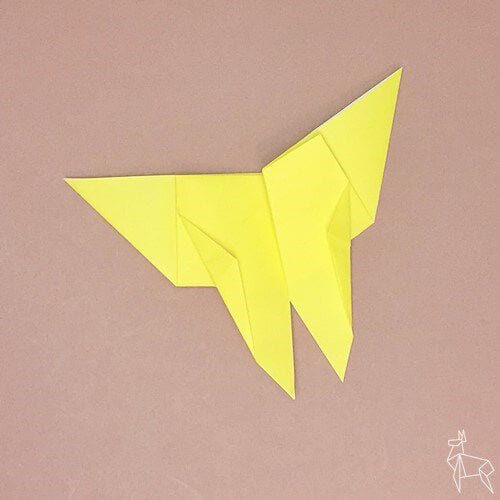
STEP 14.
Turn it over.
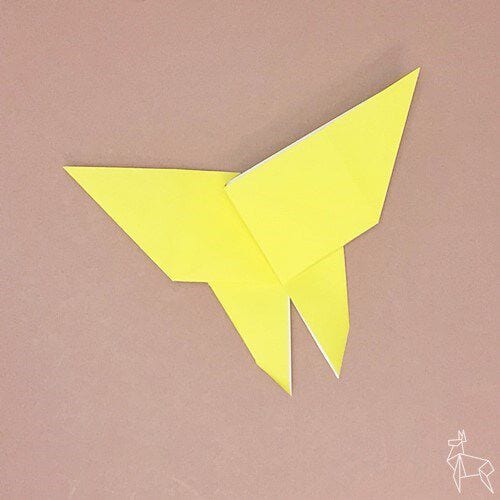
STEP 15.
Fold it along the dotted line so that the corners match.
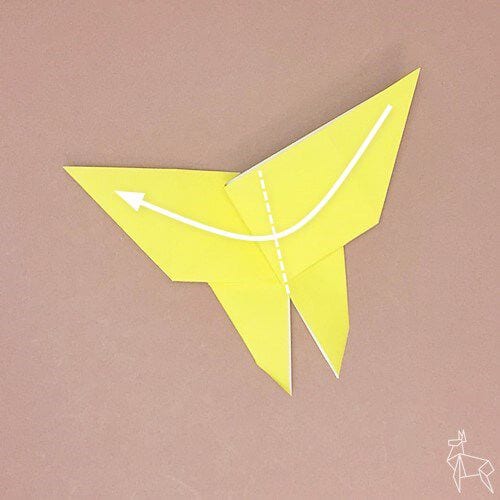
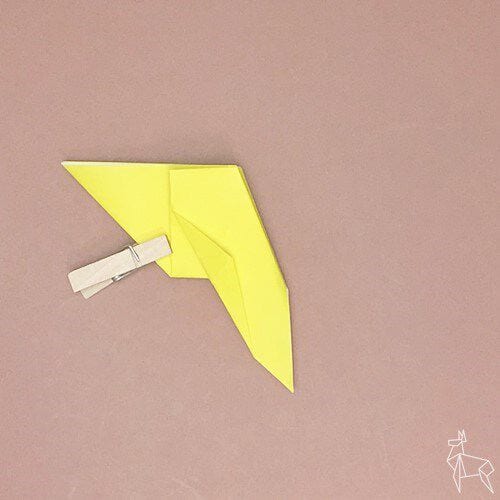
STEP 16.
Spread the wings and shape them, and the butterfly is complete.




