
How to Fold an Origami Sakura Petal (Cherry Blossom)
Cherry blossom season only lasts a couple of weeks, but a paper sakura stays in bloom all year. This little petal is one of those folds you will see tucked inside bigger projects — modular blossoms, wreaths, garlands, even wedding table decorations — and once you can fold one cleanly, the rest is just repetition. What is nice about this version is how little it asks of you: one square of paper, six folds, and no glue or cutting. The trick is to keep every crease aligned edge to edge, because the soft curve of the finished petal comes entirely from neat folding rather than from shaping. Grab a pink square if you have one, fold a few petals, and lay them out in a ring — the moment five of them come together as a blossom is surprisingly satisfying.
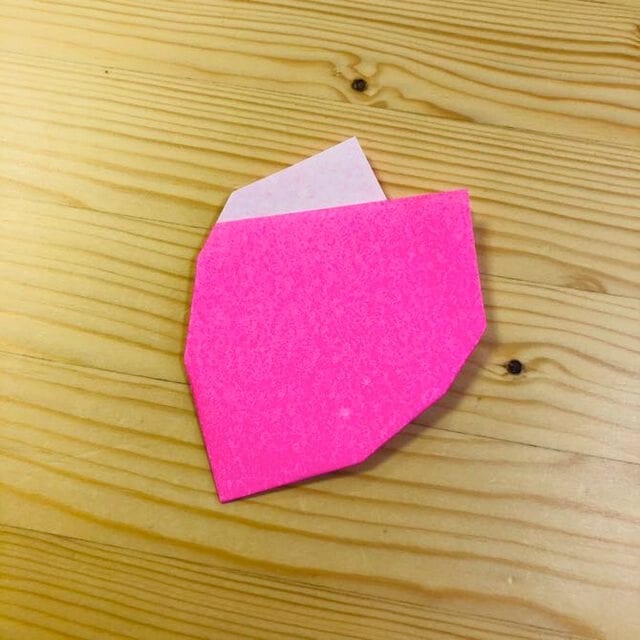
STEP 1
Fold the paper along the line shown in the photo.


STEP 2
Fold the paper upwards at the position shown in the photo.


STEP 3
Fold the paper upwards again, following the position shown in the photo.


STEP 4
Fold the paper along the line shown in the photo.


STEP 5
Fold the paper along the line shown in the photo to shape the petal.


STEP 6
Turn the model over.

All done!
Your origami sakura petal is finished. Fold a few more and arrange them together to build a full cherry blossom.




