
Origami Sailor Suit
Few paper folds are as charming as a tiny article of clothing, and this little origami sailor suit is no exception — crisp collar, tidy layers, and that classic nautical look, all from one square of paper.
It looks more intricate than it is: the steps are mostly simple folds, with a few clever tucks near the end that hide the work and reveal the finished shape. Grab a sheet in your favorite bright color (patterned paper looks especially fun), and fold it together with a kid if you have one around — the original author recommends it as a parent-child craft. Let’s get started.
Hello!
Isn’t it cute?
It’s not too difficult to fold, so please try making it with your child.
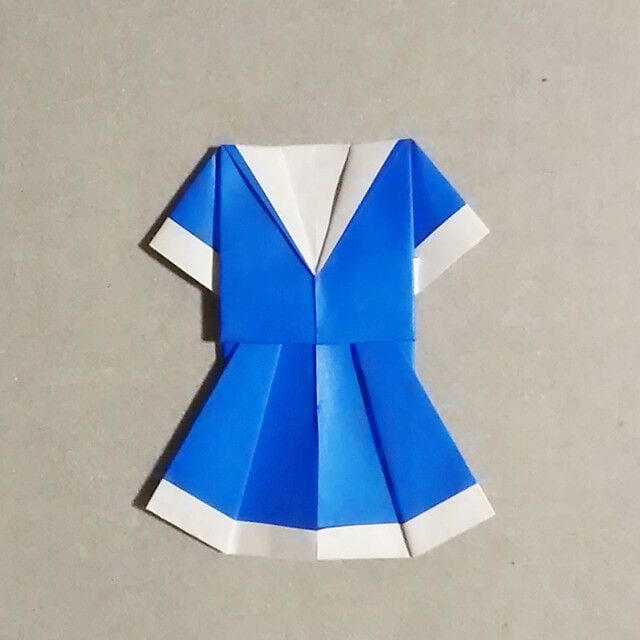 ## How to Fold an Origami Sailor Suit
This time, too, I’ll walk you through it with a video and clear photos of the actual folds.
I hope yours turns out nice and colorful.
Let’s start folding!
STEP 1.
Prepare one sheet of origami paper.
 STEP 2.
Fold it in half downward.
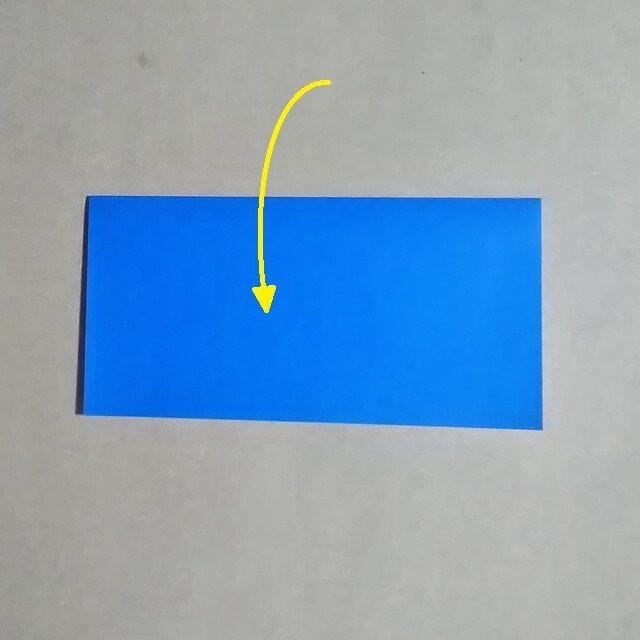 STEP 3.
Fold the bottom up a little, then fold that bottom flap back.
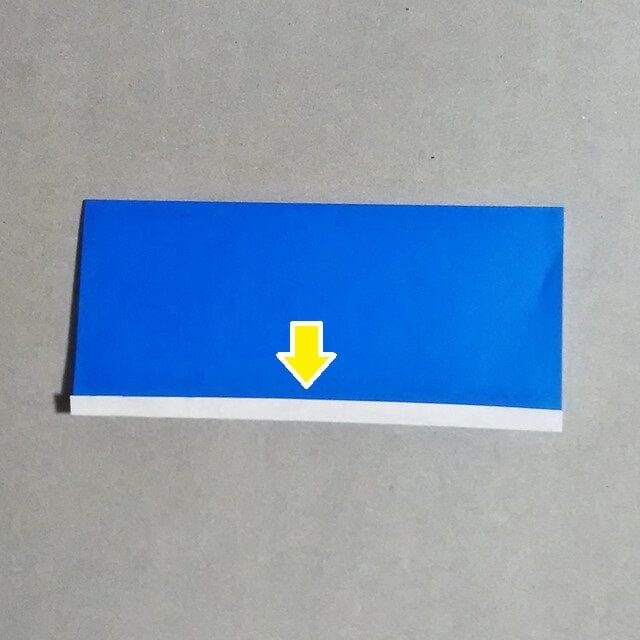 STEP 4.
Open the paper and fold it in half downward.
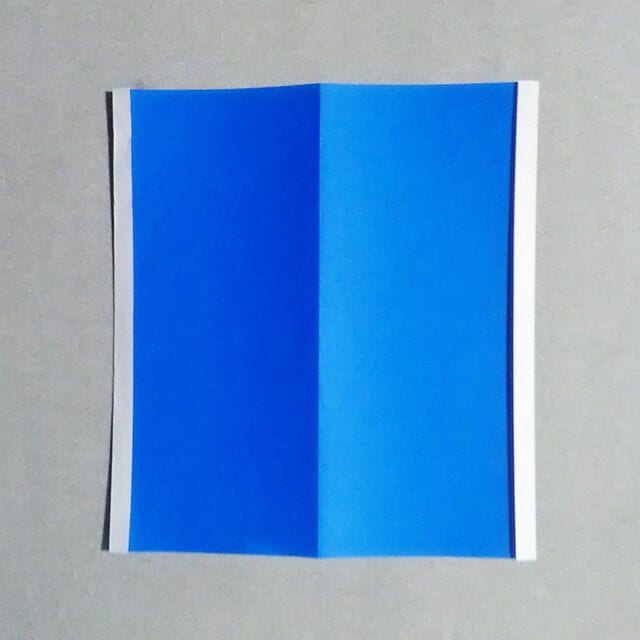
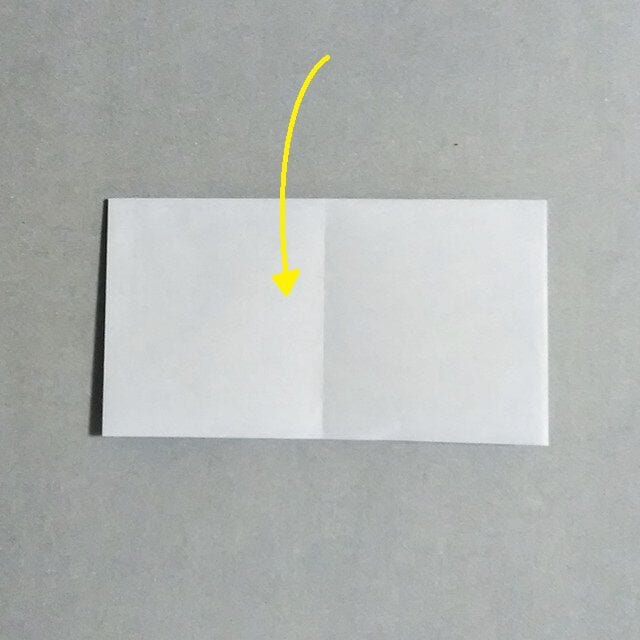 STEP 5.
Fold along the crease so the upper end of the sheet lines up.
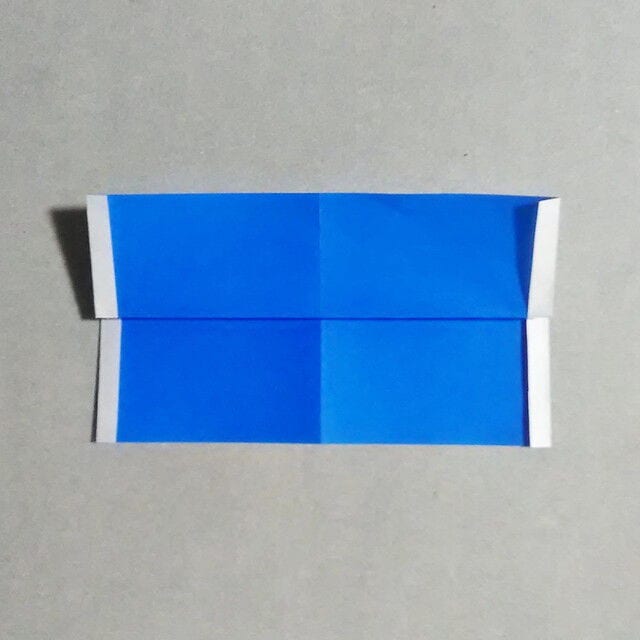 STEP 6.
Fold the bottom flap back.
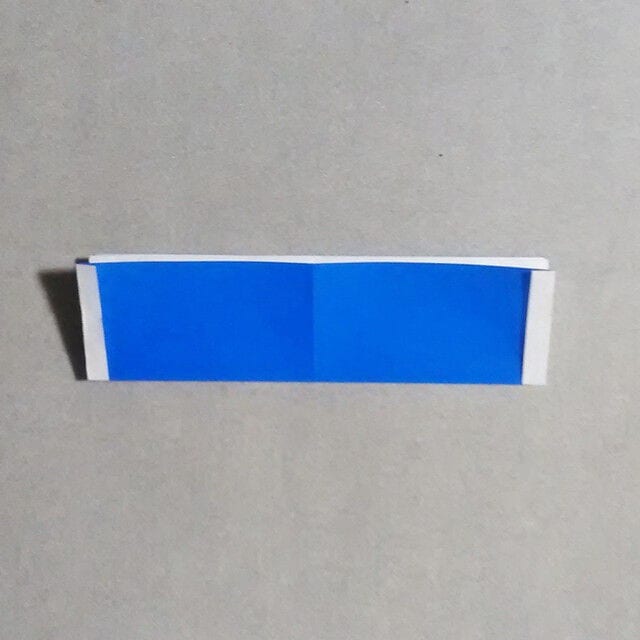 STEP 7.
Fold the top edge forward and then back along the crease.
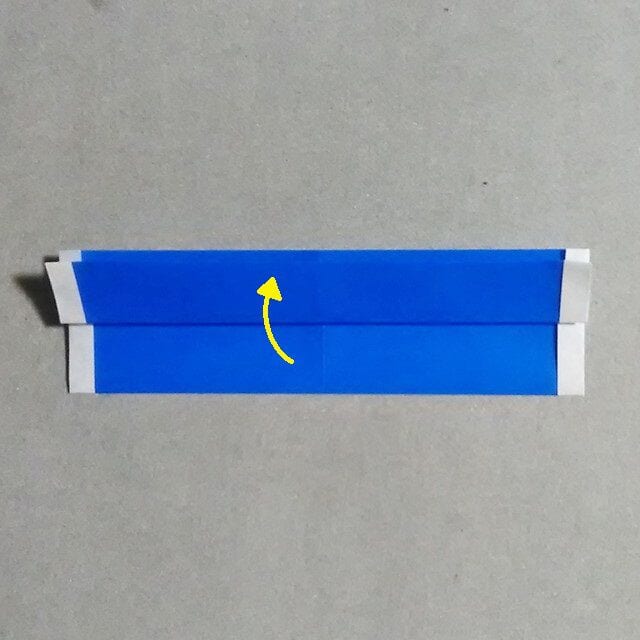
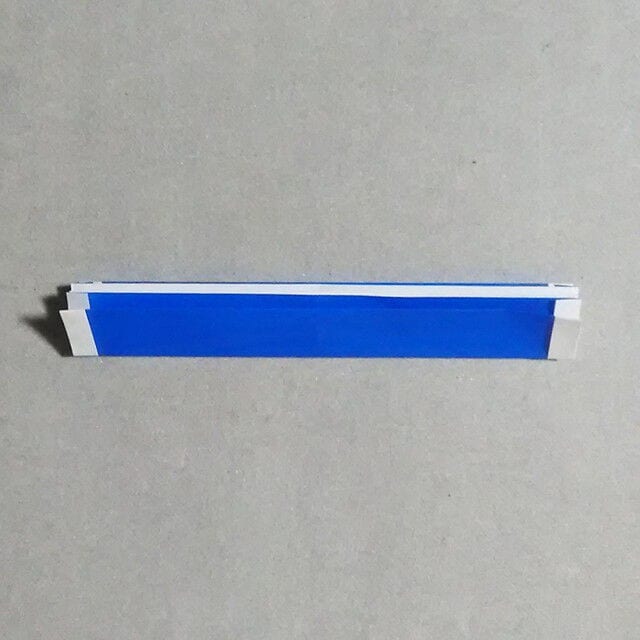 STEP 8.
Fold only the lower-right corner up from the center line, as shown in the figure.
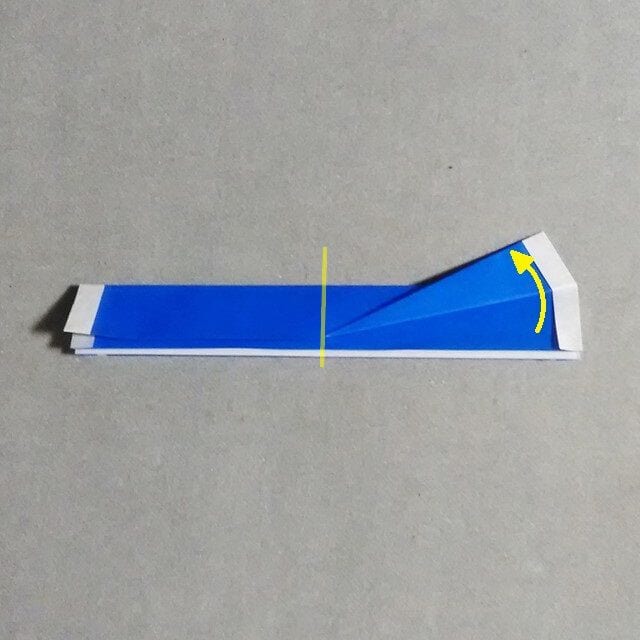 STEP 9.
Fold the left side slightly away from the center line.
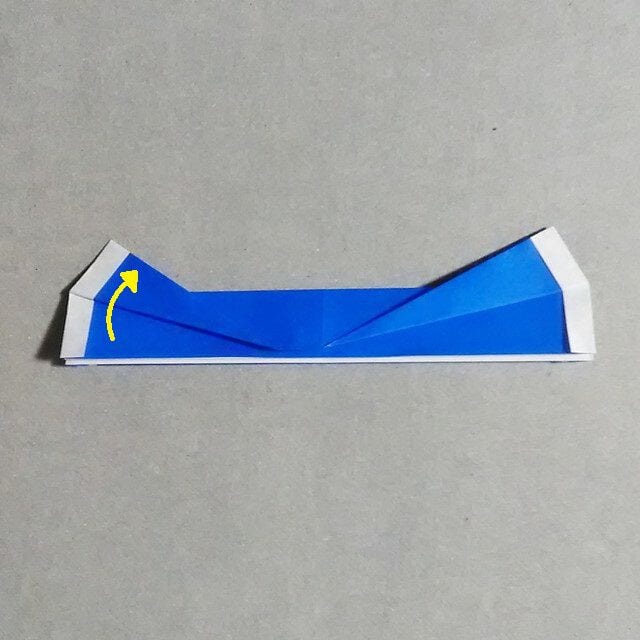 STEP 10.
Turn it over and fold it symmetrically.
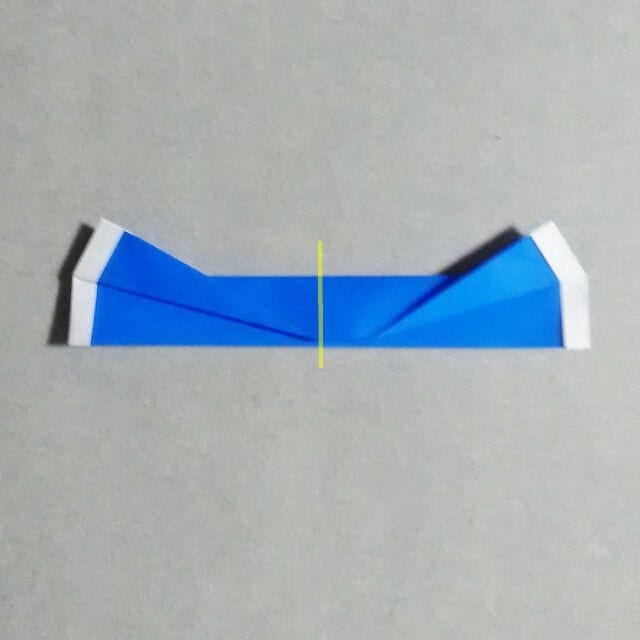 STEP 11.
Fold the left side up by one layer. Shift it a little from where you first folded it.
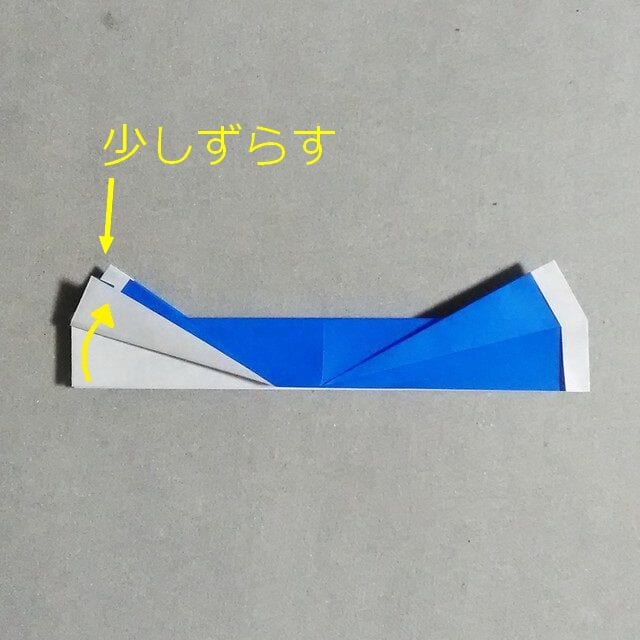 STEP 12.
Return to the original side and fold the right side the same way.
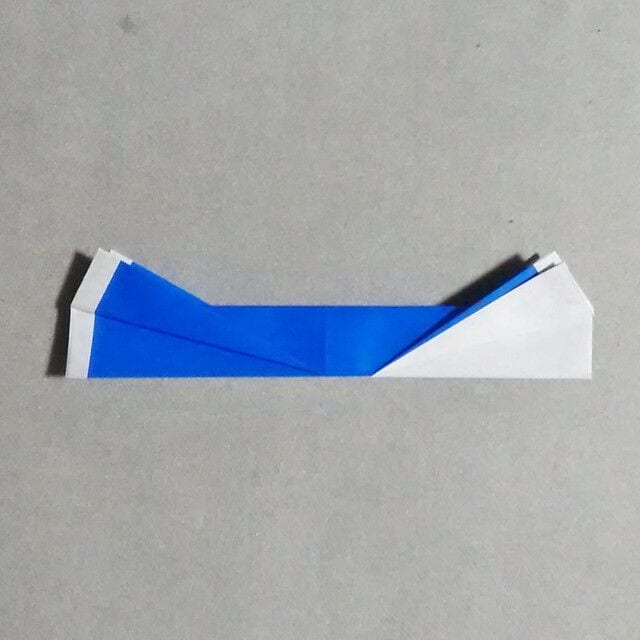 STEP 13.
Open the paper and place it so the white side is on top.
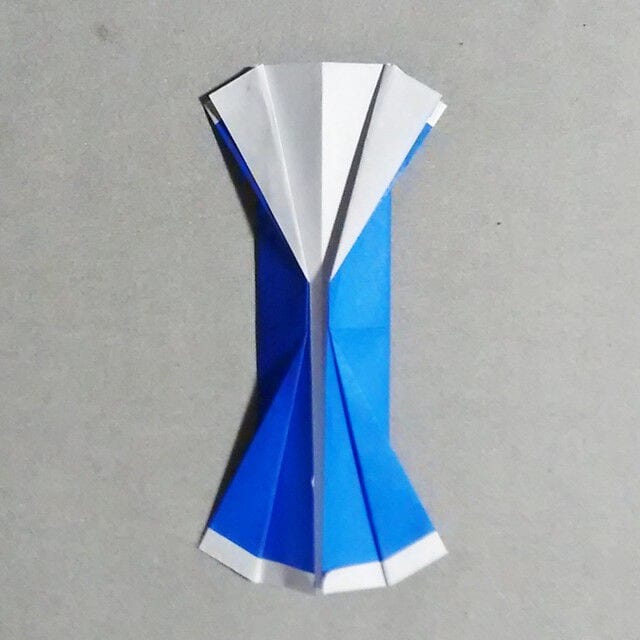 STEP 14.
Fold it back along the center crease.
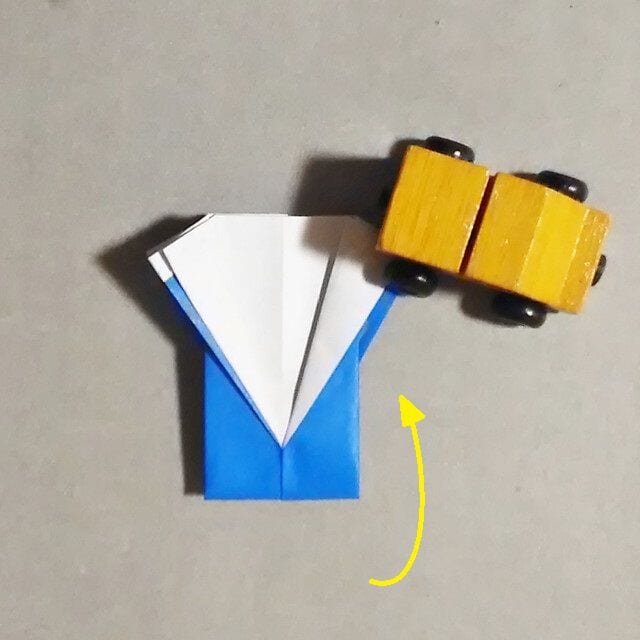 STEP 15.
Fold it down so the lower part is tucked in a little, as shown in the picture.
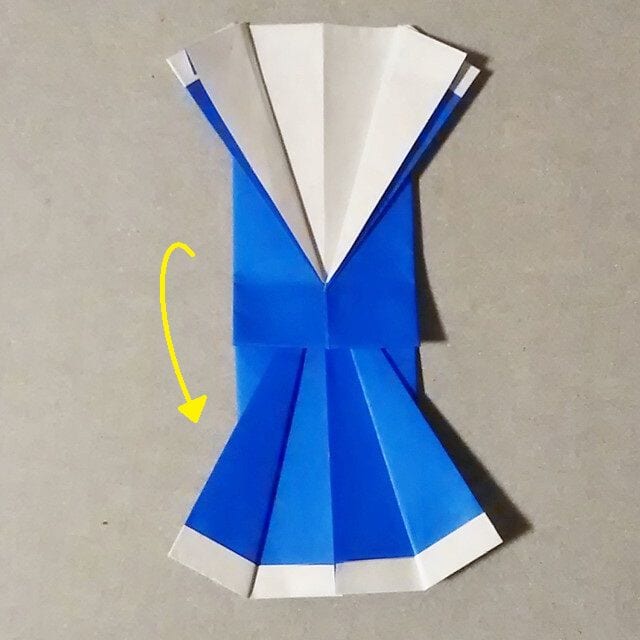 STEP 16.
Turn it over and fold the top edge so it slightly overlaps the part shown in the photo.
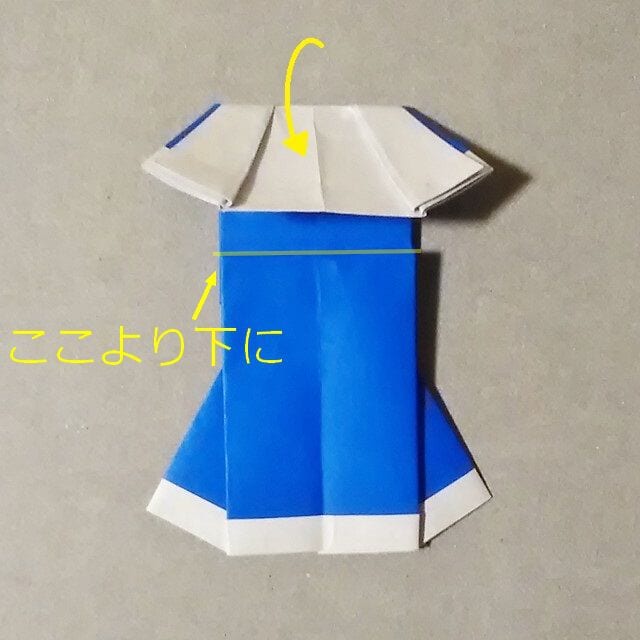 STEP 17.
Tuck the folded part into the place shown in the photo.
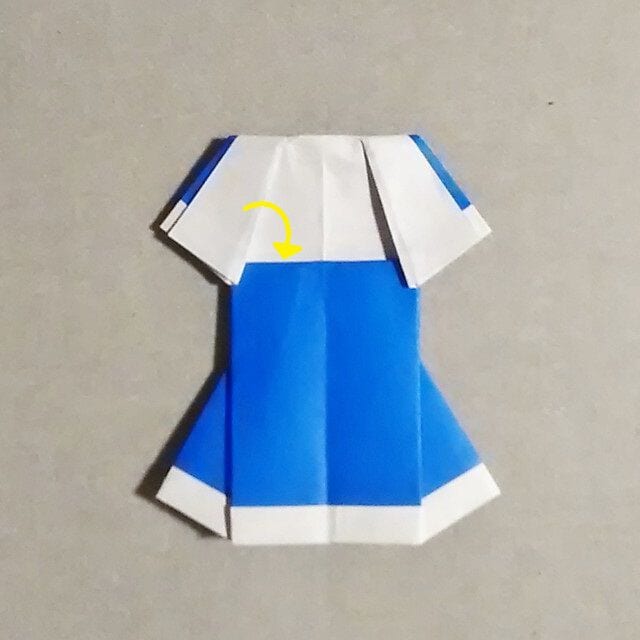 STEP 18.
Return to the original side, and it’s complete!
Well done!
How did it turn out?
I couldn’t tell what shape it was becoming until it was finished (laughs).




