
Simple Origami Noah's Ark
An ark is a lovely shape to fold: a flat sheet becomes a little boat with a cabin, and the whole thing can sit on a shelf as a story you can pick up. This version keeps things simple by pre-creasing before it commits to any shape.
Much of the sequence is preparation, folds that mark the paper and are then unfolded, before the crease pattern collapses the hull in one move. From there it is just tucking one flap into another and the ark is done. A 20 cm square gives a boat with real presence.
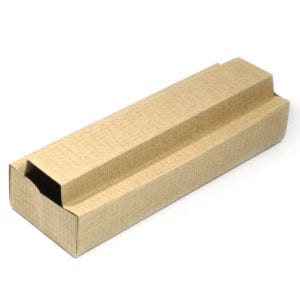
This page walks you through folding a simple origami Noah’s ark.
This ark is the simple version of the model, and it uses no special folding techniques, only basic valley and mountain folds followed by a crease pattern.
Before you begin, you should know what valley folds and mountain folds are. If you are comfortable with those two basics, you will have no trouble making this ark.
If you’re ready, let’s get started.
You can use almost any kind of paper. I’m using a 20 cm x 20 cm square here, a comfortable size if you are new to paper folding; once you know the model, try smaller paper.
This is the front side of the paper.
This is the back side of the paper, which is the same colour as the front.
Step 1.
Start with the back side of the paper facing up. Prepare to fold it in half horizontally, then unfold.
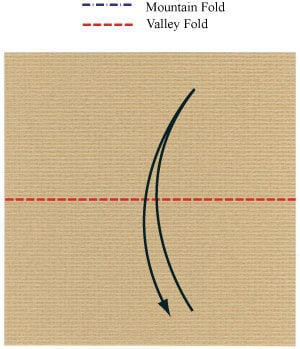
Step 2.
Fold it in half horizontally, then unfold. Prepare to apply a horizontal gate fold, then unfold.
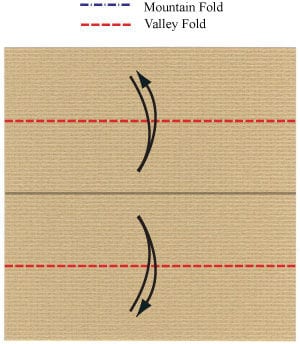
Step 3.
Apply the horizontal gate fold, then unfold. Prepare to apply four valley folds, then unfold.
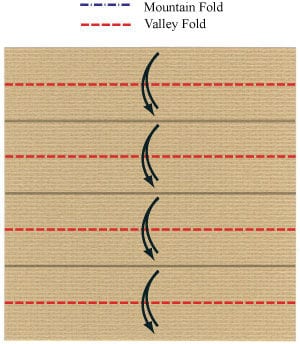
Step 4.
Apply the four valley folds from Step 3, then unfold. Prepare to apply two mountain folds, then unfold.
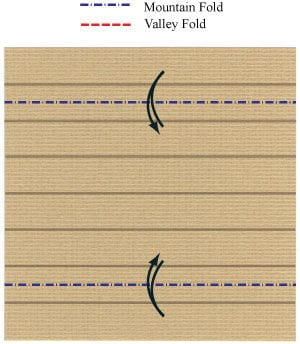
Step 5.
Apply the two mountain folds from Step 4, then unfold. Prepare to apply two vertical valley folds.
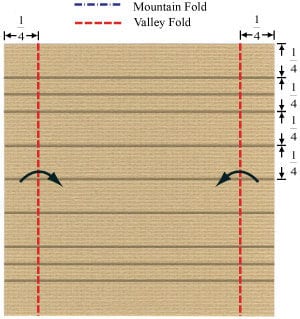
Step 6.
Apply the two vertical valley folds from Step 5. Prepare to apply six valley folds and two mountain folds, then unfold them all.
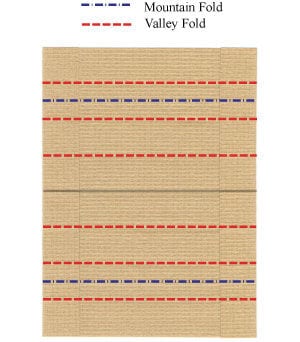
Step 7.
Apply the six valley folds and two mountain folds from Step 6, then unfold. Prepare to apply the crease pattern (CP) shown on the left.
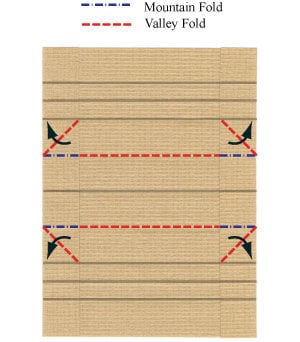
Step 8.
Apply the crease pattern from Step 7. Prepare to apply two horizontal valley folds.
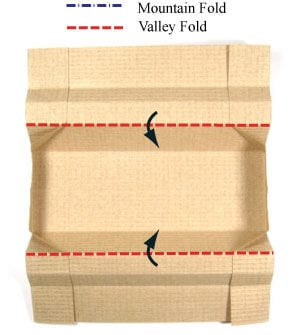
Step 9.
Apply the two horizontal valley folds from Step 8. Prepare to insert the lower flap into the upper one.
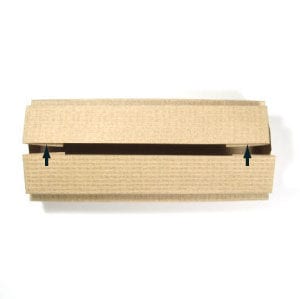
Step 10.
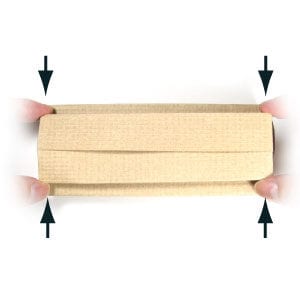
Start sliding the lower flap into the upper one.
Step 11.
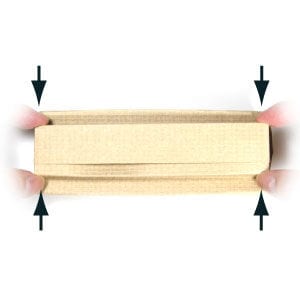
Continue sliding the lower flap in.
Step 12.
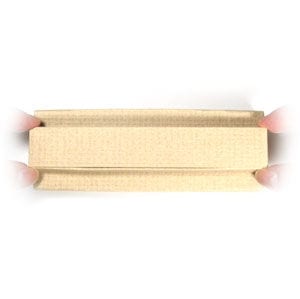
Finish sliding the lower flap in; the hull locks together.
Step 13.
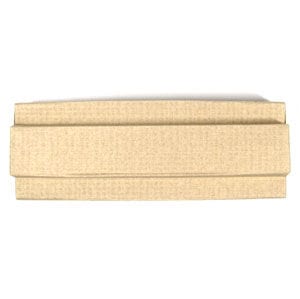
This is the finished ark seen from above.
Step 14.
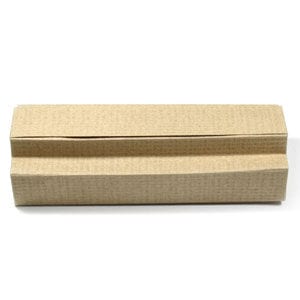
And this is the side view.
Step 15.
Congratulations! You have just folded a simple origami Noah’s Ark.




