Three-Part Santa
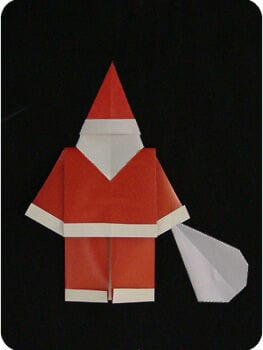
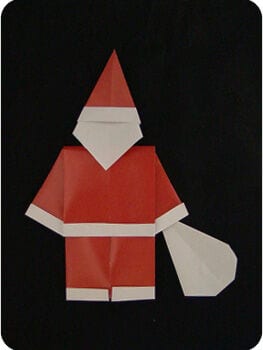
This Santa is really three small models in a trench coat: a body, a head, and a toy sack, each folded from its own square and then stacked together. It is a nice reminder that origami does not have to be one sheet to be clever.
The folding itself is gentle, mostly edges to the centre line and tips folded up, and the assembly at the end is where the character appears. Make a few and swap the hats around; no two come out quite the same.

This three-part Santa is a delightful model, and the name works two ways: you divide the paper into thirds, and the finished Santa has three parts, a head, a body, and a toy sack. It calls for scissors to cut the different-sized squares, plus a smidgen of glue to hold the components together.
Instructions for the Three-Part Santa
Start with a square sheet that is red on one side and white on the other. Red origami paper is ideal; if you do not have any, red wrapping paper cut into a square works just as well.

Step 1.
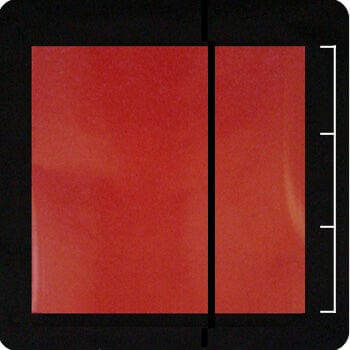
Picture the paper divided into three horizontal sections and cut one third off. It does not have to be exactly a third, just close.
Step 2.
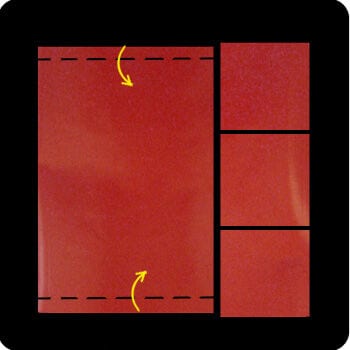
Cut the skinny segment into three small squares. You may be left with a sliver of paper, which you can discard.
Step 3.
Set the three small pieces aside for later. On the larger piece, fold the top and bottom edges in just a little; these become the fur cuffs on Santa’s suit.
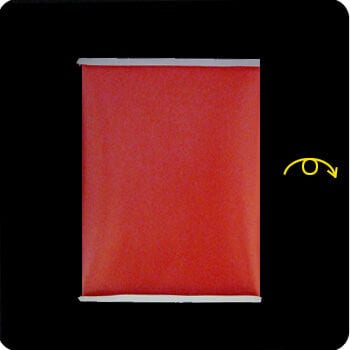
Turn the paper over.
Step 4.
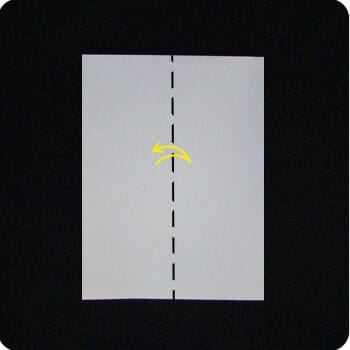
Fold the paper in half to crease the centre, then unfold.
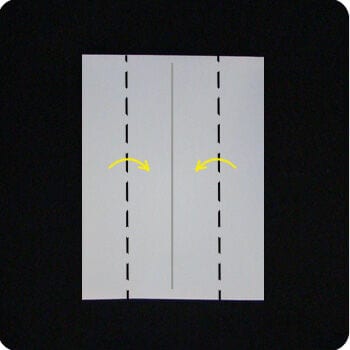
Step 5.
Fold the left and right edges in to the central crease.
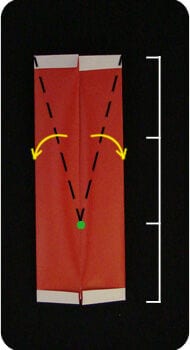
Step 6.
Picture the paper divided into three parts. Hold your finger on the one-third mark (the green dot) to anchor the paper, peel the paper out, and make a fold running from that mark to the top corners.
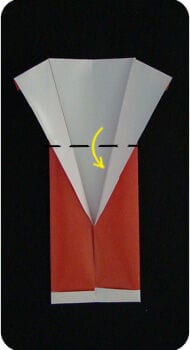
Step 7.
Fold the top half down, positioning the fold where the white area becomes wider than the red.
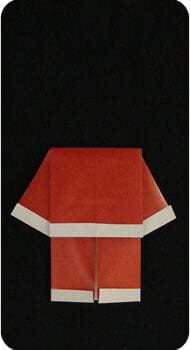
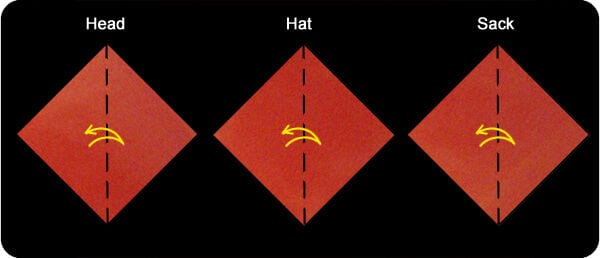
Step 8.
The three small squares become Santa’s head, hat, and toy sack. Set them as diamonds, balanced on a corner, then fold all three from left to right and unfold.
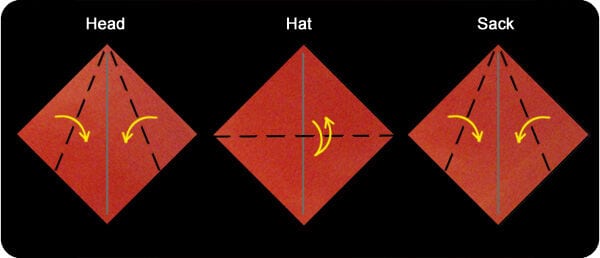
Step 9.
Head: fold the left and right edges in to the central crease. Hat: fold in half from top to bottom, then unfold. Sack: fold the left and right edges in to the central crease.
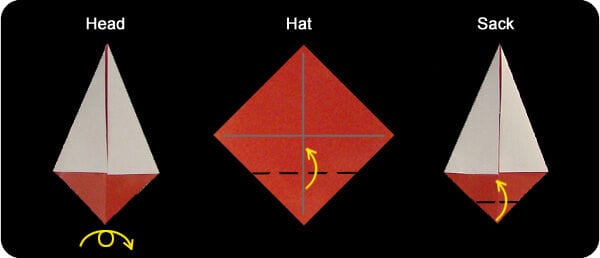
Step 10.
Head: turn over. Hat: fold the bottom tip up to the horizontal crease. Sack: fold the bottom tip up about a third of the way.
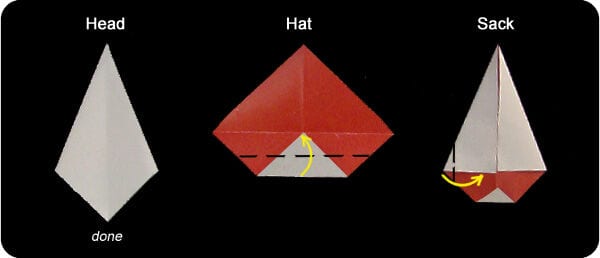
Step 11.
Head: done. Hat: fold the bottom edge up once more. Sack: fold the left corner in a little so it is less angular.
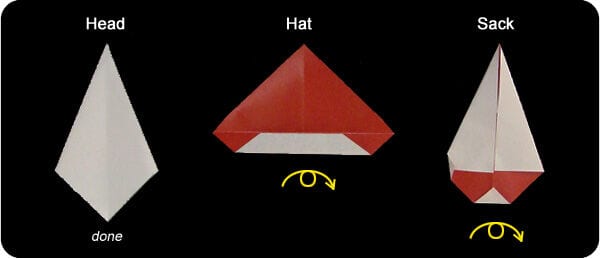
Step 12.
Turn the hat and the sack over.
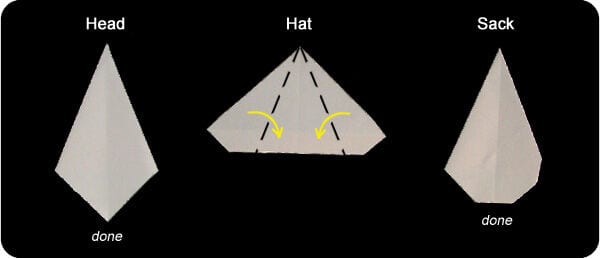
Step 13.
Hat: fold the left and right edges in to the central crease. Sack: done.
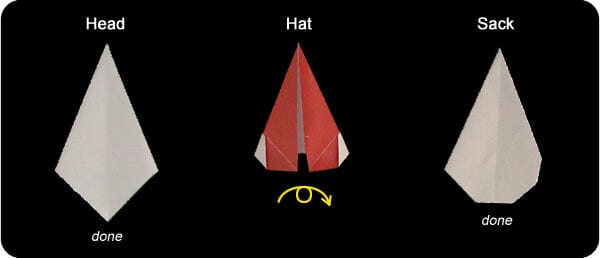
Step 14.
Hat: turn it over.
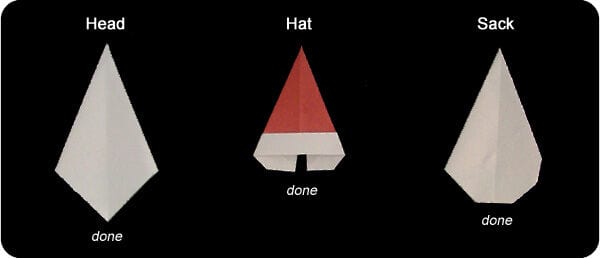
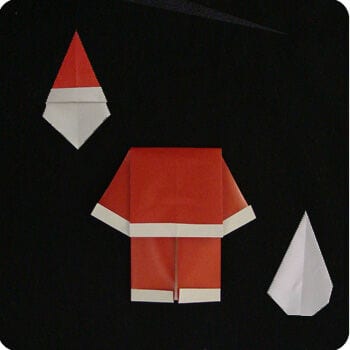
Step 15.
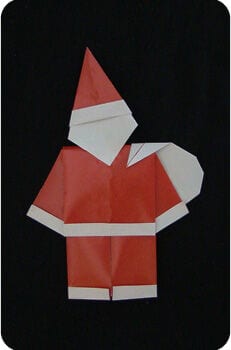
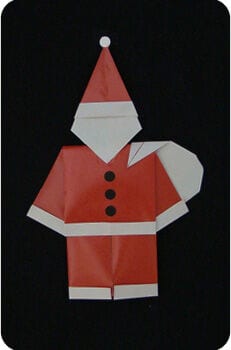
Slide the hat over Santa’s head. The three parts can be assembled in many ways, so try a few arrangements to build your own whimsical Santa.