
Boomerang Paper Airplane
There is a particular kind of joy in throwing a paper plane and watching it turn around and come back. This one earns that trick honestly: a curved crease along the trailing edge blocks the airflow just enough to bend the flight path into a circle.
That also means it will not fly perfectly on the first throw. Expect to adjust the arc, pinch the wings, and test-throw a few times; the tuning is half the project, and the moment it loops back to your hand is worth it.
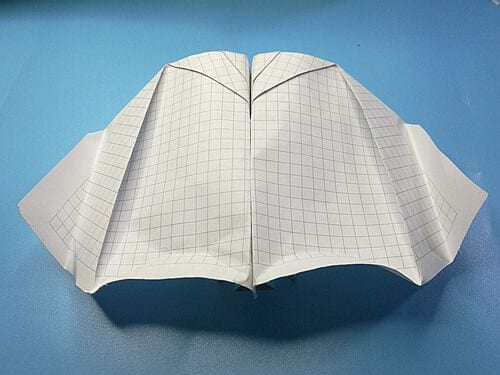
The boomerang paper airplane is a very distinctive aircraft: throw it, and it flies back to you like a magic trick. It is not hard to fold, but it does need patient correcting during test flights before it flies perfectly.
Step 1.
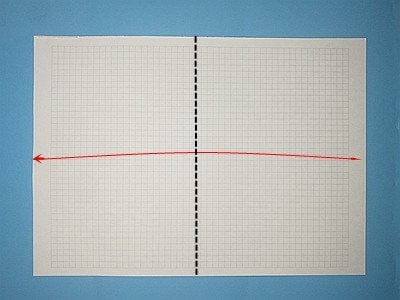
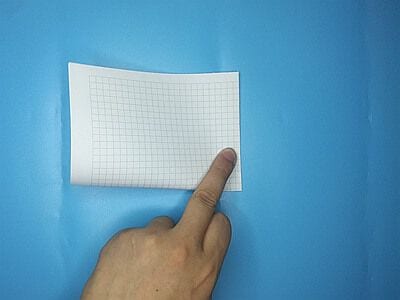
Two things matter when you choose paper for a paper airplane: weight and stiffness. A regular rectangular sheet of letter paper (8.5 x 11 inches, 215.9 x 279.4 mm) is enough. Fold the right edge over to the left edge, then flatten.
Step 2.
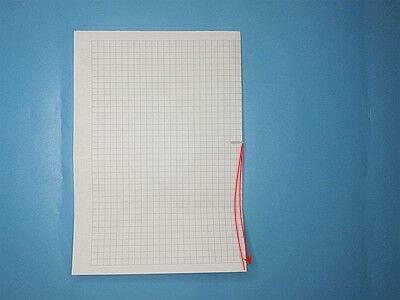
This step marks the centre line of the model. Make a small crease by folding the bottom edge up to the top edge, then unfold.
Step 3.
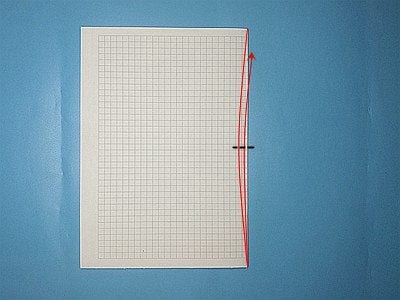
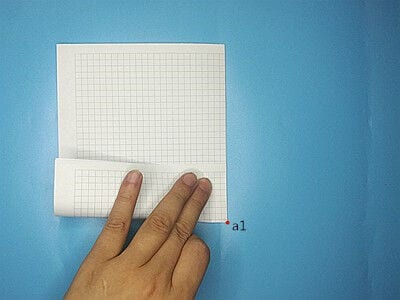
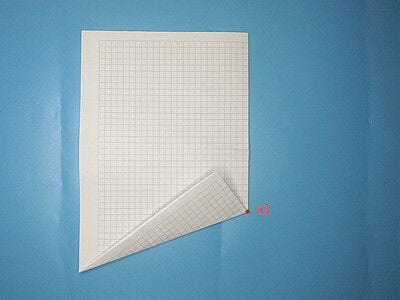
Make a small crease by folding the bottom edge up to the centre line, then unfold. The point where this crease meets the right edge of the model is labelled a1.
Step 4.
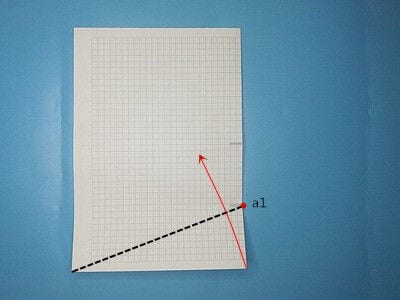
Make a crease along the dotted line that runs through point a1 and the lower left corner of the model.
Step 5.
Flatten the model as shown below to form a triangle, then turn it over.
Step 6.
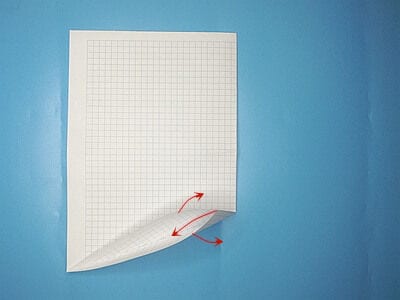
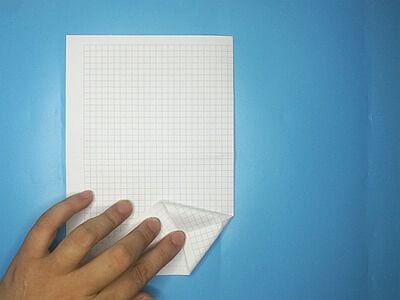
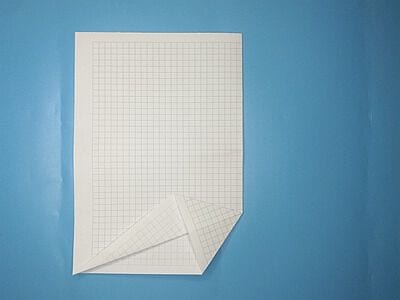
Fold the bottom edge up along the crease shown below.
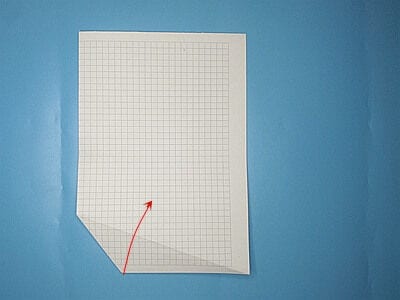
Step 7.
Fold the bottom right corner over to the bottom left corner.
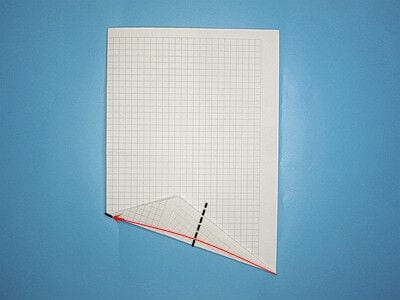
Step 8.
Fold the edge of the folded part until it meets the bottom edge. It forms a triangle with a sharp corner.
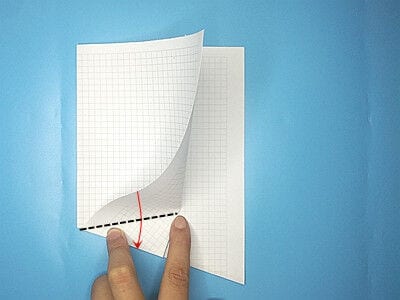
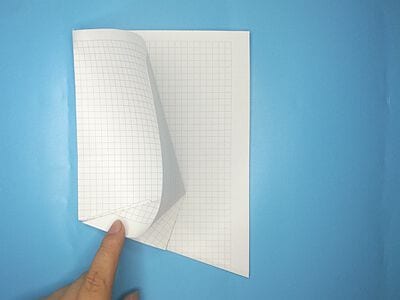
Step 9.
Pull up the triangle formed in the previous step and tuck it into the bottom layer as shown below.
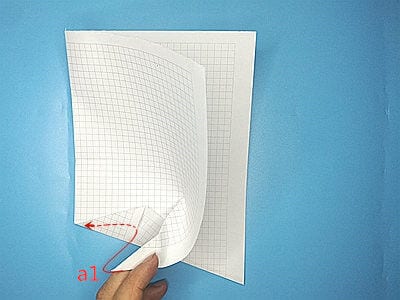
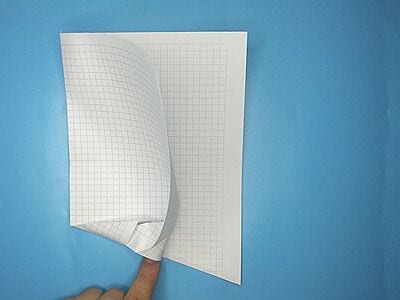
Step 10.
Flatten along the dotted line from a1 to a2, then turn the model over.
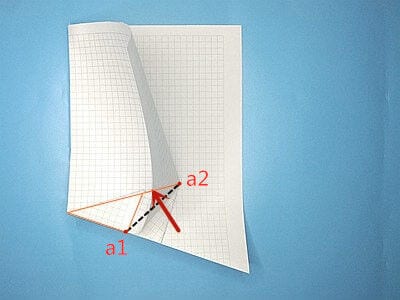
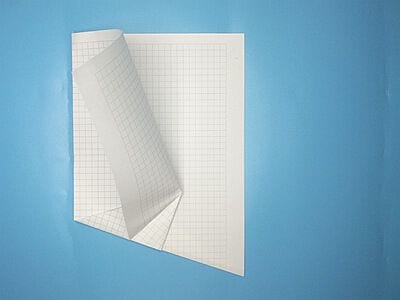
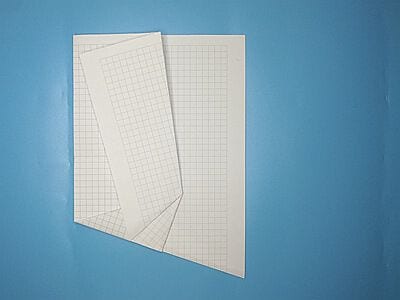
Step 11.
Fold the bottom left corner over to the bottom right corner.
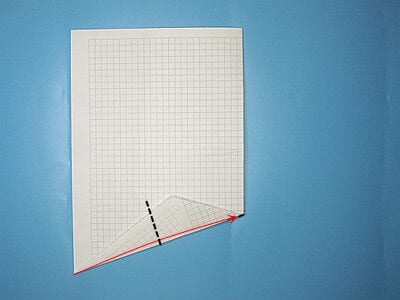
Step 12.
Fold the edge of the folded part until it meets the bottom edge. It forms a triangle with a sharp corner.
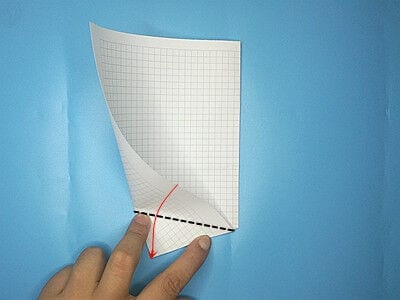
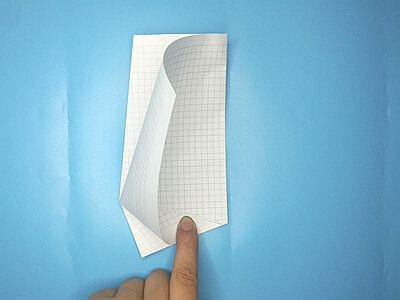
Step 13.
Pull up the triangle formed in the previous step and tuck it into the bottom layer as shown below.
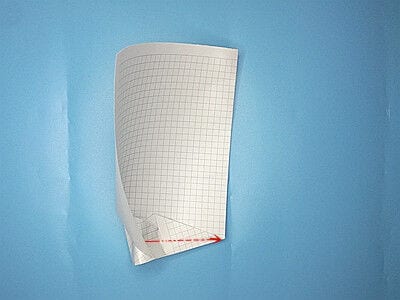
Step 14.
Flatten along the black dotted lines.
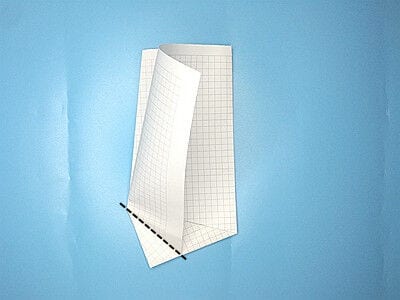
Step 15.
Rotate the model 90 degrees clockwise.
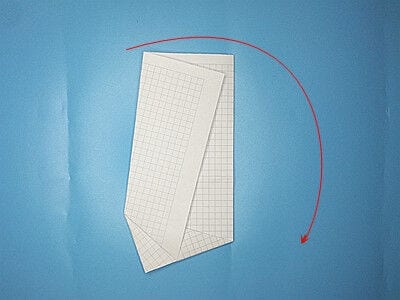
Step 16.
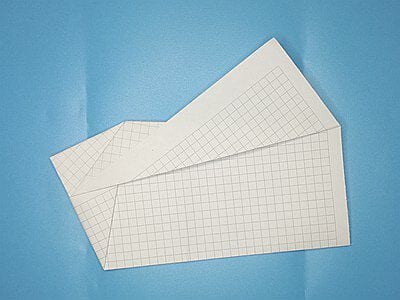
Now start folding the wings. Fold the upper layer of the model up along the dotted line, then turn the model over.
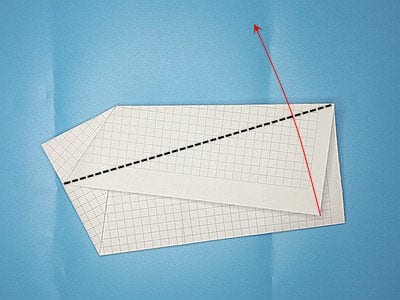
Step 17.
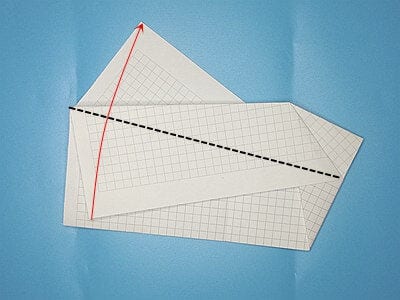
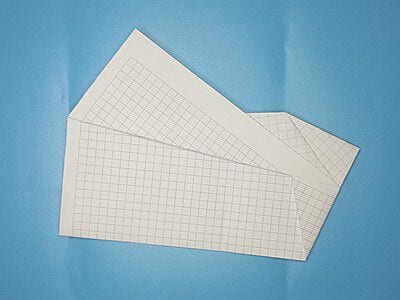
Fold the other wing of the plane.
Step 18.
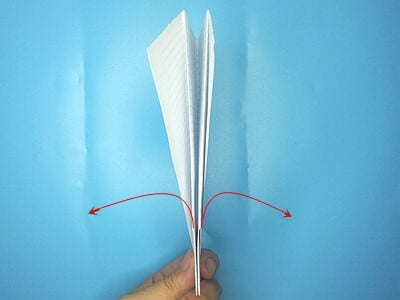
Pull the wings out to both sides as shown in the photo, then flatten the triangle at the bottom of the model.
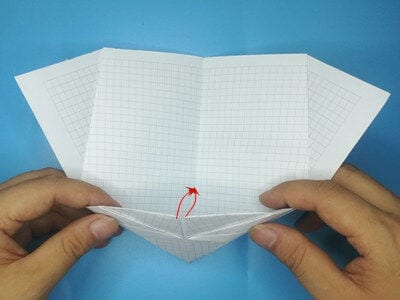
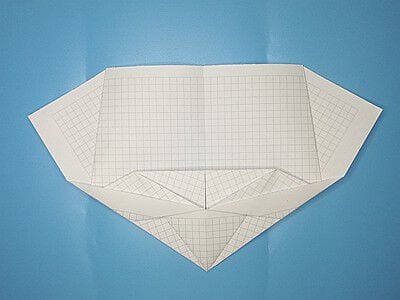
Step 19.
Fold the bottom corner up to the top along the dotted line.
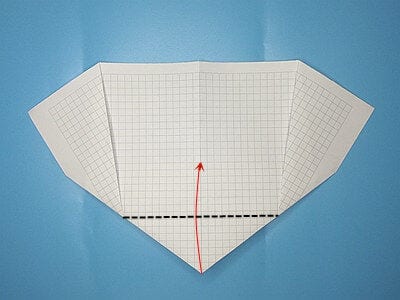
Step 20.
Fold the left corner of the model over to the right so it meets the right edge of the upper layer; keep the creases parallel to the centre line. Fold the right wing the same way, then rotate the model 90 degrees clockwise.
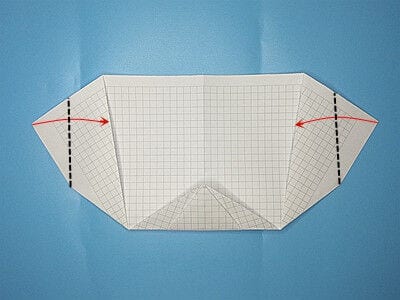
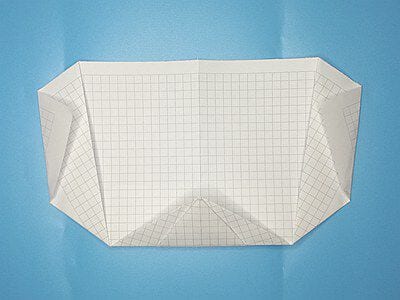
Step 21.
Fold the bottom edge up to the top edge along the centre line.
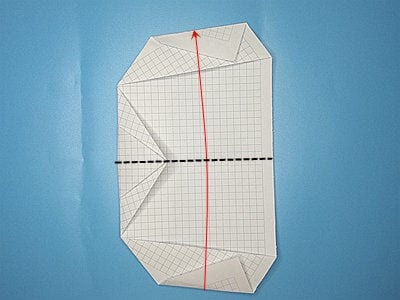
Step 22.
Fold the upper layer down along the dotted line to form a wing.
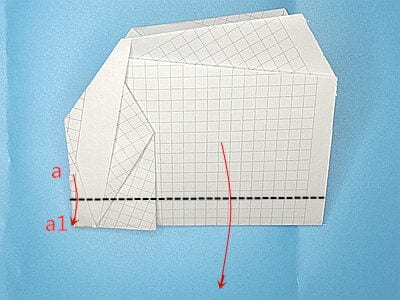
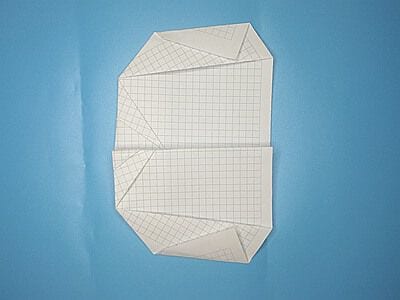
Step 23.
Fold the second wing the same way.
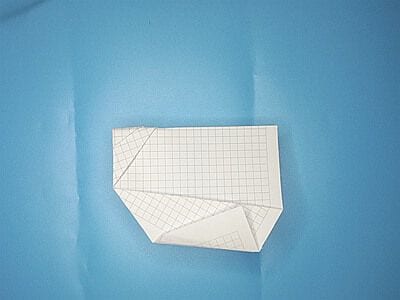
Step 24.
Unfold the model as shown below, then fold the bottom edge up along the red dotted arc. That arc is the key to a boomerang plane: it blocks the airflow and makes the plane curve back towards you. Adjust it during flight tests until the plane flies steadily.
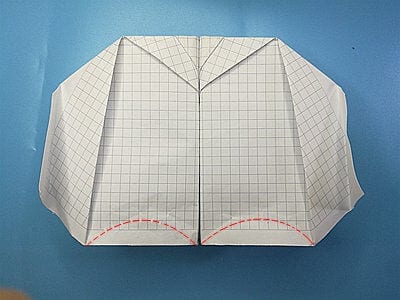
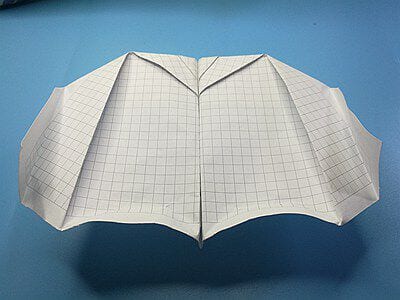
Step 25.
Pinch the wings into a semicircular arc with your thumbnail, as shown below.
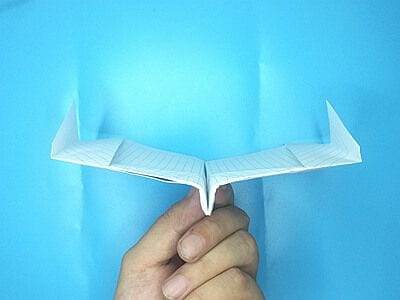
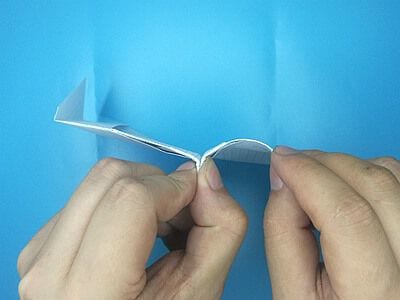
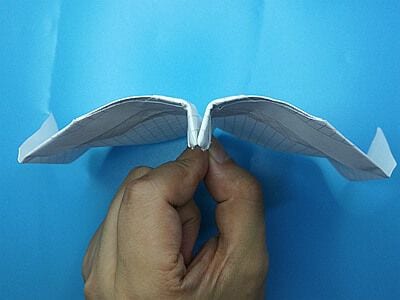
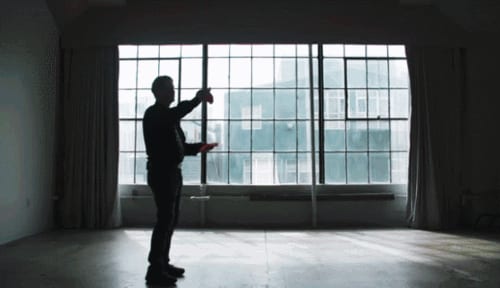
Throw your plane. First hold it at the bottom of the V-shaped crease in the middle, with your thumb and forefinger pinching the nose so the sides of the V press together. Then, in one smooth motion that curves to the left, throw the plane and release it.




