
Traditional Origami Parrot
Parrots are some of the most recognizable birds in the origami world—their hooked beaks and bright plumage make them an irresistible subject to fold. This traditional design is a wonderful place to start because it sneaks in two of origami's most important techniques, the inside and outside reverse-folds, without overwhelming you. By the time you finish, you'll have a little parrot standing proudly on its own, ready to perch on your desk. Grab a square of paper and let's bring this cheerful bird to life.
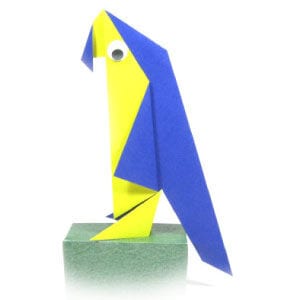
This page is for anyone who wants to fold a traditional origami parrot.
This origami parrot is an easy model to fold. You will be able to learn both the inside reverse-fold and the outside reverse-fold from this model.
If you are ready, then let’s get started.
You may use any kind of paper to fold the origami parrot. It is a little easier if the front and back sides of the paper are slightly different in texture or color.
Make sure the paper you use is a square (all sides equal and all angles 90 degrees). The paper I am using here is a 15cm x 15cm square, the same size as a typical sheet of origami paper.
This is the front side of the paper.
This is the back side of the paper.
STEP 1.
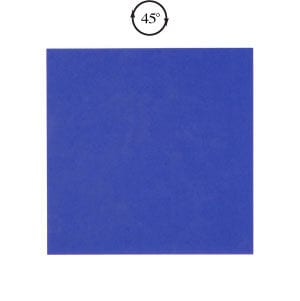
Start with the front side of the paper facing up. Prepare to rotate the paper by 45 degrees.
STEP 2.
Rotate the paper by 45 degrees. Prepare to apply a vertical “mountain-fold” and then unfold.
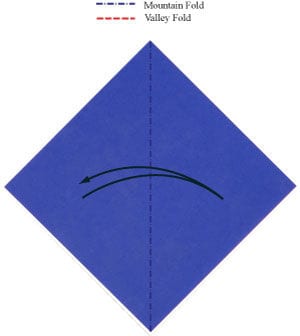
STEP 3.
Apply the vertical mountain-fold from step #2 and then unfold. Prepare to apply two valley-folds.
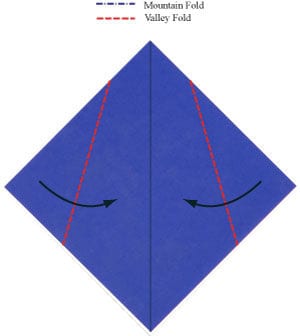
STEP 4.
Apply the two valley-folds from step #3. Prepare to turn the origami parrot model over.
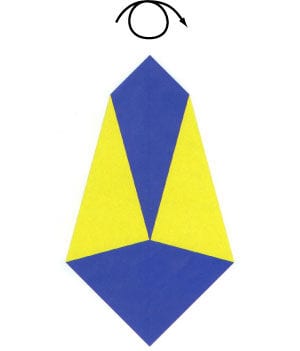
STEP 5.
Turn the origami parrot model over. Prepare to apply a vertical valley-fold.
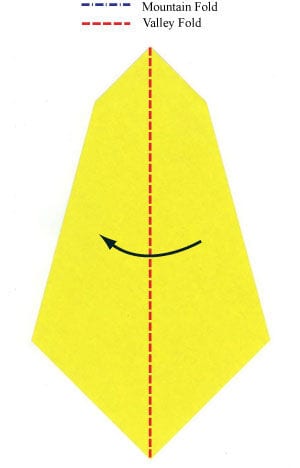
STEP 6.
Apply the vertical valley-fold from step #5. Prepare to cut the origami parrot model along a dotted line.
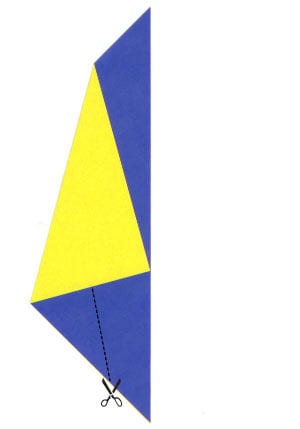
STEP 7.
Cut the origami parrot model along a dotted line. Prepare to apply a valley-fold.
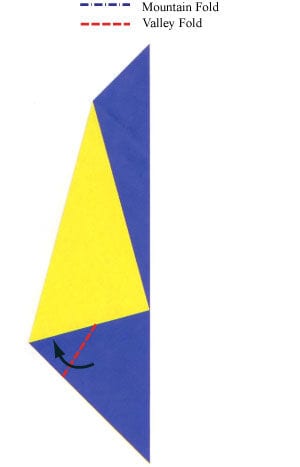
STEP 8.
Apply the valley-fold from step #7. Prepare to apply a mountain-fold.
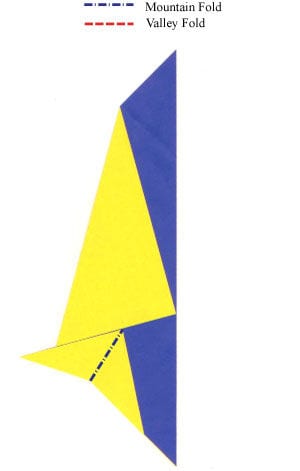
STEP 9.
Apply the mountain-fold from step #8. Prepare to apply a valley-fold.
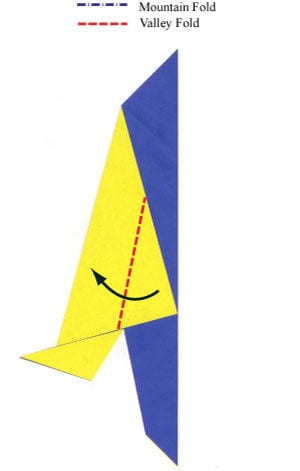
STEP 10.
Apply the valley-fold from step #9. Repeat the same valley-fold on the other side as well. Prepare to apply an “inside reverse-fold”.
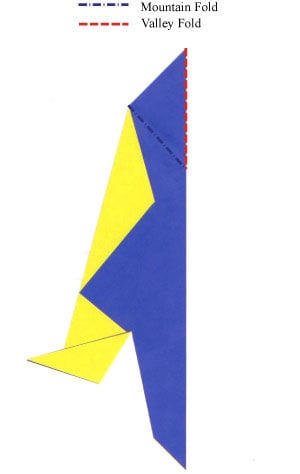
STEP 11.
Apply the “inside reverse-fold” from step #10. Prepare to apply an “outside reverse-fold”.
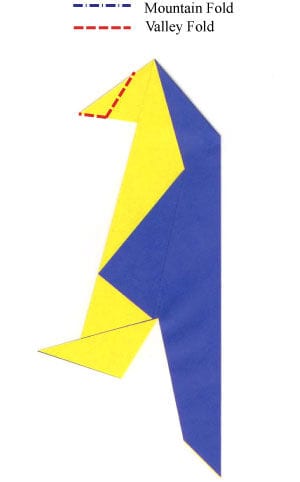
STEP 12.
Apply the “outside reverse-fold” from step #11. Prepare to draw eyes or put googly eyes.
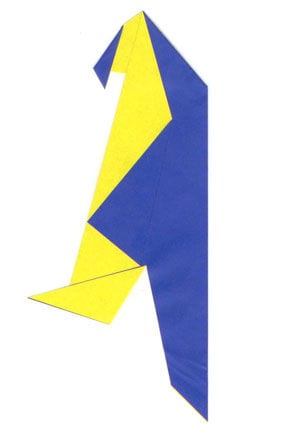
STEP 13.
Here I used two googly eyes, but you can draw the eyes instead. Prepare to let the model stand on its own.
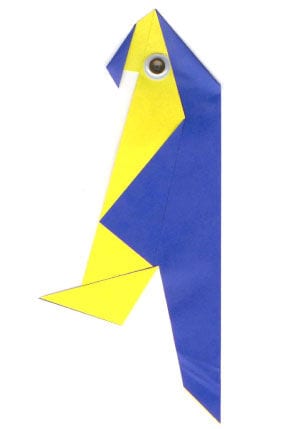
STEP 14.
Let the origami parrot model stand on its own. Congratulations! You have completed your traditional origami parrot.





