
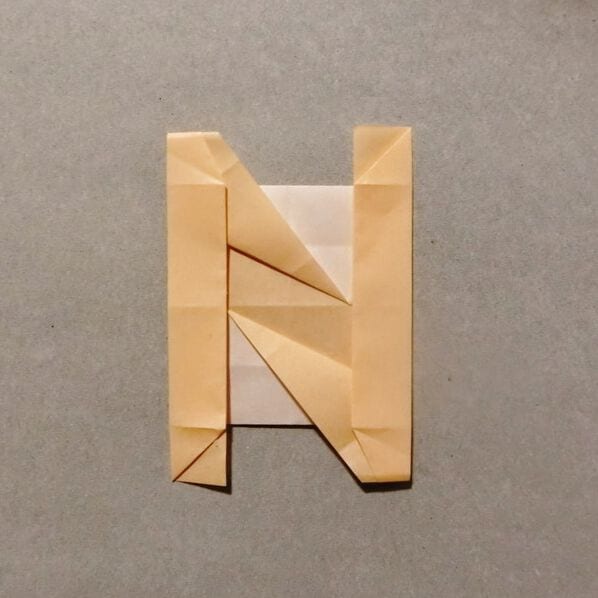
Origami Alphabet "N"
Spelling things out in paper is a quietly addictive corner of origami, and the letter "N" is one of the most satisfying shapes to crack. Those two diagonal strokes balanced on a vertical spine make it feel almost architectural—like a tiny paper girder. The good news is it looks far more complicated than it is: with a few well-placed reference creases and a couple of corner folds, the "N" almost assembles itself. Whether you're building a full paper alphabet or just want one standout initial, this is a relaxing fold that rewards a steady hand more than any special skill.
Hello!
Below is the folding sequence I’ll be using, so please follow along—no need to overthink it (= ¯ ∇ ¯ =).
Don’t worry if your folds look a little rough at first; it will still turn out just fine (laugh).
How to fold the origami alphabet “N”
As with the other letters, this “N” is folded from a single sheet of origami paper.
Let’s fold it now.
[ 1 ] Turn the white side up.
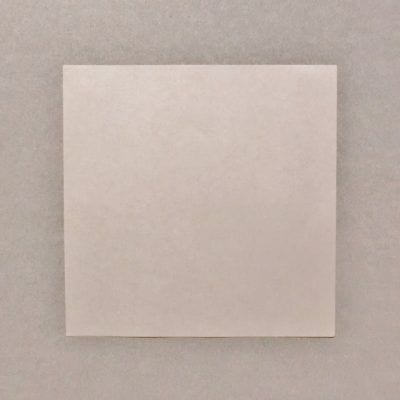
[ 2 ] Fold it in half to the left, then fold it in half to the right.
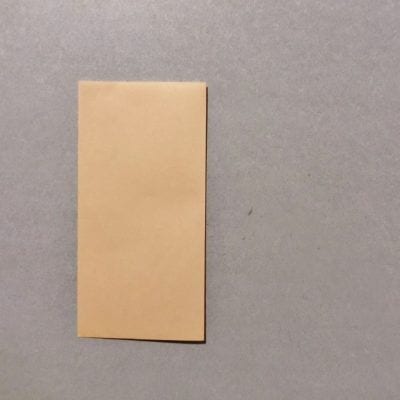
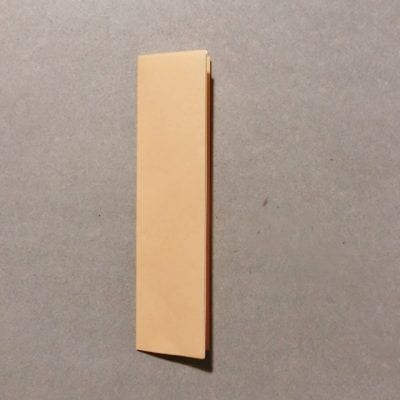
[ 3 ] Fold back only the top two layers to the left.
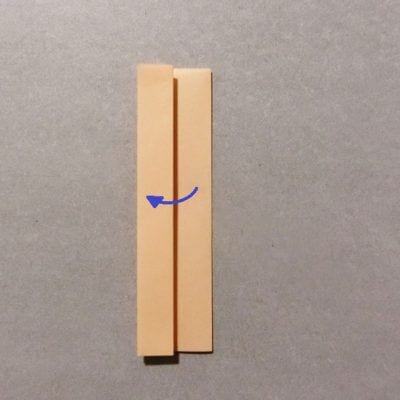
[ 4 ] Unfold it once, then fold it up in half.
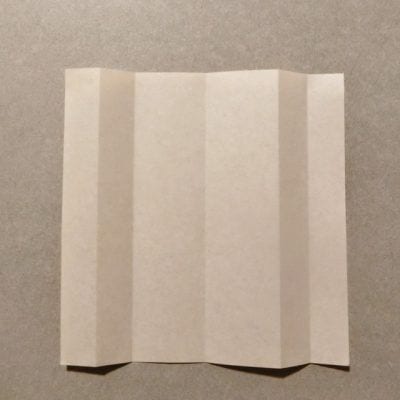
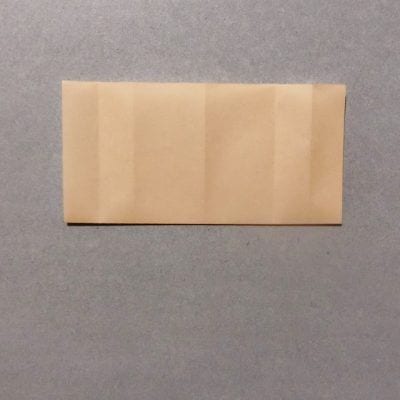
[ 5 ] Fold it down in half, then fold only the top two layers up.
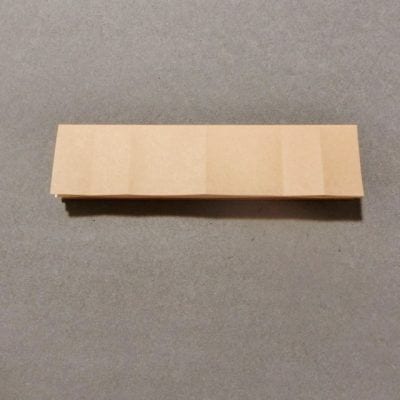
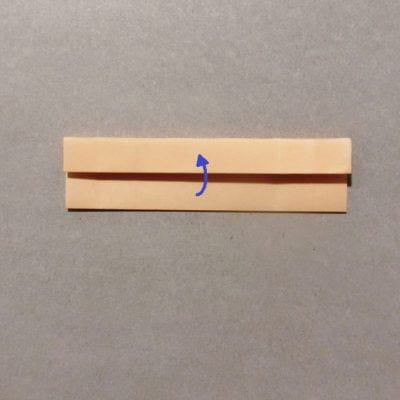
[ 6 ] Unfold it again and fold the left and right crease lines toward you.
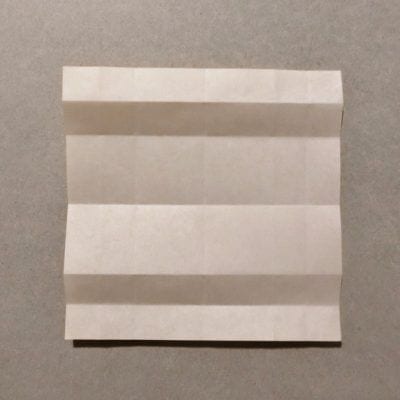
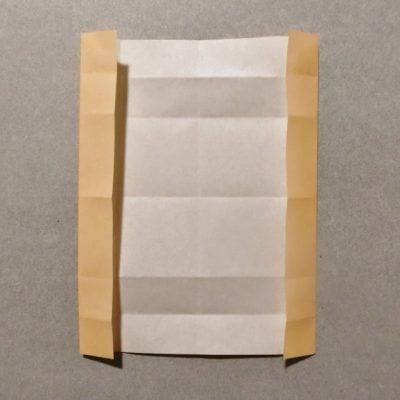
[ 7 ] Turn it over and fold the top and bottom edges to the center.
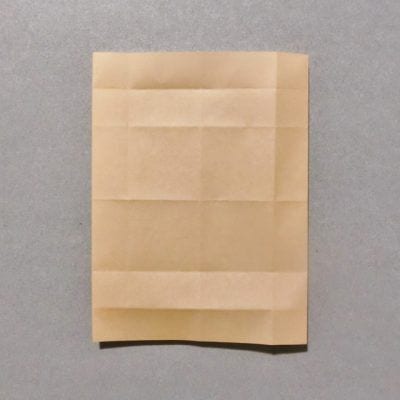
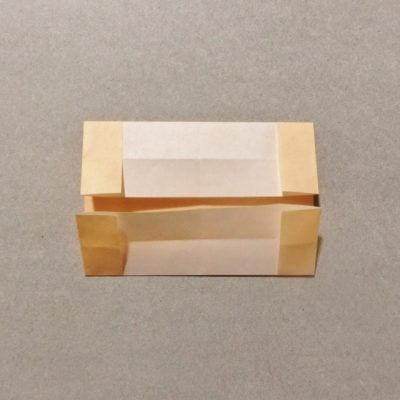
[ 8 ] Fold the top-right corner and the bottom-left corner.
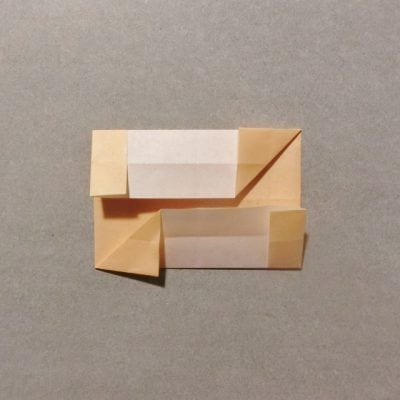
[ 9 ] Fold the other two corners as shown in the photo.
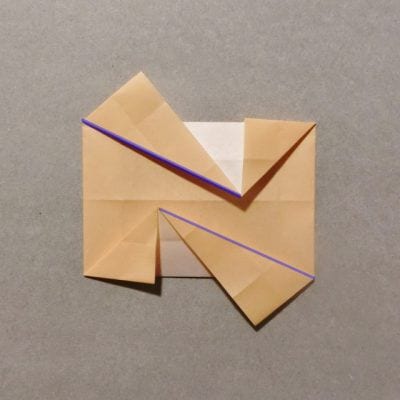
[ 10 ] Unfold the inner folded part shown in the photo, then fold it back into place.
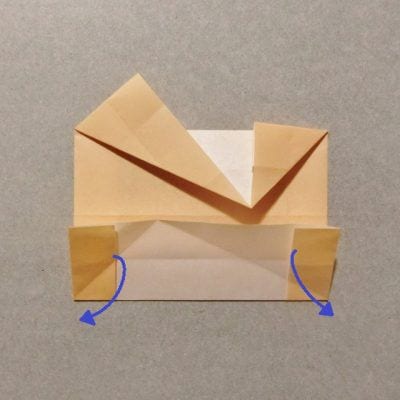
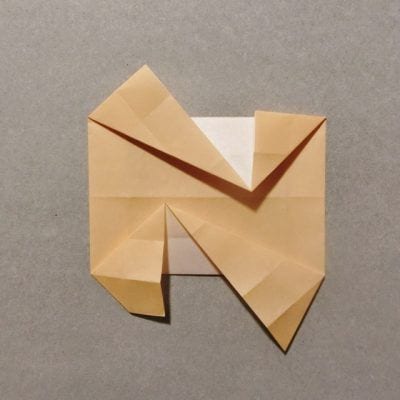
[ 11 ] Spread it back open in the same way.
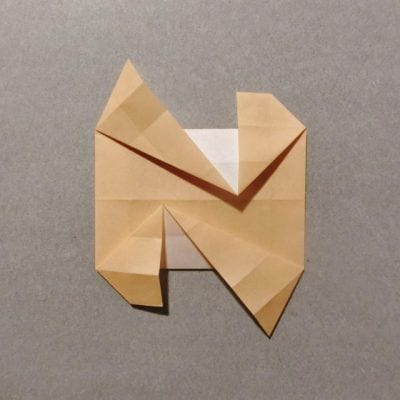
[ 12 ] Fold the left and right vertical crease lines toward you.
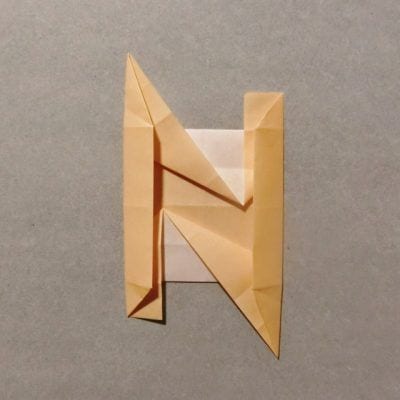
[ 13 ] Fold the sharp points at the upper-left and lower-right to the same height, then fold them back to finish.
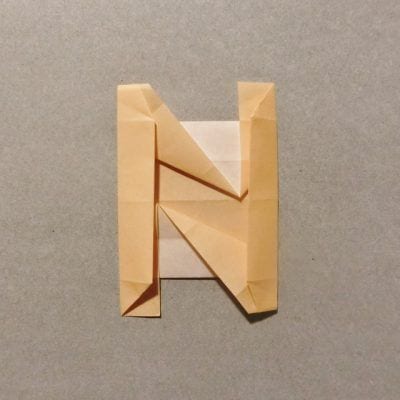
[ 14 ] If you secure the loose parts with double-sided tape, the letter will look cleaner and more defined.
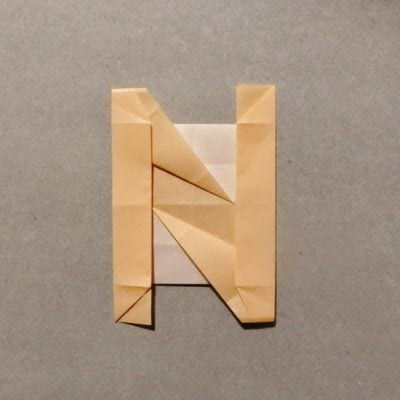
Thank you for your hard work!
How was it?
I managed to get a nice clean diagonal line.




