
Inside Reverse Fold (Complete Tutorial)
If the inside reverse fold has ever tripped you up, this tutorial is the patient, complete walkthrough you have been looking for. Where quick guides assume you already know the setup, here we go all the way back to a plain square of paper and build the fold from the ground up, one crease at a time — the same way a crane's head is shaped when you finally get there.
The whole trick is preparation. Two mirror-image creases on opposite sides of the paper, a quick flip, and then the paper simply wants to sink inside along the folds you already made. Nine steps, no shortcuts, and by the end the inside reverse fold will feel less like a puzzle and more like muscle memory.
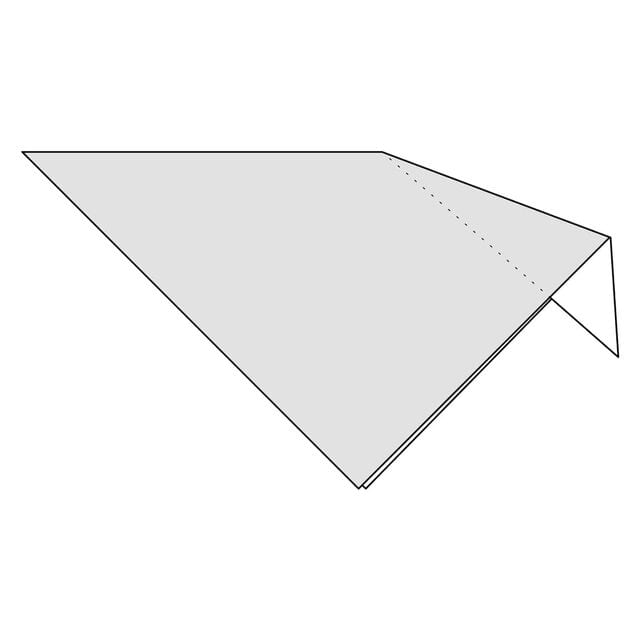
This is a very common fold in origami, where the paper is folded inside of the model.
Step 1
Start with a square of paper, white side up, and fold it in half diagonally. This is not actually part of the inside reverse fold, but it will give you a shape you can use to make the fold on.
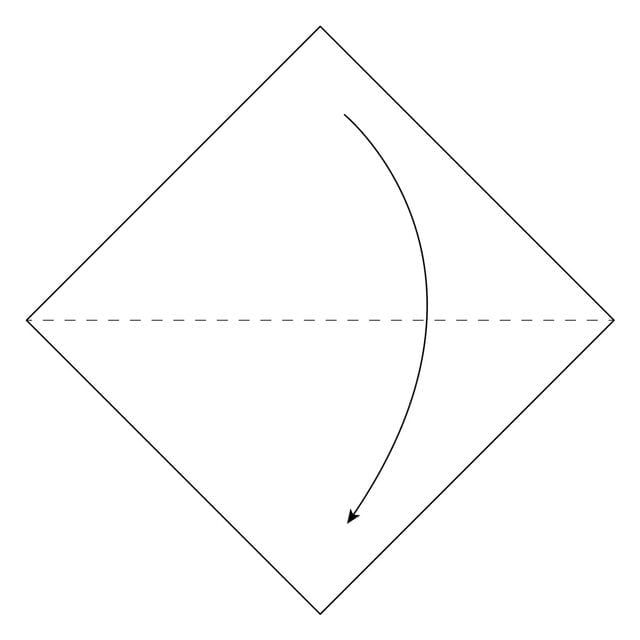
Step 2
Fold along the dotted line. This is where you will make the inside reverse fold. Your fold does not have to match the exact position of the line, so do not worry if it is not perfectly aligned.
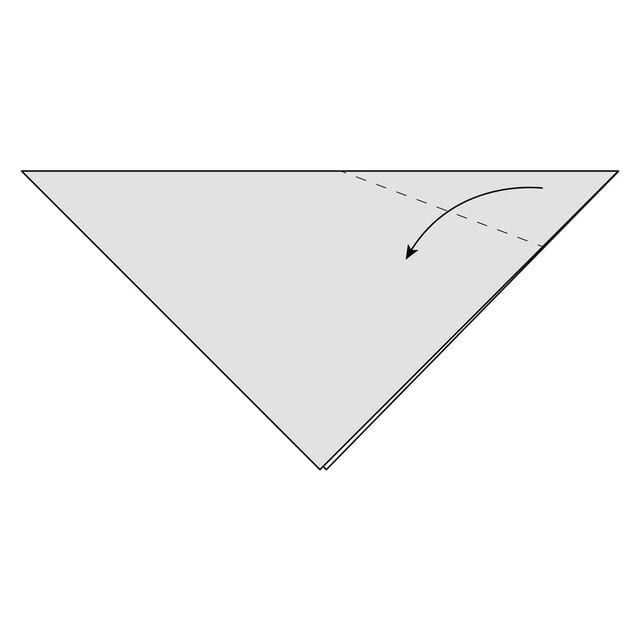
Step 3
Crease this fold well, then unfold it.
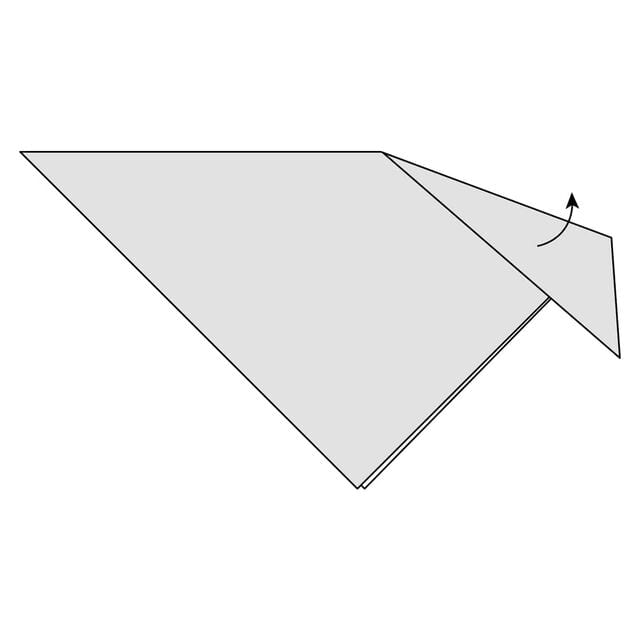
Step 4
Turn the paper over.
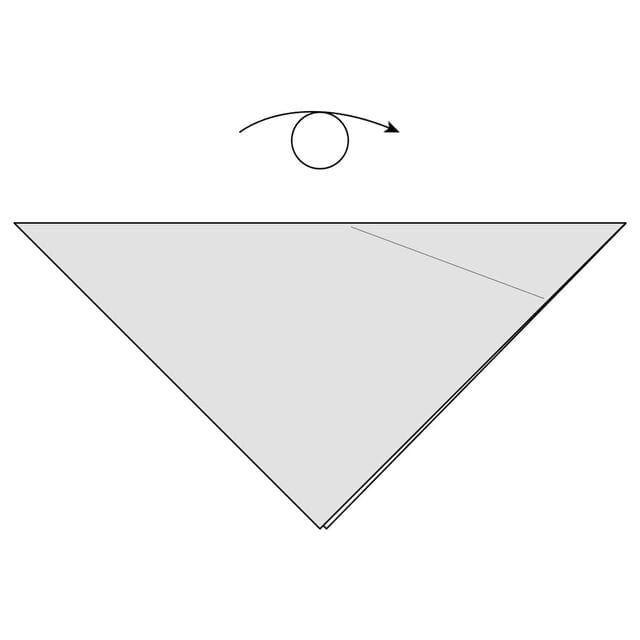
Step 5
Make a fold along the dotted line. This will be the opposite side of the fold you made earlier — now you are folding it the other way.
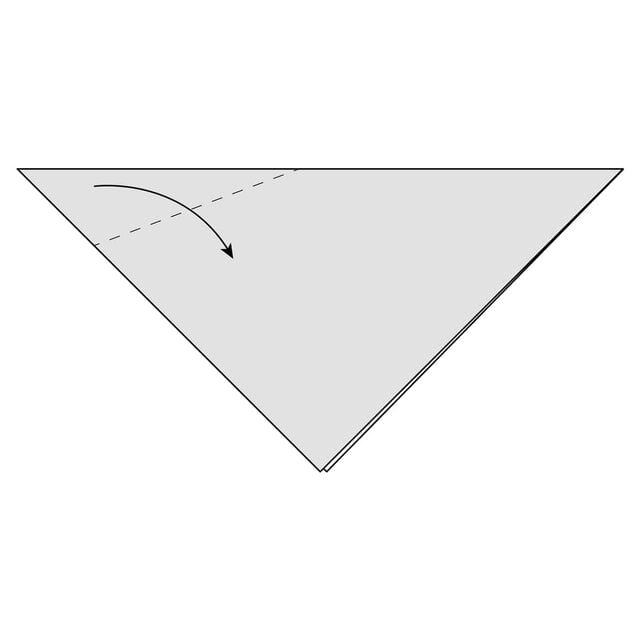
Step 6
Crease this fold well, then unfold it.
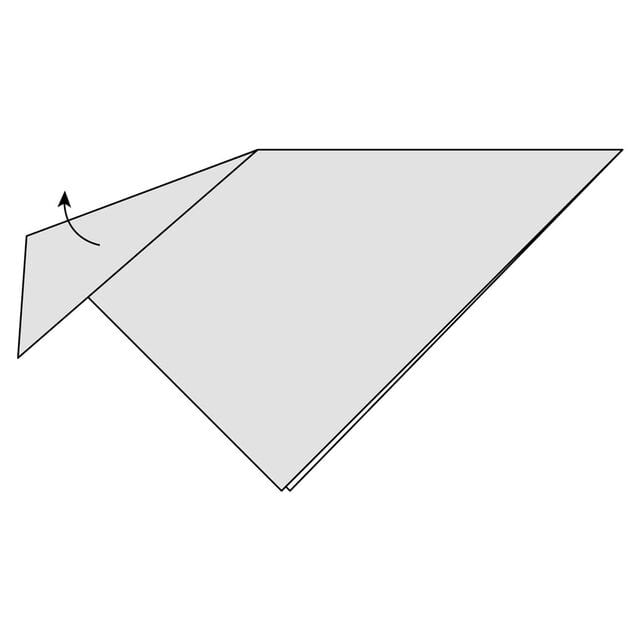
Step 7
Turn the paper over again, so it is back the way it was before.
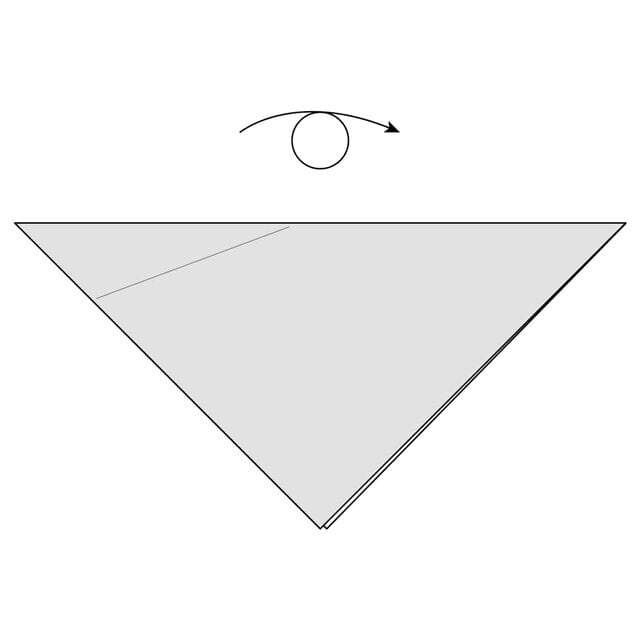
Step 8
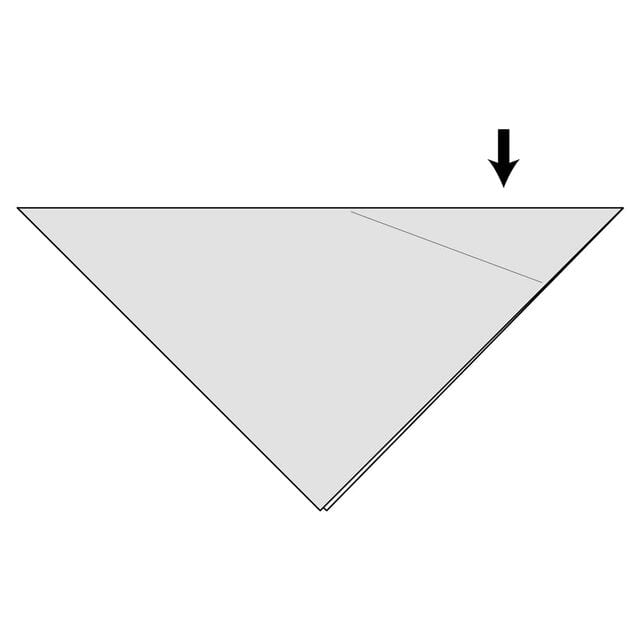
Push the paper inside the model, following the two folds you made before.
Step 9
Push the paper all the way inside the model and flatten it along the creases you already made.
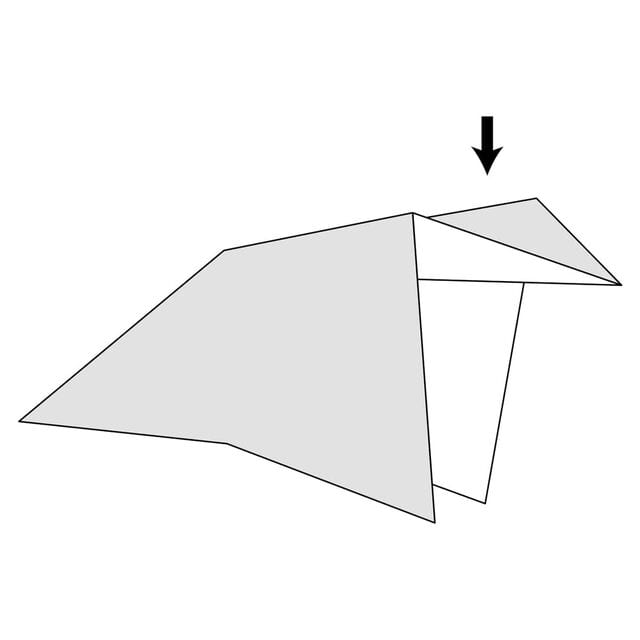
The completed inside reverse fold. The dotted line shows the path of the paper inside the model.




