
Origami bird base
Almost every origami bird you have ever seen — the crane on a hospital window, the heron on a birthday card — began its life as the exact same folded shape: the bird base. Designers give these shared starting points names so instructions can stay short: when a diagram says “prepare a bird base”, it is telling you to do everything on this page first.
It looks like a small pile of creases at first, but it is really just the Square Base with a few extra moves: fold the edges in, open the layers, flatten, and suddenly you are holding the two long points that will become the neck and tail. Nine steps, one square of paper, and every bird you fold from now on starts right here.
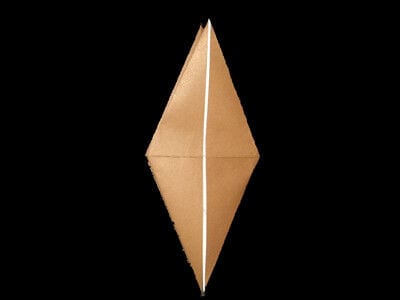
Learn how to make the origami bird base. Most origami art starts with very similar initial folds, and origami designers name these shared starting points for convenience. Because almost every bird model begins with the same opening sequence, it is called the bird base: whenever an instruction tells you to prepare a bird base, it simply means you need to complete the basic folding on this page first.
Step 1
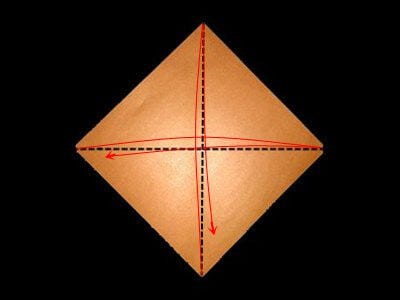
Start with the colored side of the paper facing up. Fold in half and open, then fold in half once again in the other direction, then turn over.
Step 2
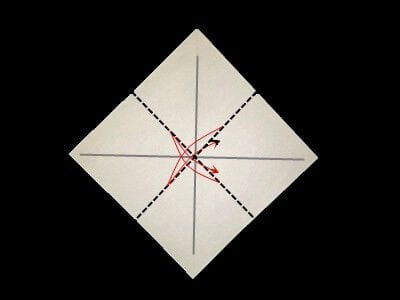
Make creases by folding one edge to the opposite edge, then unfold.
Step 3
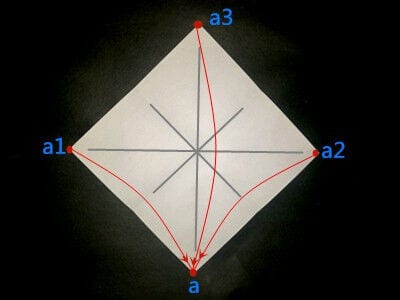
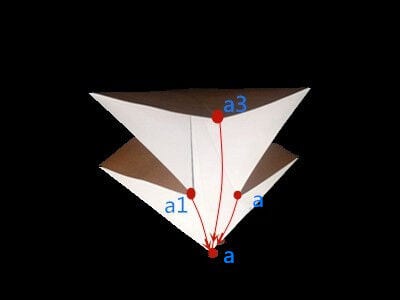
Fold the corners (a1), (a2) and (a3) so they meet at point (a).
Step 4
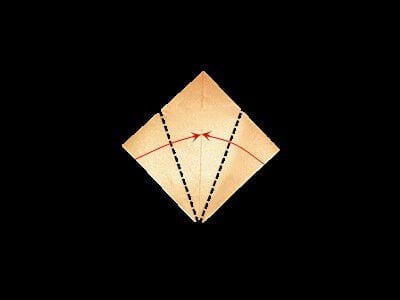
Fold both the left and the right edges to the center line.
Step 5
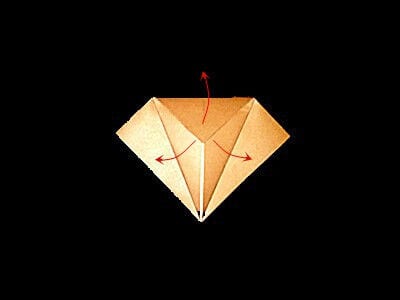
Fold the top corner down along the dotted line.

Step 6
Unfold.
Step 7
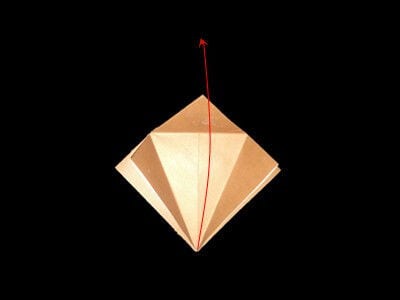
Open the upper layer by folding the bottom corner up. Then turn over.

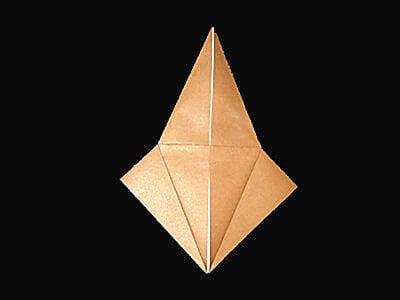
Step 8
Repeat step 4 to step 7.
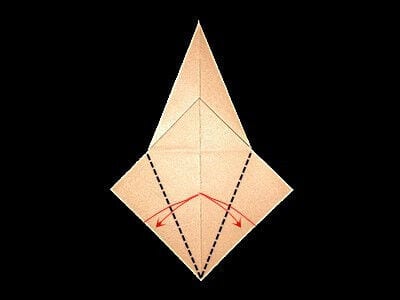
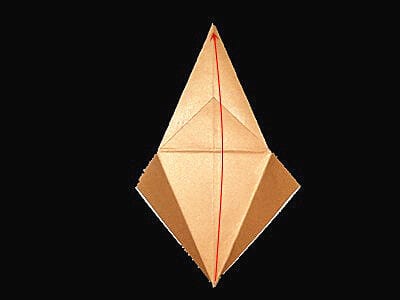
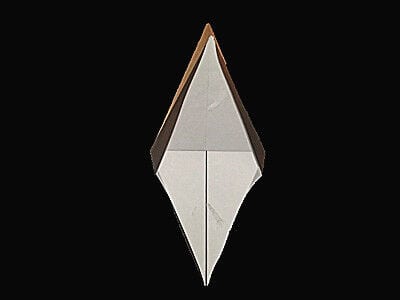
Step 9
The origami bird base is done.




