Origami Dolphin
There is something endlessly cheerful about a dolphin caught mid-leap, and folding one from a single square of paper is a small, satisfying magic trick anyone can learn. This tutorial walks you through a streamlined dolphin that builds on nothing more than half folds, mirrored back folds, and one clever inward fold to shape the tail. The steps repeat symmetrically, so once you understand the rhythm the whole model comes together smoothly — no tricky techniques required. Grab a sheet in ocean blue, or pick a two-tone paper so the belly shows a lighter shade, and by the end you will have a little dolphin ready to dive into your next ocean-themed display.

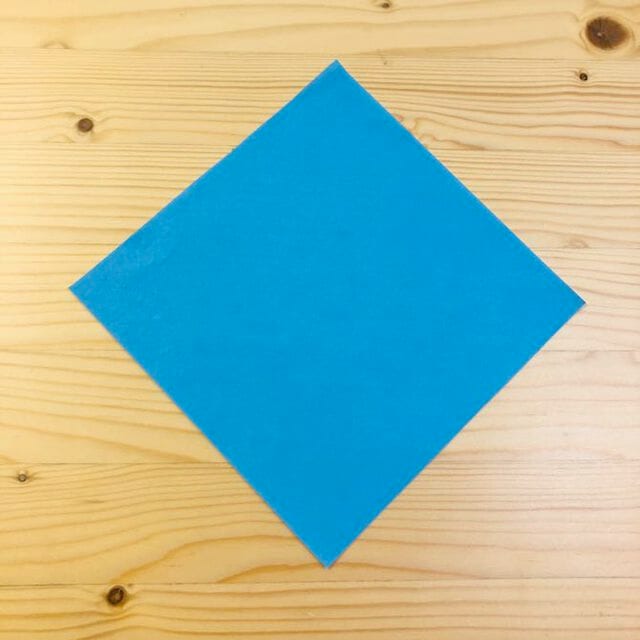
STEP 1
Fold the paper in half.
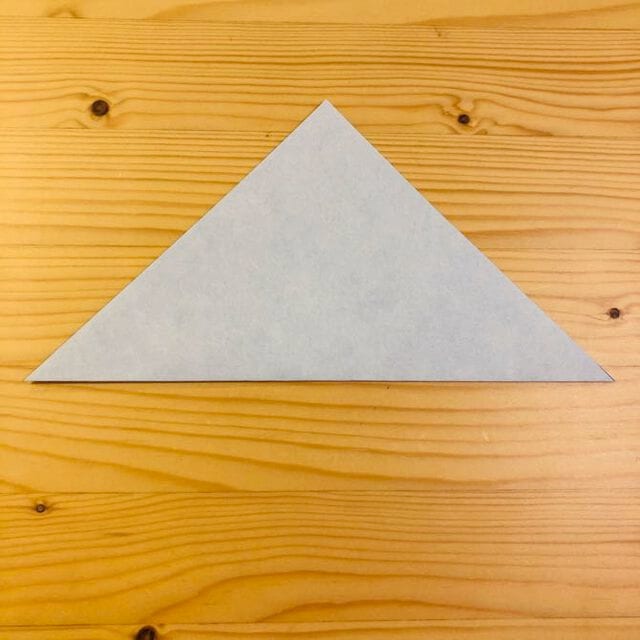
STEP 2
Fold at the position shown in the photo.
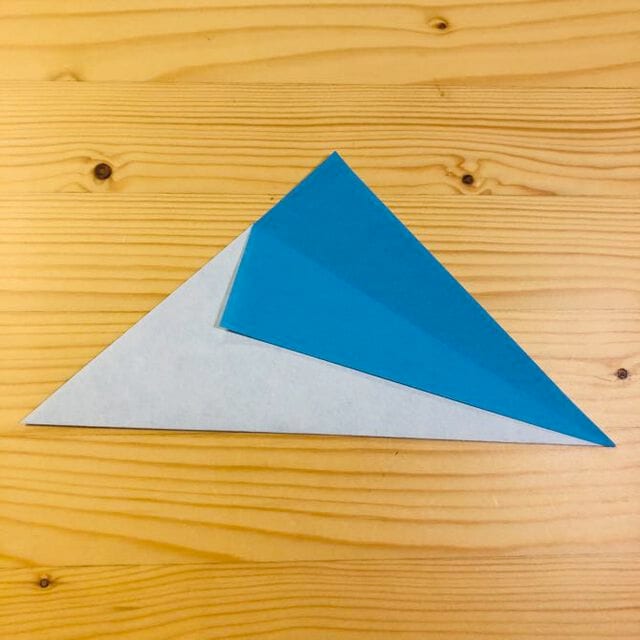
STEP 3
Fold the back side in the same way.
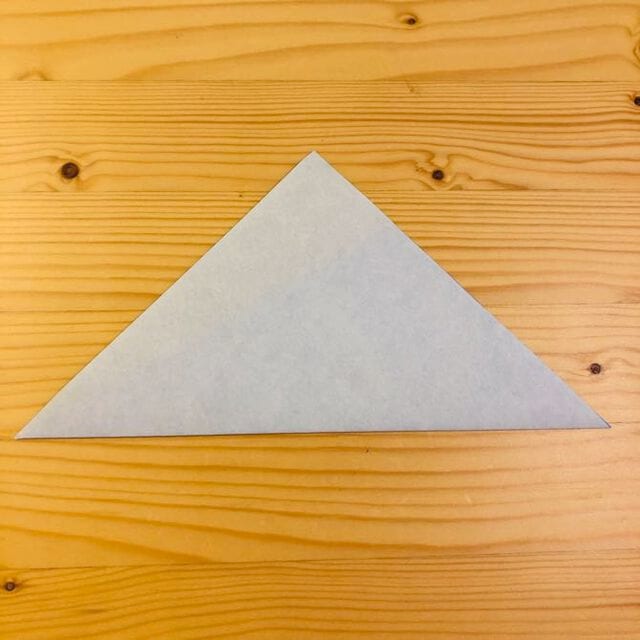
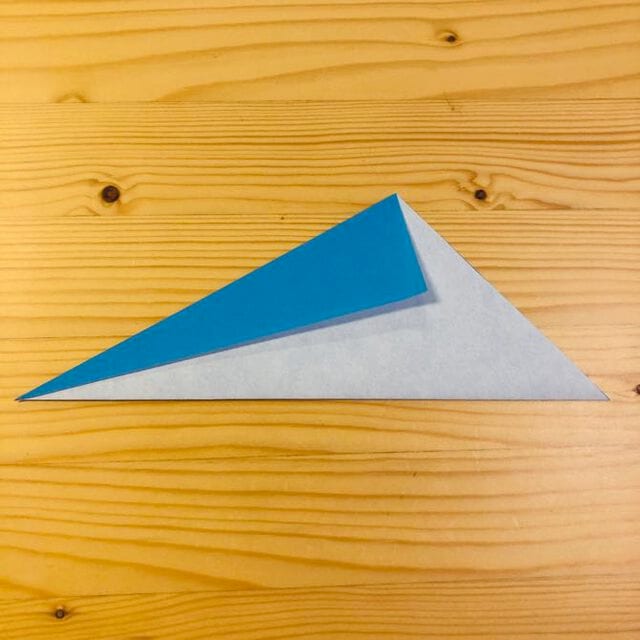
STEP 4
Fold at the position shown in the photo.
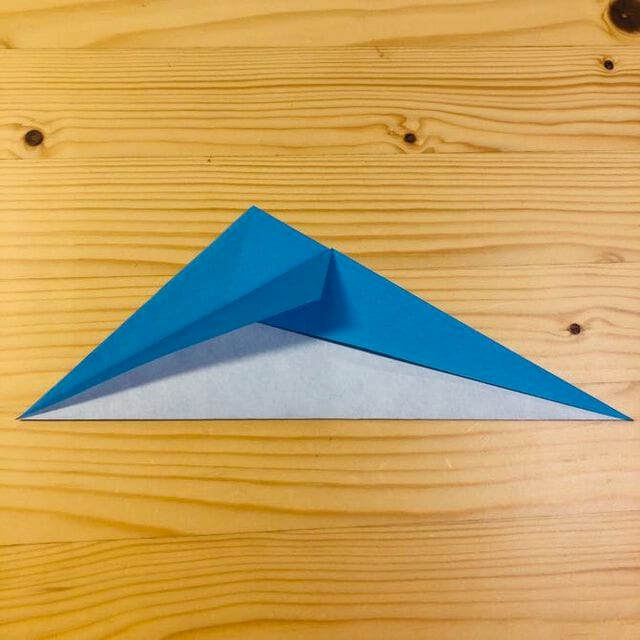
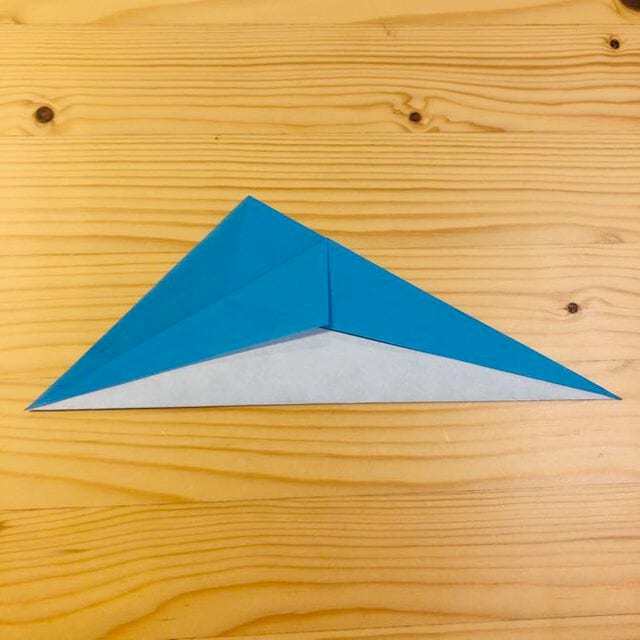
STEP 5
Fold the back side in the same way.
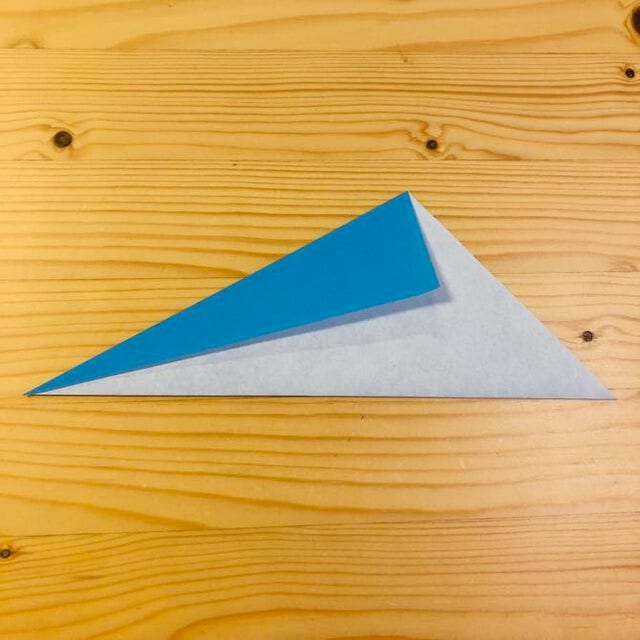
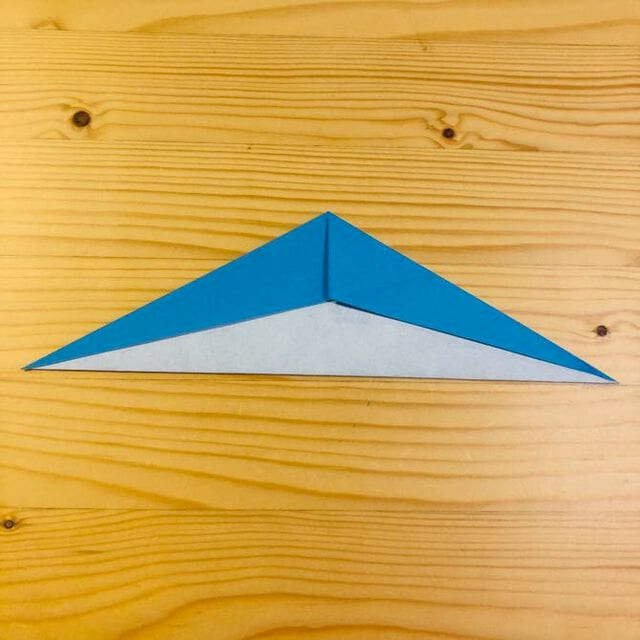
STEP 6
Open the paper.
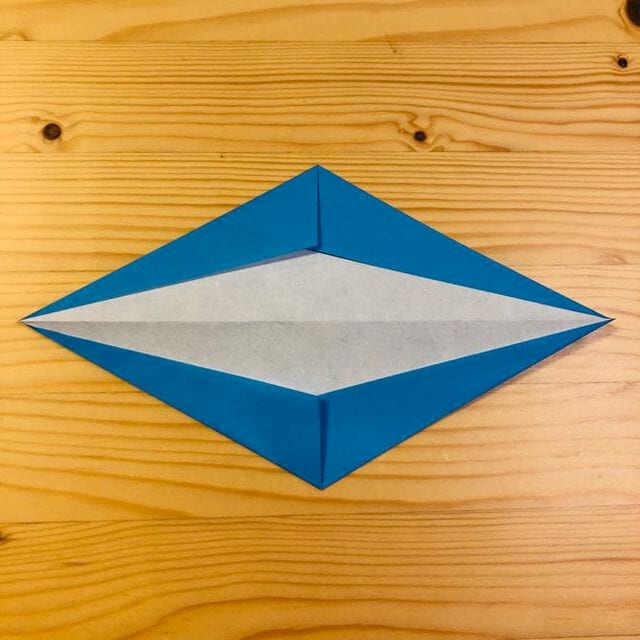
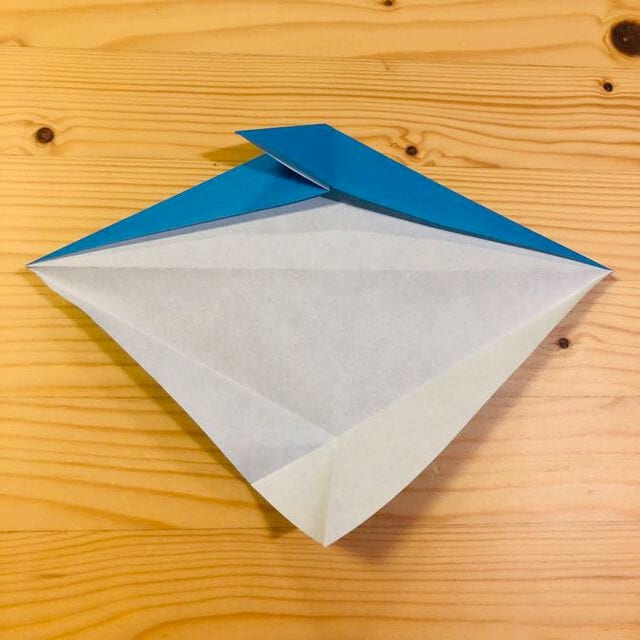
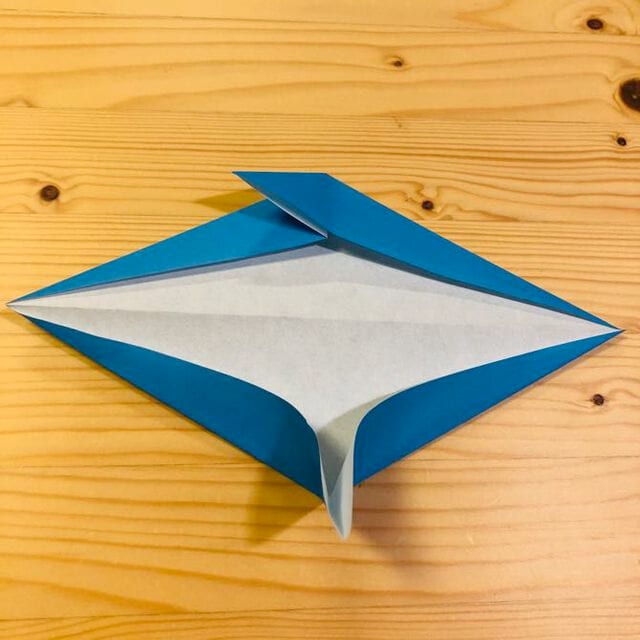
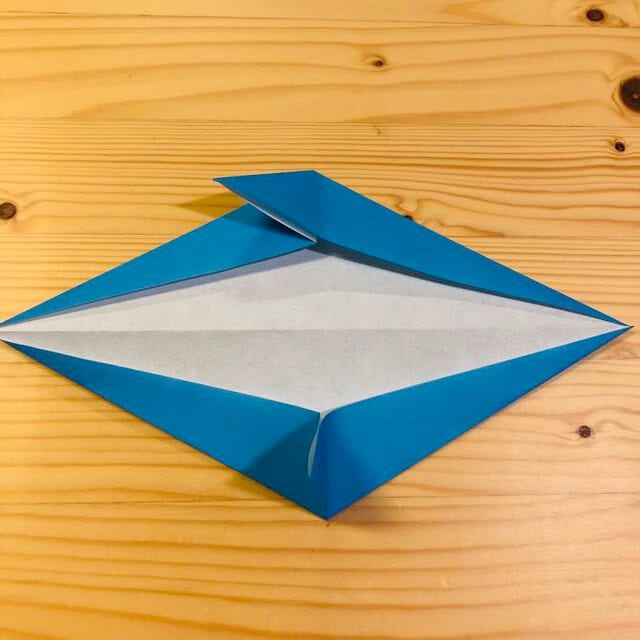
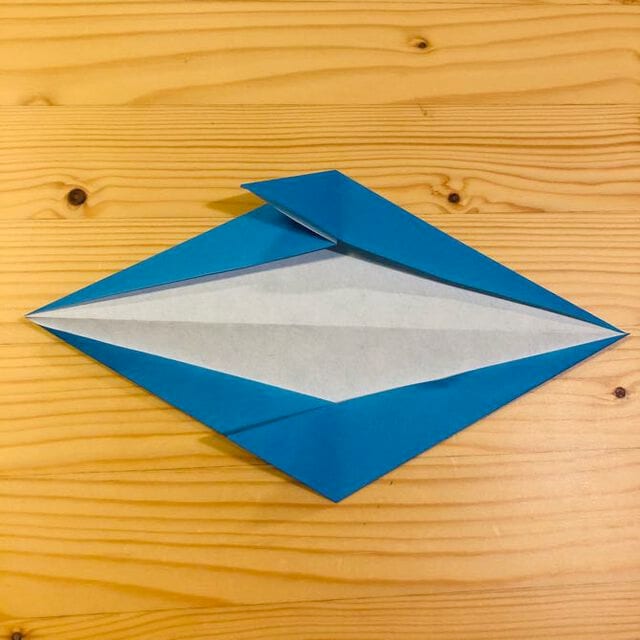
STEP 7
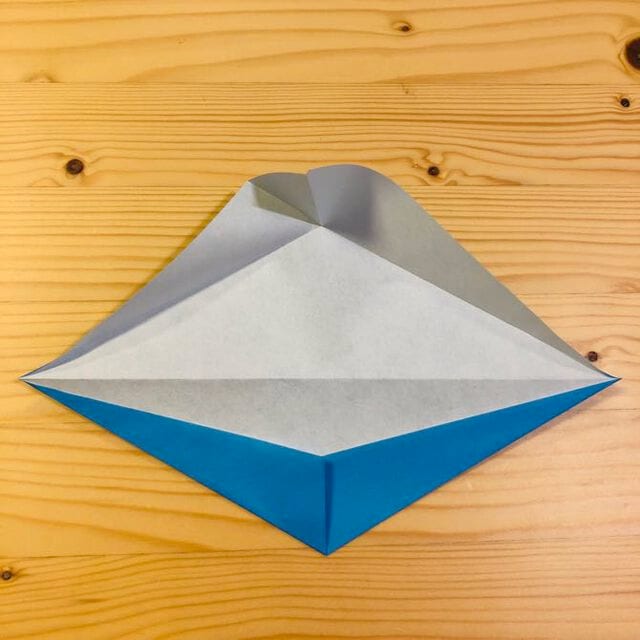
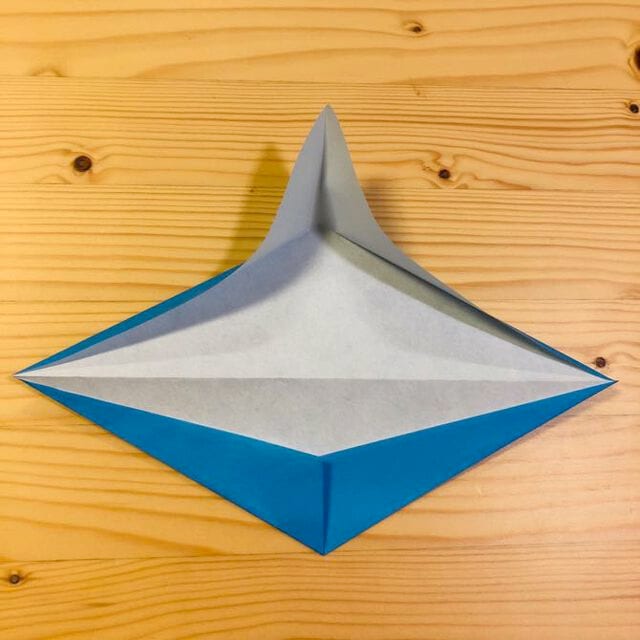
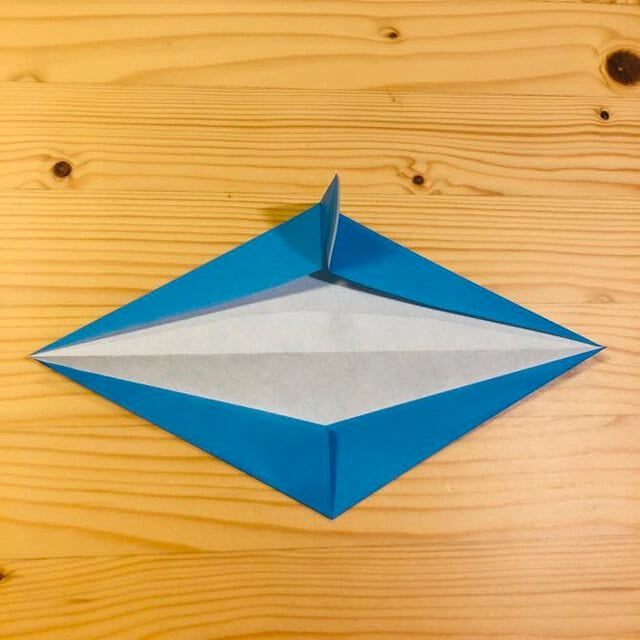
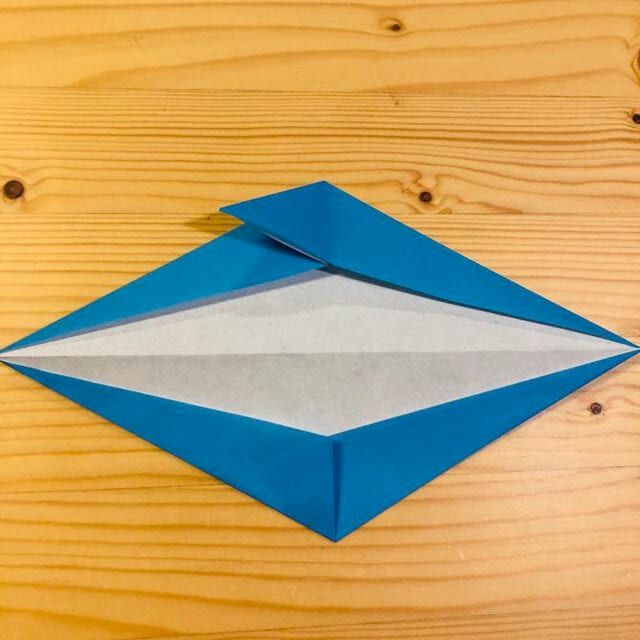
Open and fold it as shown in the photo.
STEP 8
Fold the other side in the same way.
STEP 9
Turn the model around.
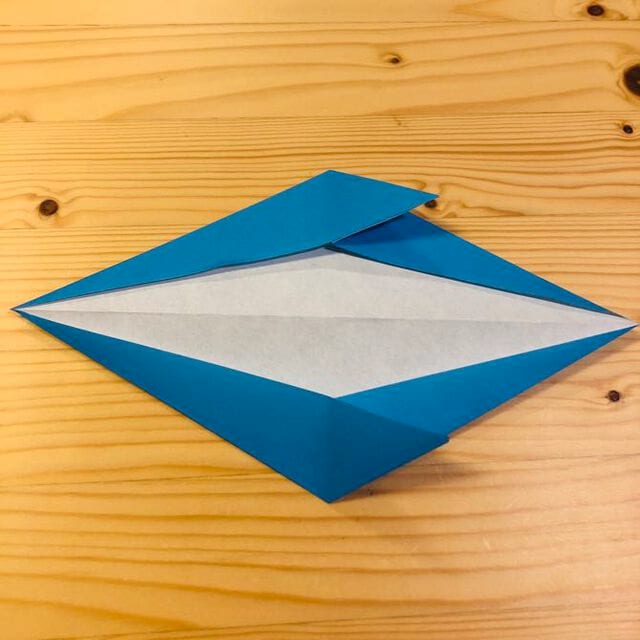
STEP 10
Turn it over.
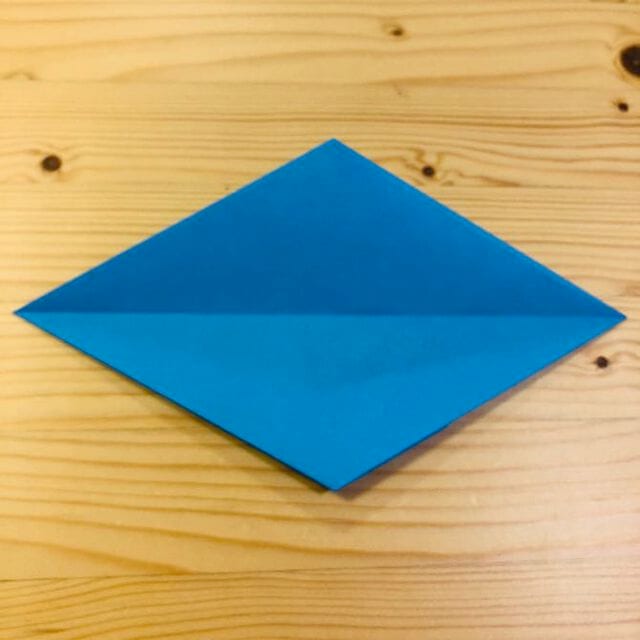
STEP 11
Fold at the position shown in the photo.
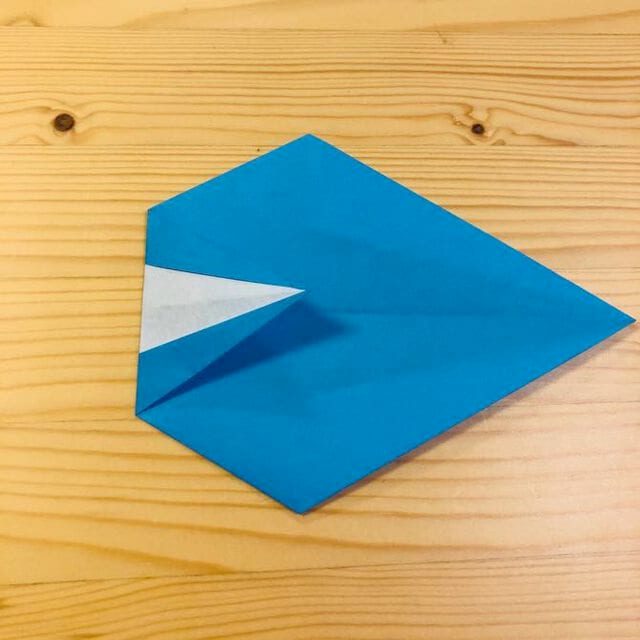
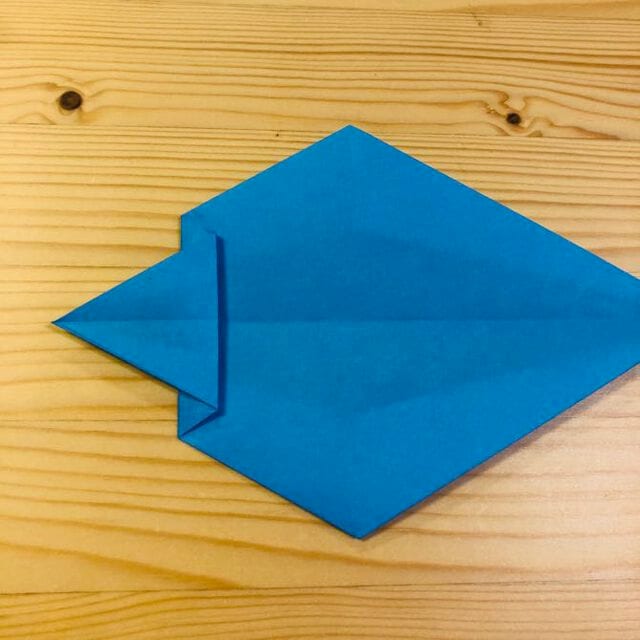
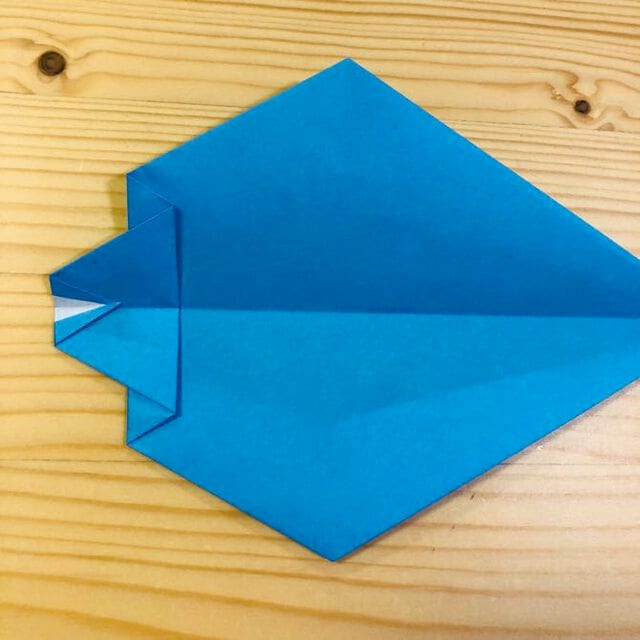
STEP 12
Fold it in half.
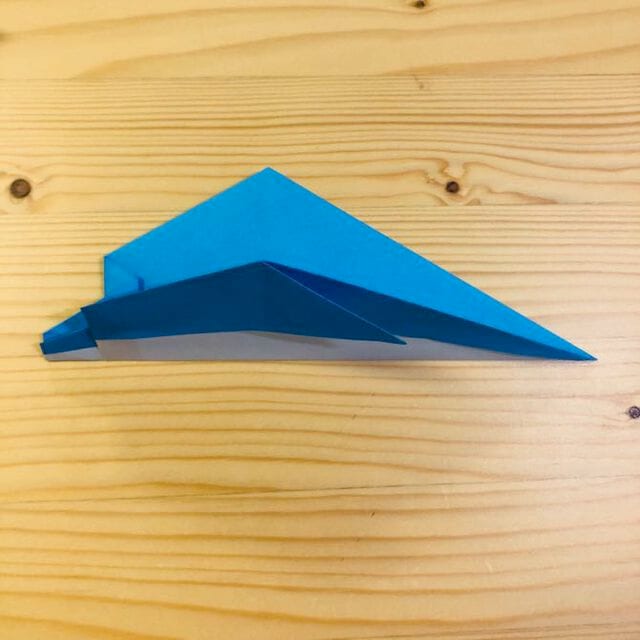
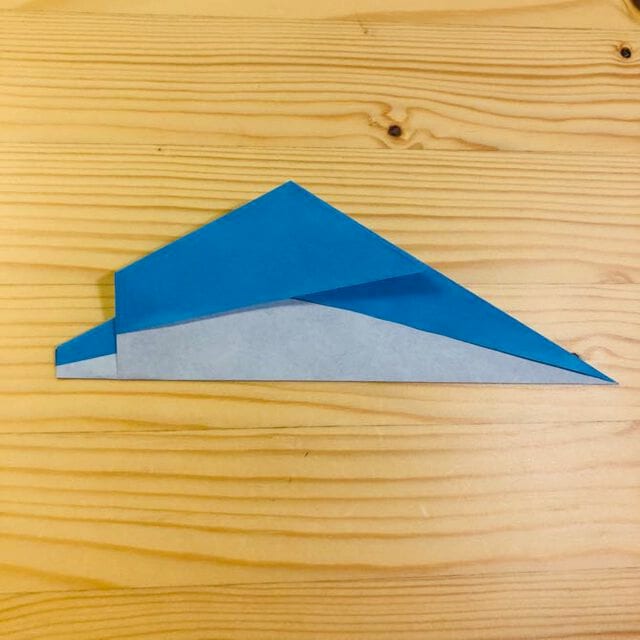
STEP 13
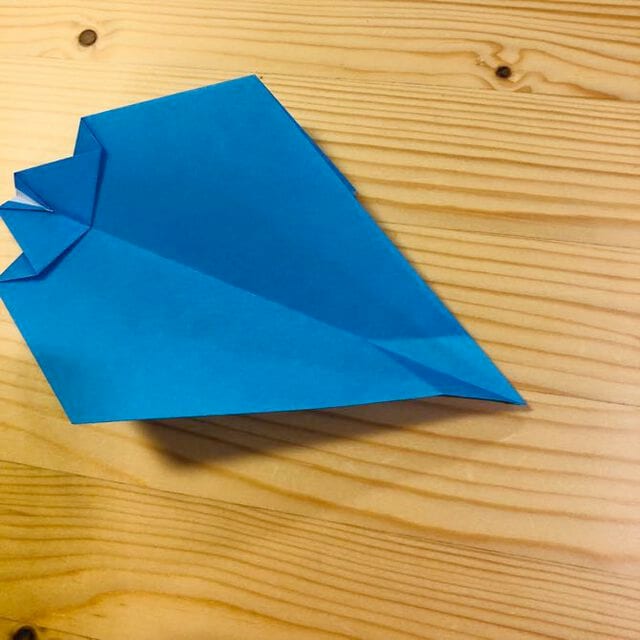
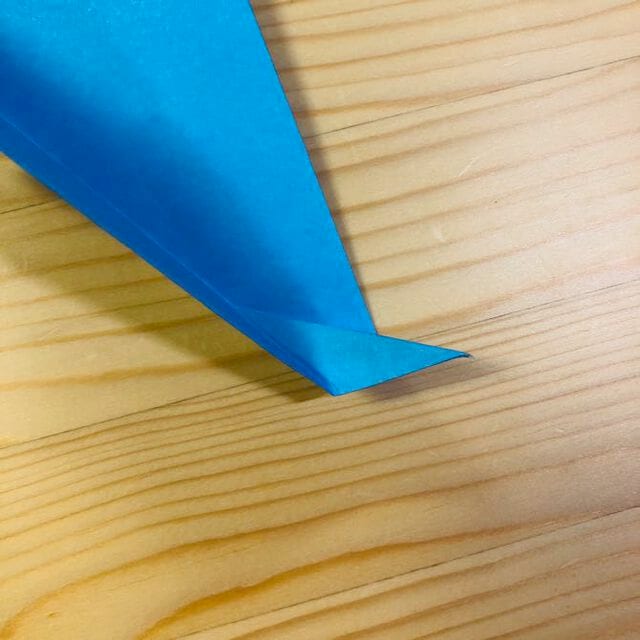
Fold at the position shown in the photo.
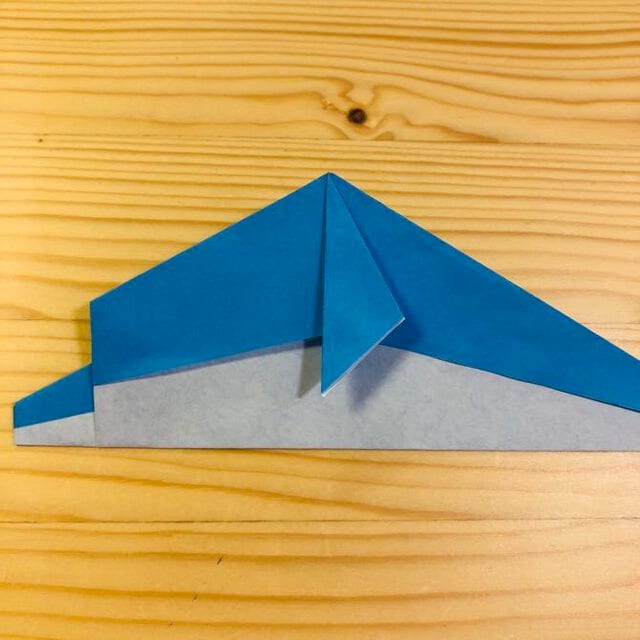
STEP 14
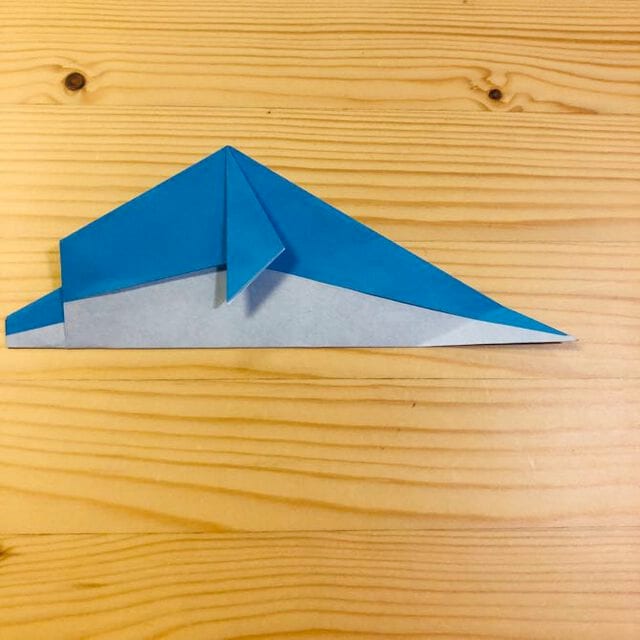
Make a crease at the position shown in the photo.
STEP 15
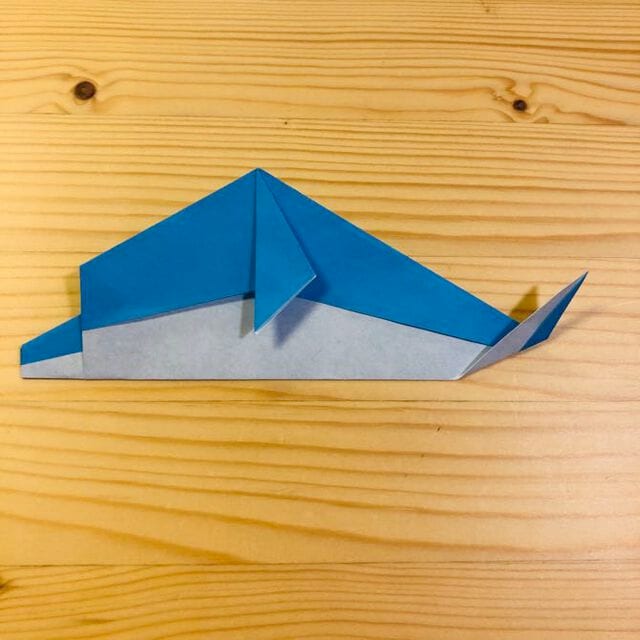
Fold it inward at the position shown in the photo.
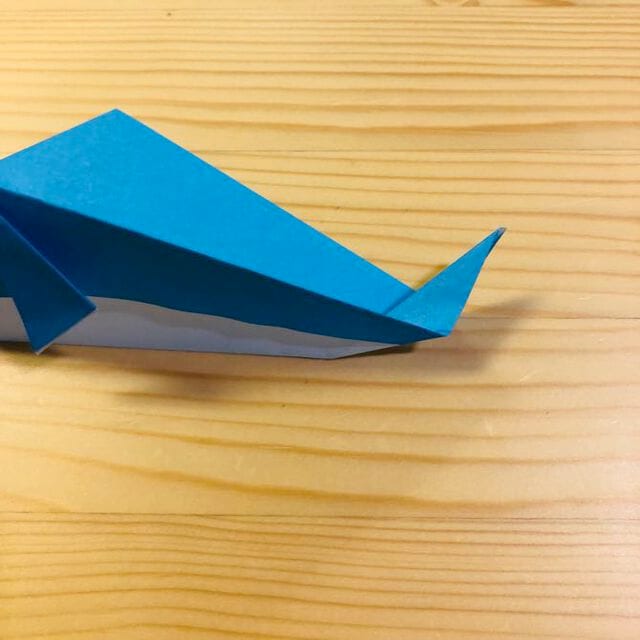
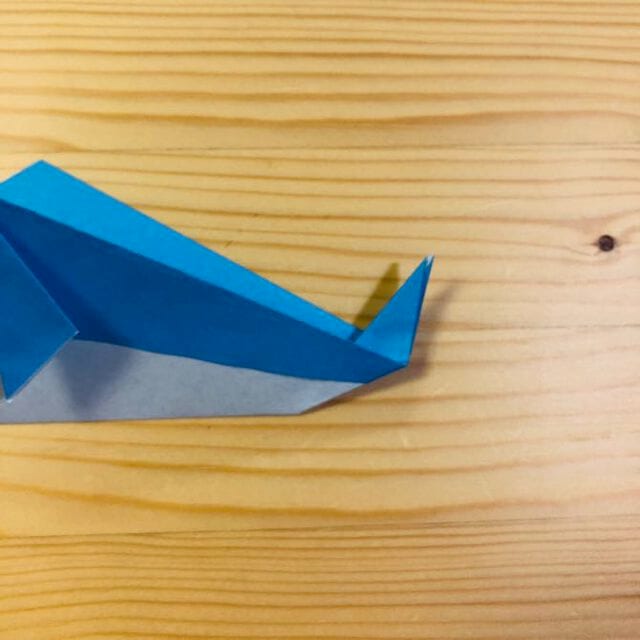
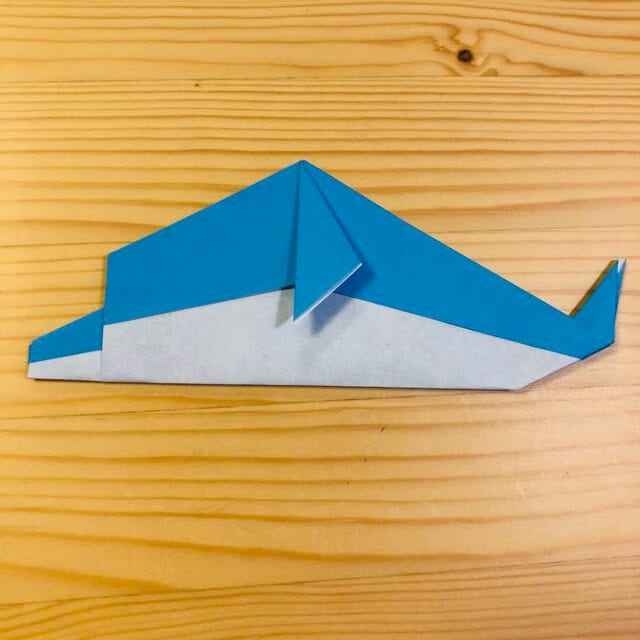
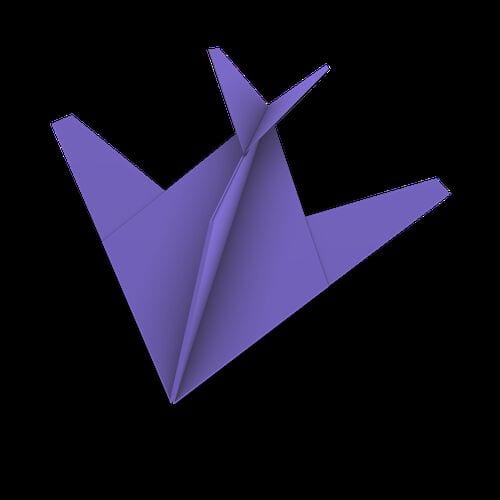
Complete!
Your dolphin is finished.