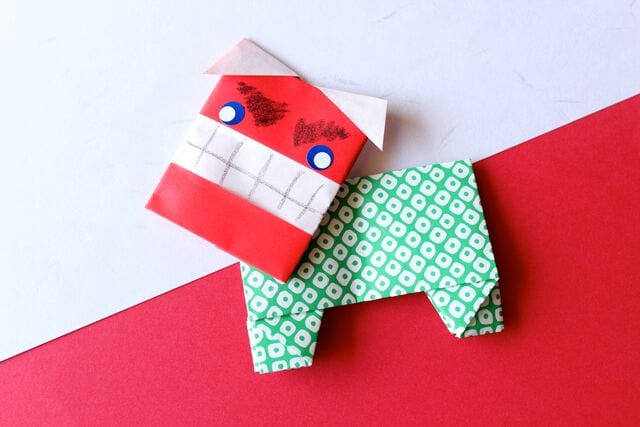
Origami Table
A tiny table you can fold from a single square of paper is one of those origami projects that feels quietly magical — one moment it is a flat sheet, the next it is standing on four little legs. This model walks through eighteen clear, photo-illustrated steps that lean on nothing fancier than half folds, center-aligned corners, and a friendly squash fold. The moves repeat at each corner, so the rhythm quickly clicks into place even if you are fairly new to paper folding. Try it in a wood-toned or solid-color sheet and you will have a neat miniature piece of furniture that fits right into a dollhouse shelf, a paper diorama, or a growing collection of origami room settings. Let us build one together.

STEP 1
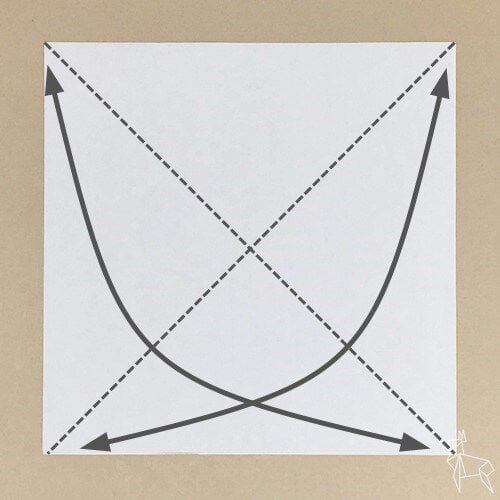
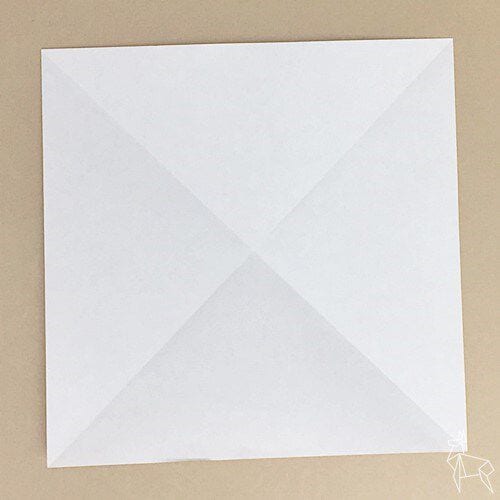
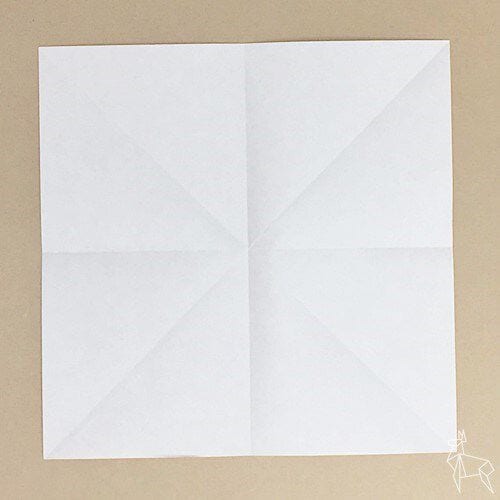
Place the origami paper white side up and fold it in half along the dotted line to make a crease.
STEP 2
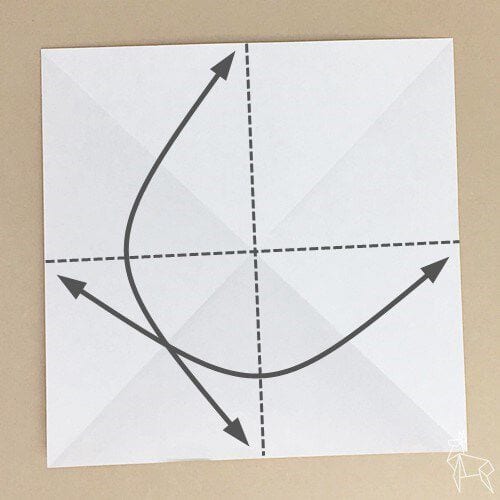
Fold it in half along the dotted line and make a crease.
STEP 3
Turn the paper over.
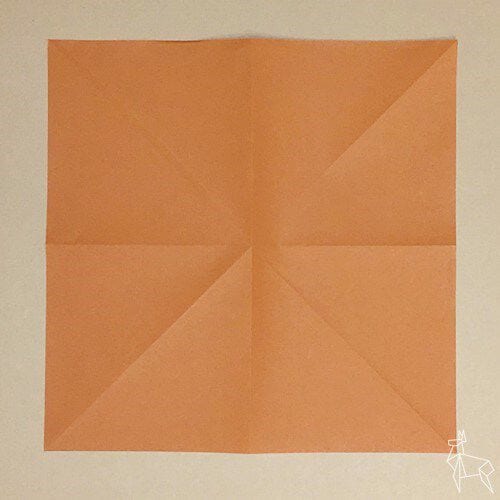
STEP 4
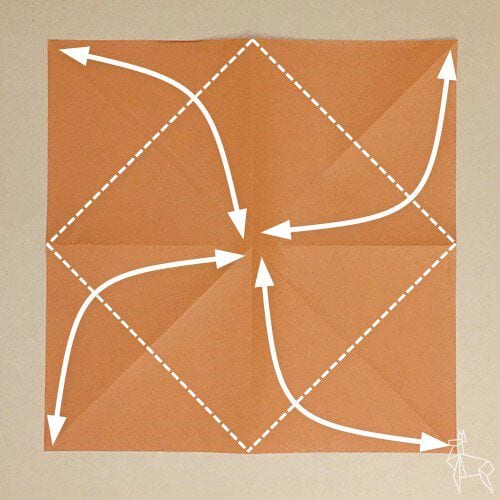
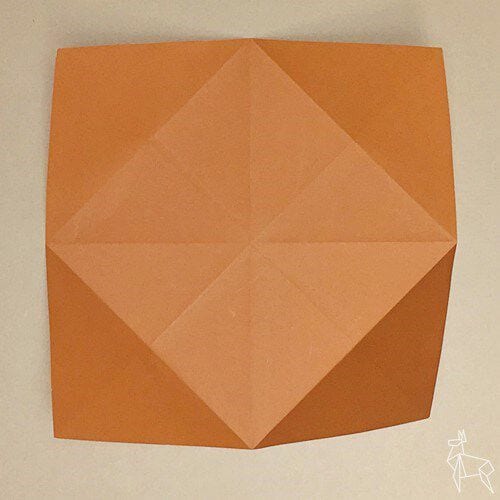
Fold along the dotted line so the corners meet the center.
STEP 5
Turn the paper over.
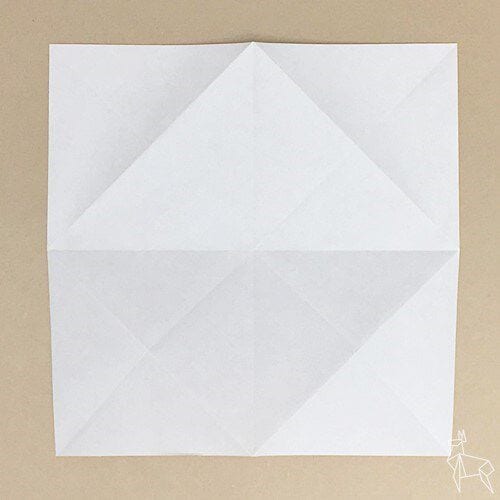
STEP 6
Fold along the dotted line so the left and right edges meet the center.

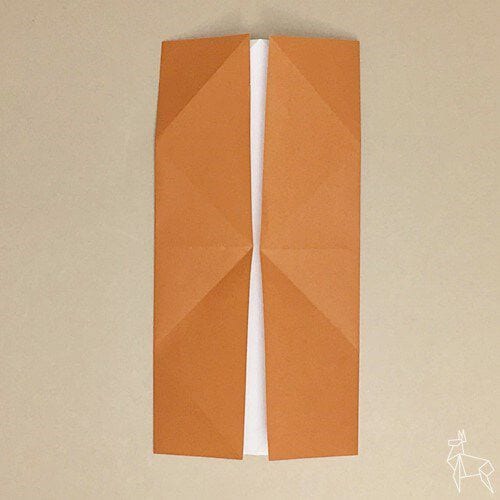
STEP 7
Fold along the dotted line so the top and bottom edges meet the center.
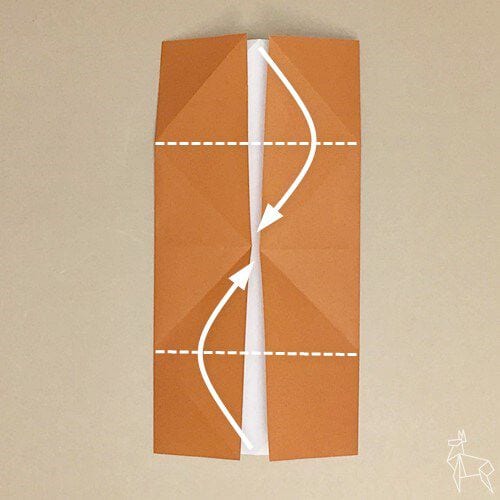
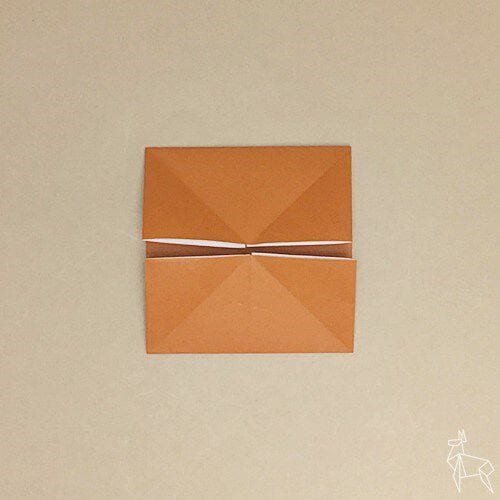
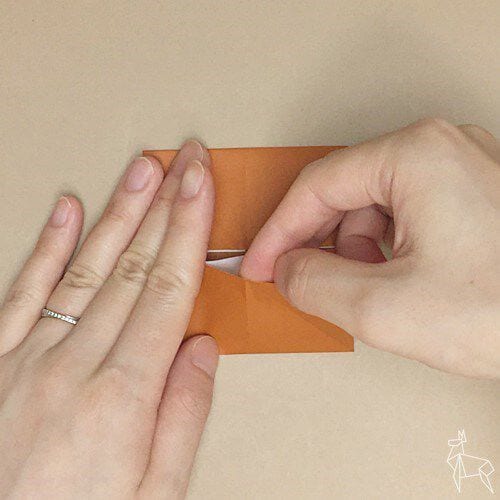
STEP 8
Pull out the inner corner.
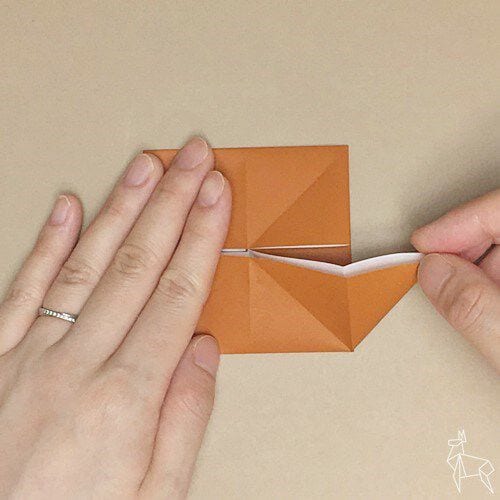
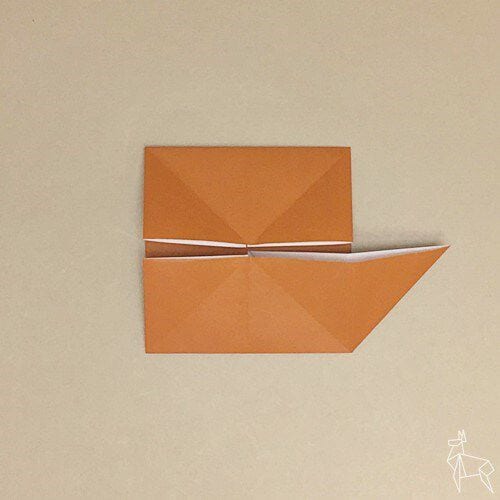
STEP 9
Pull out the remaining three corners in the same way.
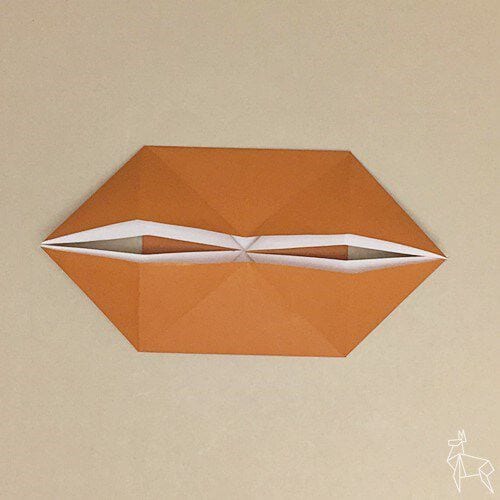
STEP 10
Open each corner out and squash-fold it flat.
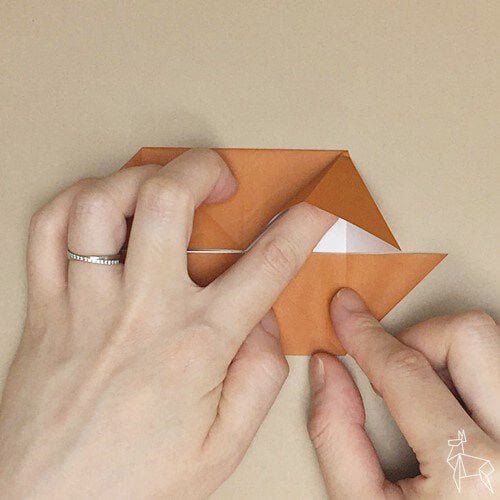
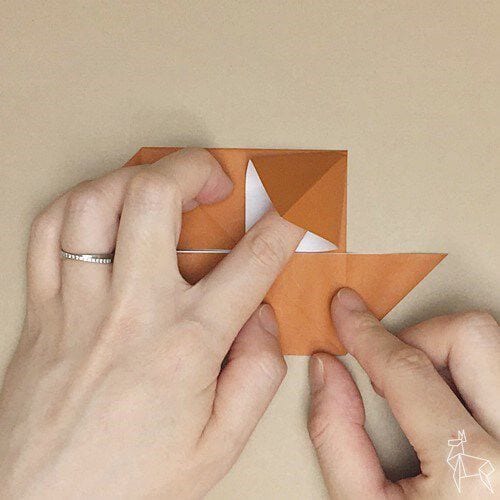
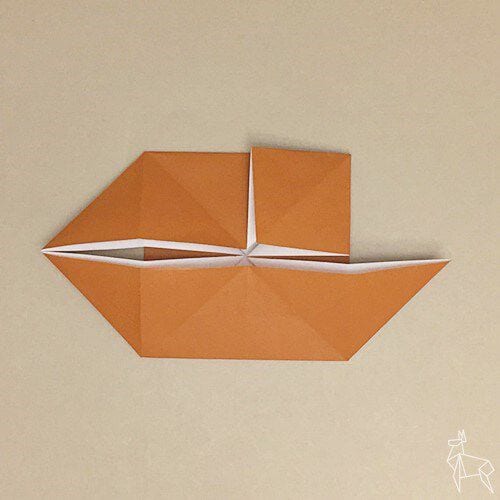
STEP 11
Squash-fold the remaining three corners in the same way.
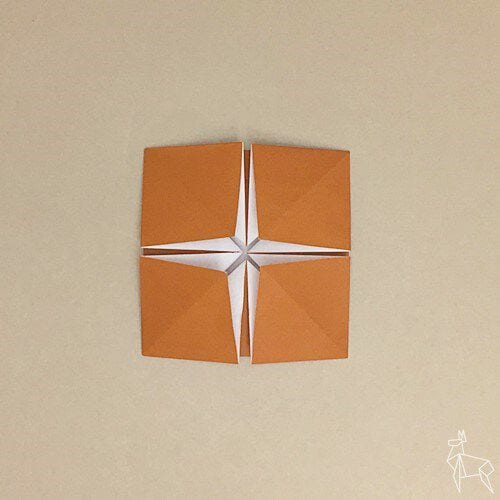
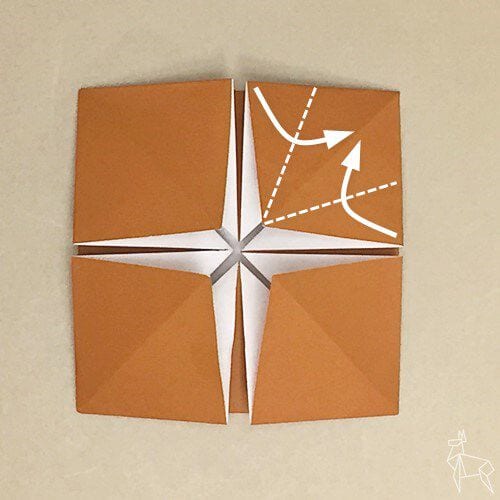
STEP 12
Fold the corners along the dotted line so they line up with the creases.
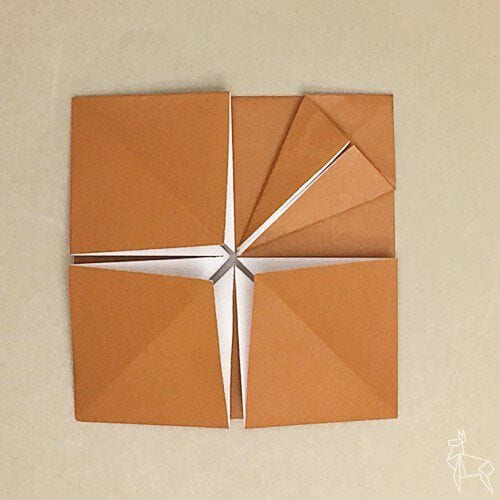
STEP 13
Make a crease along the dotted line.
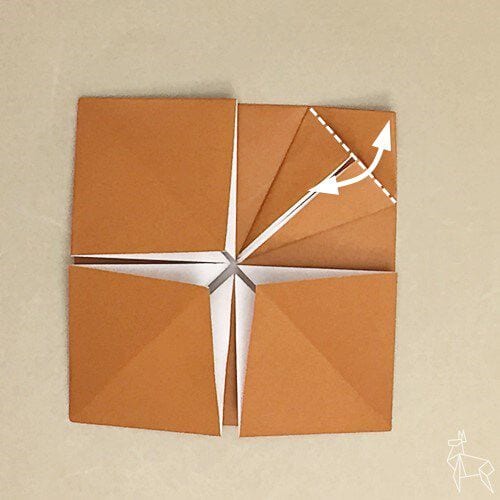
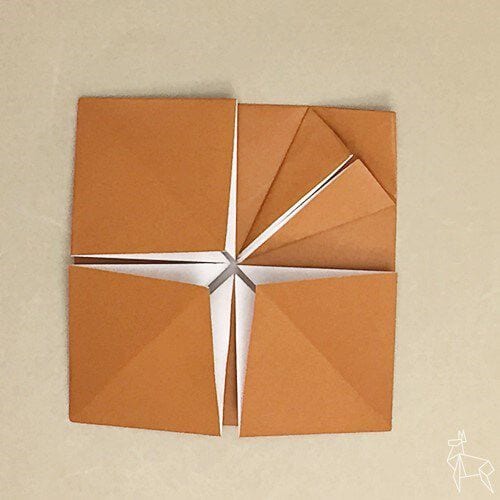
STEP 14
Unfold back to the crease you made in Step 12.
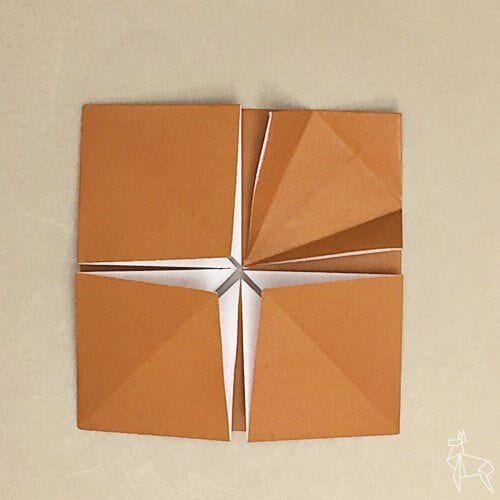
STEP 15
Open each corner out and squash-fold it flat.
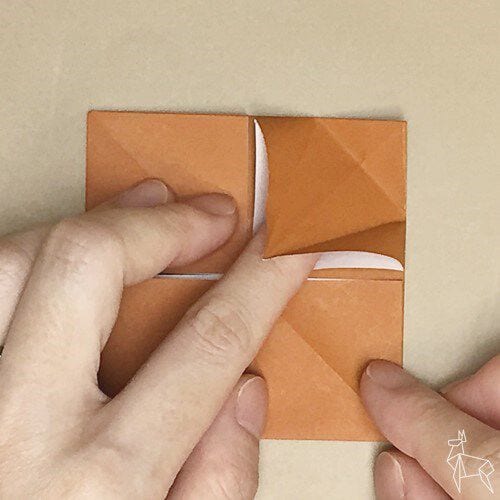
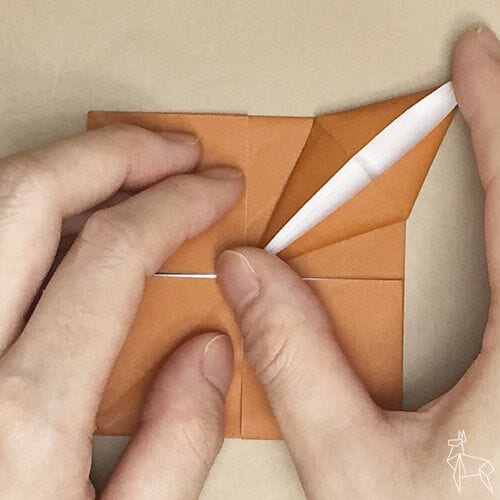
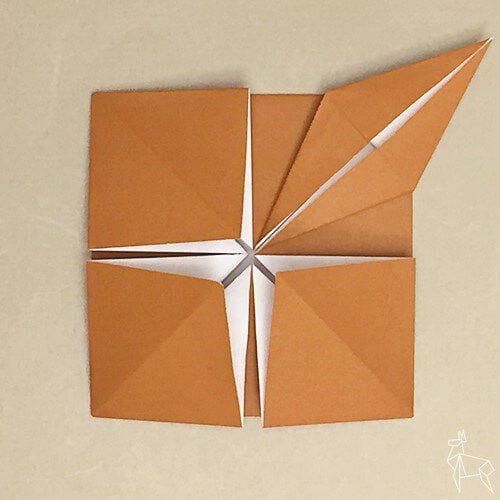
STEP 16
Squash-fold the remaining three corners in the same way.
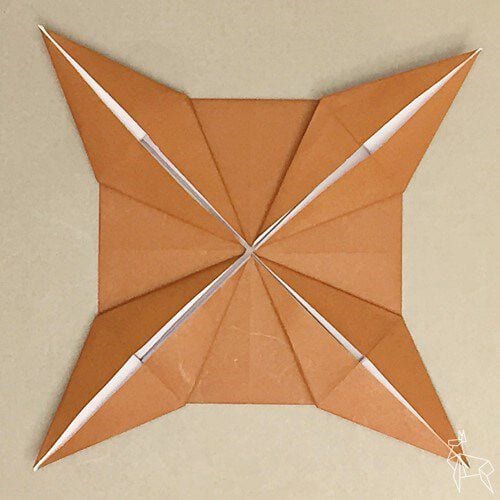
STEP 17
Lift the corner straight up along the dotted line.
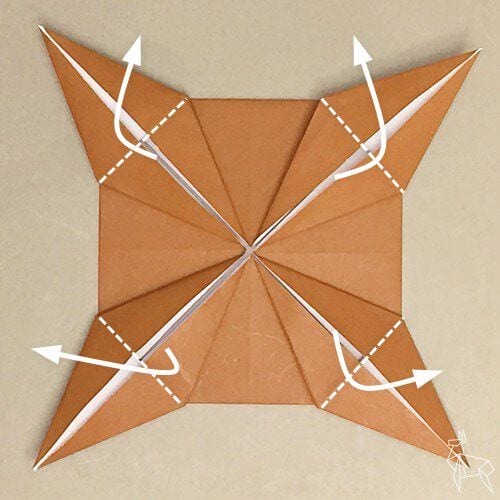
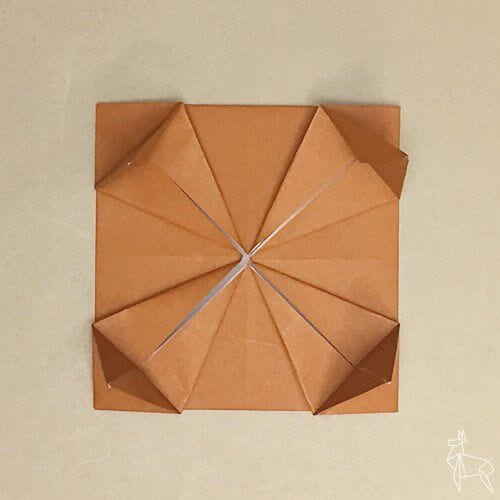
STEP 18
Turn the paper over, and your table is complete.