
Diamond Origami Envelope
You have probably seen envelopes like this tucked inside handmade cards: a neat little diamond pocket that holds a note, a gift card or a few folded photos. What makes it so satisfying is that there is no cutting and no glue. One square sheet, a grid of creases, and the paper closes itself around the letter.
The first half of this tutorial is all about building the 8x8 matrix base, and yes, that means a good deal of pre-creasing. Take your time there, because the grid is what makes the diamond come out straight and even. Once you reach the crease pattern and start rotating the top square while pressing it down, the model suddenly stops looking like a sheet of creased paper and starts looking like an envelope. It is a lovely one to keep in your pocket for the next time you want to make a card feel a little more personal.
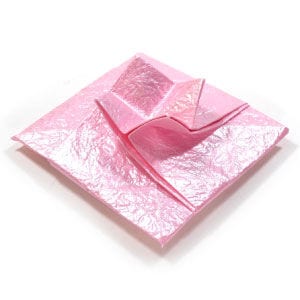
This page is for those who want a clear, step-by-step instruction for folding a diamond origami envelope.
This diamond origami envelope starts from an 8x8 matrix base. The one tricky part of this model is applying the crease pattern (CP) shown at step #16.
Before working on this model, you need to know what valley-folds and mountain-folds are. If you know these two folding techniques, then you will have no problem making an origami envelope.
If you are ready, then let's get started.
You may use any kind of paper to fold the origami envelope. Here I used a 20cm x 20cm square sheet.
This is the front side of the paper that I am using for this instruction.
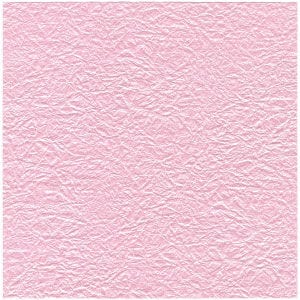
This is the back side of the paper. As you can see, the back side is not shiny compared to the front side.
STEP 1.
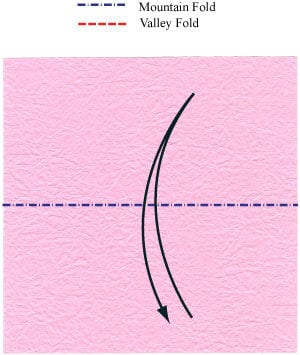
Let's start with the paper placed with its back side facing up. Prepare to “mountain-fold” in half horizontally and then unfold.
STEP 2.
Mountain-fold in half horizontally and then unfold. Prepare to “mountain-fold” in half vertically and then unfold.
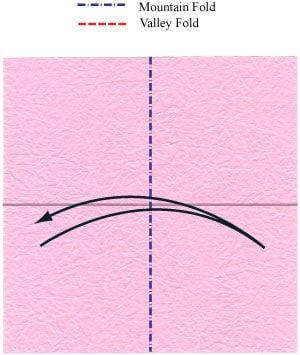
STEP 3.
Mountain-fold in half vertically and then unfold. Prepare to apply a horizontal “gate-fold” and then unfold.
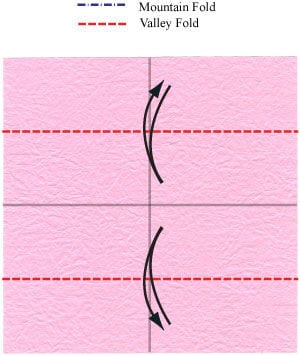
STEP 4.
Apply the horizontal “gate-fold” of the step #3 and then unfold. Prepare to apply a vertical “gate-fold” and then unfold.
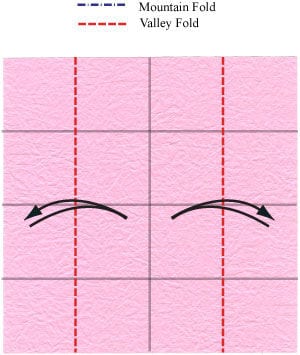
STEP 5.
Apply the vertical “gate-fold” of the step #4 and then unfold. Prepare to apply four horizontal valley-folds and then unfold.
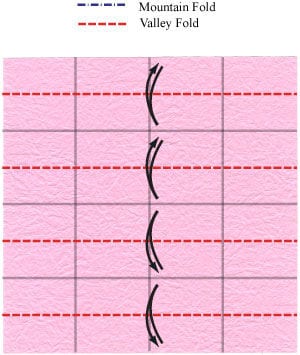
STEP 6.
Apply four horizontal valley-folds of the step #5 and then unfold. Prepare to apply four vertical valley-folds and then unfold.
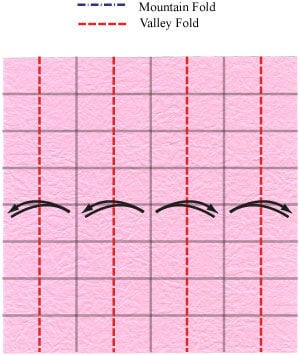
STEP 7.
Apply four vertical valley-folds of the step #6 and then unfold. Now, you have completed making a “8x8 matrix base”.
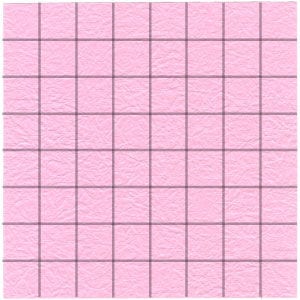
STEP 8.
Prepare to apply a “valley-fold” and then unfold.
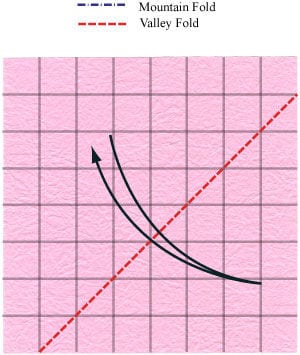
STEP 9.
Apply the “valley-fold” of the step #8. Prepare to rotate the paper by 90 degrees.
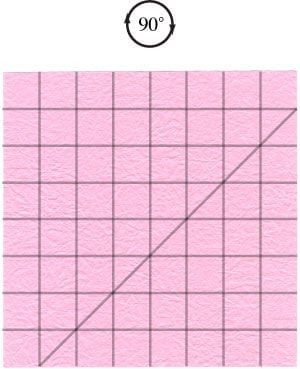
STEP 10.
Rotate the paper by 90 degrees. Prepare to apply a “valley-fold” and then unfold.
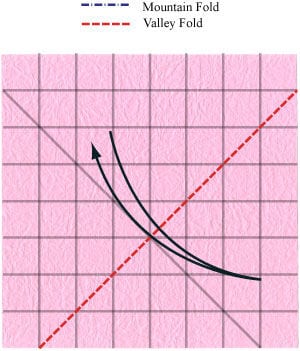
STEP 11.
Apply the “valley-fold” of the step #10 and then unfold. Prepare to rotate the paper by 90 degrees.
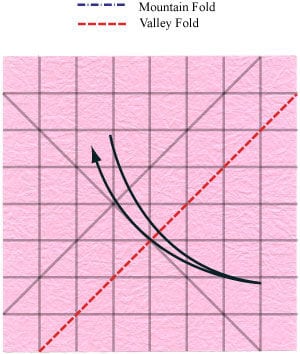
STEP 12.
Rotate the paper by 90 degrees. Prepare to apply a “valley-fold” and then unfold.
STEP 13.
Apply the “valley-fold” of the step #12 and then unfold. Prepare to rotate the paper by 90 degrees.
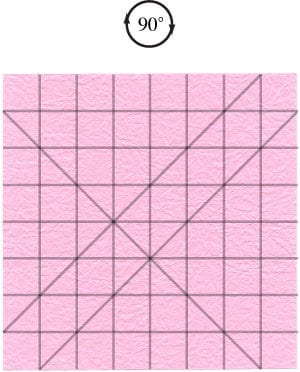
STEP 14.
Rotate the paper by 90 degrees. Prepare to apply a “valley-fold” and then unfold.
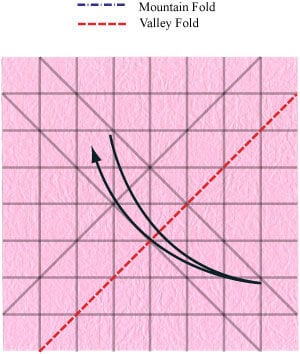
STEP 15.
Apply the “valley-fold” of the step #14 and then unfold. Prepare to turn the paper over.
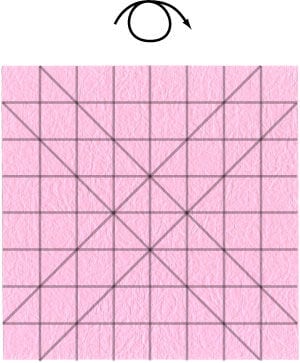
STEP 16.
Turn the paper over. Prepare to apply the crease pattern (CP) shown in the next picture.
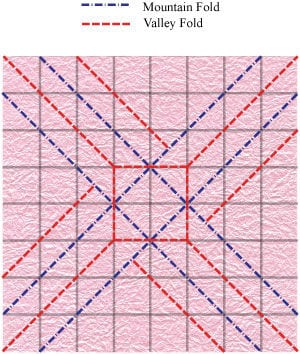
STEP 17.
Start applying the CP of the step #16.
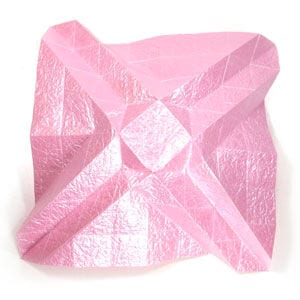
STEP 18.
Complete applying the CP of the step #16. Prepare to rotate the top square while pressing it down.
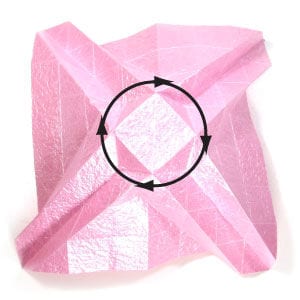
STEP 19.
Start rotating the top square while pressing it down.
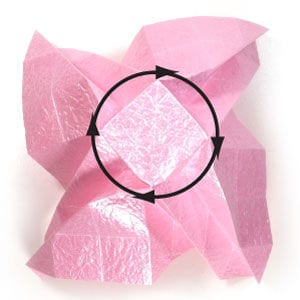
STEP 20.
Continue rotating the top square while pressing it down.
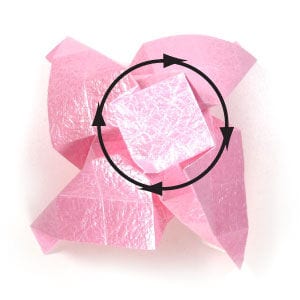
STEP 21.
Keep rotating the top square while pressing it down.
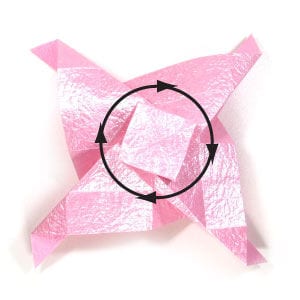
STEP 22.
Complete rotating the top square while pressing it down.
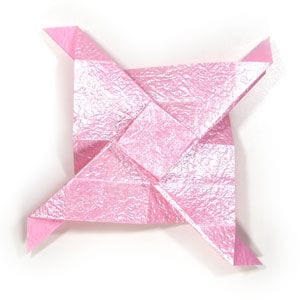
STEP 23.
Prepare to turn the origami envelope model over.

STEP 24.
Turn the origami envelope model over. Prepare to rotate the origami envelope model by 45 degrees.
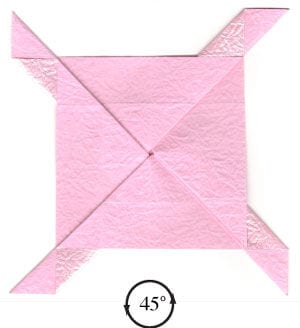
STEP 25.
Rotate the origami envelope model by 45 degrees. Prepare to put your letter on top of the envelope.
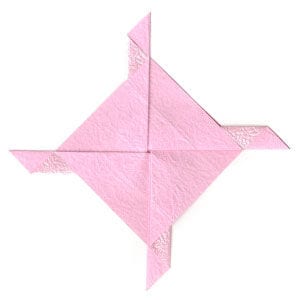
STEP 26.
Put your letter on top of the envelope. Prepare to apply a horizontal “valley-fold”.
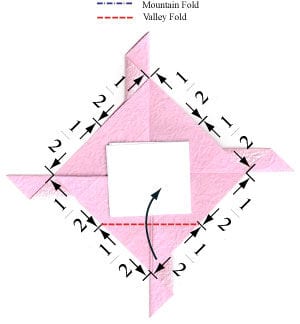
STEP 27.
Apply the horizontal “valley-fold” of the step #26. Prepare to apply a vertical “valley-fold”.
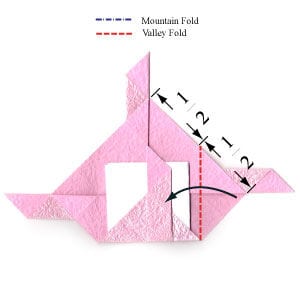
STEP 28.
Apply the vertical “valley-fold” of the step #27. Prepare to apply a horizontal “valley-fold”.
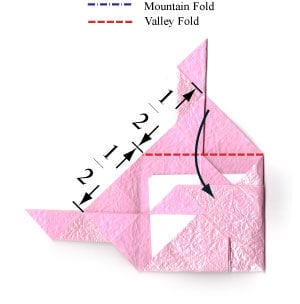
STEP 29.
Apply the horizontal “valley-fold” of the step #28. Prepare to put the flap (layer 1) under the layer 2.
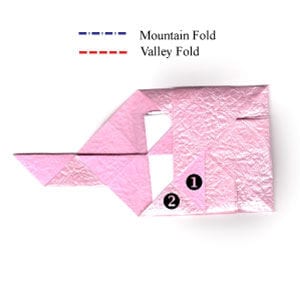
STEP 30.
Start putting the flap (layer 1) under the layer 2.

STEP 31.
Continue putting the flap (layer 1) under the layer 2.

STEP 32.
Complete putting the flap (layer 1) under the layer 2. Prepare to apply a vertical “valley-fold”.
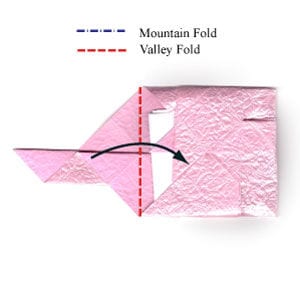
STEP 33.
Apply the vertical “valley-fold” of the step #32. Prepare to put the flap (layer 1) under the layer 2.
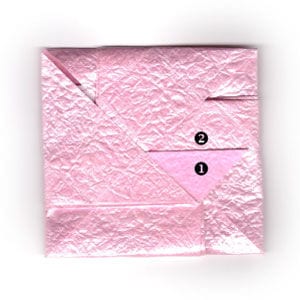
STEP 34.
Start putting the flap (layer 1) under the layer 2.
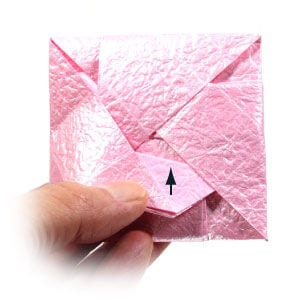
STEP 35.
Complete putting the flap (layer 1) under layer 2. Prepare to turn the origami envelope model over.
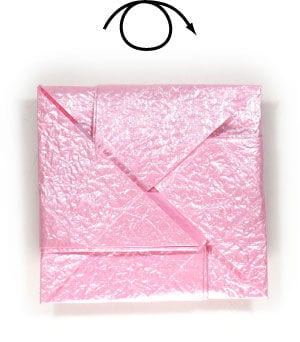
STEP 36.
Turn the origami envelope model over. Prepare to apply a horizontal “valley-fold” and then unfold.
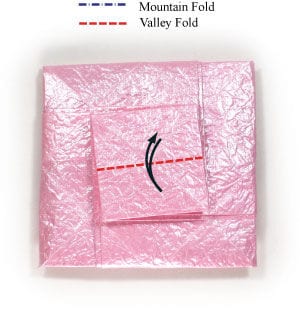
STEP 37.
Apply the horizontal “valley-fold” of the step #36 and then unfold. Prepare to apply a vertical “valley-fold” and then unfold.
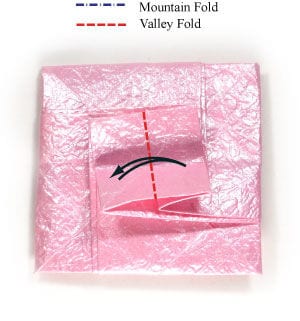
STEP 38.
Apply the vertical “valley-fold” of the step #37 and then unfold.
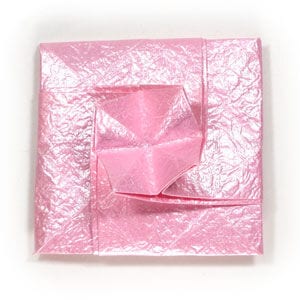
STEP 39.
Apply the two horizontal valley-folds. Congratulations! You have completed making a diamond origami envelope.




