
Sakura Leaves, Buds and Calyx
Ask anyone to picture origami and a cherry blossom is probably one of the first things that comes to mind. There’s a reason sakura shows up everywhere in paper folding — those soft five-petal blooms are endlessly pretty and surprisingly versatile. What many people don’t realize is that a convincing blossom is really three small pieces working together: a bud, a leaf, and the little cup-like calyx (gaku) that holds it all together.
In this tutorial we’ll fold each of those three parts step by step, then fit them together into one tidy flower. The bud and leaf share the same folding sequence, so once you’ve done one the other comes easily, and the calyx is just three quick folds. Grab a few sheets in pink, green, and a contrasting calyx color, and let’s build a cherry blossom from the ground up.
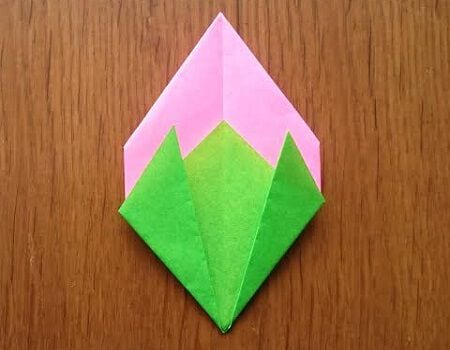
How to Fold a Cherry Blossom Bud
Step 1. Fold it in half
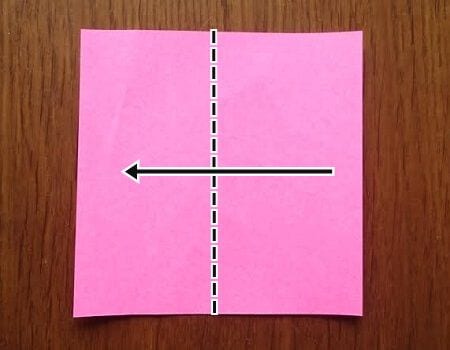
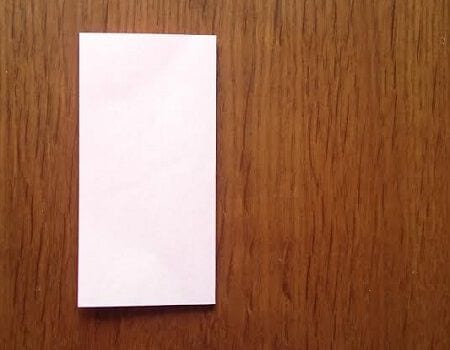
Step 2. Fold along the red guide line to make a crease.
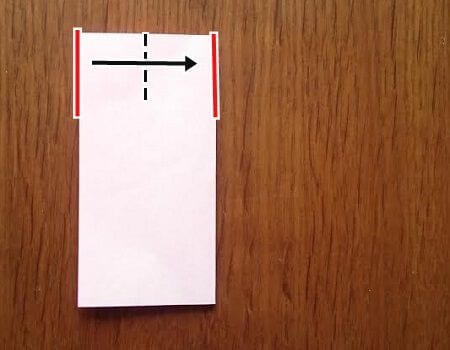
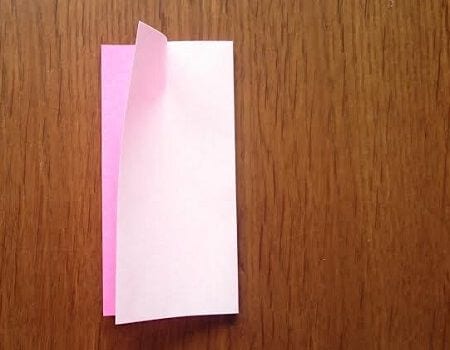
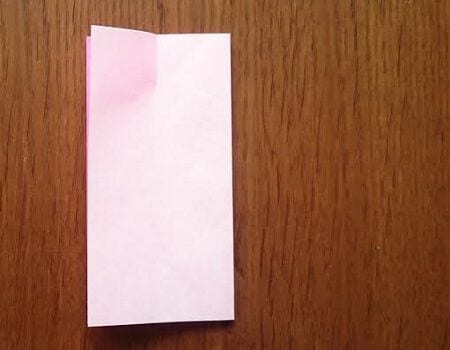
Step 3. Fold it along the line connecting the creases and corners you made in step 2 .
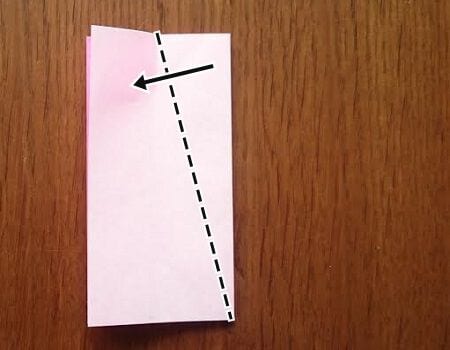
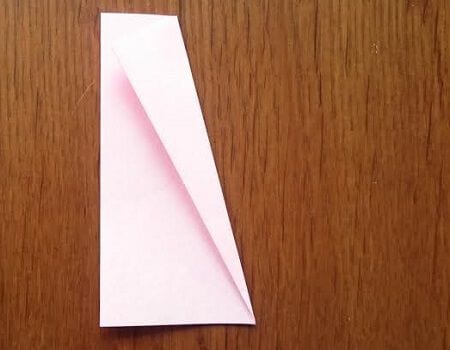
Step 4. Spread the paper open as shown.
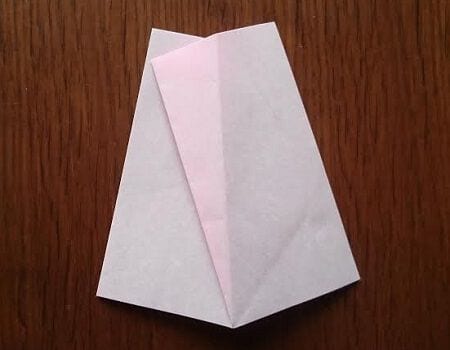
Step 5. Fold it along the crease as shown in the image
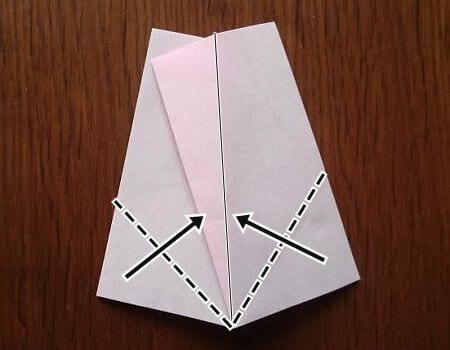
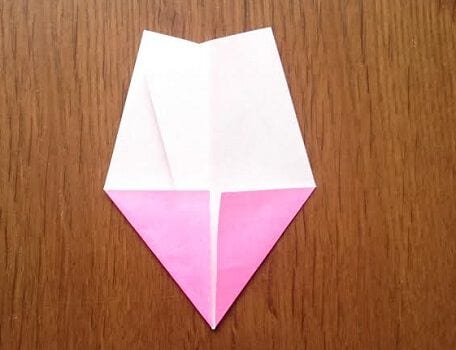
Step 6. Fold it like the image
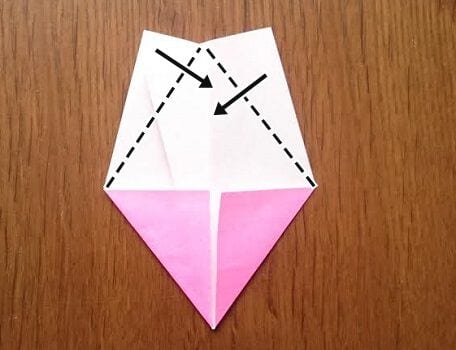
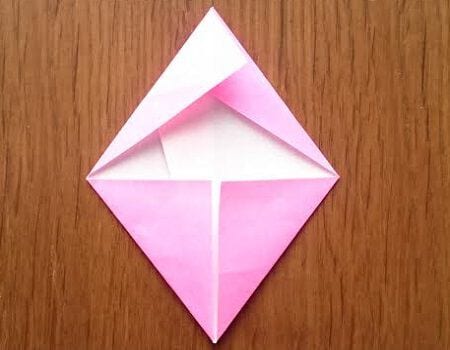
Step 7. Fold it like the image
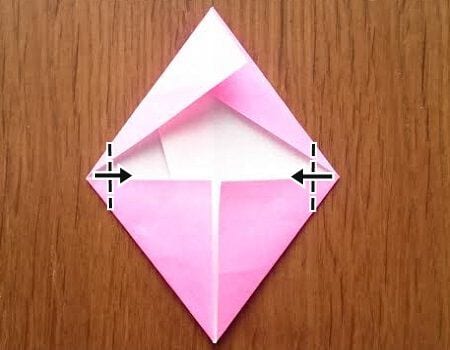
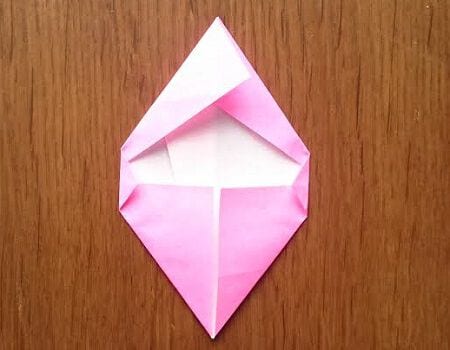
Turn it over — your bud is complete.
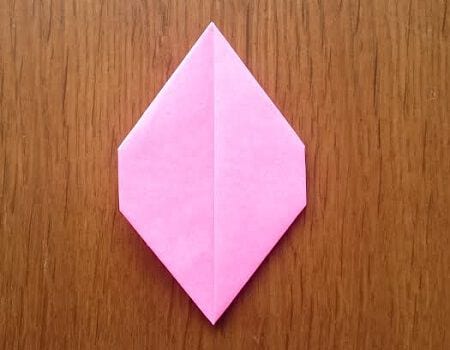
How to Fold Cherry Blossom Leaves
Folding cherry leaves uses the same steps as the bud.
Change the color of the origami paper and fold it.
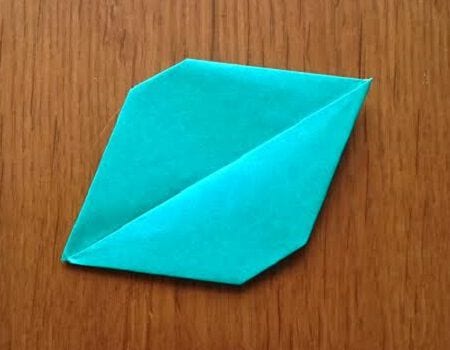
This leaf is introduced as a hydrangea leaf, but it is also perfect for cherry blossom leaves. We also introduce leaves that even kindergarten children can make.
Next, we’ll introduce how to make the calyx (gaku).
It looks lovely when combined with the buds.
How to Fold the Cherry Blossom Calyx (Gaku)
Step 1. Fold it in a triangle
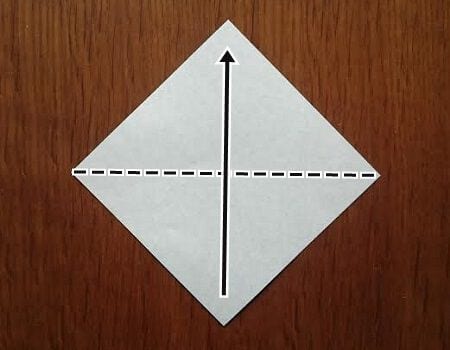
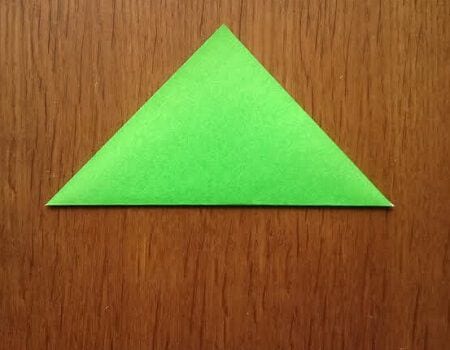
Step 2. Fold it back into a triangle and put it back.
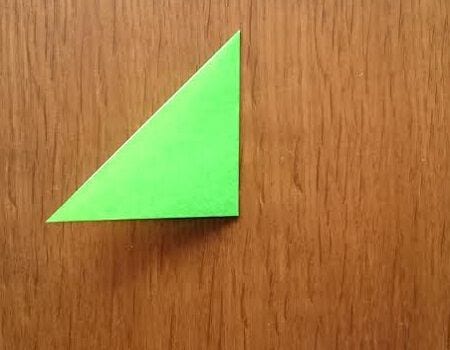
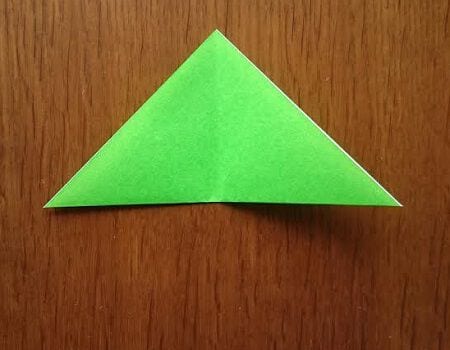
Step 3. Fold it like the image
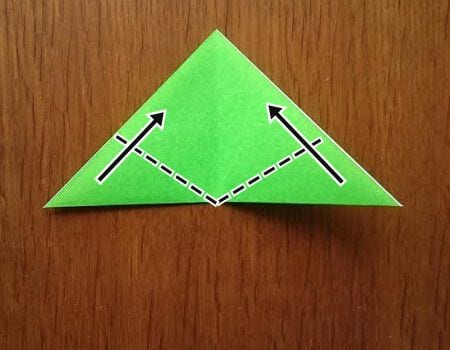
The calyx is now complete.
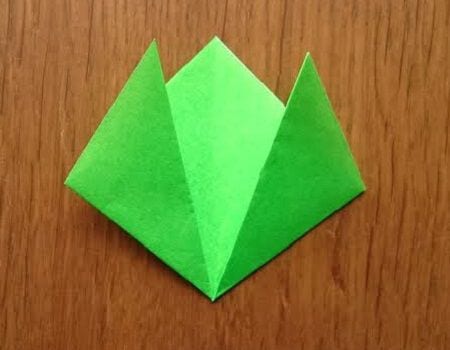
Combine the bud and calyx: insert the bud into this gap.
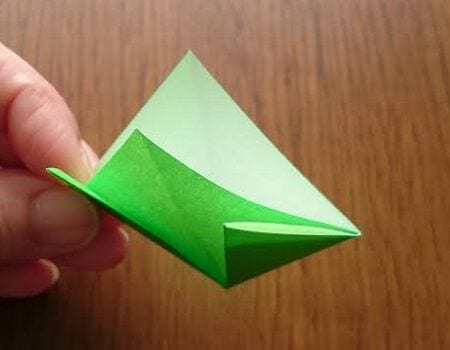
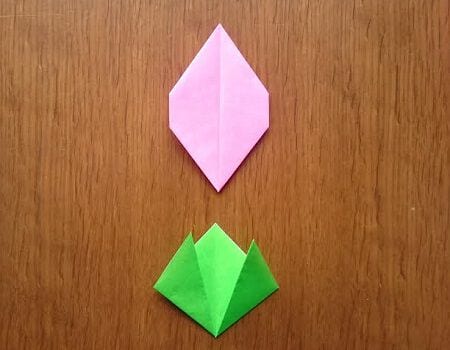
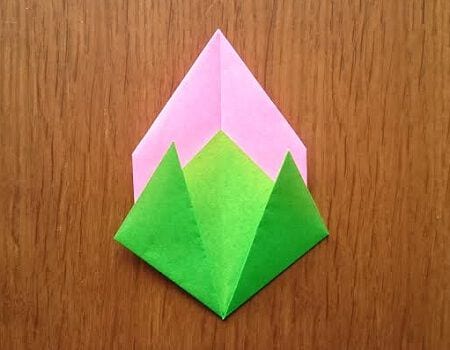
Fold it to the back.
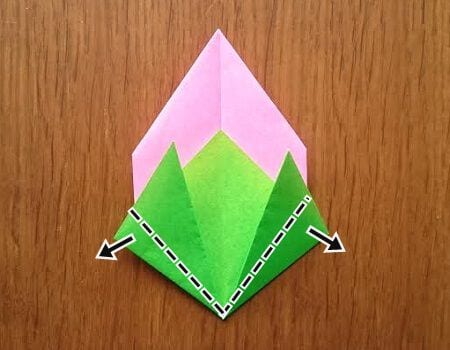
All done!
Please try making cherry blossoms as well.




