
How to Fold an Origami Sailboat
There is a particular kind of joy in a paper boat that actually looks like a boat. Not the flat folded dart everyone learns at school — this one has a proper hull, a tall triangular sail, and a little pocket where the two halves lock together, so it holds its shape instead of slowly sagging open.
The tutorial is unusually generous with photography: sixty-five images across fourteen steps, which means you never have to guess what "fold the flap into the pocket" is supposed to look like. Everything before step 8 is just crease-making, so take your time there and the rest falls into place. Fold it in blue paper, set a few on a windowsill, and you have instant summer — no water required.
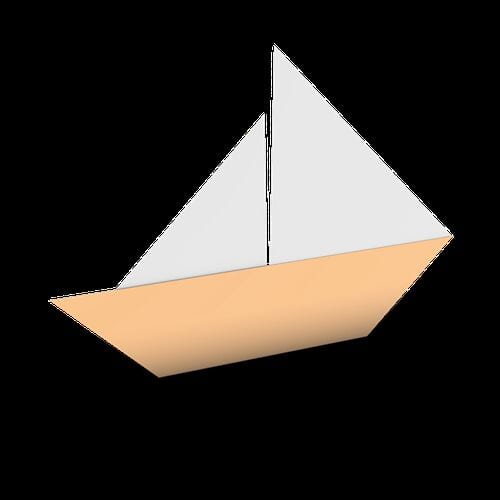
Step 1: Take a square sheet of paper, fold it in half along one diagonal to make a crease, then unfold.

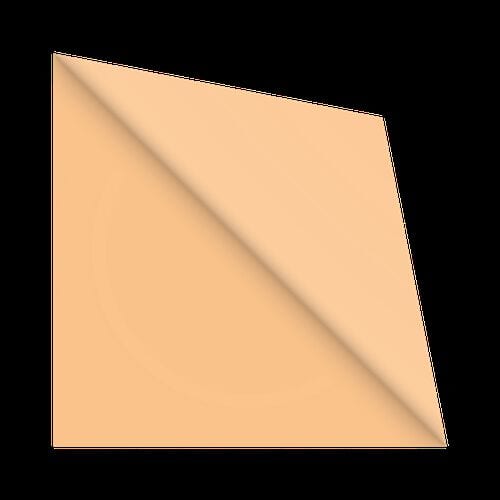



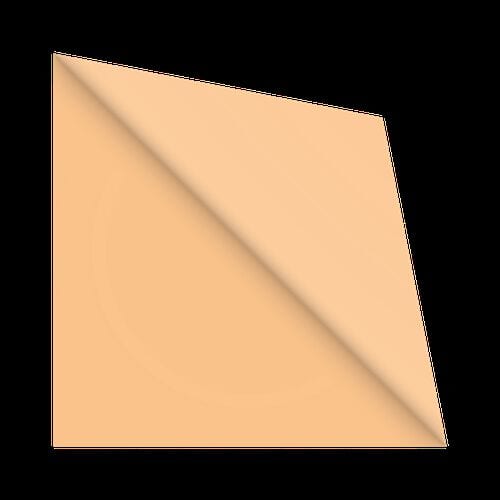

Step 2: Fold the paper along the other diagonal, then unfold.
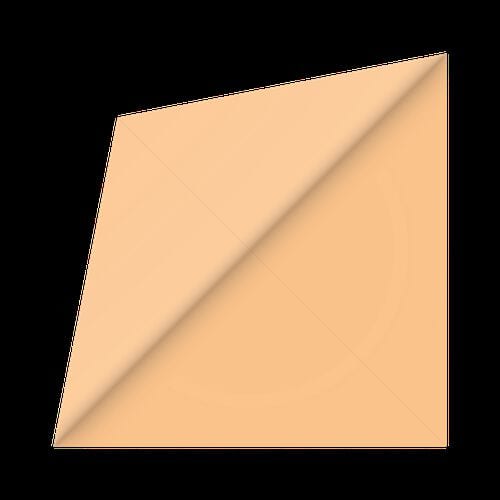



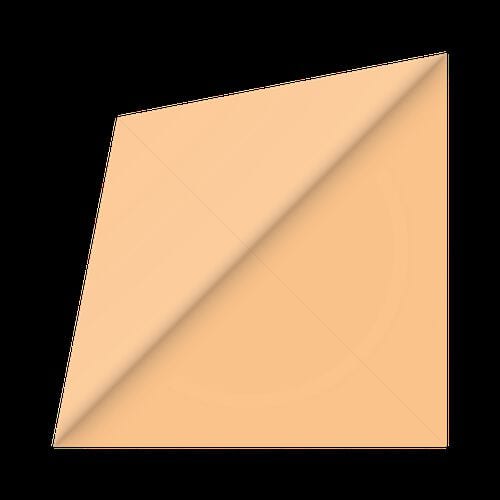

Step 3: Turn the paper over.
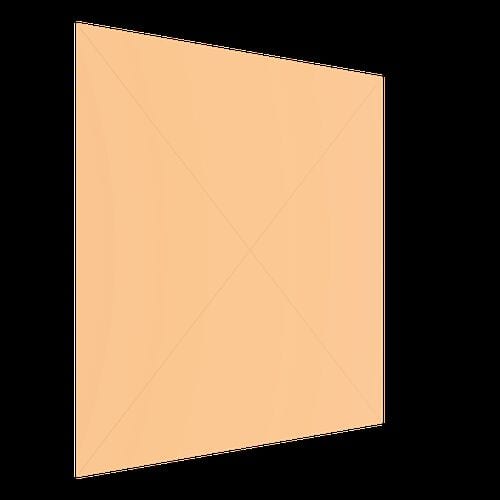

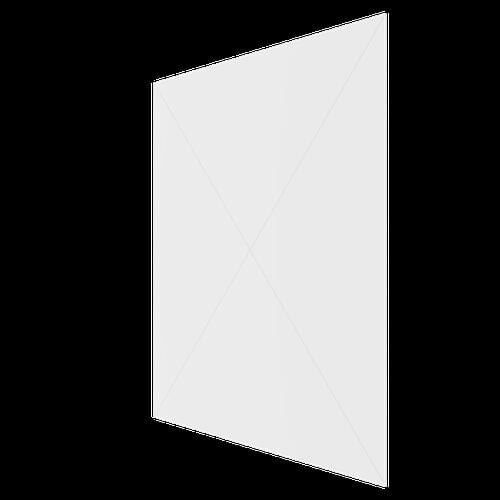

Step 4: Fold the paper in half from top to bottom, then unfold.

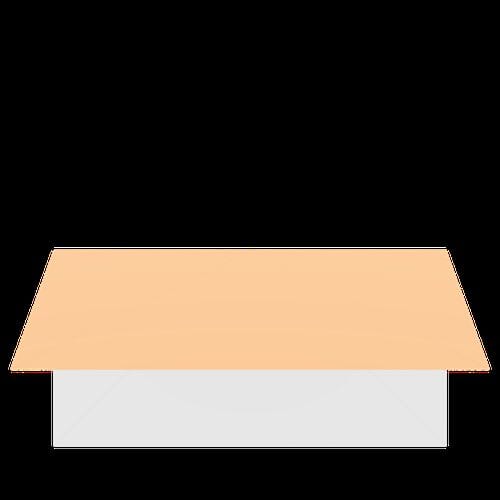

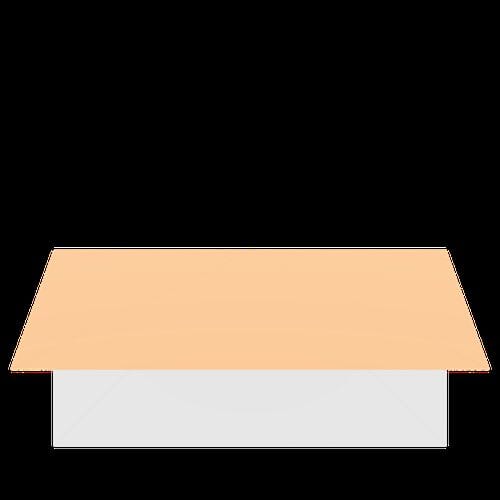


Step 5: Fold the paper in half from left to right, then unfold.

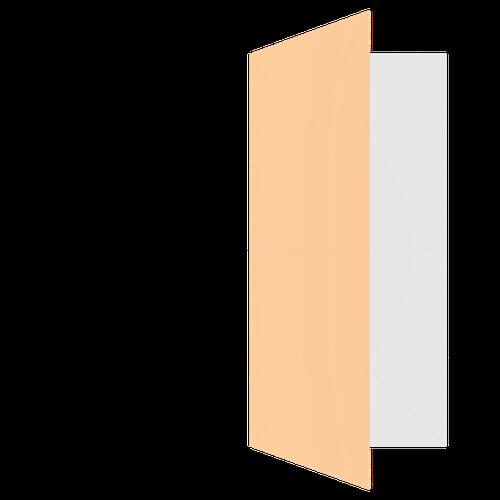

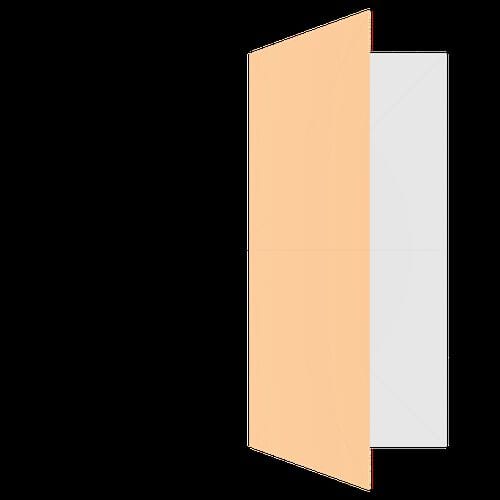


Step 6: Collapse the paper along the creases you have just made.
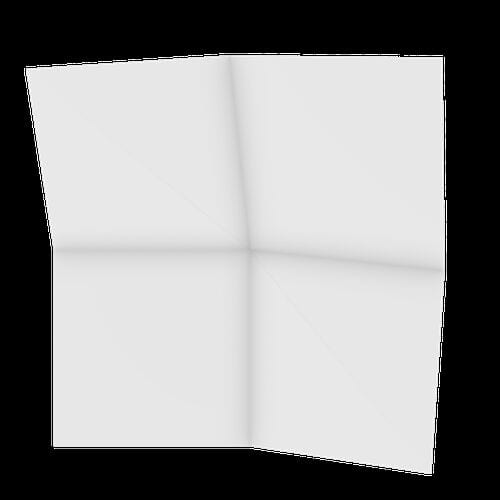


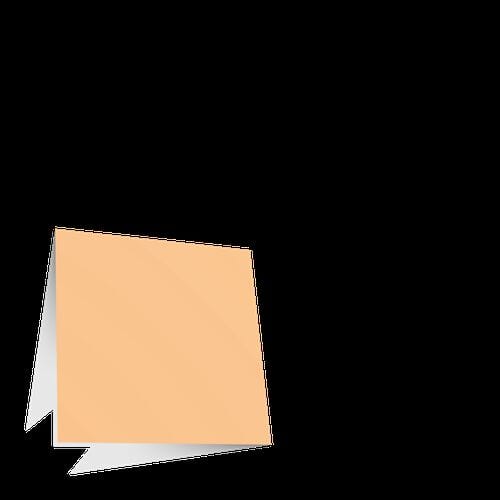

Step 7: Open it back out flat.
Step 8: Fold the two opposite corners in to the center.
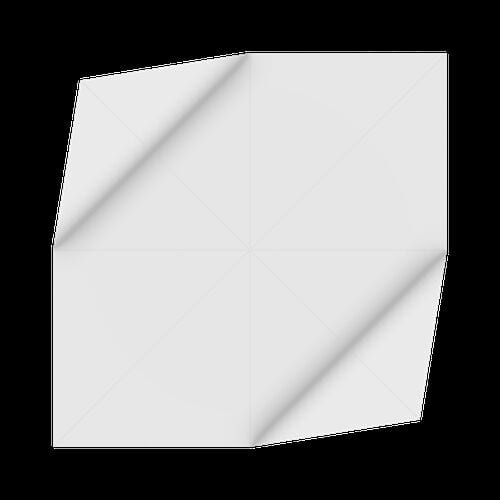

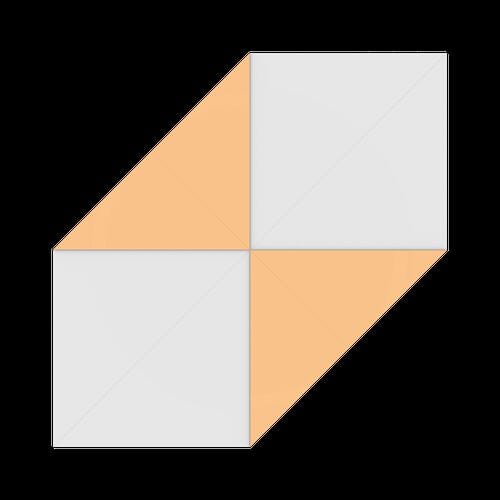
Step 9: Lift the side corners up, folding them inward along the central crease.
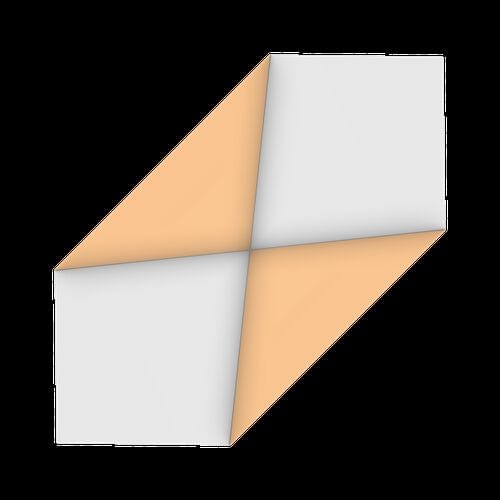


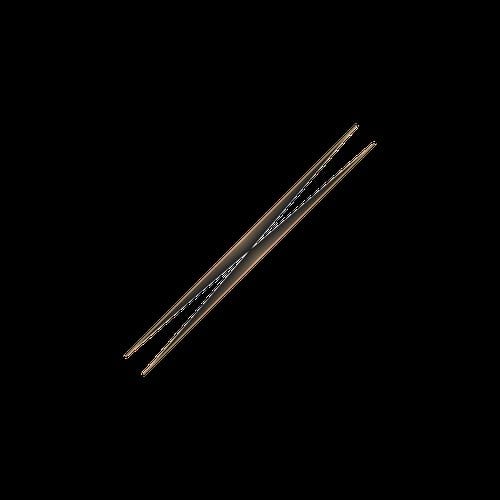
Step 10: Fold the right-hand flap downward.

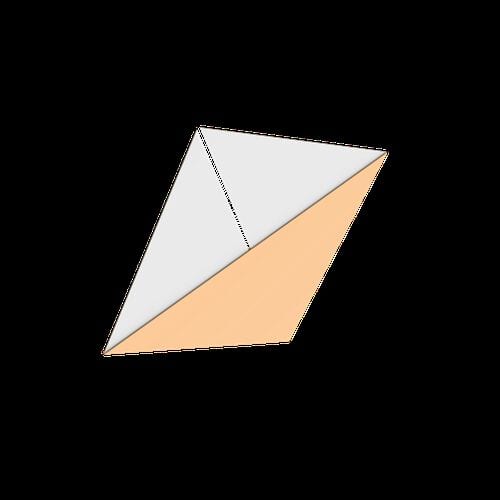
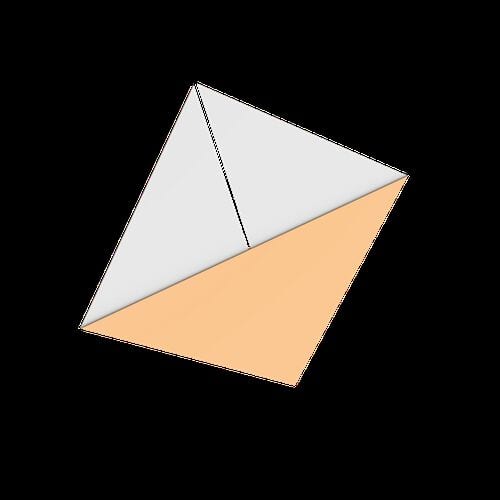





Step 11: Fold it back upward, creasing just below the center line.



Step 12: Open the flap back out and tuck it into the pocket underneath.







Step 13: Fold the bottom corner up, then lift it to form the hull.




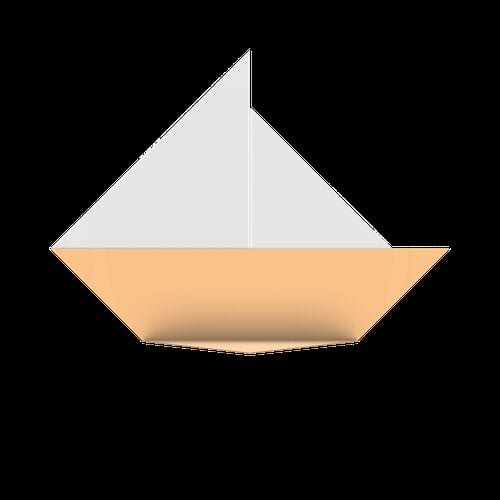
Step 14: Your origami sailboat is complete!




