
How to Fold an Origami Open Cube
Origami boxes are quietly the most useful things you can fold. They hold paper clips. They hold earrings on a hotel bedside table. They hold the tiny object you were given and have nowhere to put. This one is the simplest of the family: an open cube, no lid, no glue, no cutting, fourteen steps from a flat square.
What makes it worth learning properly is the technique buried inside it. The first five steps are pure grid-making — horizontal and vertical Z-folds plus the two diagonals — and that grid is the skeleton of a huge number of origami boxes. Then steps 10 to 12 give you the corner treatment that turns a floppy square into a crisp-sided container. Take care with the early creases, because the walls only line up if the grid does, and use a 15cm sheet for your first attempt before you go smaller.
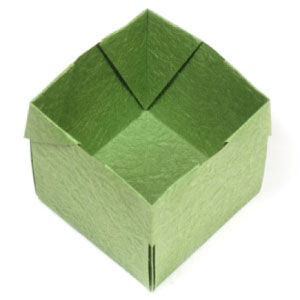
This page is for those who want instructions for folding an origami open cube.
This origami open cube is a cube without a top, so you can actually put things inside it.
Before working on this model, you need to know what a valley fold and a mountain fold are. Once you know these two techniques, you will have no trouble making the origami cube.
If you are ready, then let us get started.
You may use any kind of paper to fold the origami cube. Make sure the paper you use is a square (all sides are equal and all the angles equal 90 degrees). The paper I am using here is a 15cm x 15cm square, a good size for anyone who is not yet experienced in paper folding. Once you are familiar with the model, you can try a smaller sheet.
This is the front side of the paper, which will become the interior of the box.
This is the back side of the paper, which will become the exterior of the box.
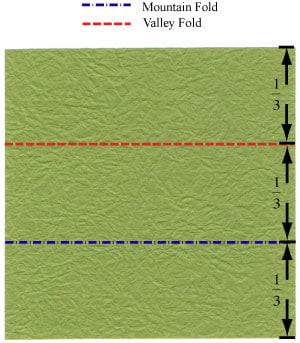
Step 1: Start with the back side of the paper facing up. Prepare to apply a horizontal “Z-fold” and then unfold.
Step 2: Apply the horizontal Z-fold of step 1 and then unfold. Prepare to apply a vertical “Z-fold” and then unfold.
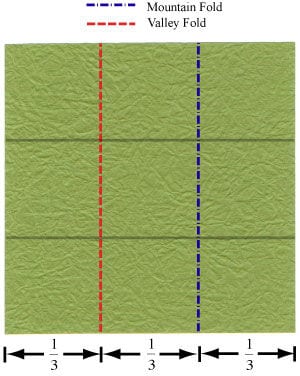
Step 3: Apply the vertical Z-fold of step 2 and then unfold. Prepare to apply a diagonal valley fold and then unfold.
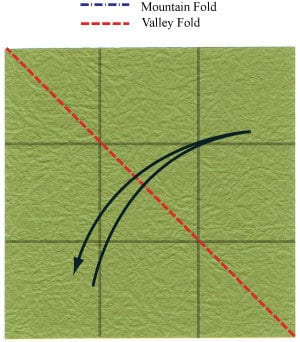
Step 4: Apply the diagonal valley fold of step 3 and then unfold. Prepare to apply another diagonal valley fold and then unfold.

Step 5: Apply the diagonal valley fold of step 4 and then unfold. Prepare to rotate the paper by 45 degrees.
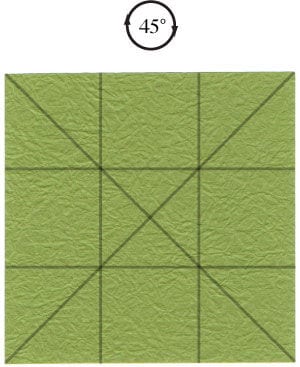
Step 6: Rotate the paper by 45 degrees. Prepare to apply two valley folds and then two mountain folds.
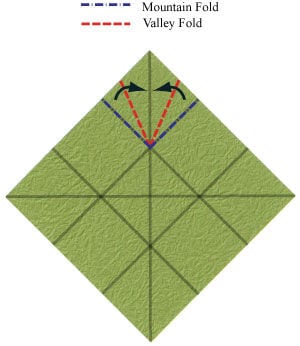
Step 7: Apply the two valley folds and then the two mountain folds of step 6.
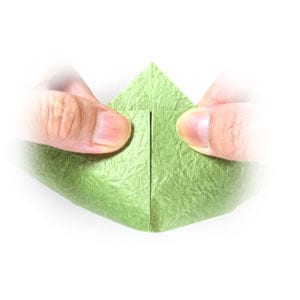
Step 8: Prepare to repeat step 7 (two valley folds and two mountain folds) on all four corners.
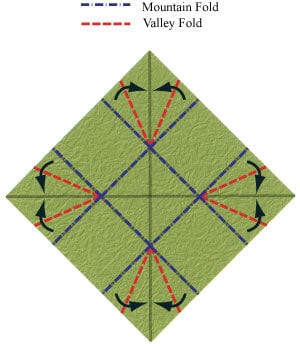
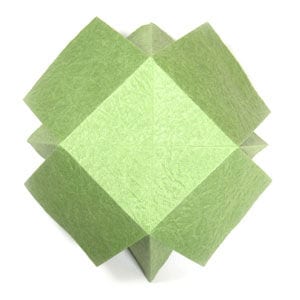
Step 9: Repeat step 7 on all four corners. This is the bottom view of the origami cube model. Prepare to work on one corner.
Step 10: Let us work on one corner, going back to the shape you had at step 7. Prepare to apply a valley fold.
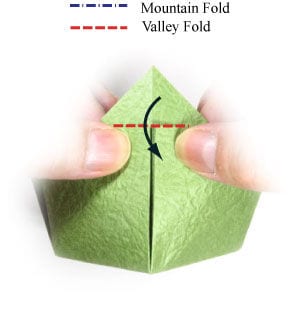
Step 11: Apply the valley fold of step 10. Prepare to apply a mountain fold to sharpen the edge.
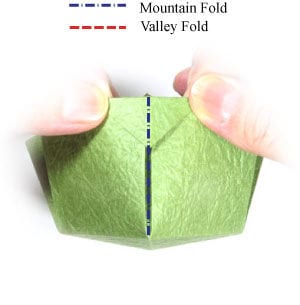
Step 12: Apply the mountain fold of step 11 to sharpen the edge. Prepare to repeat steps 10 to 12 on all four corners.
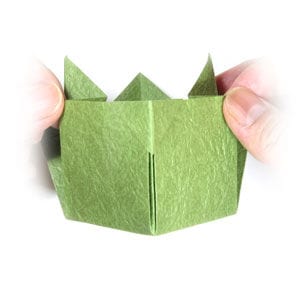
Step 13: Repeat steps 10 to 12 on all four corners.
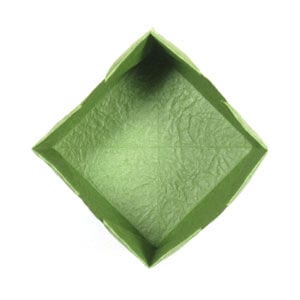
Step 14: Congratulations! You have completed making an origami open cube.




