
How to Fold a Traditional Origami Butterfly
Ask someone to name an origami model and a butterfly is usually in the first three answers. This is the traditional version, and it has a lovely secret hidden in the middle of the sequence: the base it is folded from is called the twin-boat base, because at step 16 — before it becomes a butterfly at all — the shape is unmistakably a little twin-hulled boat.
The folding itself is mostly preparation. Twelve of the twenty-one steps are creases you make and then immediately unfold, which can feel repetitive until you realise they are building the grid the butterfly collapses out of. Take your time there, use a 20cm square so you can see what you are doing, and the final shape will emerge crisply. Once it clicks, you will start recognising the twin-boat base in a dozen other models — which is rather the point of learning a classic.
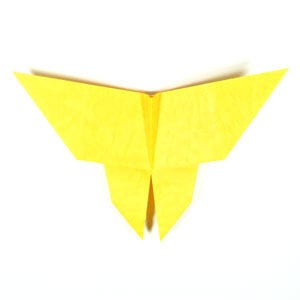
This page is for those who want instructions for folding a traditional origami butterfly.
The origami butterfly is based on the so-called “twin-boat base”. So you will learn what this twin-boat base is and how it relates to the butterfly. Before working on this model, you need to know what a valley fold and a mountain fold are. Once you know these two techniques, you will have no problem making the origami butterfly.
If you are ready, then let us get started.
You may use any kind of paper to fold the origami butterfly. It is a little easier if the front and the back side of the paper are slightly different, whether in texture or color.
Make sure the paper you use is a square (all sides are equal and all the angles equal 90 degrees). The paper I am using here is a 20cm x 20cm square, a good size for anyone who is not yet experienced in paper folding. Once you are familiar with the model, you can try a smaller sheet.
This is the front side of the paper.
This is the back side of the paper.
Step 1: Since the front and back share the same color and texture, it does not matter which side faces up. If your paper has a different color or texture on each side, start with the back side facing up. Prepare to valley fold in half horizontally.
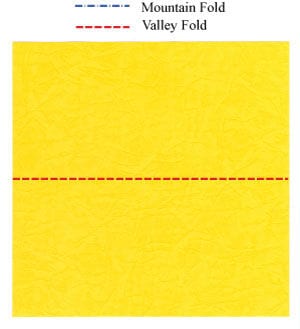
Step 2: Apply the valley fold of step 1. Prepare to unfold.
Step 3: Unfold the previous valley fold. Prepare to valley fold in half vertically.
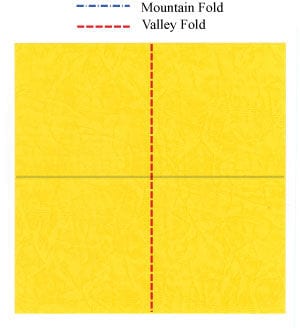
Step 4: Valley fold in half vertically. Prepare to unfold.
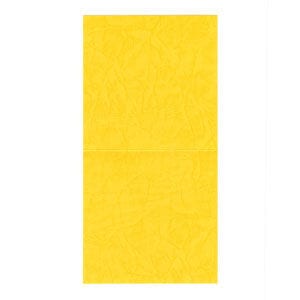
Step 5: Unfold the paper. Prepare to (1) valley fold the upper half in half and (2) valley fold the lower half in half.
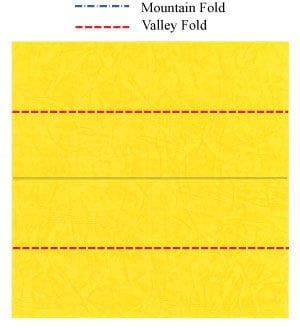
Step 6: Apply the two valley folds of step 5. Prepare to unfold.
Step 7: Unfold the paper. Prepare to (1) valley fold the right half in half and (2) valley fold the left half in half.
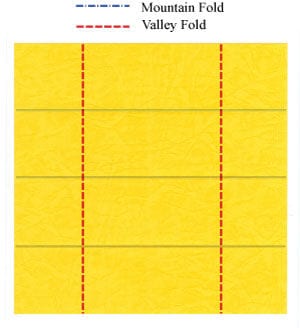
Step 8: Apply the two valley folds of step 7. Prepare to unfold.
Step 9: Open the paper out. Prepare to valley fold along one diagonal.
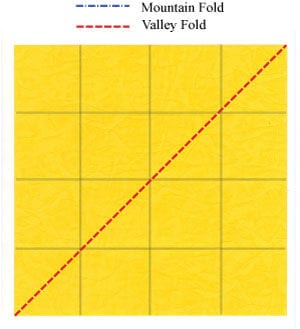
Step 10: Valley fold along the diagonal. Prepare to unfold.
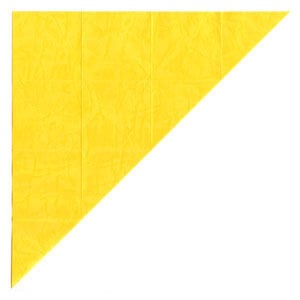
Step 11: Open the paper out. Prepare to valley fold along the other diagonal.
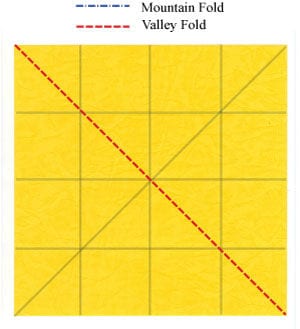
Step 12: Valley fold along the diagonal. Prepare to unfold.
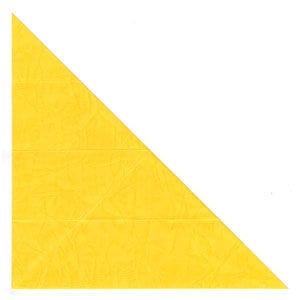
Step 13: Open the paper out. Prepare to apply the following crease pattern (CP).
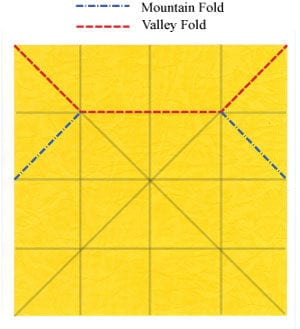
Step 14: Apply the crease pattern of step 13.
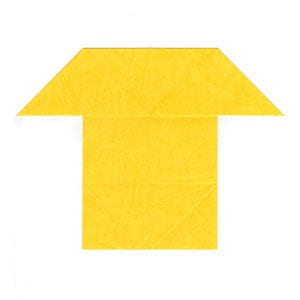
Step 15: Prepare to apply the crease pattern to the lower half of the paper.
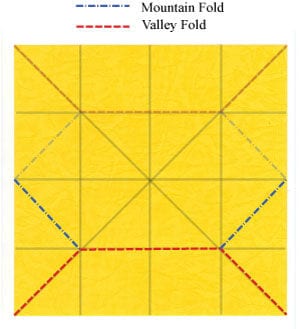
Step 16: Apply the crease pattern of step 15. This shape is called the twin-boat base — fold a mountain fold down the middle and you have a twin boat. Prepare to apply two valley folds.
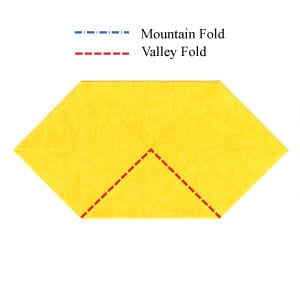
Step 17: Apply the two valley folds of step 16. Prepare to make a mountain fold.
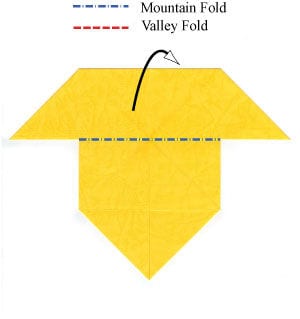
Step 18: Make the mountain fold of step 17. Prepare for two valley folds.
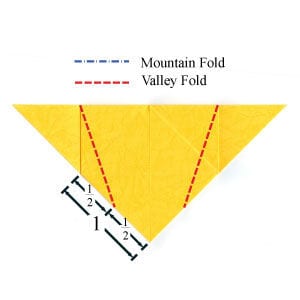
Step 19: Apply the two valley folds of step 18. Prepare for one valley fold followed by two mountain folds.
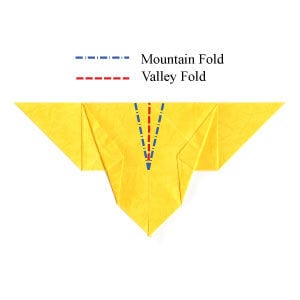
Step 20: Apply one valley fold, then the two mountain folds.
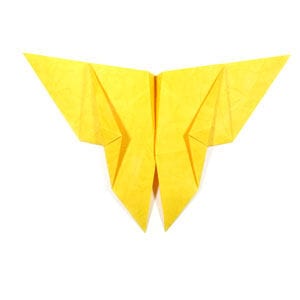
Step 21: Congratulations! You have completed making a traditional origami butterfly.




