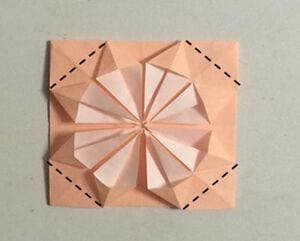
How to Fold an Origami Hibiscus
There is a moment in almost every flower fold when the paper stops being a folded square and starts being a bloom, and in this model it happens at step 11 — you open the section back out and suddenly there are layers where a moment ago there was a flat corner. It is a small move that feels disproportionately good.
The rest of the model is refreshingly undemanding. Everything before step 8 is halving folds and creases, the kind of folding you can do while chatting, and the whole thing takes about ten minutes from a single square. Fold a few in different sizes and warm colours, glue them onto a card or scatter them across a table, and nobody needs to know how easy they were.
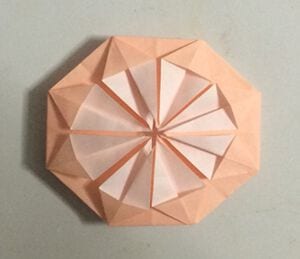
Here is a simple way to fold a dahlia-style flower.
Every step is illustrated so that anyone can follow along, so please give it a try.
How to fold a dahlia
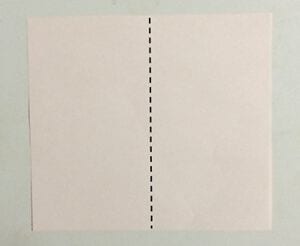
Step 1: Fold the paper in half and crease.
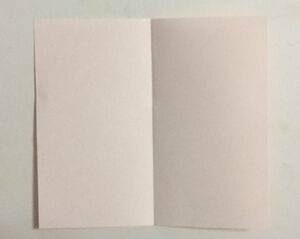
Step 2: Fold the left and right edges in to meet the crease.
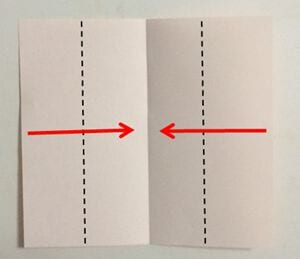
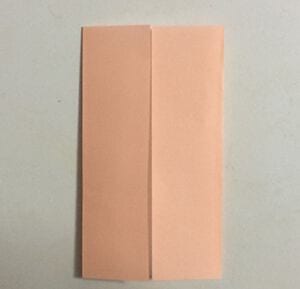
Step 3: Fold it in half and crease as shown.
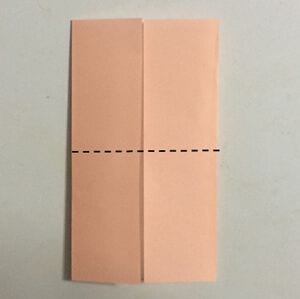
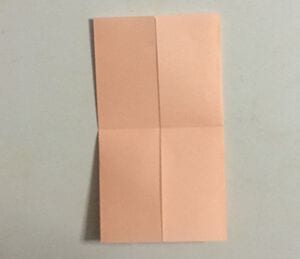
Step 4: Fold the top and bottom edges in to the center crease.
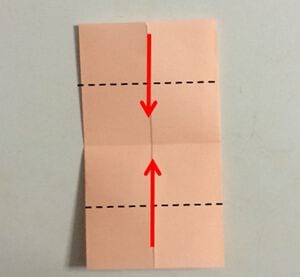
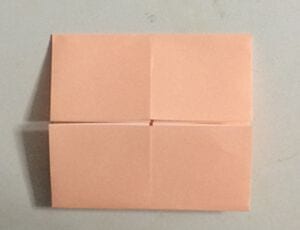
Step 5: Fold it in half diagonally and crease.
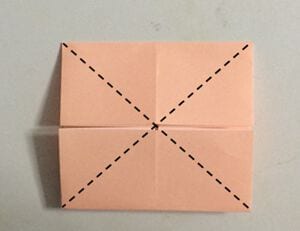
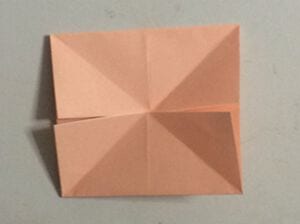
Step 6: Unfold, then fold along the creases as shown.
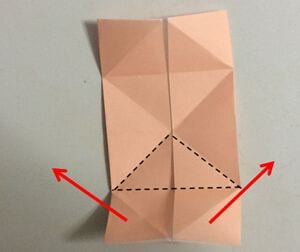
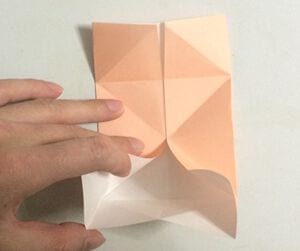
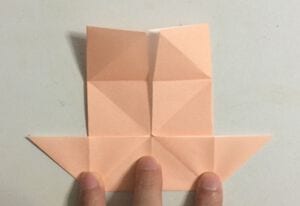
Step 7: Fold the top side the same way.
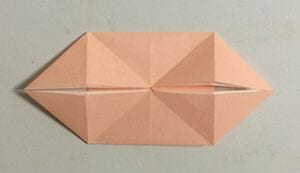
Step 8: Fold the corners as shown.
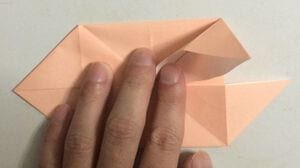
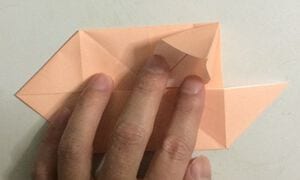
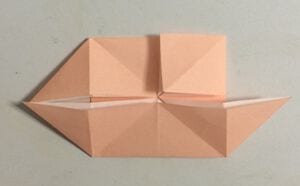
Step 9: Fold the remaining corners the same way.
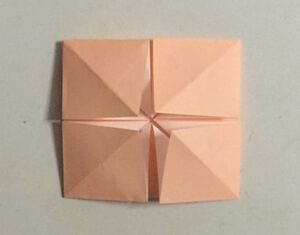
Step 10: Fold along the dotted line so it lines up with the crease.
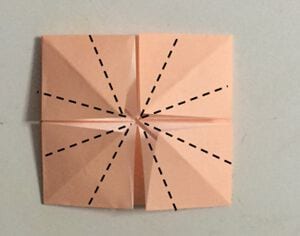
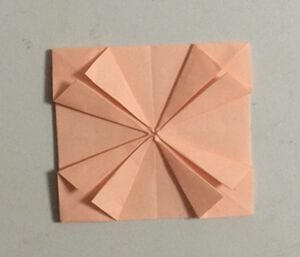
Step 11: Open up the part you have just folded, folding it outwards.
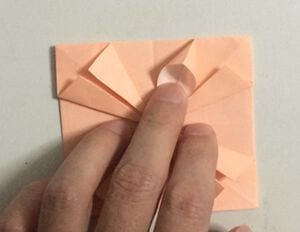
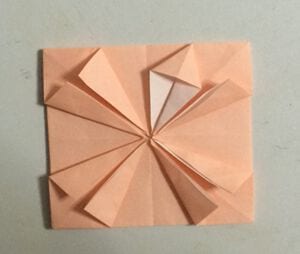
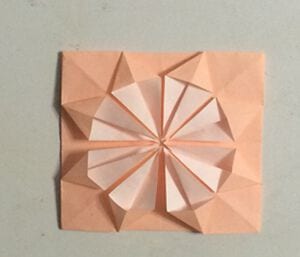
Step 12: Fold the dotted section behind and the flower is complete.