How to Fold an Origami Candy Box with Legs
Most origami containers are decorative first and useful second. This one is the other way round: fold it once and you will find yourself actually using it. Paper clips, earrings, the loose change on a desk - it holds all of them, and it stands up instead of sagging flat.
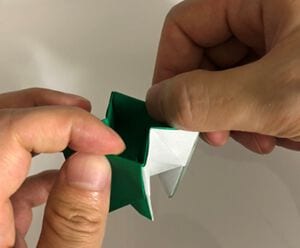
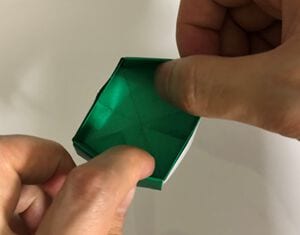
The folding is friendlier than the finished box looks. Everything up to step 8 is basic creasing, and the walls appear almost by accident when you turn the flaps over and square the inside corners. Step 15 is the moment worth waiting for: pull the inside open and the flat packet suddenly has depth, and a set of little feet to stand on. One square sheet, no glue, no cuts, about ten minutes - and three or four folded from different sized squares make a nesting set that looks deliberate.
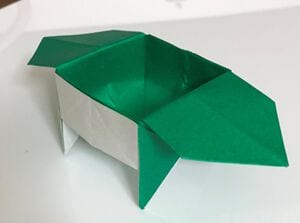
Here is a simple way to fold a small origami box with legs.
It is a practical little container you can actually put things inside.
Anyone can make it, so do give it a try.
If you enjoy this one, there are plenty of other origami boxes to explore as well.
How to fold the box
STEP 1. Crease the paper along the diagonal.
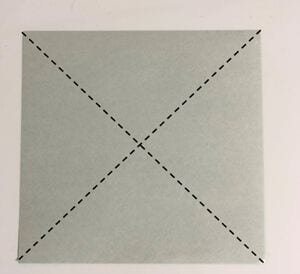
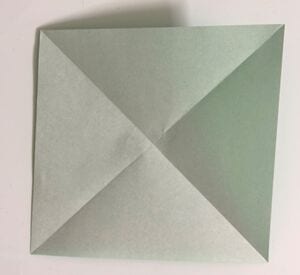
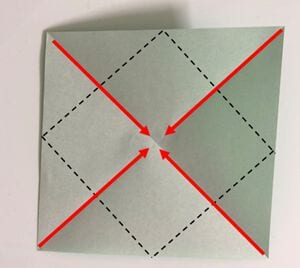
STEP 2. Fold the corners in so they meet at the centre.
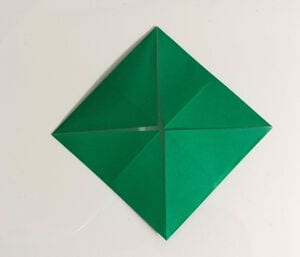
STEP 3. Add mountain folds and valley folds as shown.
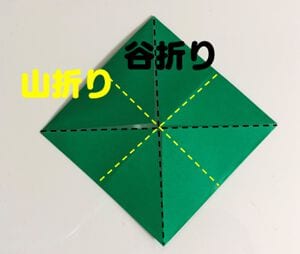
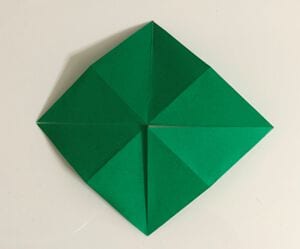
STEP 4. Fold along the creases you just made.
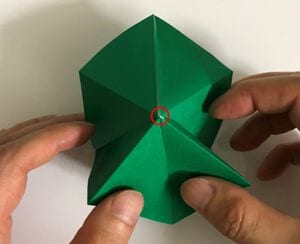
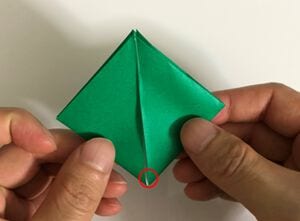
STEP 5. Fold the paper in half and crease it.
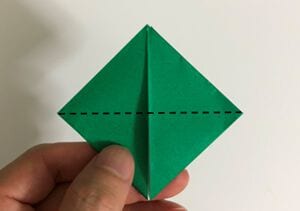
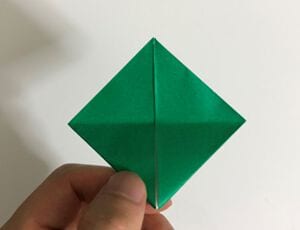
STEP 6. Open the paper up and press it inward.
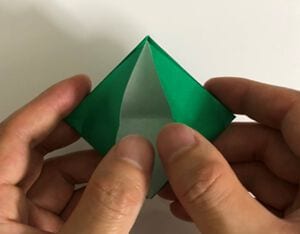
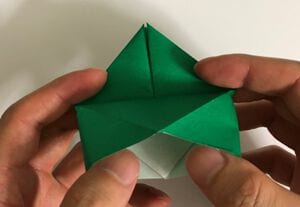
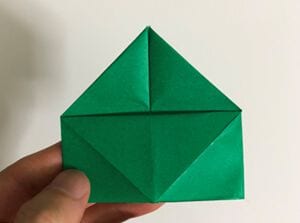
STEP 7. Fold the bottom edge up so it meets the top edge, as shown.
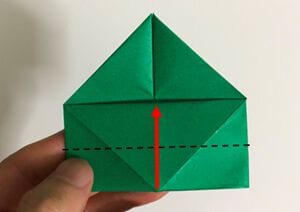
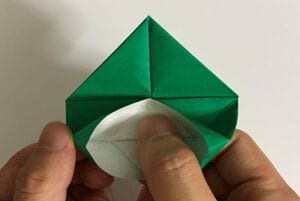
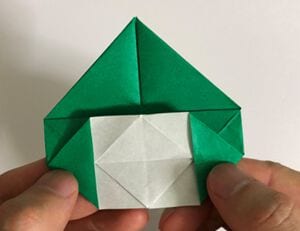
STEP 8. Turn the paper over and fold it the same way.
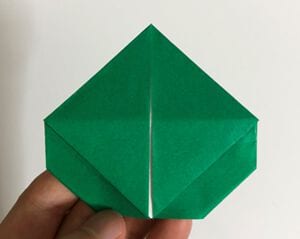
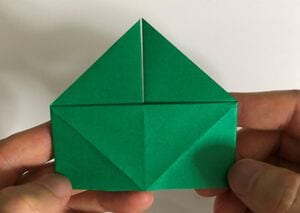
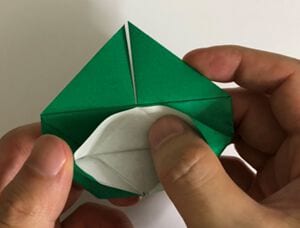
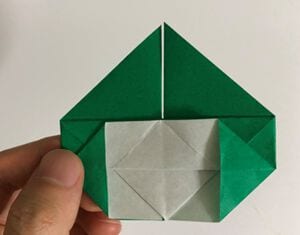
STEP 9. Turn one flap over. Do the same on the back.
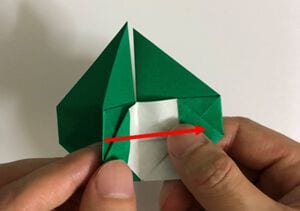
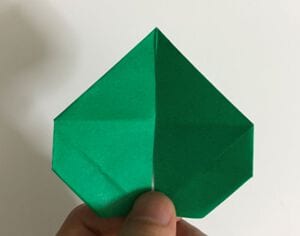
STEP 10. Fold the corner on the inside.
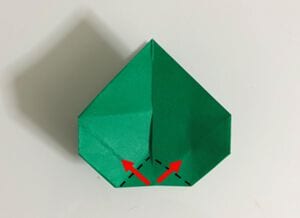
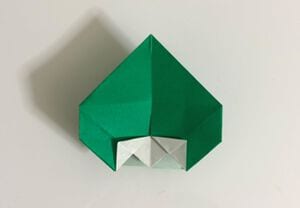
STEP 11. Fold the back the same way.
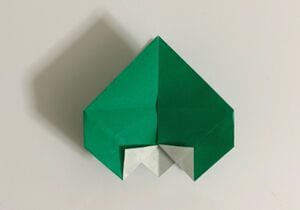
STEP 12. Fold the left and right edges in to the centre.
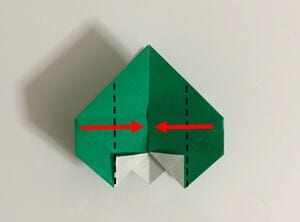
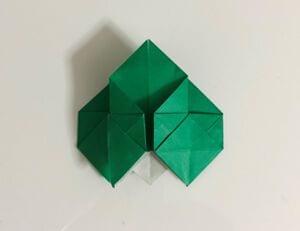
STEP 13. Fold the back the same way.
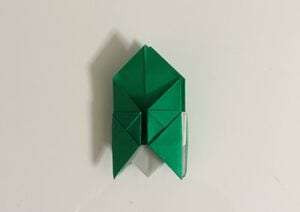
STEP 14. Fold the top corner down.
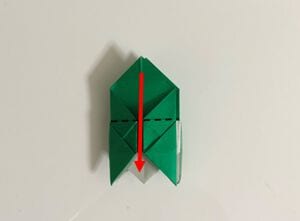
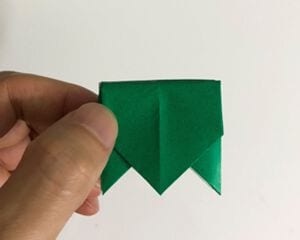
STEP 15. Open the inside and shape it into a box. The box with legs is finished.