
Origami Iris
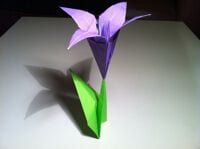
There are origami flowers, and then there's the iris — a model that looks less like a paper craft and more like something you'd pick from a garden. With its sculpted petals and a little stamen poking out the middle, this one genuinely tricks the eye.
This tutorial comes in two parts: first the flower, then a stem to stand it on. It's a longer fold with a few squash folds to master, but take it step by step and you'll end up with a bloom you'll be proud to show off. Grab some two-tone paper and let's grow one.
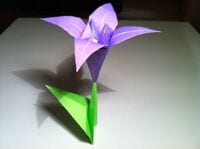
There’s no argument that the origami iris is very pretty. The flower is just so complete and almost lifelike thanks to the well-shaped petals and stamen. The white at the centre of the iris and petal also helps bring it to life.
The origami iris isn’t really too hard to fold, but you must be able to follow instructions well and remember to use the pictures to help you if you get stuck.
STEP 1. Start with a square piece of origami paper, but if you only have regular 8.5x11 paper, follow these instructions to make a square sheet.
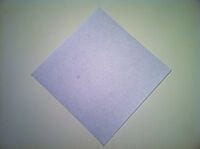
STEP 2. Fold the paper in half, folding the top corner to the bottom corner.

STEP 3. Fold in half again, folding the left corner to the right corner.

STEP 4. Squash-fold the upper layer. To do this, open the flap and squash the right corner down to the bottom corner while creasing the sides.

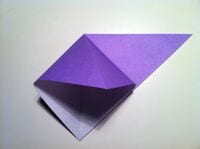

STEP 5. Turn the figure over as shown.

STEP 6. Squash-fold the left flap as well. To do this, stand the left flap upright, then open it and squash it down.
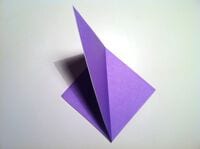
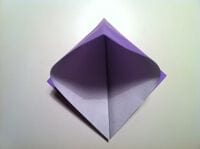
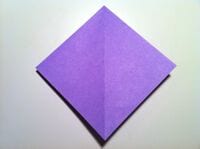
STEP 7. Lift the upper layer on the right side, open it up (slip your finger into the pocket if needed), and squash it down.
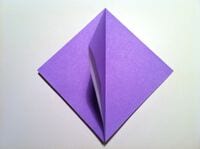
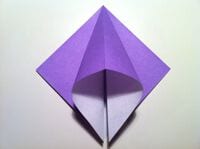
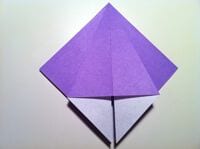
STEP 8. Squash-fold the other three flaps just as you did in Step 7. Your model should look like this.
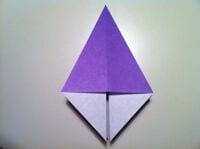
STEP 9. Simply rotate it until it’s upside down.

STEP 10. Fold the figure in half, then unfold.
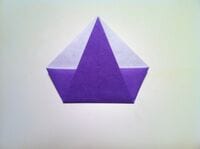
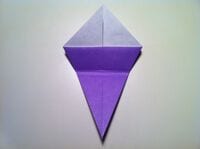
STEP 11. Fold the upper left and right edges to the centre, then unfold.
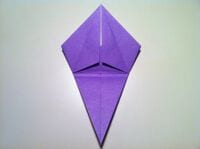
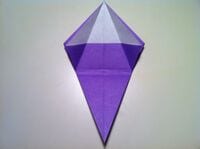
STEP 12. Squash-fold the pocket. Basically, pull the middle pocket down and crease the sides. This creates a pointy little flap. Fold that pointy little flap up.
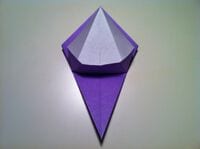
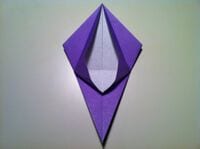
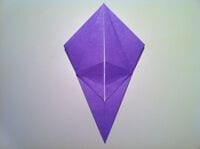
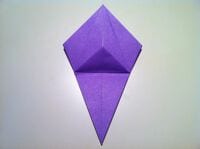
STEP 13. Squash-fold the remaining three pockets and fold their pointy little flaps up as well. When you’re done, your figure should look like the picture here.

STEP 14. Fold the upper layer of the left flap to the right to expose a blank side.
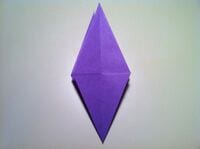
STEP 15. Fold the lower left and right edges to the centre.
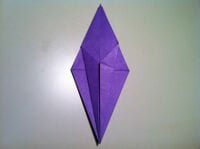
STEP 16. Repeat Step 15 on the other three blank sides. Your figure should look like this.

STEP 17. Fold the petals down, or curl them with a pencil.
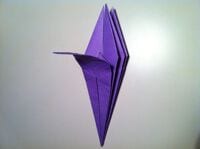
STEP 18. Once all the petals are folded down, it should look like this.

STEP 19. You can also make a stem if you like. By now there should be a small opening at the bottom of the iris where you can insert the stem.
STEP 1. Start with a square piece of origami paper, white side up. If you only have regular 8.5x11 paper, follow these instructions to turn it into a square sheet.
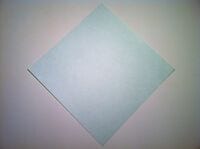
STEP 2. Fold the left corner to the right corner, then unfold.

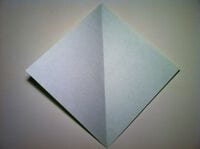
STEP 3. Fold the upper left and right edges to the centre.
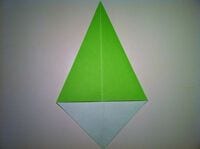
STEP 4. Fold the lower left and right edges to the centre.
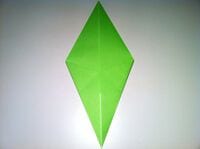
STEP 5. Once again, fold the lower left and right edges to the centre.
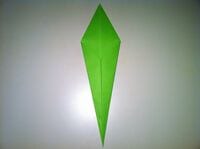
STEP 6. Turn the figure over.
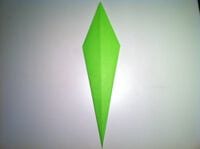
STEP 7. Fold the bottom corner to the top corner.
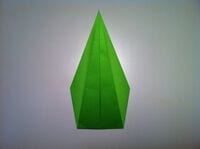
STEP 8. Fold the figure in half by folding the left side over to the right.
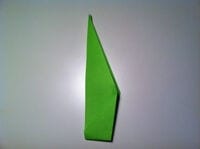
STEP 9. Peel the leaf (on the left side) back and outside-reverse-fold it.

STEP 10. Place the flower on top of the stem. Done!





