
Star (Complete Tutorial)
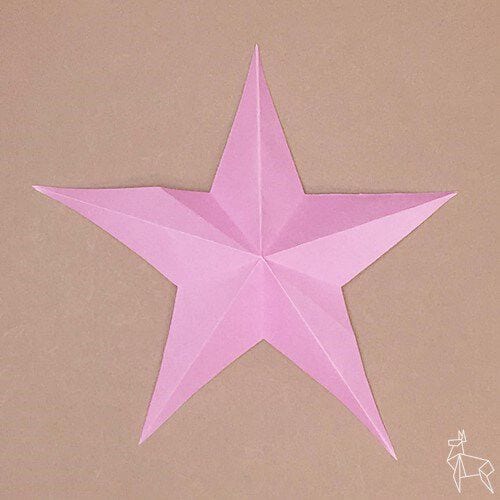
There's a special kind of magic in a star you fold and cut yourself — one that doesn't just lie flat, but stands up with real dimension. This 12-step origami star is that kind of project: a little more involved than a quick fold, but the payoff is a decoration that genuinely pops.
Whether you're dressing up a gift, hanging ornaments for the holidays, or just love a satisfying paper puzzle, this star is worth the climb. Grab a sheet (metallic paper looks fantastic), and let's build something that shines.
STEP 1. Cut the origami paper in half along the dotted line and make a crease.
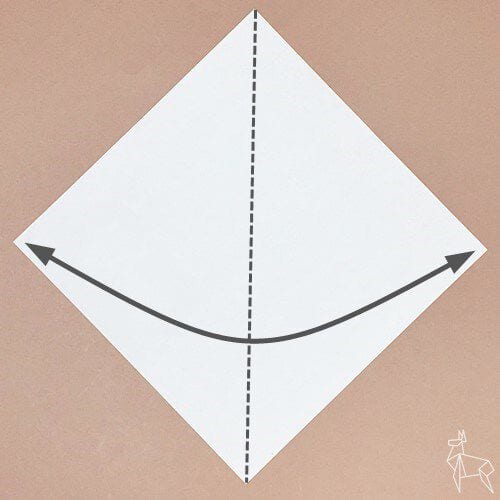
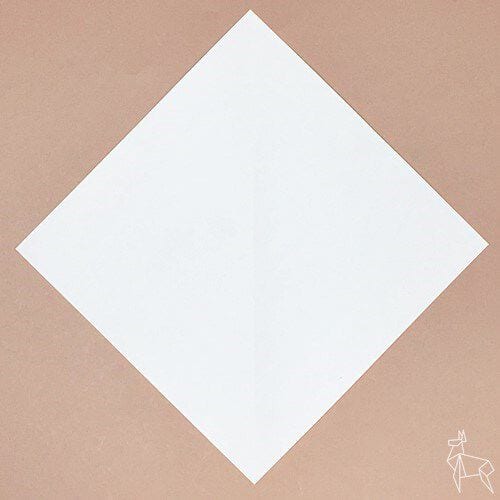
STEP 2. Fold it in half along the dotted line.
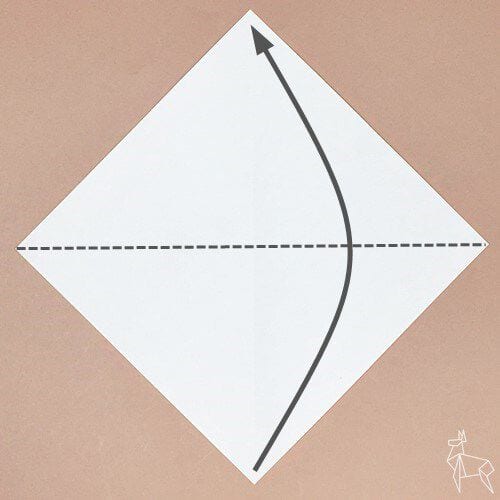
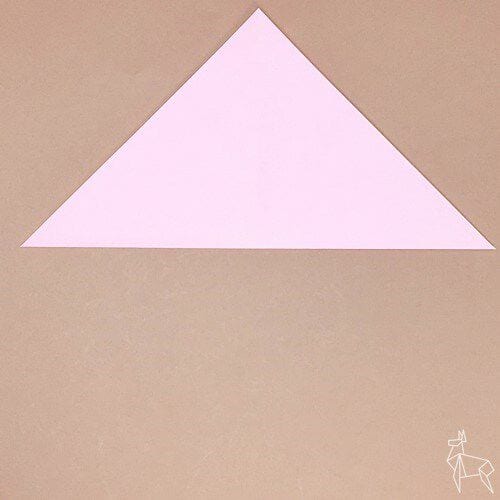
STEP 3. Turn one sheet over and crease only along the dotted line so the corners line up with the centre of the bottom edge.
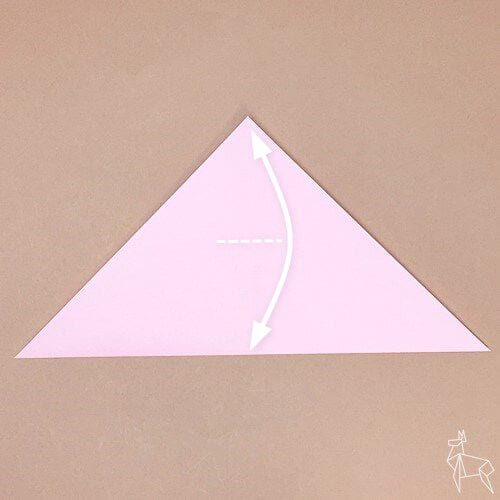
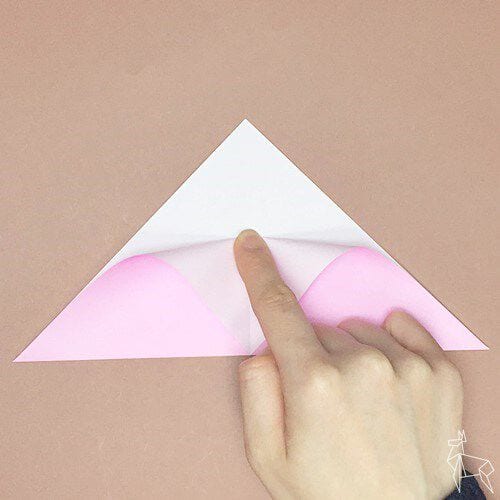
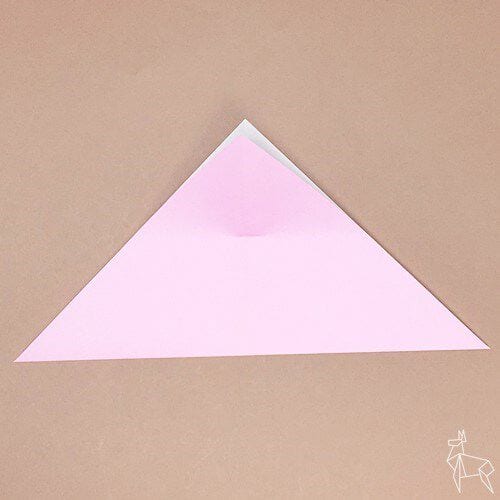
STEP 4. Fold along the dotted line so the top corner meets the crease.
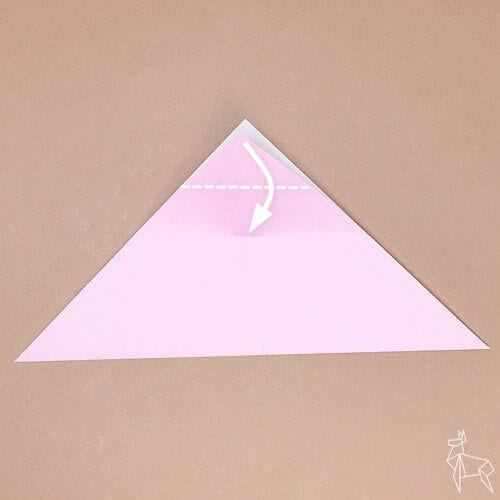
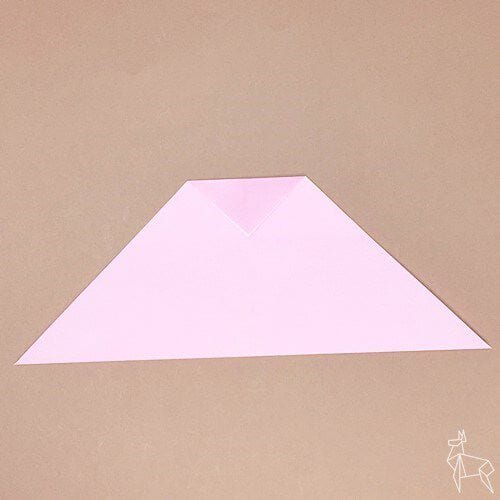
STEP 5. Starting from the centre of the bottom edge, fold along the dotted line so it matches the left and right corners you just folded.
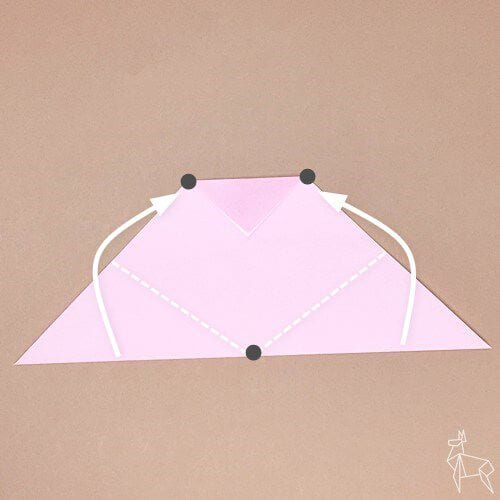
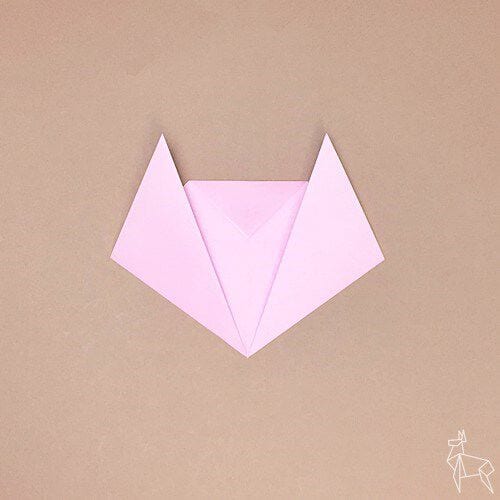
STEP 6. Fold it back along the dotted line.
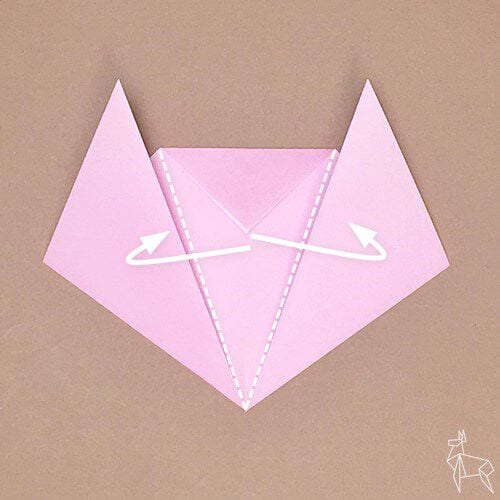
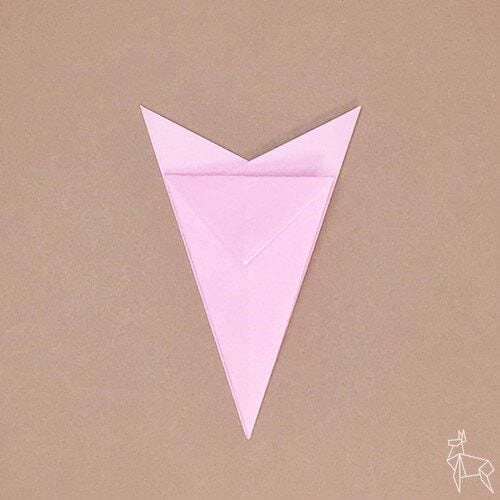
STEP 7. Fold the corner back into place.
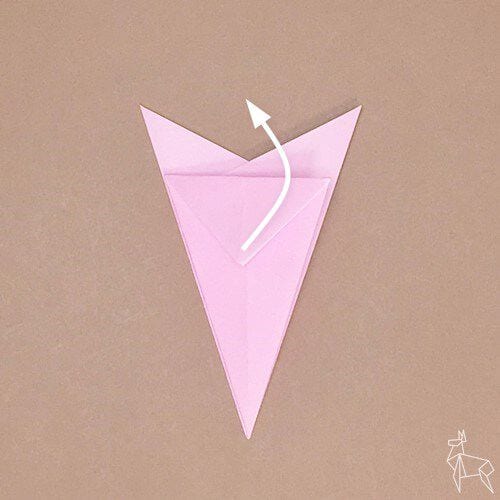
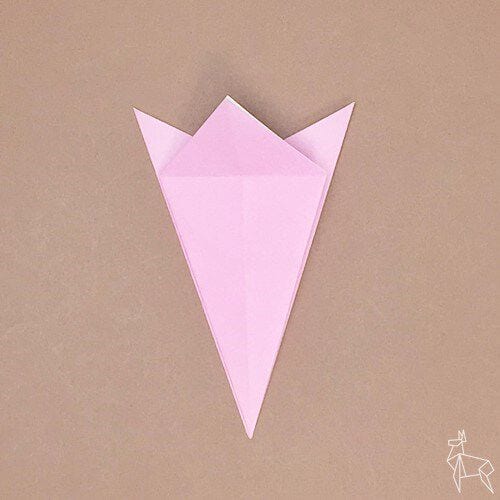
STEP 8. Turn it over.
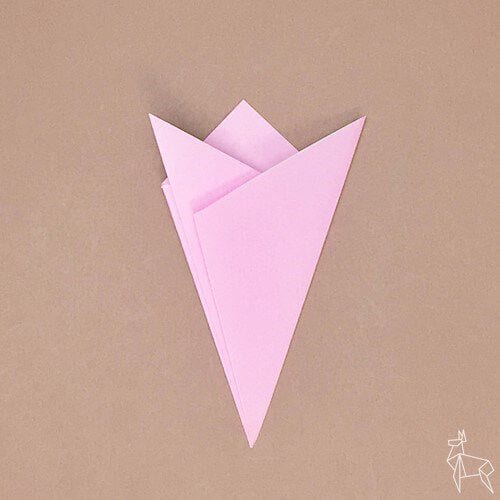
STEP 9. Lightly sketch with a pencil as shown, then cut along the line with scissors.
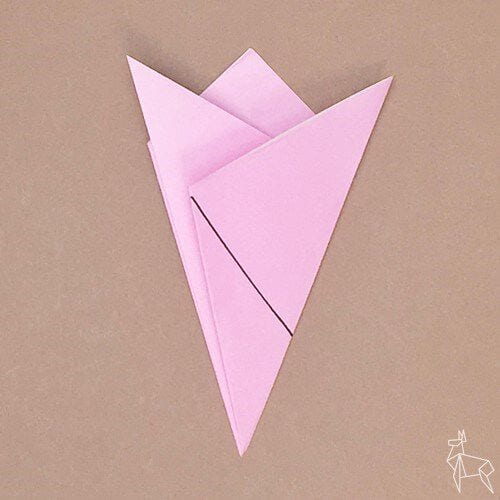
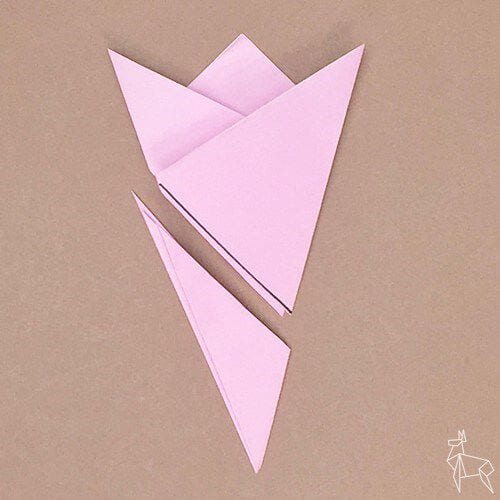
STEP 10. Unfold the paper and shape it — the star is complete.
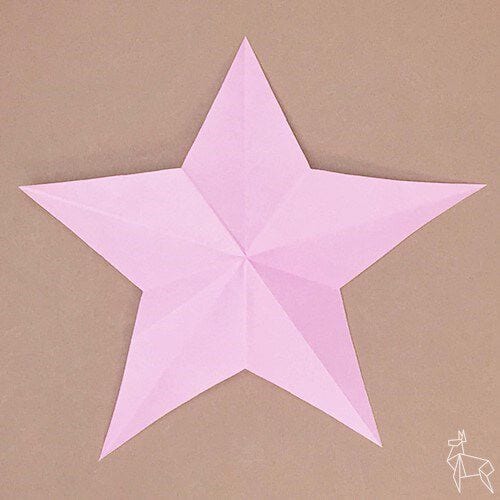
STEP 11. To add dimension, mountain-fold along the black dotted lines and valley-fold along the white dotted lines.
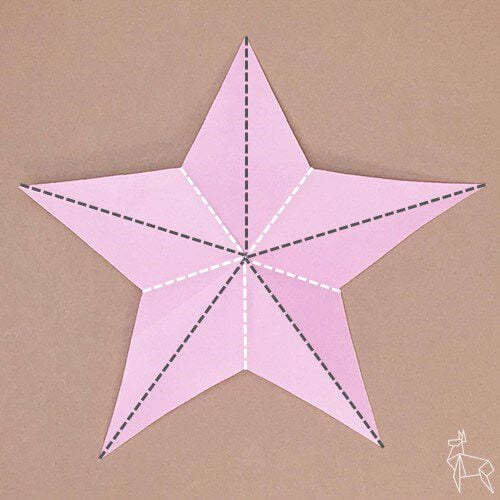
STEP 12. Your three-dimensional star is complete.




