
Parakeet
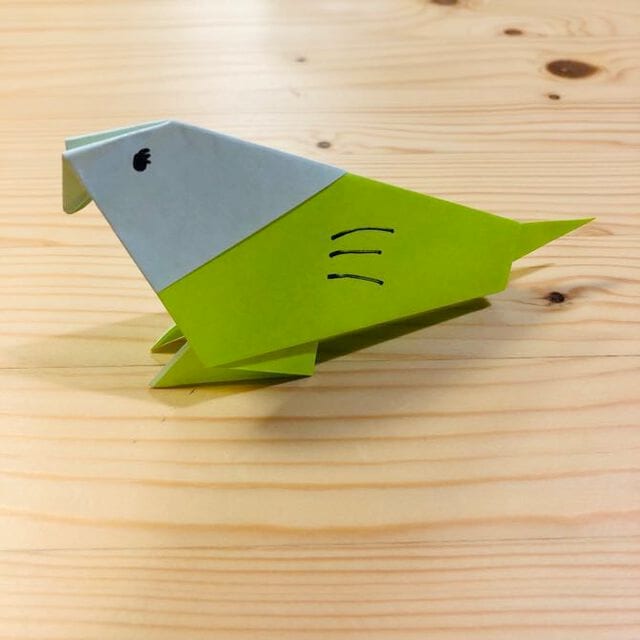
There is a whole family of origami birds that look impressive but turn out to be just a handful of well-placed folds, and this little parakeet is one of the most satisfying. Thirteen photos take you from a flat square to a rounded, tailed bird, with no complicated base to memorise - you mostly fold at the marked spots, turn the paper over, and let one open-and-fold step pop the head into shape.
The best part is the ending. When the folding is finished the shape is already a bird, but the moment you draw two tiny eyes and a beak on it, it comes alive - suddenly it is a parakeet with a personality. Use a square that is a different colour on each side and you get a nicely two-tone bird for free. Fold a few in greens, blues and yellows and you have a whole perch of them. It is quick, it is cute, and it is the kind of make that gets kids hooked on paper folding.
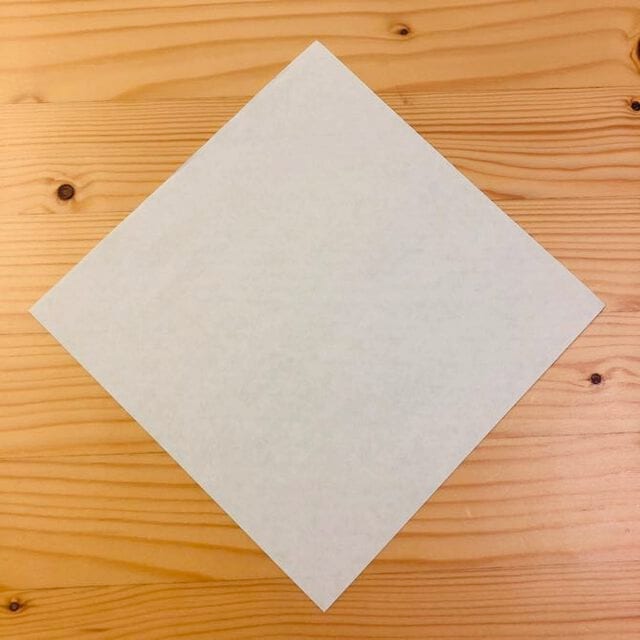
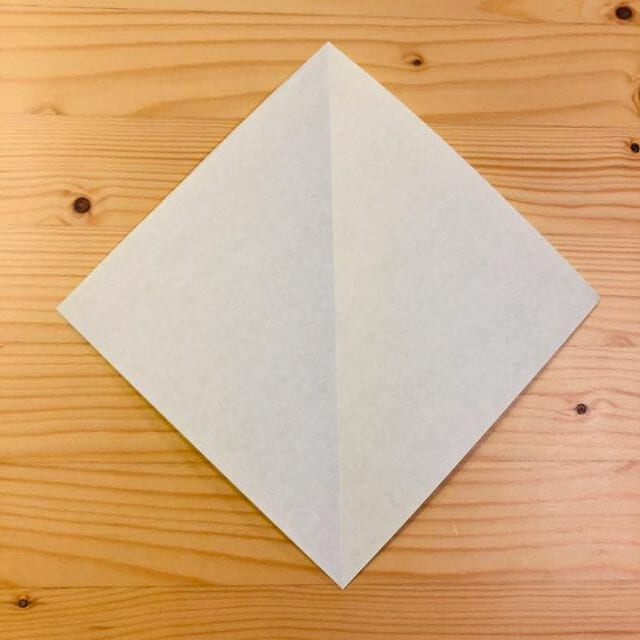
STEP 1
Fold it in half and make a crease.
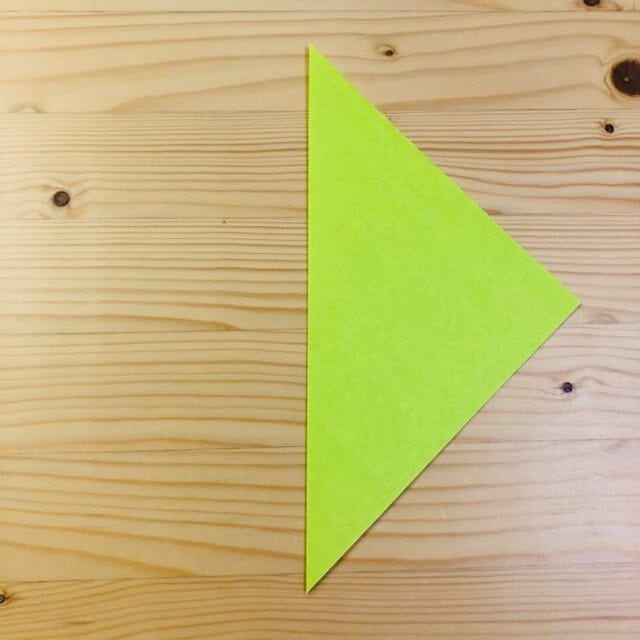
STEP 2
Fold it at the position shown in the photo.
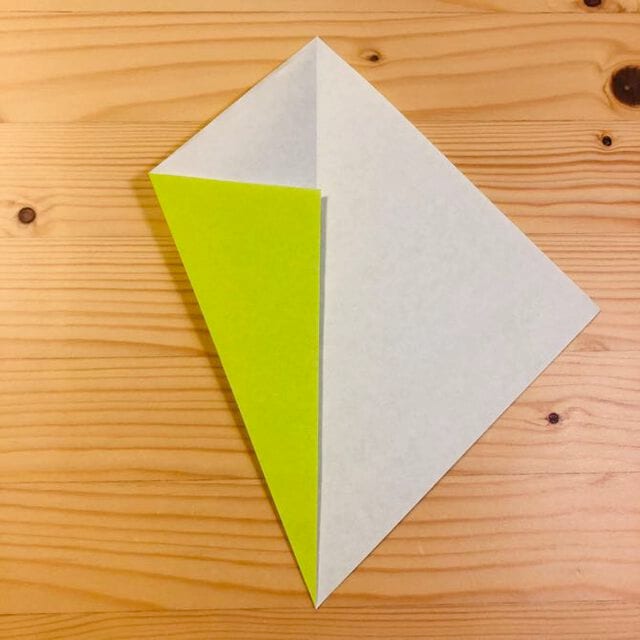
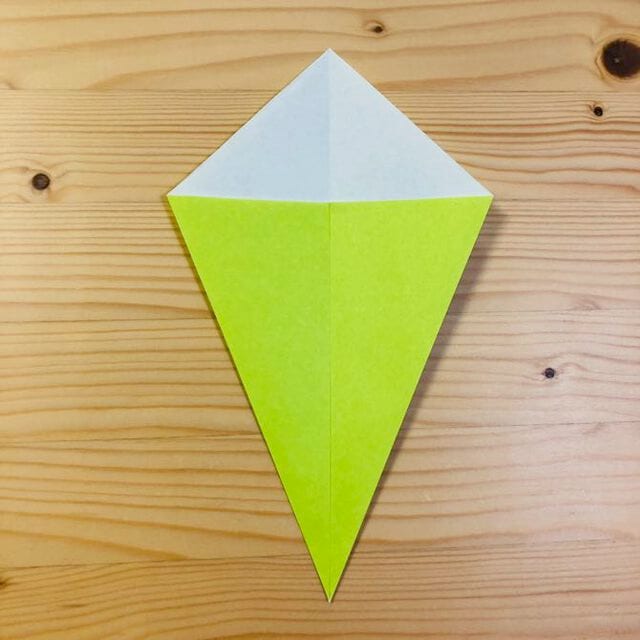
STEP 3
Turn it over.
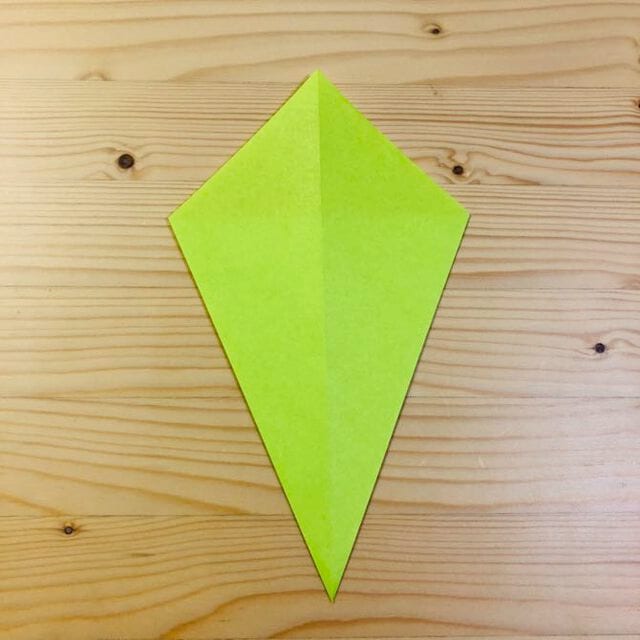
STEP 4
Fold it down at the position shown in the photo.
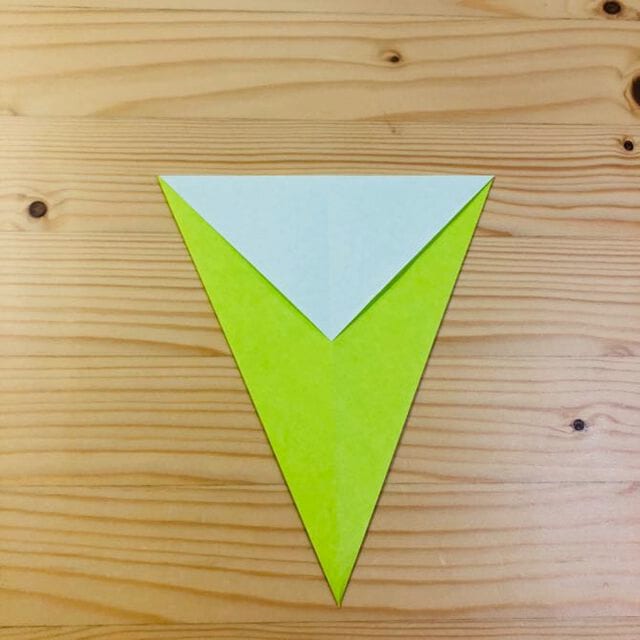
STEP 5
Turn it over.
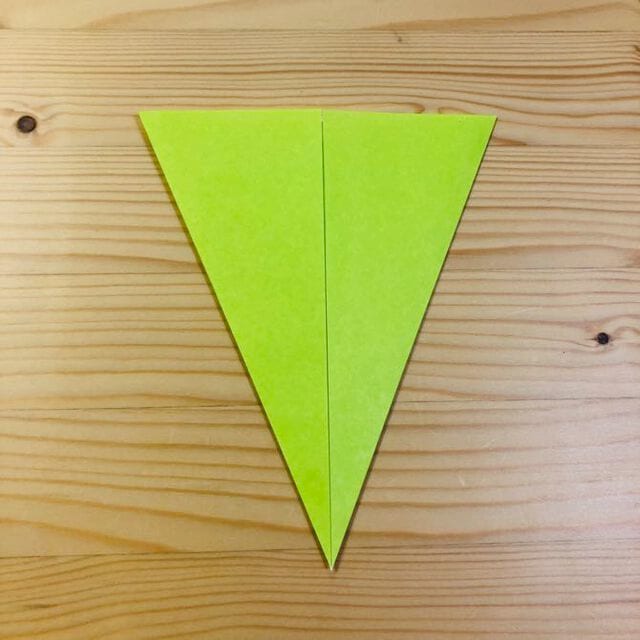
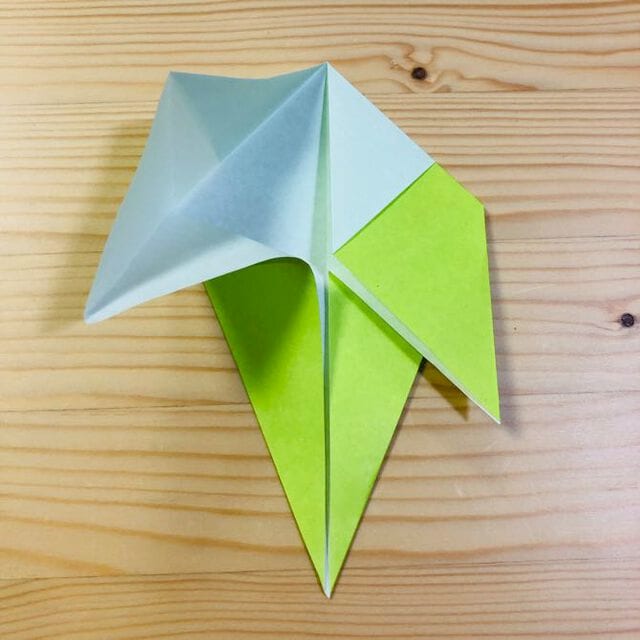
STEP 6
Fold it at the position shown in the photo.
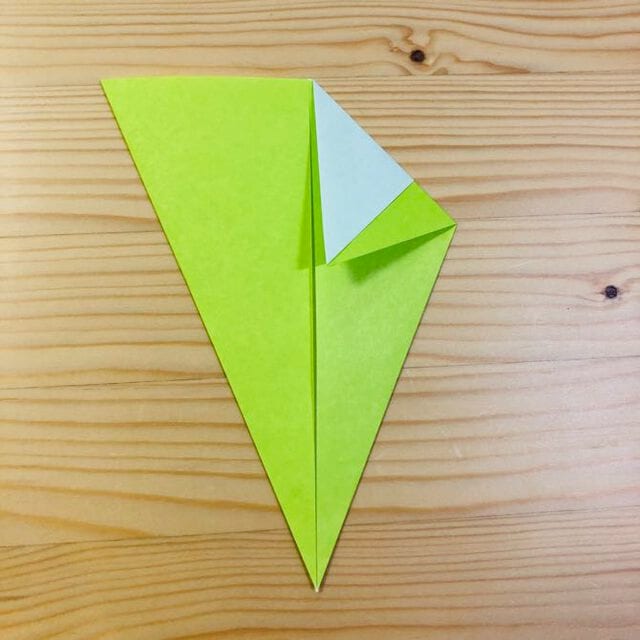
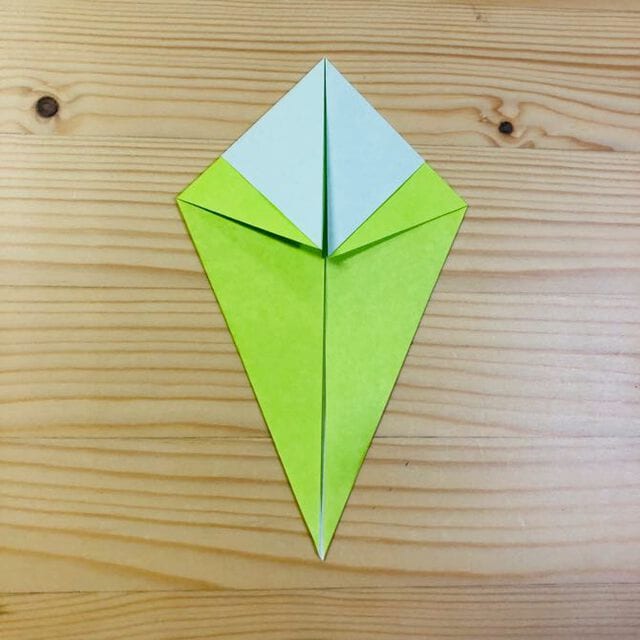
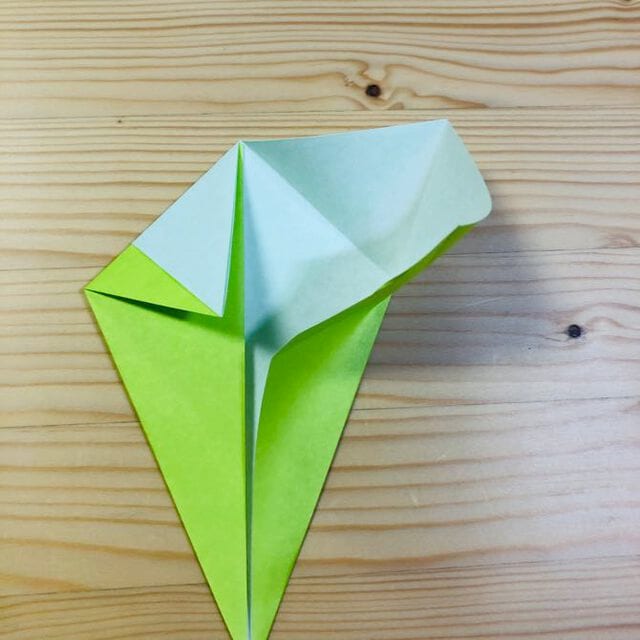
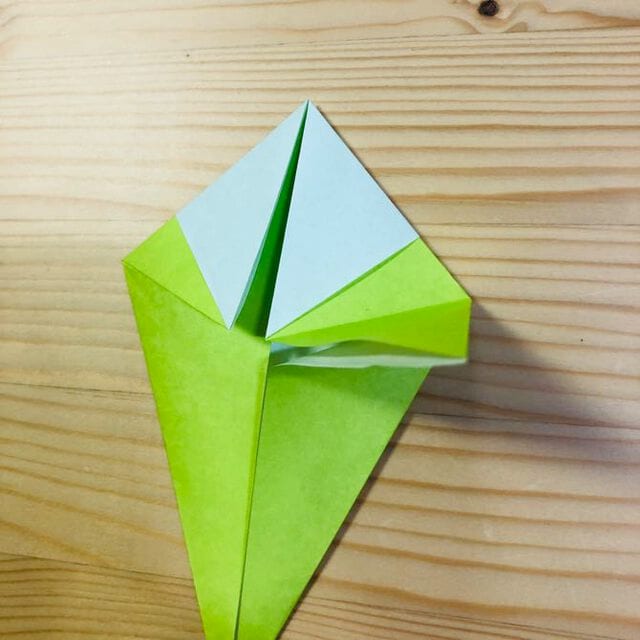
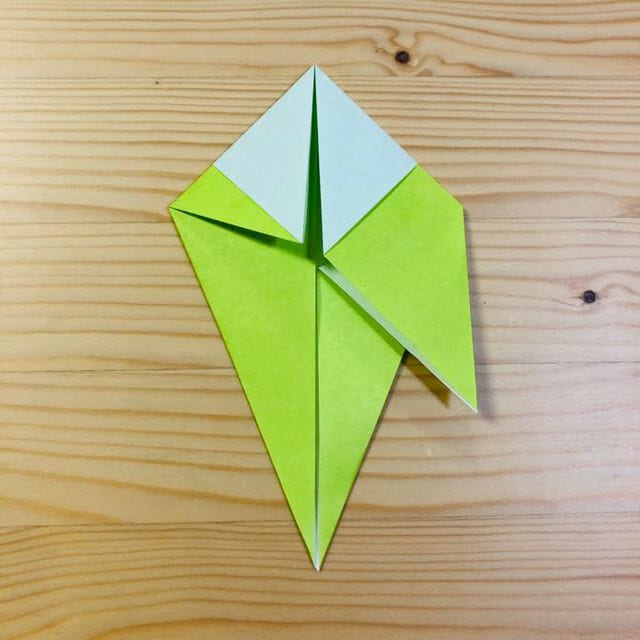
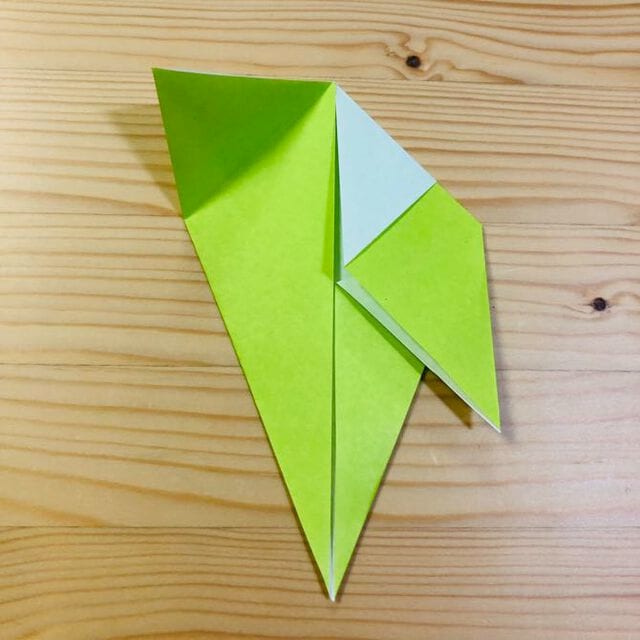
STEP 7
Open and fold as shown in the picture.
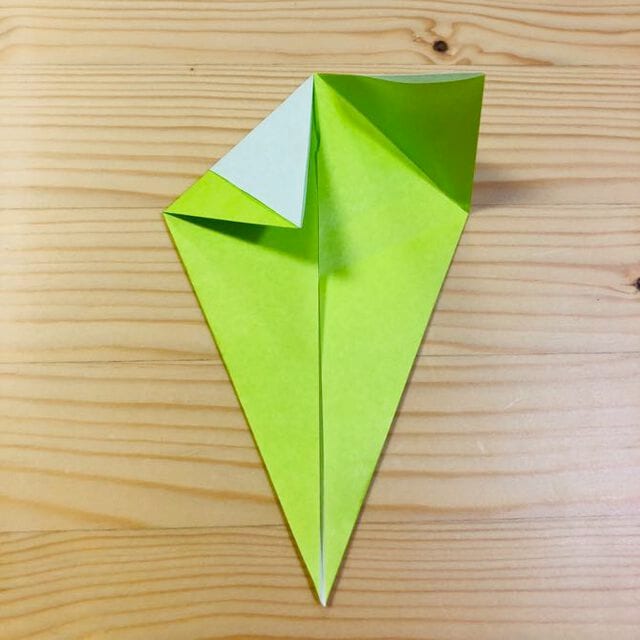
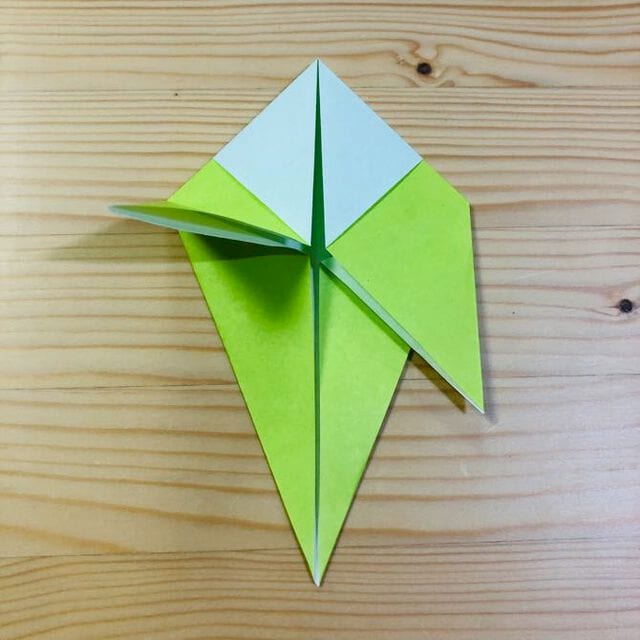
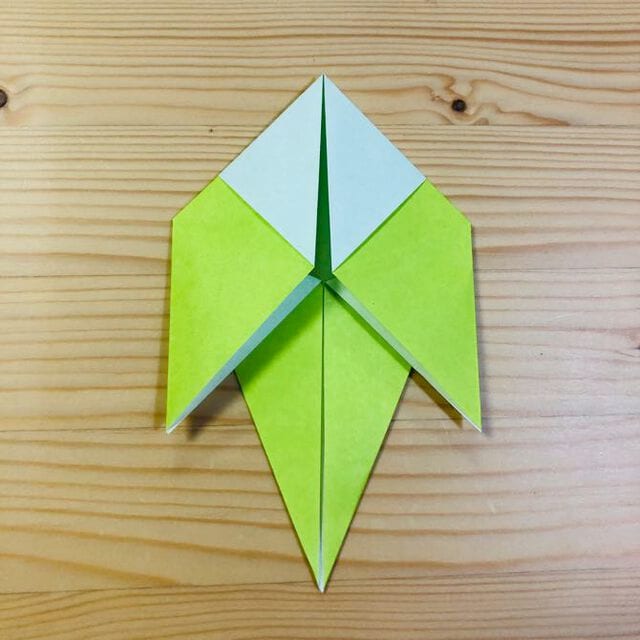
STEP 8
Fold it at the position shown in the photo.
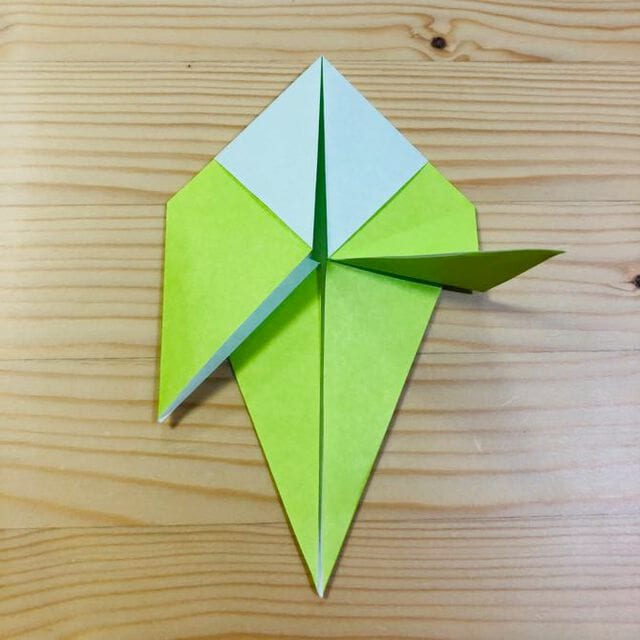
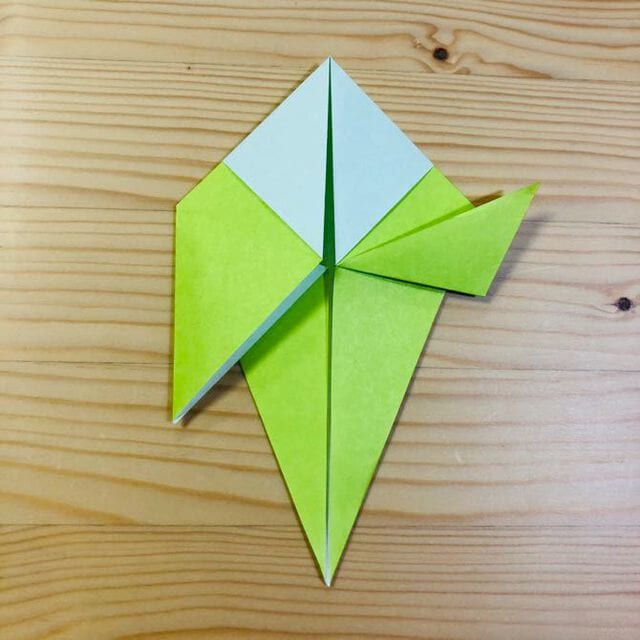
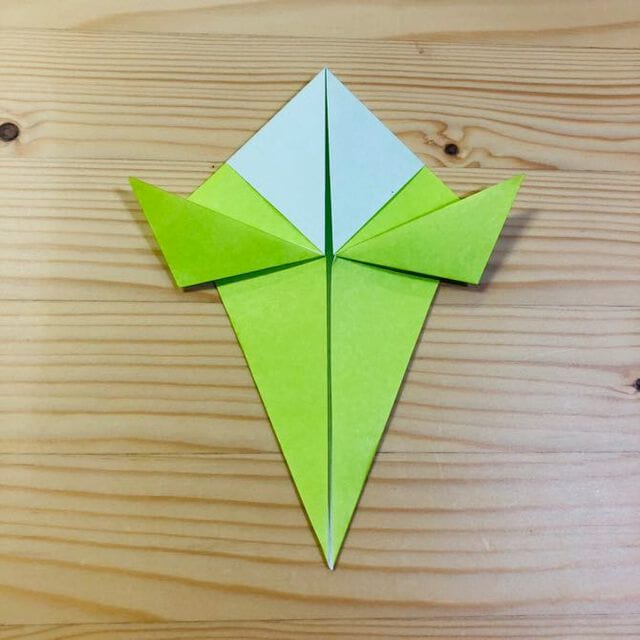
STEP 9
Fold it at the position shown in the photo.
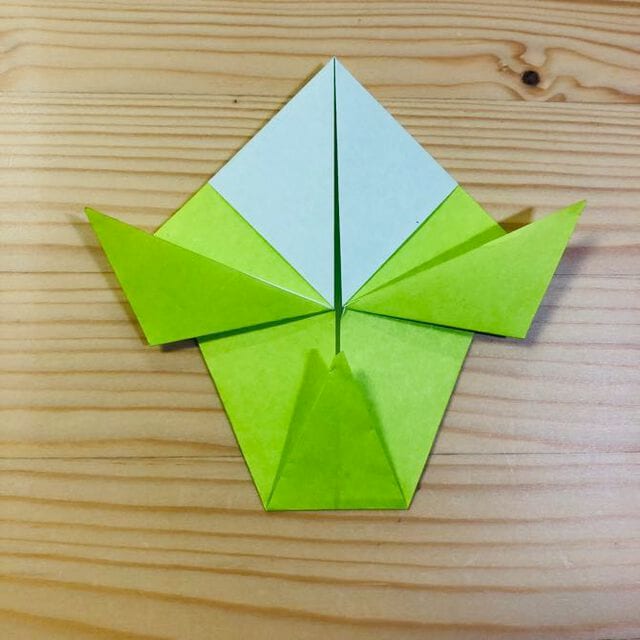
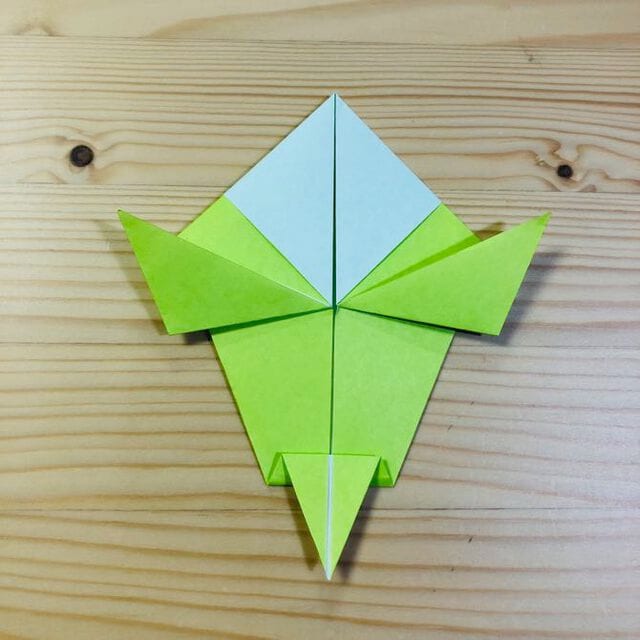
STEP 10.
Fold it in half.
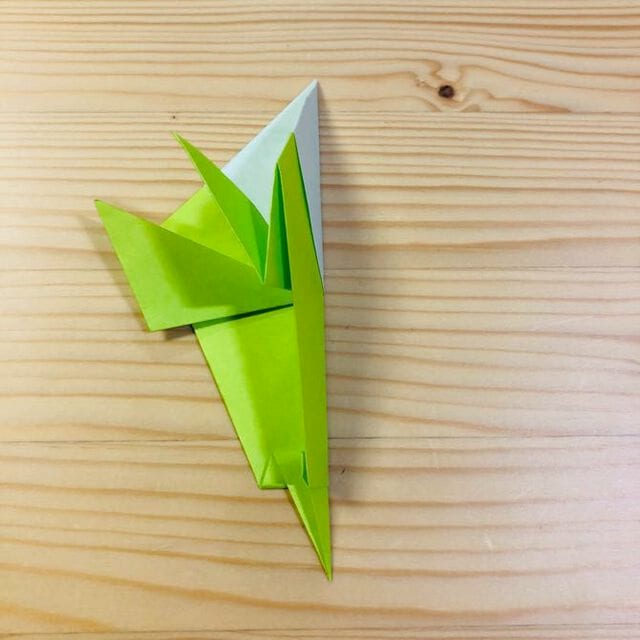
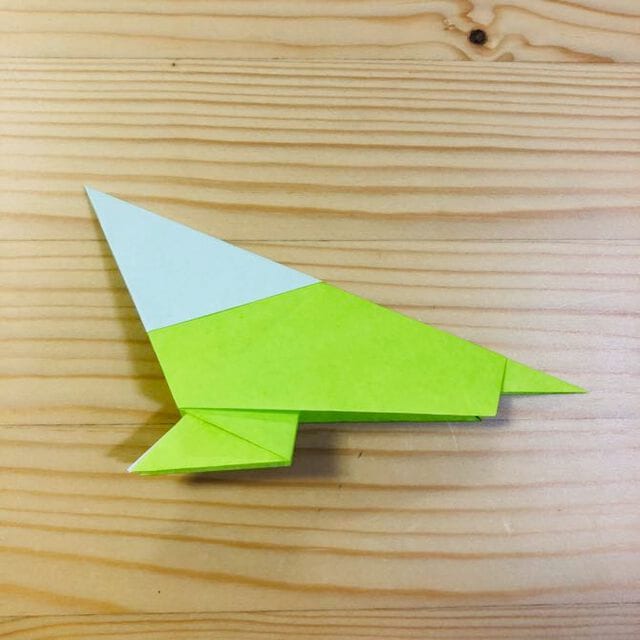
STEP 11.
Pull it out as shown in the picture.
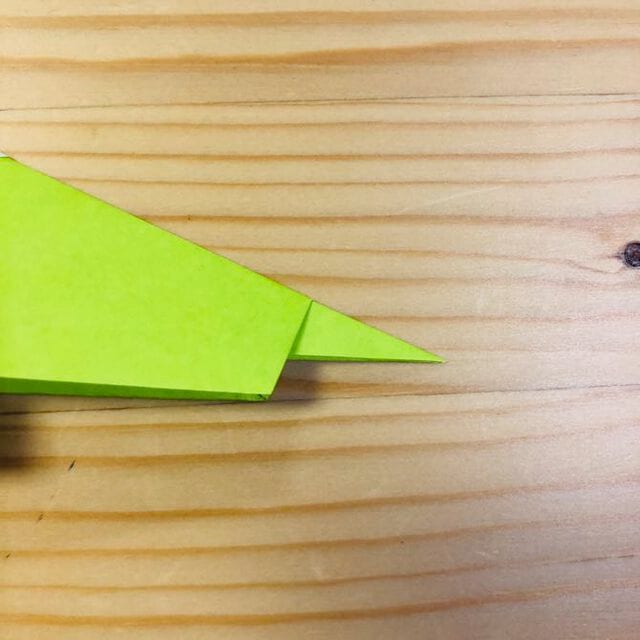
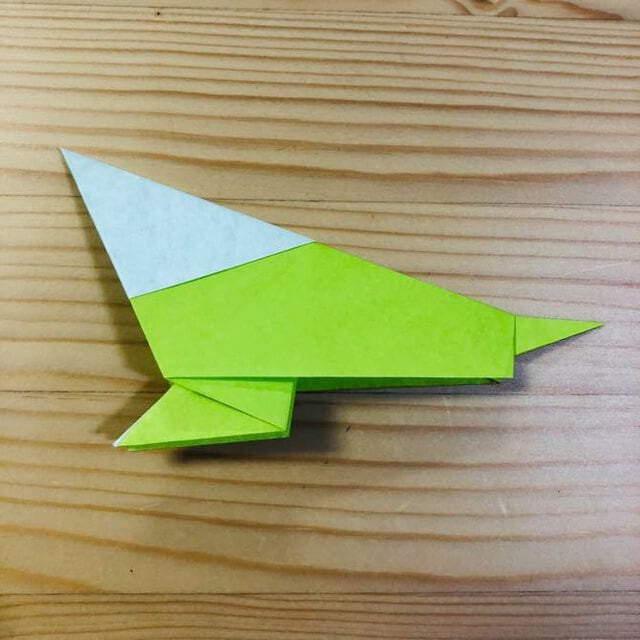
STEP 12.
Make a crease at the position shown in the photo.
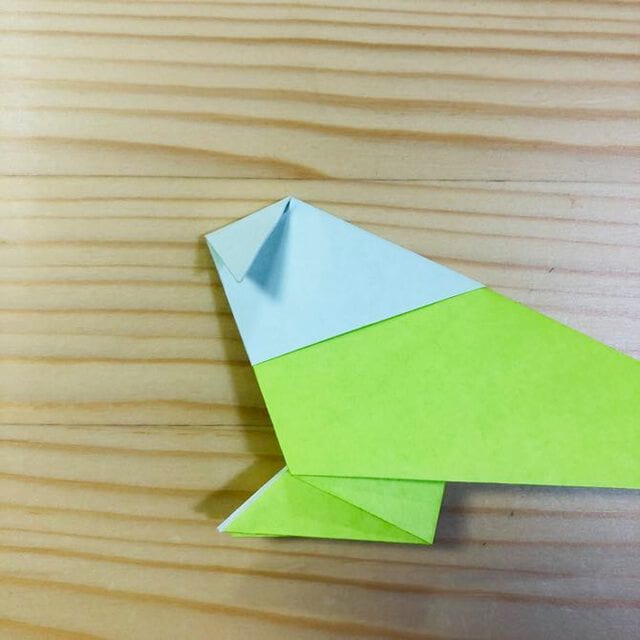
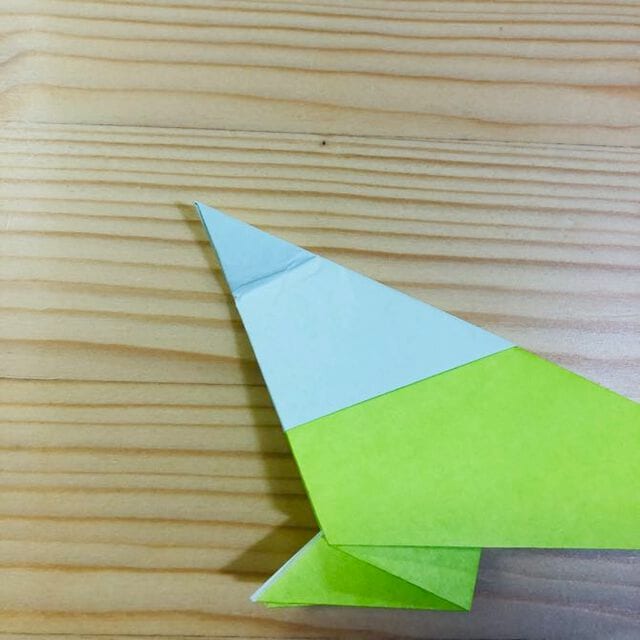
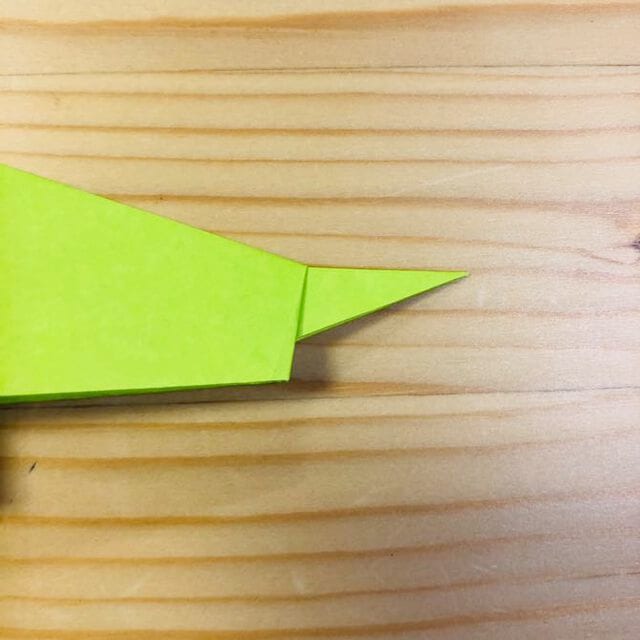
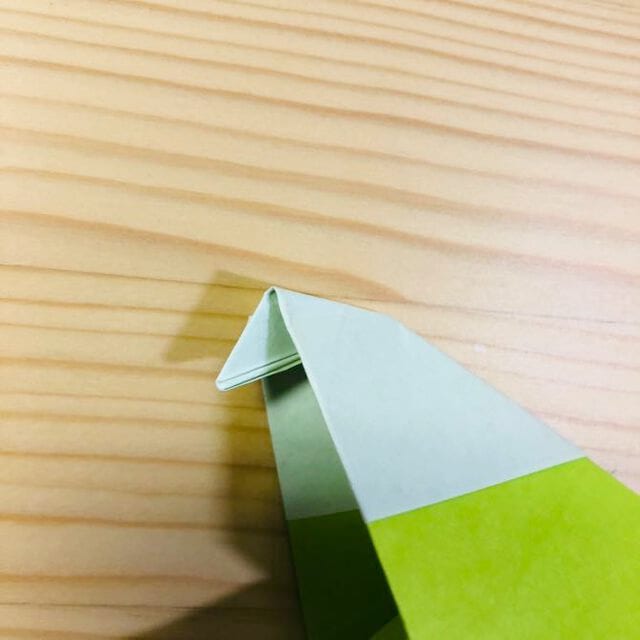
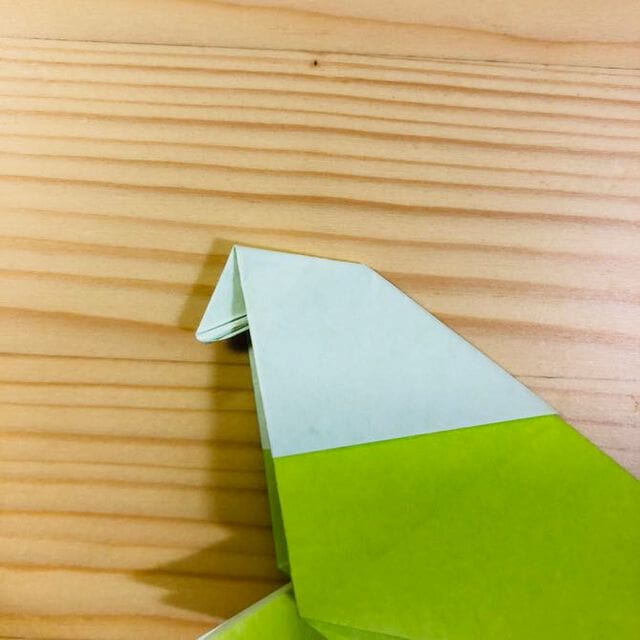
STEP 13.
Fold it inward at the position shown in the photo.
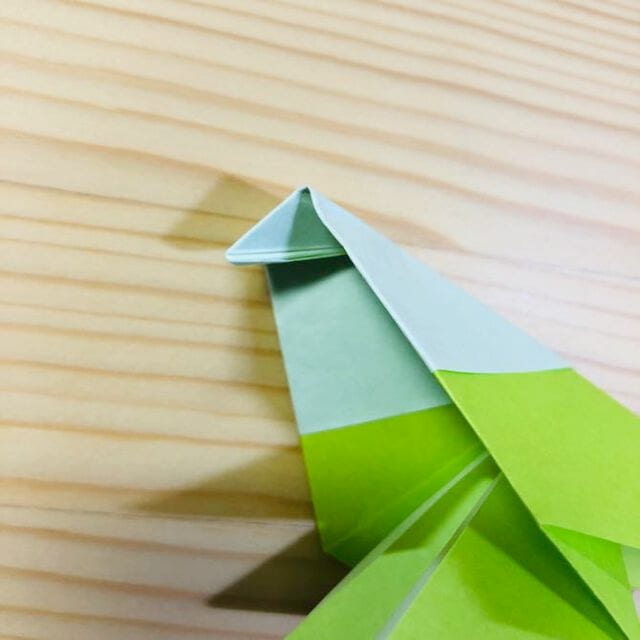
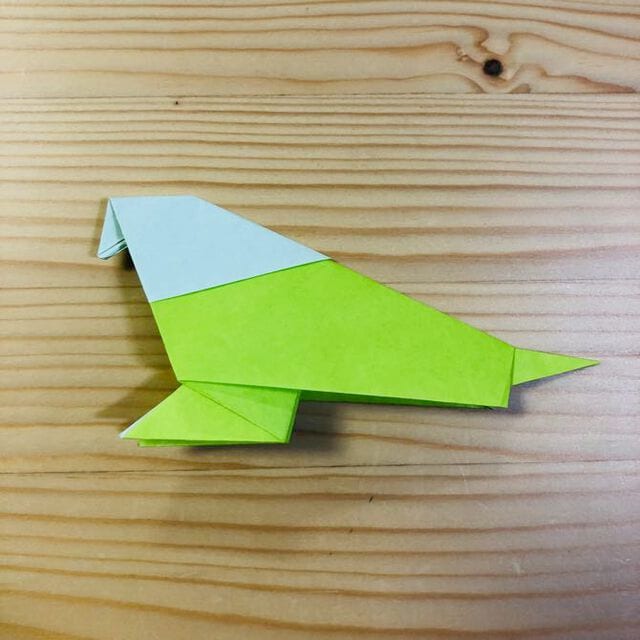
Congratulations!
Once you draw on the face, your parakeet is complete.




