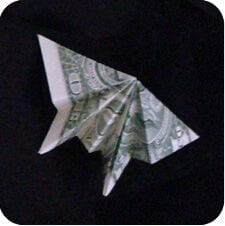
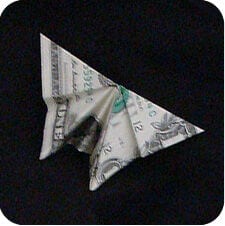
Money Eds Butterfly
Money origami has a charm all of its own - partly because a banknote is already the perfect paper: thin, crisp, and it holds a crease beautifully. This butterfly is one of the best-known designs in that world, created by Ed Halley, and it turns an ordinary bill into something that looks ready to fly off the table.
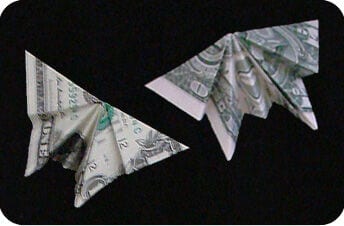
Work with the crispest bill you can find, and do not worry if your first attempt looks a little lopsided - the guide even shows two finished versions side by side so you can see how much the proportions shift with each crease. Once you have one, it makes a wonderful tucked-into-a-card gift, and it is a lovely trick to have ready when someone asks you to make a dollar disappear.
The Money Eds Butterfly should really be titled “Ed’s Butterfly”, since the model was created by Ed Halley - the word “money” is only there to describe what it is folded from. His original written instructions and a set of traditional origami diagrams can both be found online.
Instructions for the Money Eds Butterfly
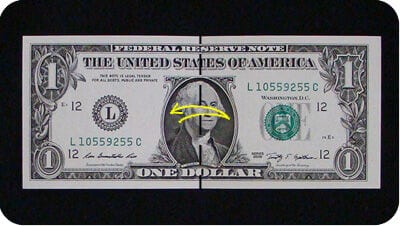
STEP 1.
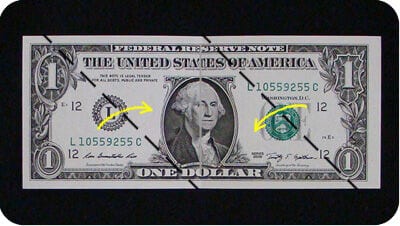
Start with a crisp dollar bill with the black side facing up. Fold the bill in half and unfold.
STEP 2.
Fold the left side of the bill up so the bottom edge aligns with the middle crease made in step 1. Repeat on the right side, this time folding the paper down so the top edge meets the middle crease.
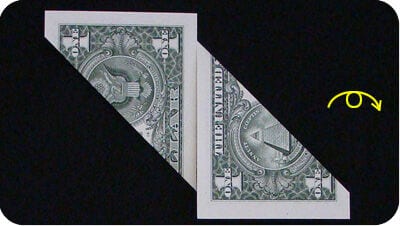
Turn the model over.
STEP 3.
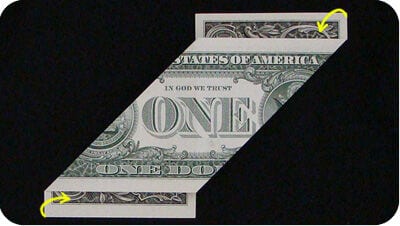
Fold the top right corner down and the bottom left corner up.
STEP 4.
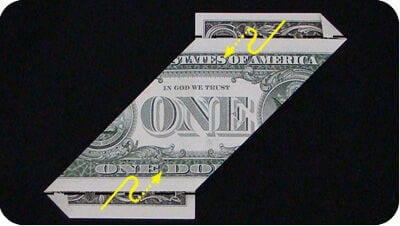
Valley-fold the overhanging strip of paper and tuck it under the main body of the model.
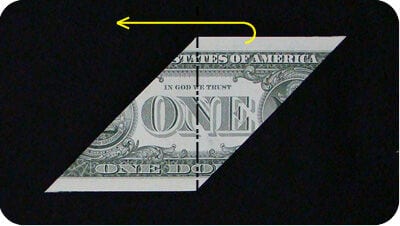
STEP 5.
Mountain-fold (fold back) the right side of the model so it sits behind the left side.
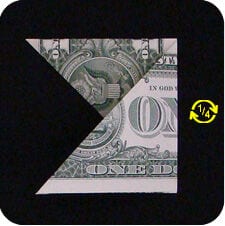
Rotate a quarter turn clockwise.
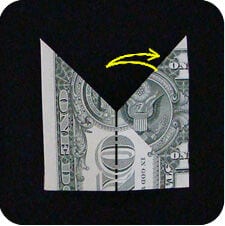
Make the thorax (body) of the butterfly:
STEP 6.
Mountain-fold the right half behind the left half of the model, then unfold.
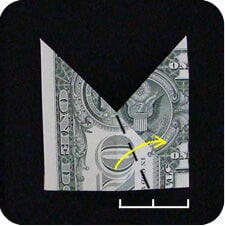
STEP 7a.
Make a valley fold that runs from the head of the butterfly to the base of the model. The angle of the fold can vary, and it changes the size of the thorax. A handy endpoint is the quarter mark from the edge of the bill.
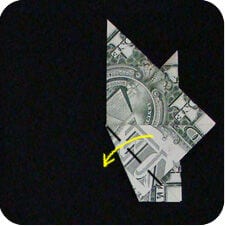
STEP 7b.
Fold the left wing back towards the left, following the crease you made in step 6.
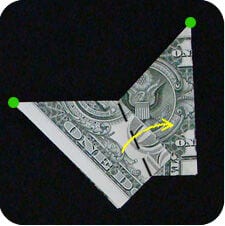
STEP 7c.
Valley-fold the left wing back towards the right, making the two wings symmetrical by lining up the wing tips.
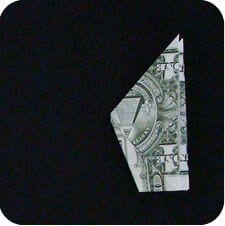
This is how it looks. The thorax is complete, and the next steps shape the upper and lower wings. Open the model up so it resembles a butterfly.
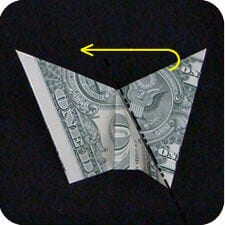
Make the lower wings:
STEP 8a.
Mountain-fold the right wing behind the left wing, following the ridge where the paper overlaps itself.
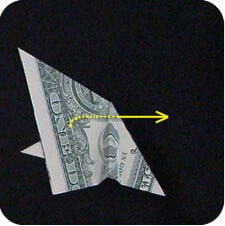
STEP 8b.
Unfold back to the basic butterfly shape.
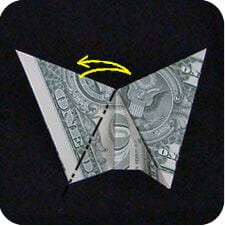
STEP 8c.
Repeat the same mountain fold on the left side.
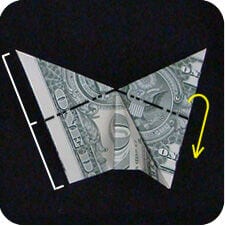
Make the upper wings:
STEP 9.
Mountain-fold (fold back) the top of the wings. The crease should run from the head of the butterfly to the mid-height of the wing, and its position can be varied to change the size of the upper and lower wings.
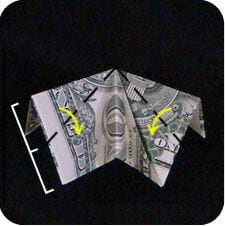
Make the lower wings:
STEP 10.
Valley-fold the bottom wings so the upper wings swing up. Let the fold run from the head of the butterfly to the mid-length of the lower wing - again, the position can be varied.
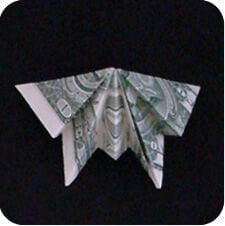
The Money Eds Butterfly is done!
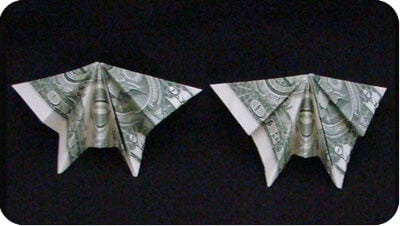
You can vary the position of the wing and thorax folds. The butterfly on the left was folded half-way at every step, while the one on the right has creases that are not quite centred, which gives it a slightly different look.