
Origami Boat, Long Canoe
If you have ever folded the classic paper boat and wanted something a little more elegant, the long canoe is the model to reach for. It keeps the same satisfying boat shape you know, but stretches it out into a slim, pointed hull - the kind of little vessel that looks like it is actually built to glide across a pond.
Do not let the twenty-five steps put you off. Most of them are plain valley folds, and the only new move is the inside reverse fold, tucked into the middle where it shapes the bow and stern. If you have already met the inside reverse fold while making animals, this is a relaxed way to get more comfortable with it. Grab a 15cm square - paper with a different colour on each side makes the creases much easier to follow - and by the end you will have a boat that stands up on its own and looks far more refined than the classic fold.
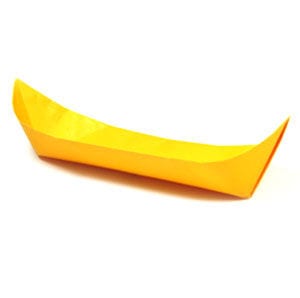
This page is for those who want instructions to fold an origami boat, the long canoe.
The special technique used for this origami boat is the inside reverse fold. Apart from that, the long canoe is fairly easy to fold.
Before working on this model, you need to know what a valley fold and a mountain fold are. If you know these two folding techniques, then you will have no problem making the origami long canoe.
If you are ready, then let's get started.
You may use any kind of paper to fold the origami long canoe. It is a little easier if the front and the back side of the paper are slightly different, whether it be in texture or colour.
Make sure the paper you use is a square (all sides equal and all angles equal to 90 degrees). The paper I am using here is a typical one-side colour origami paper, 15cm x 15cm square. It is a good size for those who are not experienced in paper folding. Once you become familiar with this model, you can try a smaller sheet.
This is the front side of the paper.
This is the back side of the paper, which is the same colour as the front side.
STEP 1. Start with the back side of the paper facing up. Prepare to valley fold in half horizontally, then unfold.
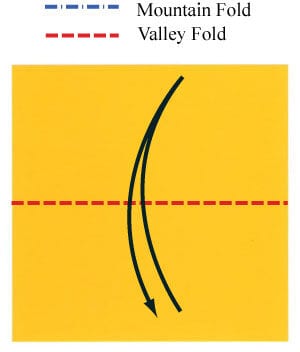
STEP 2. Valley fold in half, then unfold.
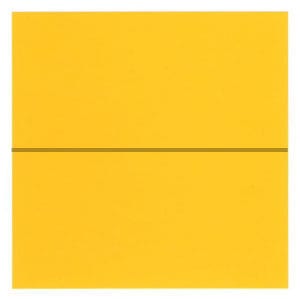
STEP 3. Prepare to valley fold in half vertically, then unfold.
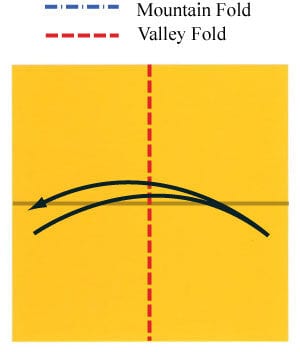
STEP 4. Valley fold in half vertically, then unfold. Prepare to turn the paper over.
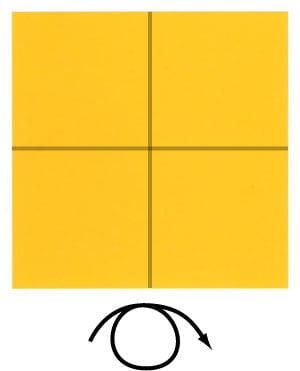
STEP 5. Turn the paper over. Prepare to valley fold diagonally, then unfold.
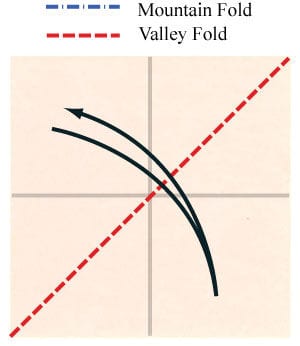
STEP 6. Valley fold diagonally, then unfold as shown in step 5. Prepare to rotate the paper 45 degrees clockwise.
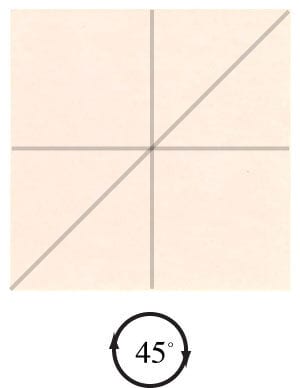
STEP 7. Rotate the paper 45 degrees clockwise. Prepare to apply two valley folds.
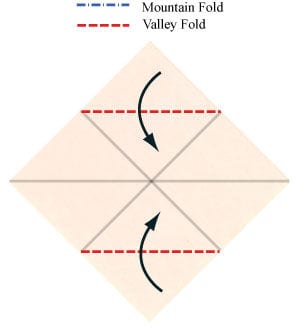
STEP 8. Apply the two valley folds from step 7. Prepare to apply another two valley folds.
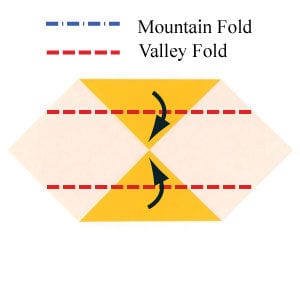
STEP 9. Apply the two valley folds from step 8. Prepare to apply two more valley folds.
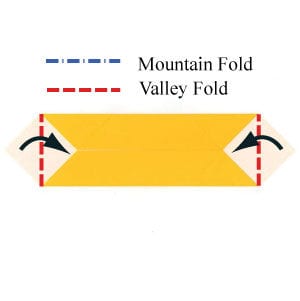
STEP 10. Apply the two valley folds from step 9. Prepare to unfold two valley folds.
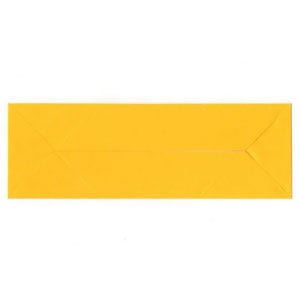
STEP 11. Unfold the previous two valley folds. Prepare to apply a valley fold.
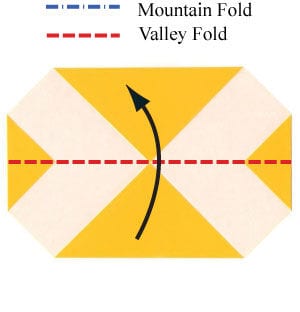
STEP 12. Valley fold as shown in step 11. Prepare to apply two “inside reverse folds”.
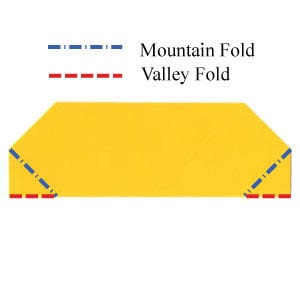
STEP 13. Apply the two “inside reverse folds” from step 12. Prepare to open the model from the top.
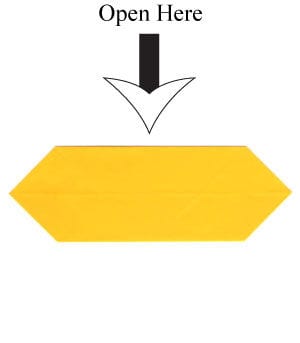
STEP 14. Open the model from the top. Prepare to apply a valley fold.
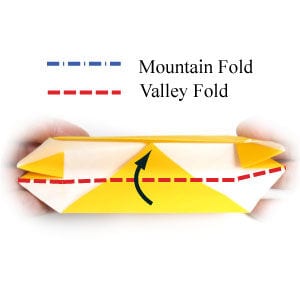
STEP 15. Start applying the valley fold from step 14.

STEP 16. Continue applying the valley fold from step 14.
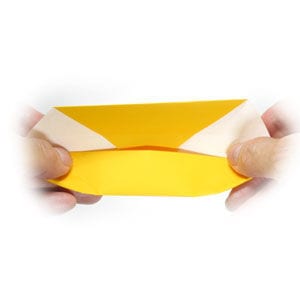
STEP 17. Finish applying the valley fold from step 14. Prepare to rotate the model 180 degrees.
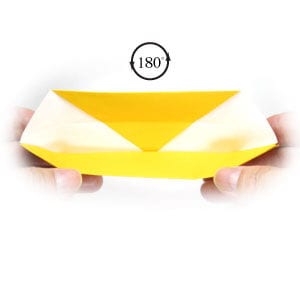
STEP 18. Rotate the model 180 degrees. This is now the same as step 14. Prepare to apply the valley fold from step 14.
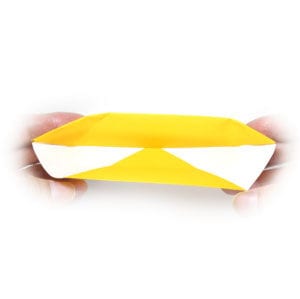
STEP 19. Start applying the valley fold from step 14.
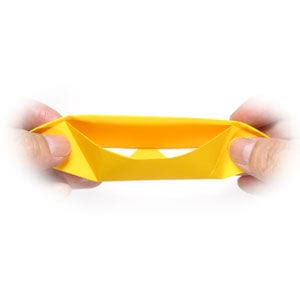
STEP 20. Continue applying the valley fold from step 14.
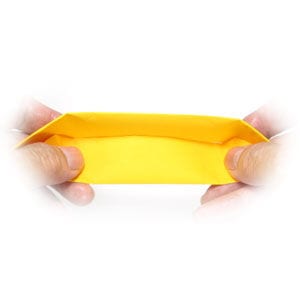
STEP 21. Finish applying the valley fold from step 14.
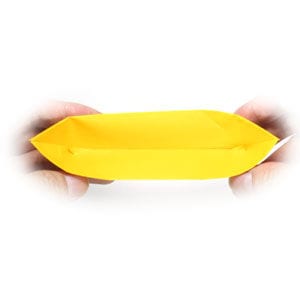
STEP 22. Smooth the surface of the canoe with your thumbs.
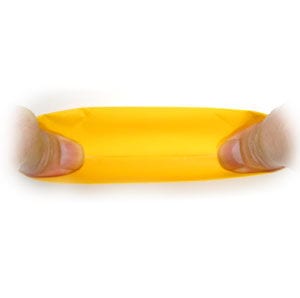
STEP 23. Press the inner surface of the canoe flat.
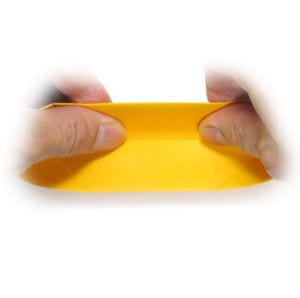
STEP 24. This is the side view of the canoe.
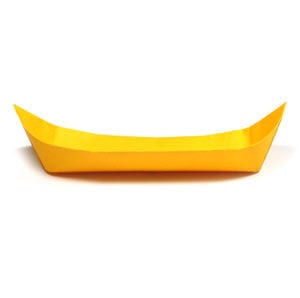
STEP 25. Congratulations! You have just completed making an origami boat, the long canoe.




