
Garland
Few decorations say "celebration" quite like a string of garlands, and the origami version is a genuine joy to make. Whether you're dressing up a birthday party or adding a handmade touch to Christmas, these little folded ornaments turn any length of string into something festive. Best of all, you only need paper, scissors, glue, and a few minutes of your time.
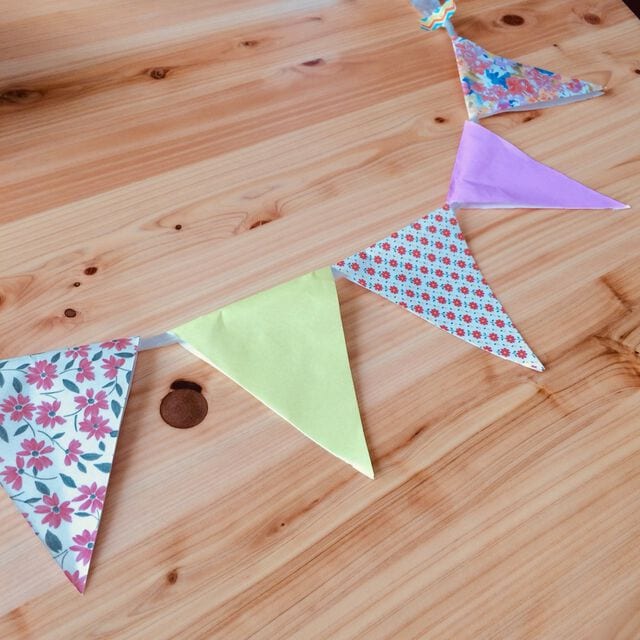
This time, let’s look at a decoration you can use for birthdays, Christmas, and other festive events. The easiest and most eye-catching option is surely this one.
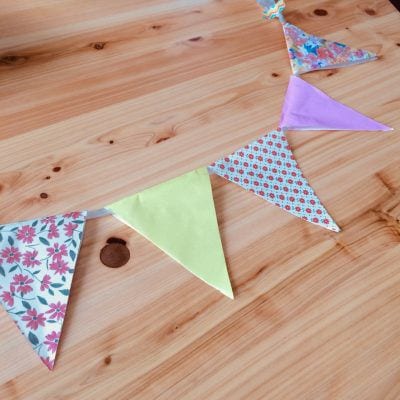
An origami garland!
Once you make a handful of these as ornaments, the possibilities are endless, so give it a try.
How to make an origami garland
For this tutorial, we’ll make the simplest version of the garland.
Let’s get started!
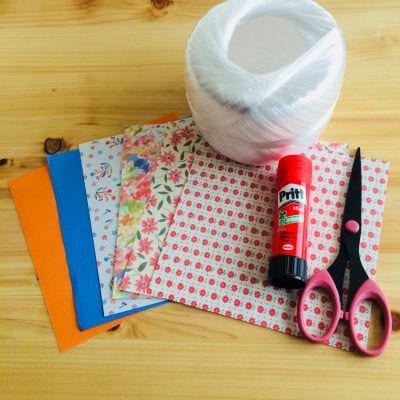
Prepare a few sheets of patterned origami, a pair of scissors, glue, and a length of string, choosing whatever colors you like.
Step 1: Fold the paper diagonally into a triangle, with a corner pointing outward.

Step 2: Make a light crease at the center of the lower edge to mark the middle, then unfold. (If you can spot the center by eye, you can skip the crease for a cleaner finish.)

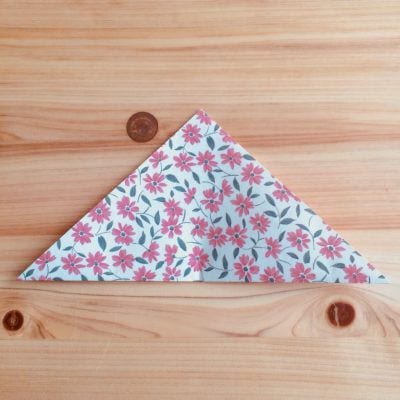
Step 3: Flip the paper over and fold the bottom edge up to the crease running through the center of the right side.
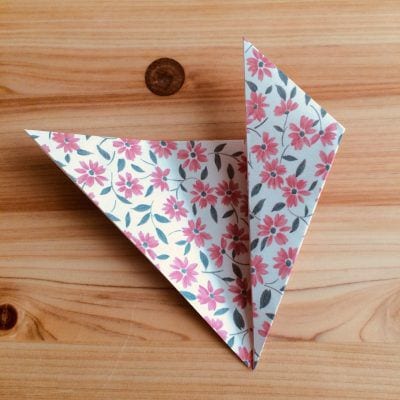
Step 4: Fold the left side in the same way.

Step 5: Unfold along the crease, then cut following the fold line.
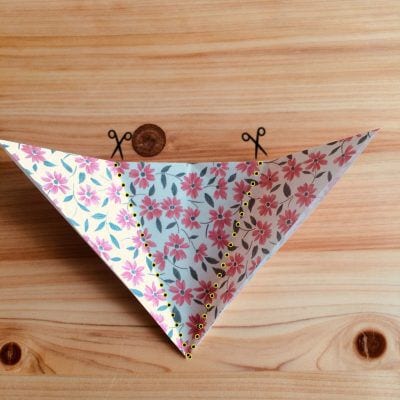

Step 6: Cut the remaining sheets of origami using the same process.

Step 7: [For a garland that slides along the string] Lay the string along the crease, apply glue to the left and right sides, then press the top and bottom papers together to seal.
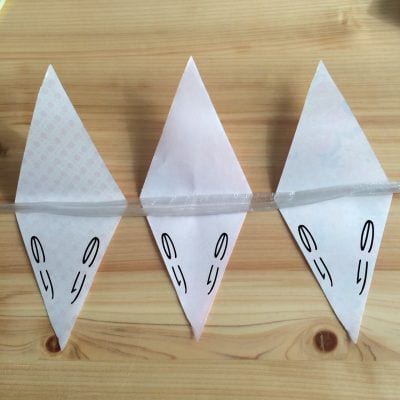
Step 8: [For a garland fixed in place] Lay the string along the crease, apply glue to the center, then press the top and bottom papers together to seal.
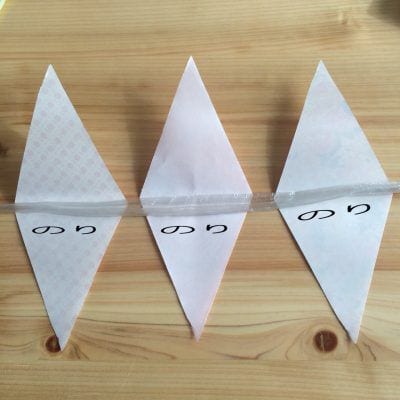
Step 9: Glue each cut piece of origami onto the string at even intervals using either the method from Step 7 or Step 8, and you’re done.
Great job!
How did it turn out?




