
Monkey
This cheeky little monkey is one of those folds that looks far trickier than it really is. There is one moment, somewhere around the middle, where you have to squash a pocket and wrestle the tail into shape — that outside reverse fold takes a little patience — but once it clicks, the rest of the model almost folds itself.
The finished monkey stands up on your desk, ears perked, as if it is waiting for a treat. That is part of the fun of this design: it is quick enough for a beginner's afternoon, yet leaves you with a poseable little character you will want to show off — and, as the tutorial jokes, you may as well fold it a banana to keep it happy.
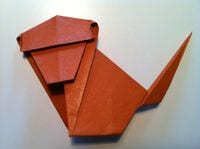
This origami monkey has one tricky fold at the tail, but it shouldn't be too hard if you follow the step by step instructions along with the pictures. After the tail, everything will be a lot easier and you'll come away with a neat looking origami monkey.
Once you're done folding this monkey, you'll have to feed it. “Feed it!?” Yes, feed it. What does an origami monkey like to eat? An origami banana of course.
STEP 1. Start with a square piece of origami paper. If you only have regular 8.5x11 paper, follow these instructions to make a square sheet.
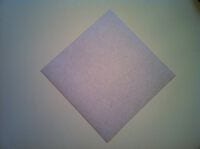
STEP 2. Fold the paper in half by folding the left corner to the right corner.

STEP 3. Unfold.
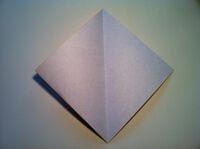
STEP 4. Fold the upper left and right sides to the center as shown.
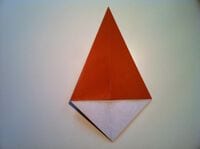
STEP 5. Now fold the bottom left and right sides to the center.
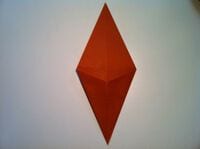
STEP 6. Fold the bottom up as shown, not in half.
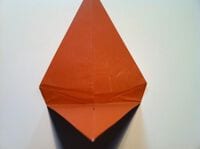

STEP 7. Fold most of the flap back down.
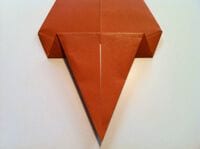
STEP 8. Here's the tricky fold. Squash the left pocket of the triangle. You'll have to fold the left side of the triangle while trying to open and flatten the pocket. It's okay if it's not perfect.
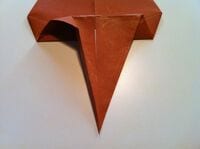
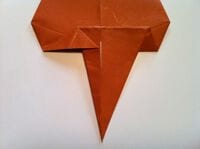
STEP 9. Do the same to the right side.

STEP 10. Fold the entire figure in half by folding the right side over to the left side.

STEP 11. Open the top layer and crease to the side, then fold the top point down to the bottom left corner. You might need a couple of tries.

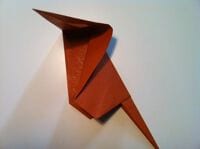
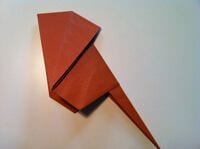
STEP 12. Fold about 2/3rds of the flap back up.
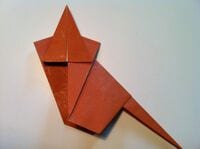
STEP 13. Fold a small portion of the flap base under and back.
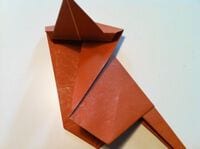
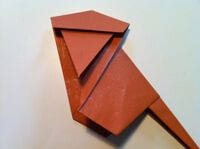
STEP 14. Fold a bottom part of the triangle under and back.
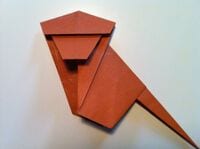
STEP 15. Open the left and right side of the head to form the ears.
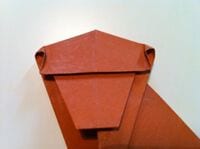
STEP 16. Fold the base of the monkey in on a diagonal as shown. This will let the monkey stand up.
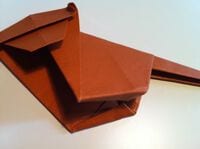
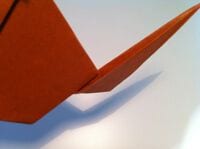
STEP 17. Fold the tail up along the line of the …”ahem”… butt.
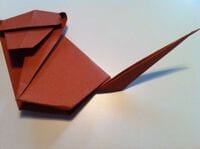
STEP 18. Unfold the tail.
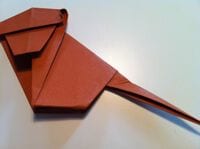
STEP 19. With the crease you just made, do an outside reverse fold. Basically open the tail a bit and fold it up, then crease the sides in so it'll stay put.
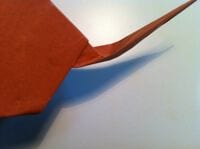
STEP 20. Now you have a monkey that can stand up! And to keep it happy, fold it a paper banana to munch on.





