Origami Stem
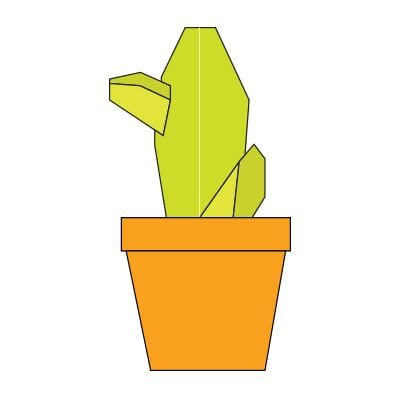
A flower is only half a finished model until it has something to stand on — and that is exactly what this little origami stem gives you. It is the generic, everyday stem of the origami world: a slim green stalk with a single leaf bent outward, the kind of piece you will reuse under tulips, simple roses, and whatever blossoms you dream up.
Do not let the outside reverse fold near the end scare you off. It sounds fancy, but it is just one careful little tuck, and the whole thing comes together in a couple of minutes. Fold one now, perch your favorite origami flower on top, and suddenly you have a plant instead of a cutout.

This origami stem is basically a generic flower stem that can be used for flowers such as the origami tulip. It consists of a stem with a leaf hanging out to one side. It is not difficult to fold at all and should take no longer than a couple of minutes.
STEP 1. Start with a square piece of origami paper with the white side up. If you only have regular 8.5 × 11 paper, trim it down into a square sheet first.
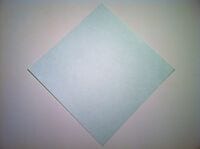
STEP 2. Fold the left corner to the right corner, then unfold.


STEP 3. Fold the upper left and right edges to the center.
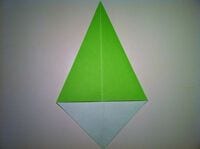
STEP 4. Fold the lower left and right edges to the center.

STEP 5. Once again, fold the lower left and right edges to the center.
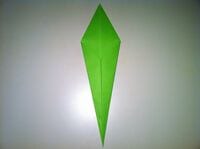
STEP 6. Turn the figure over.

STEP 7. Fold the bottom corner to the top corner.

STEP 8. Fold the figure in half by folding the left side over to the right.

STEP 9. Peel the leaf (on the left side) back and outside reverse fold it.

STEP 10. Place the flower on top of the stem. Done!