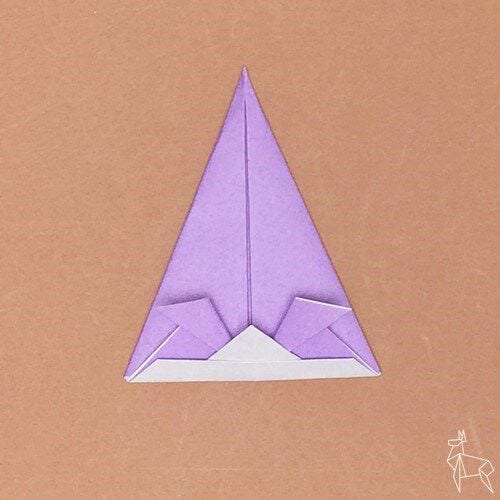
Nagakabuto
If you have ever folded a simple paper hat, you are already halfway to a kabuto, the helmet samurai wore into battle. The nagakabuto is the taller, more dramatic cousin: a long crest that rises high above the brow, the kind of silhouette you recognise instantly from festival parades and museum displays.
What makes this one friendly is that it is taught almost entirely through diagrams. Ten steps, each with a photograph and the fold lines marked, so you can work at your own pace instead of stopping to decode a paragraph of instructions. Everything is a plain fold - halves, diagonals, and one last tuck that pulls the corners inside and locks the helmet into shape. Choose a slightly stiff sheet if you want your nagakabuto to stand up straight on a shelf.
STEP 1
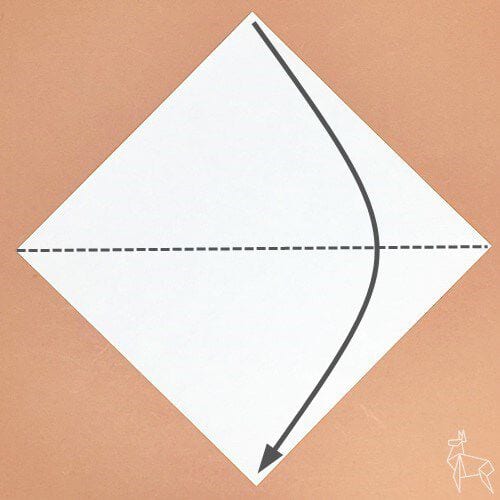
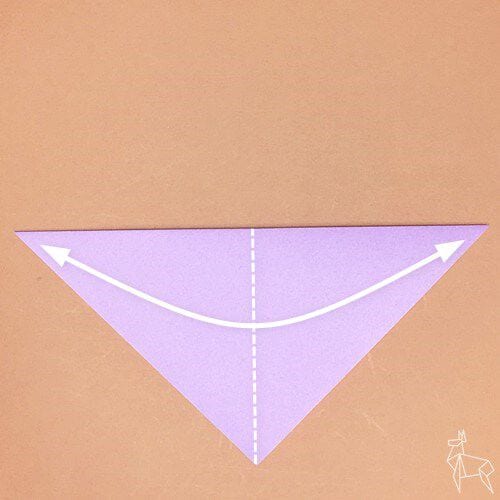
Place the origami paper with the white side facing up and fold it in half along the dotted line.
STEP 2
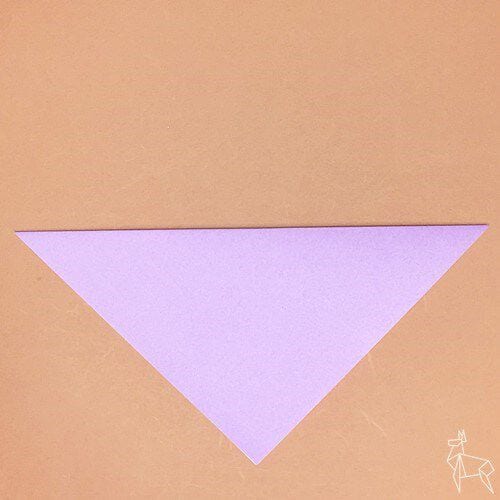
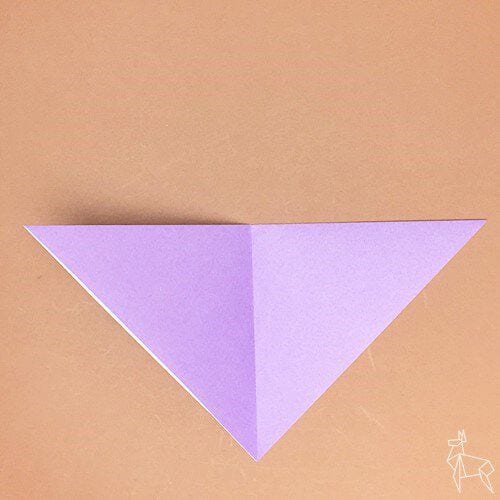
Fold it in half along the dotted line and crease it firmly.
STEP 3
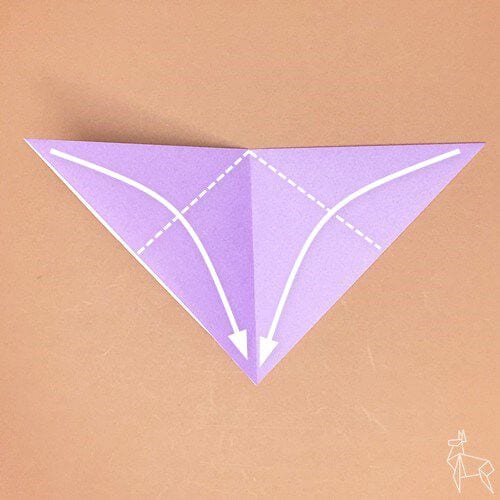
Fold along the dotted line so that corner meets corner.
STEP 4
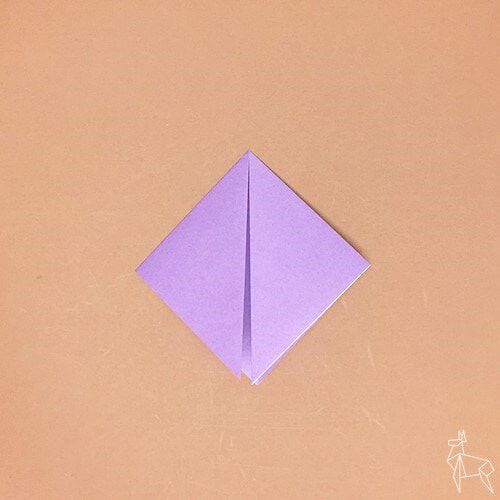
Fold along the dotted line.
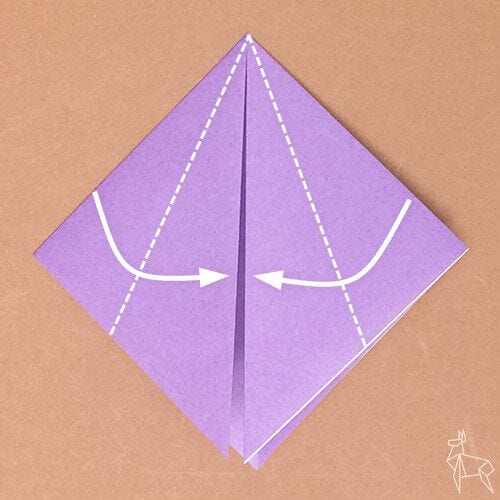
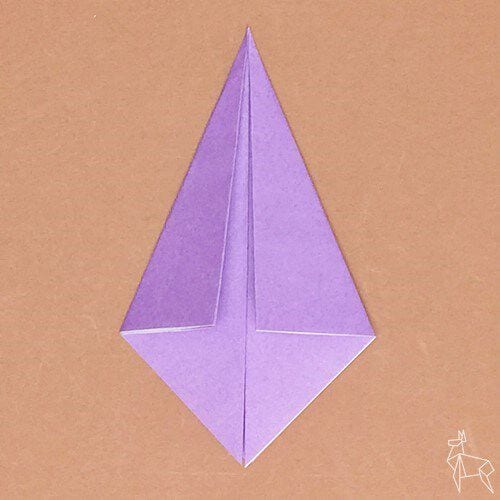
STEP 5
Turn one layer over and fold along the dotted line.
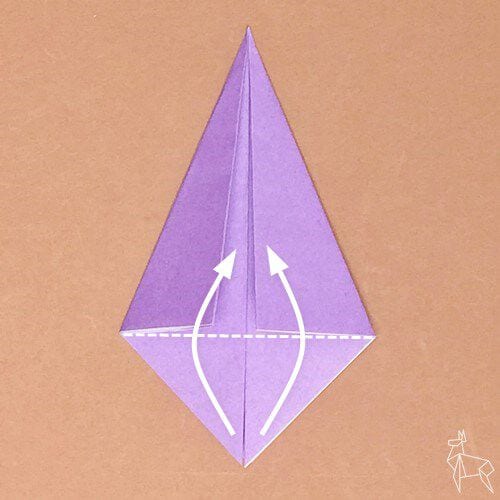
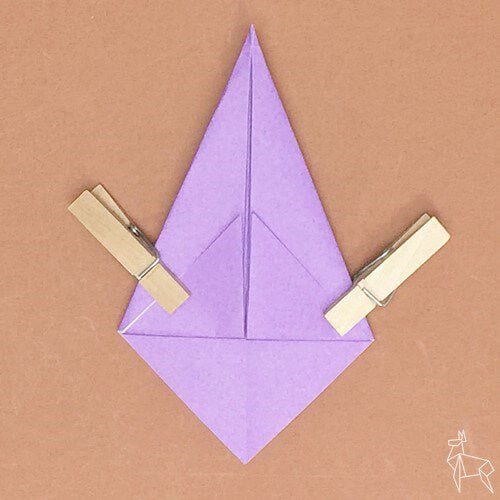
STEP 6
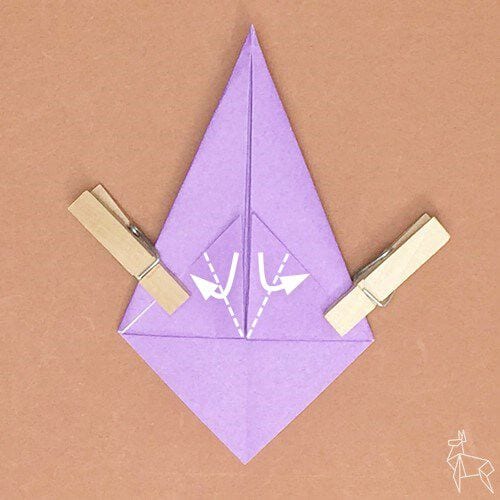
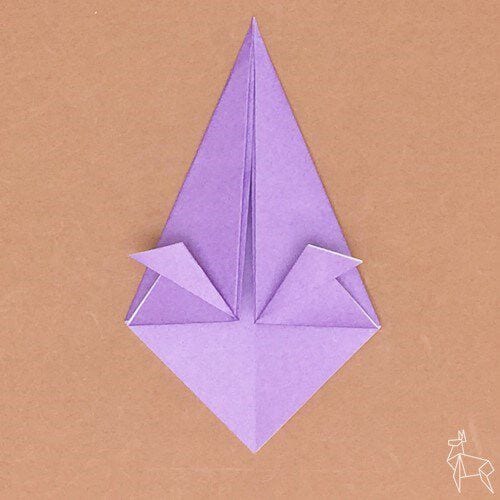
Fold diagonally along the dotted line.
STEP 7
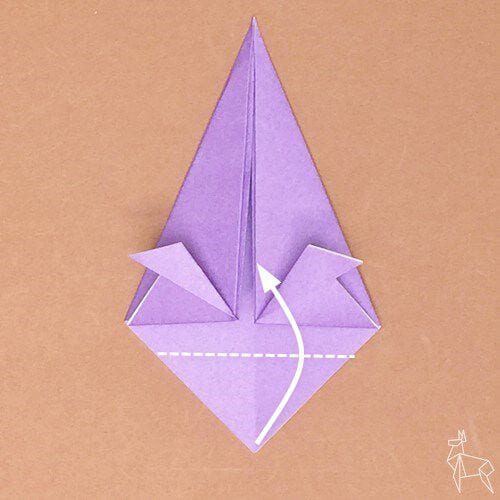
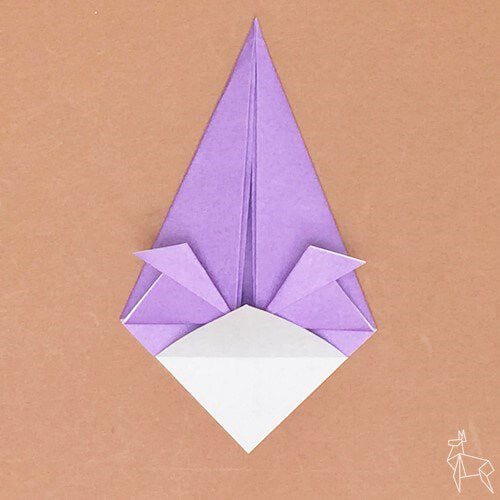
Turn one layer over and fold along the dotted line.
STEP 8
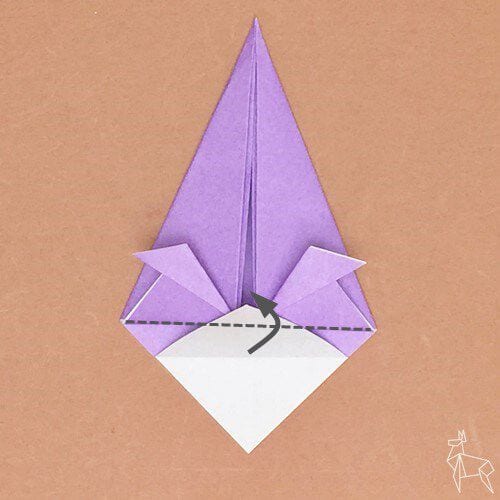
Fold along the dotted line.
STEP 9
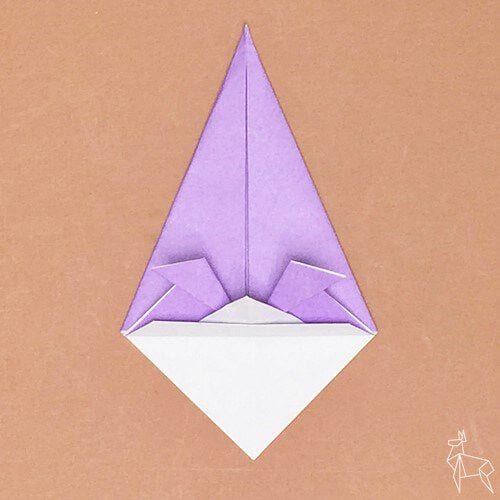
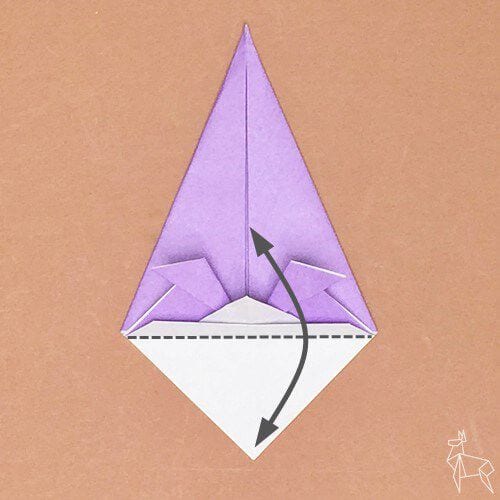
Make a crease along the dotted line.
STEP 10
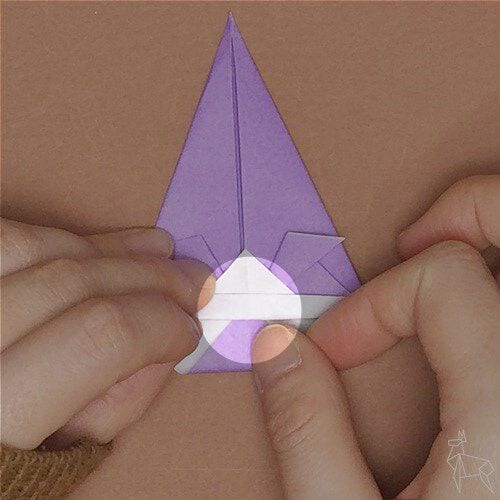
Tuck the corners inside, and the long kabuto helmet is finished.