
Chicken
Chickens turn up everywhere in origami - perched on Easter cards, peeking out of farm dioramas, or lined up along a windowsill in every colour of paper you own. They are popular for a reason: one square sheet, no scissors, no glue, and a couple of minutes later you have something that really does look like a bird.
This particular chicken is a small step up from the simple rooster and hen folds. It has a proper comb, a pointed beak, fanned tail feathers and two little legs, so it feels far more finished than a plain triangle with a head. The moves are all familiar ones - diagonal folds, a crease-and-unfold, and one squash fold at the end that does most of the magic. Take your time on that last part and you will be rewarded with a very charming little bird.
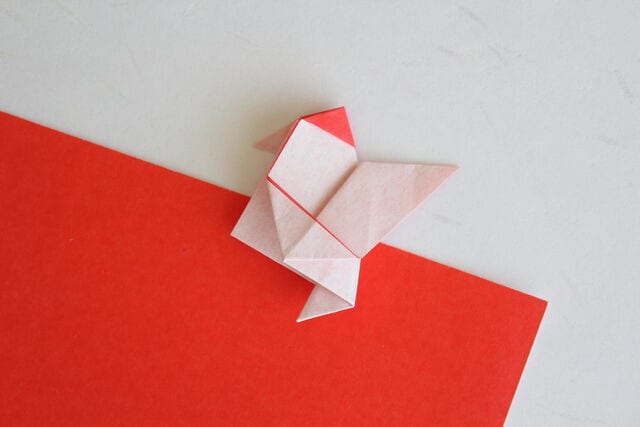
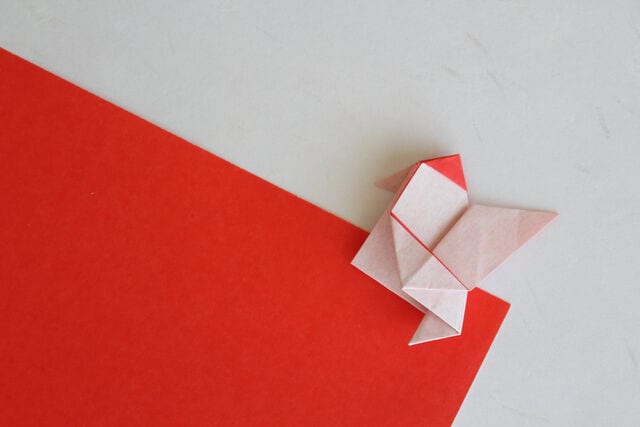
Today we are going to fold a chicken out of origami paper. Every step is shown with a photo, so just follow along at your own pace.
How to Fold an Origami Chicken
Hello everyone, and thanks for stopping by.
This time I want to fold a chicken with a sheet of origami paper.
There are many different ways to fold a chicken.
The version I am sharing today is a little more challenging than the rooster and hen folds I showed you before.
But it is nothing you cannot handle - I finished it without any trouble, so I am sure you can too. Just give it a relaxed try.
You will end up with a really cute chicken.
Grab a sheet of origami paper and give it a go.
What the Finished Chicken Looks Like
Once you are done, your chicken will look like the one in the photo above.
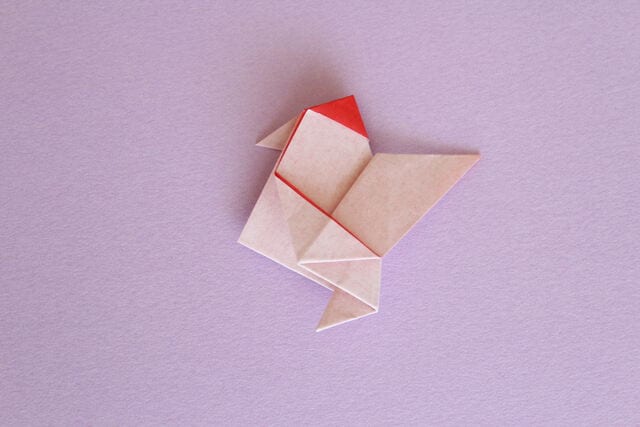
It has a comb and a beak, along with tail feathers and legs. Don't you think it captures a chicken quite faithfully?
It is pretty adorable, isn't it?
What color of origami paper will you use for your chicken?
Make a whole little flock while you are at it.
How to Fold the Chicken
STEP 1. Start with a square sheet of origami paper. I picked red paper so that the comb ends up red.
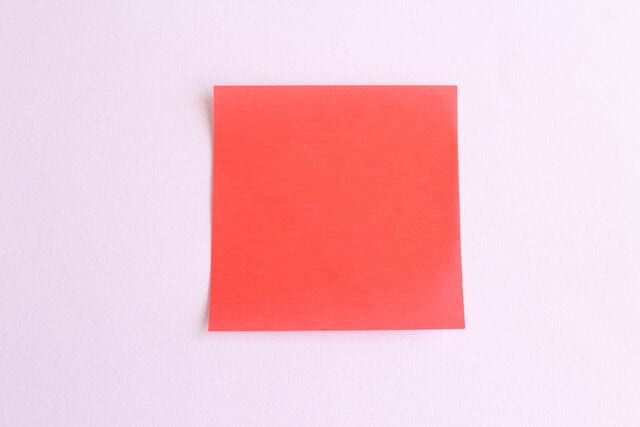
STEP 2. Fold it in half diagonally to make a triangle, with the white side facing out.
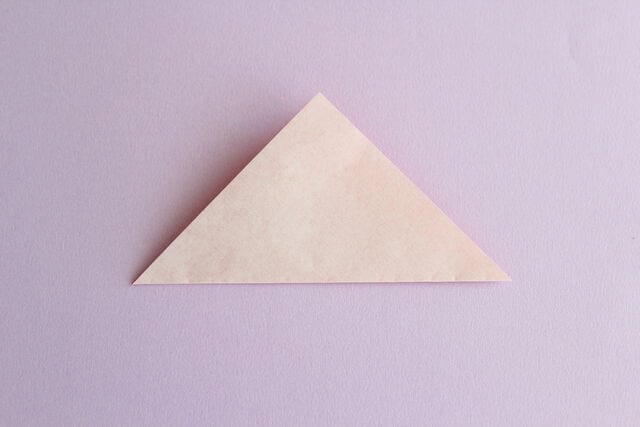
STEP 3. Fold the front layer at the top corner of the triangle as shown. Then fold the layer at the back in exactly the same way.
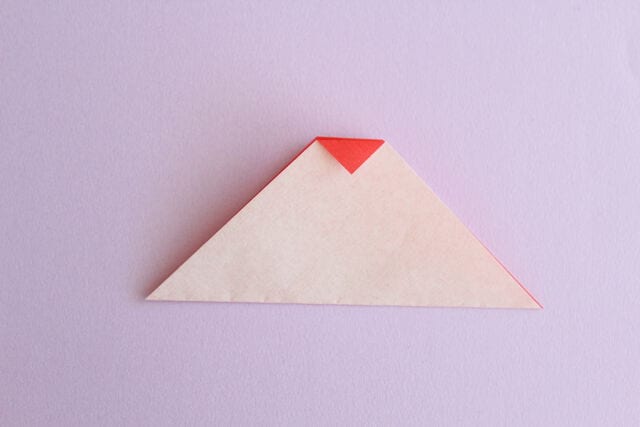
STEP 4. Fold the shape in half to make a narrower triangle.
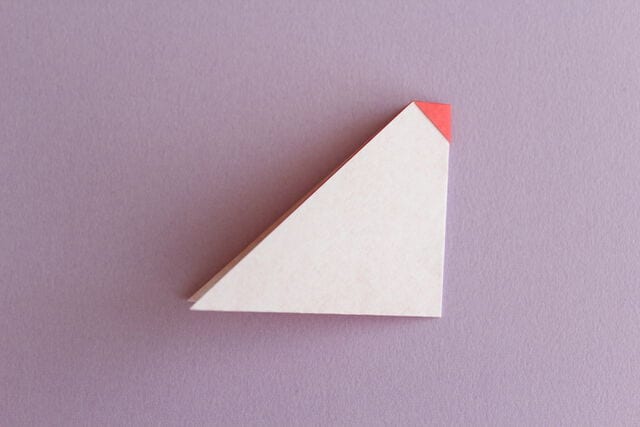
STEP 5. Fold it into a triangle as shown in the photo.
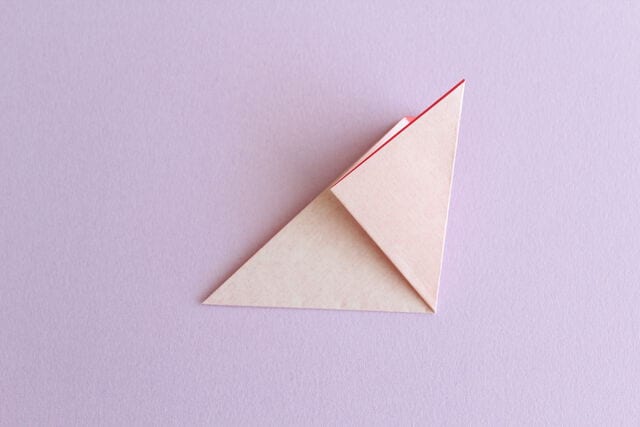
STEP 6. Fold the other side the same way.
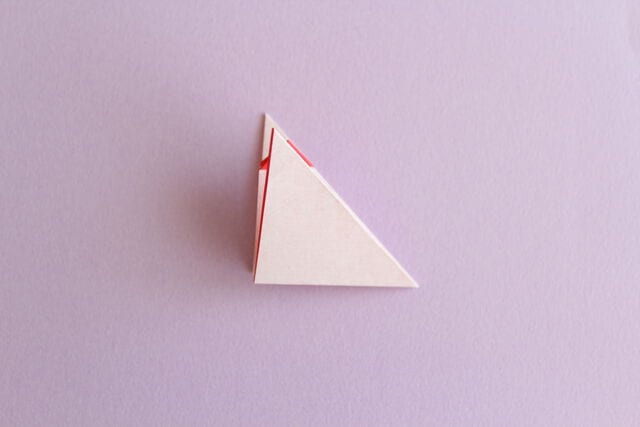
STEP 7. Fold as shown to make a crease, then unfold it again. Now fold the model in half along that crease.
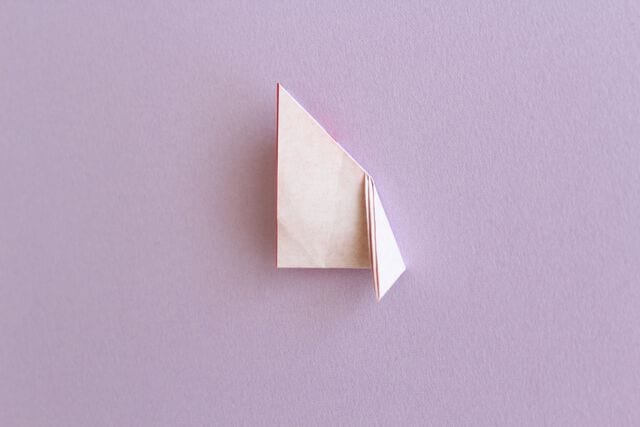
STEP 8. Put your finger on the part marked with a star and open it out, as if you were spreading the crease at the star.
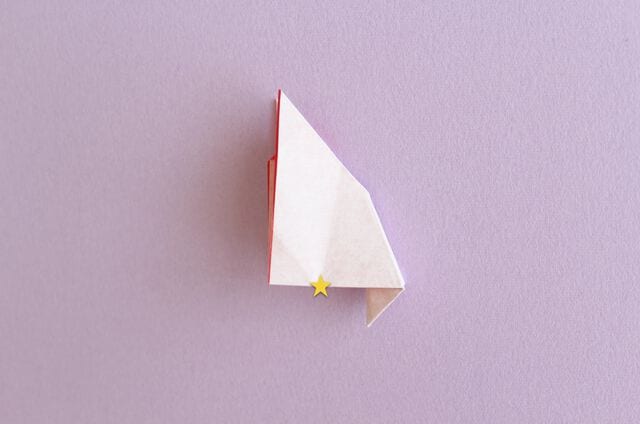
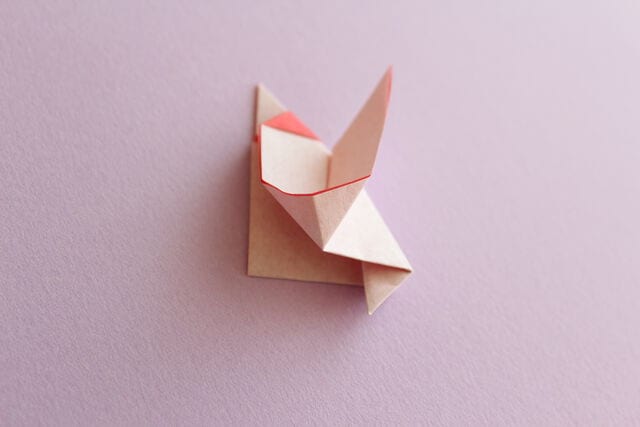
Open it out and flatten it like this.
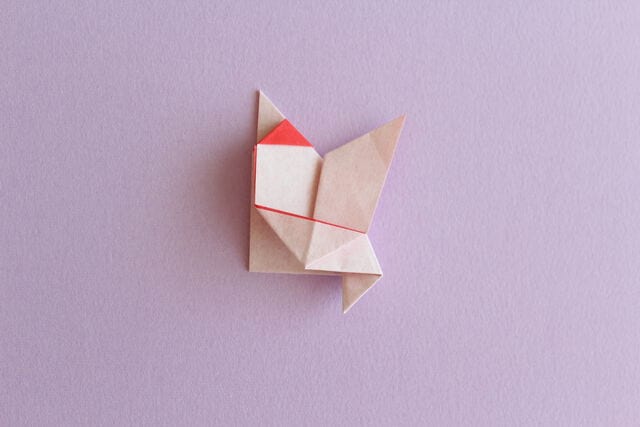
Finally, fold the beak, and your chicken is finished.




