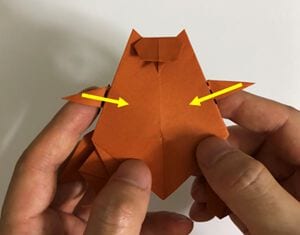
Raccoon Dog (Tanuki)
Strictly speaking the tanuki is not a raccoon at all, but anyone who has seen one of those round-bellied statues outside a Japanese shop will recognise it instantly: a stocky little animal with a pointed snout and a tail far too big for the rest of it. It is a forgiving subject for paper, which is probably why simple versions of it have been around for so long.
This one takes seventeen steps and a single cut - everything else is folding. Take care with the preparatory creases in steps 1 to 6, because the head and the tail are shaped against them later; the scissors only come out at step 7, to split the section that becomes the tail. A 15 cm square works well, and paper with two differently coloured sides will help you follow which way each corner goes.
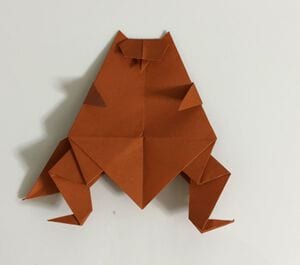
Here is how to fold an origami raccoon dog, or tanuki.
You will need scissors, but I think anyone can make it easily, so please give it a try.
How to Fold a Raccoon Dog
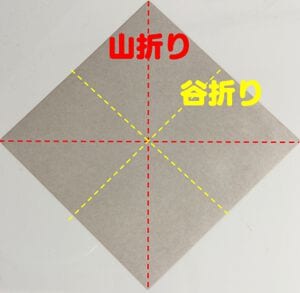
STEP 1. Make the mountain folds and valley folds shown in the diagram.
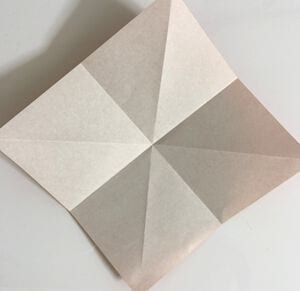
STEP 2. Fold along the creases.
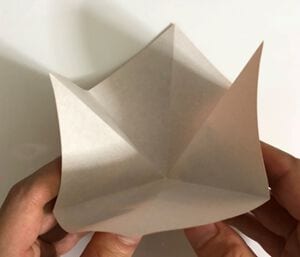
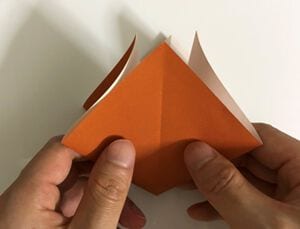
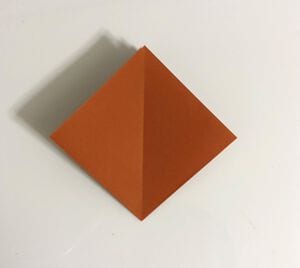
STEP 3. Fold the edges in so that they line up with the creases.
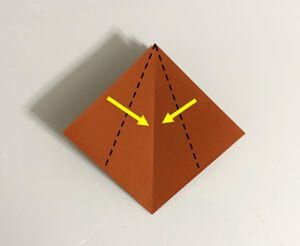
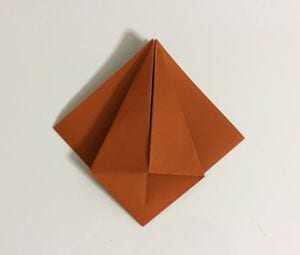
STEP 4. Fold the corners to the edges, crease them and open them out again.
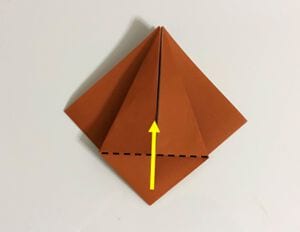
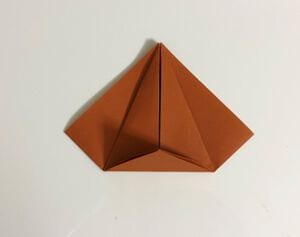
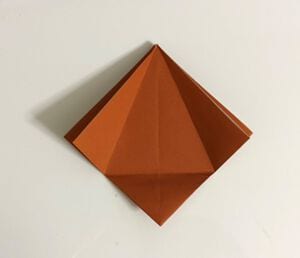
STEP 5. Fold the corners down along the creases.
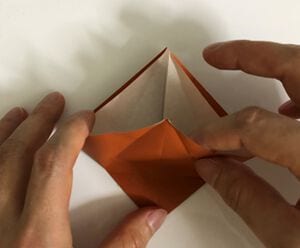
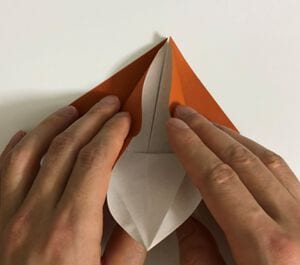
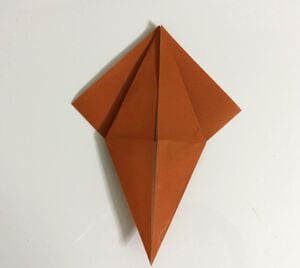
STEP 6. Turn it over and fold it the same way.
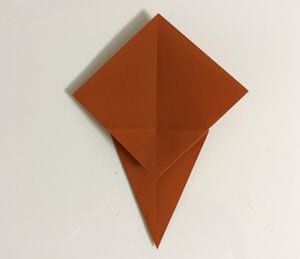
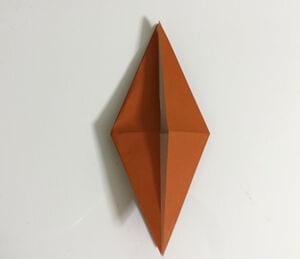
STEP 7. Cut along the solid line with scissors.
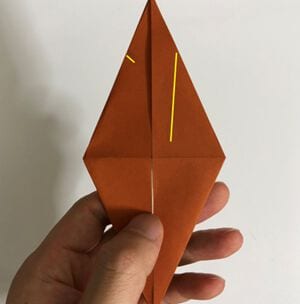
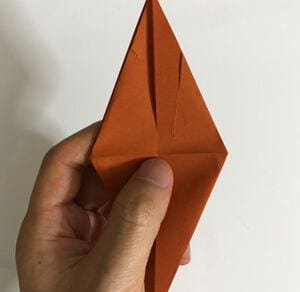
STEP 8. Turn one corner over. Do the same on the back side.
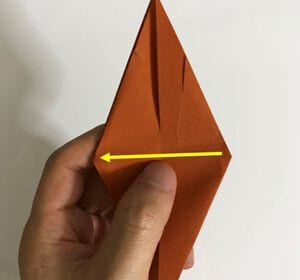
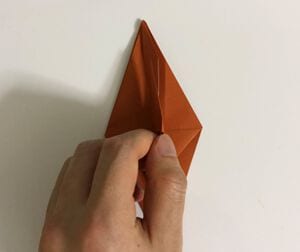
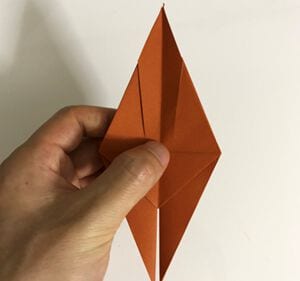
STEP 9. Fold the corners inward.
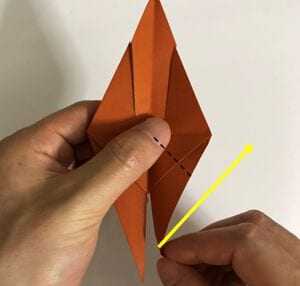
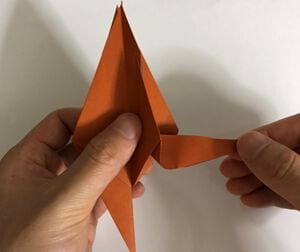
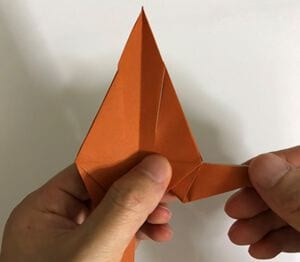
STEP 10. Fold the left side the same way.
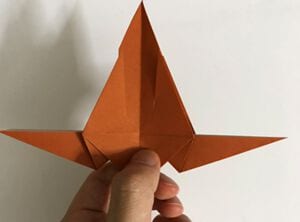
STEP 11. Fold the corner down.
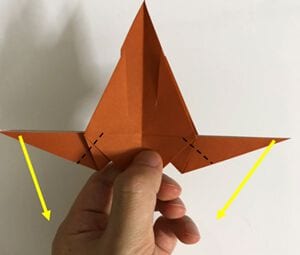
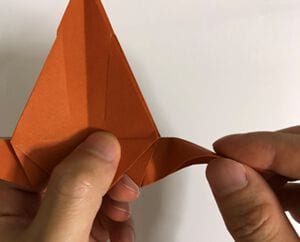
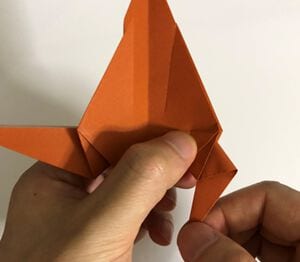
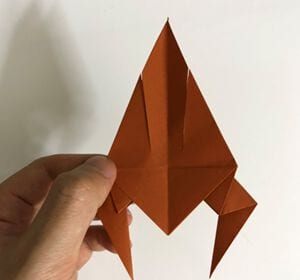
STEP 12. Fold the corners again as shown.
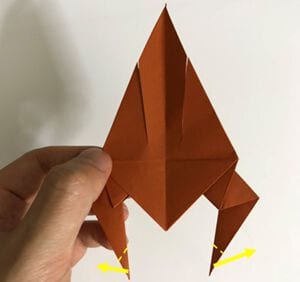
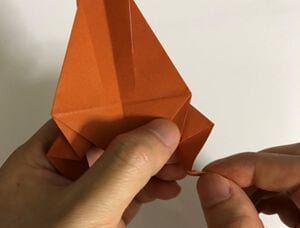
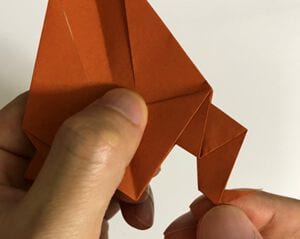
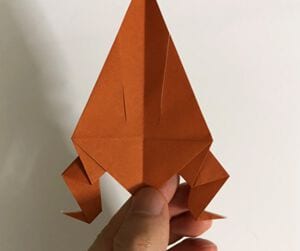
STEP 13. Fold the cut part diagonally.
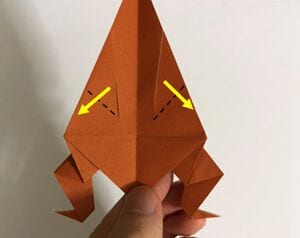
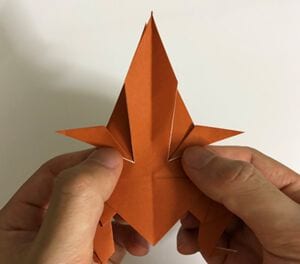
STEP 14. Fold along the dotted line so that it looks like a tail.
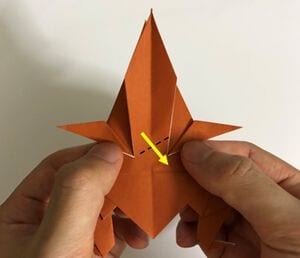
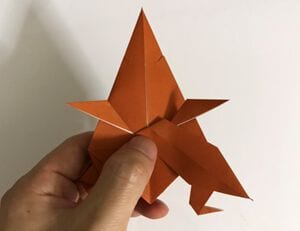
STEP 15. Turn it over and fold the cut part down.
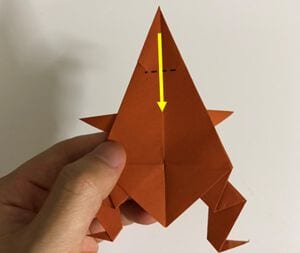
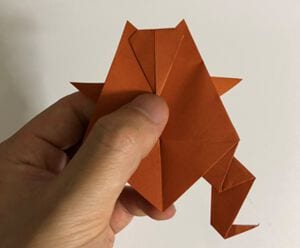
STEP 16. Fold in half along the dotted line.
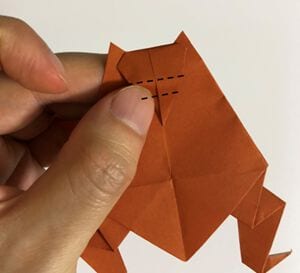
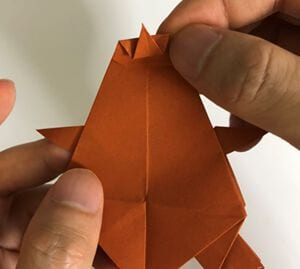
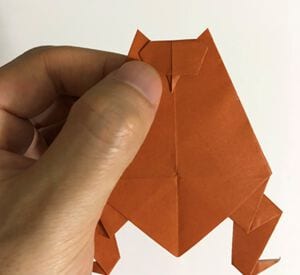
STEP 17. Fold the left and right corners inward, and the raccoon dog is complete.