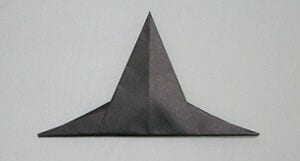
Origami Witch Hat
Halloween decorations usually mean a trip to the shop, but this one is closer than you think - it can be folded from a single square of paper in a few spare minutes. The Origami Witch Hat is that rare model that refuses to settle for one use: leave it flat and it slides into an envelope to decorate a card, or paste it onto a poster; open the base a little and it stands up by itself, ready to sit on a dinner table and tell every guest where to sit.
What makes it fun to fold is the way the hat appears almost by accident. You start with the paper as a diamond, build a kite base, and then one angled crease, about a quarter of the way down from the tip, gives the hat its crooked silhouette. The rest of the steps are housekeeping - tucking away the white backing paper so nothing spoils the clean outline. Use black paper and it looks properly spooky; switch to orange or purple and it still reads as Halloween from across the room.
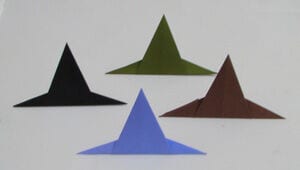
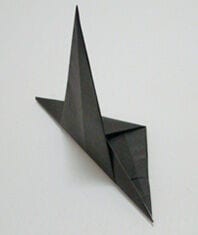
The Origami Witch Hat is a perfect origami model to make during Halloween time. The model can be made flat and used as a wall decoration, or placed on the front of card or poster. In addition, the model can be made to stand upright so it can be a part of a diorama or a place card on a dinner table. Make hats of different colors and have fun!
Instructions for an Origami Witch Hat
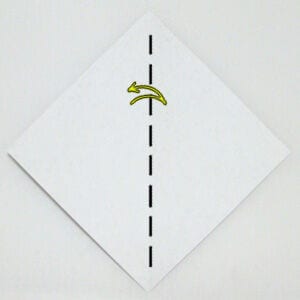
STEP 1.
This model works best when both sides of the paper are the same color.
Start with a square sheet of paper and position it in “diamond” orientation (balanced on one corner of the square).
If you are using origami paper, place the white side facing up. For this model, black-and-white paper is a good match: the model begins as a kite base, a shape so named because it looks like a kite.
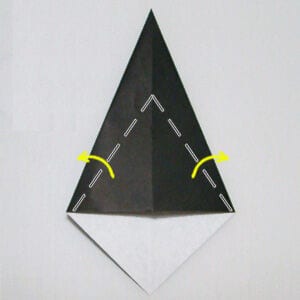
STEP 3.
Fold the top layer of the paper outward to one side. The fold should start roughly a quarter of the way down from the tip of the paper, and it should angle outward so that it meets the left (or right) corner of the model.
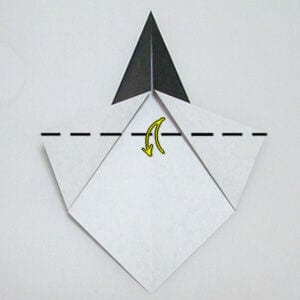
STEP 4.
Fold up the bottom-part of the model so it makes a crease that connects the left and right corners of the model. It may help to use a ruler to connect the landmarks and make a clean, straight fold. Unfold.
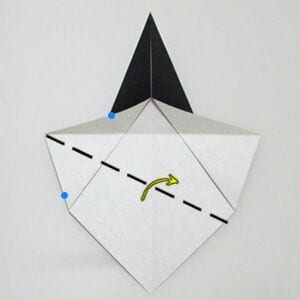
STEP 5.
You can see the outline of the witch’s hat. The next few steps hide the white parts of the paper. Fold the bottom-left side of the model so that it aligns with the brim of the hat (join the blue dots).
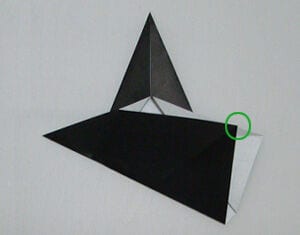
STEP 6.
Depending on where you made the fold in step 3, there may be a small segment of paper protruding beyond the witch’s hat. If so, fold back a small section of the paper (green circle) to hide it from view.
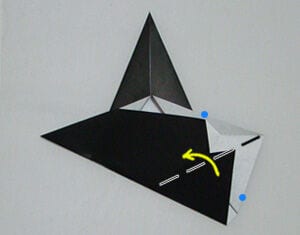
STEP 7.
Repeat Step 5 on the bottom-right side of the model (join the blue dots).
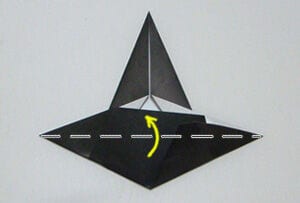
STEP 8.
Make the final fold to complete the origami witch hat.
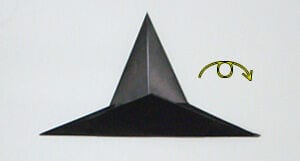
STEP 9.
Turn the model over and you’re done.
The flap made in Step 8 can be used as a prop to keep the witch’s hat standing upright.