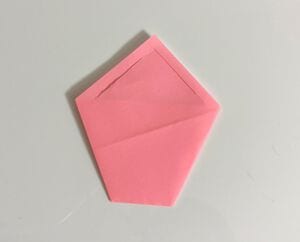
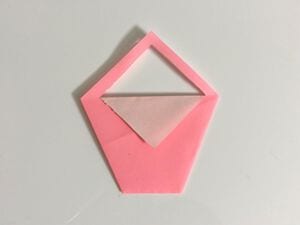
Flower Basket
Small paper baskets are one of the most useful things you can learn to fold. They take a single square, almost no time, and suddenly you have somewhere to put paper clips, wrapped sweets or a handful of tiny folded cranes.
This flower basket is a nice one to start with because it is short: seven steps, and you can see the shape appearing from the very first fold. There is one cut with a craft knife in the middle, so it is not a strict no-cuts model, but that cut is what lets the sides lock together and gives the basket its strength. Fold it from slightly heavier paper if you want it to actually carry something.
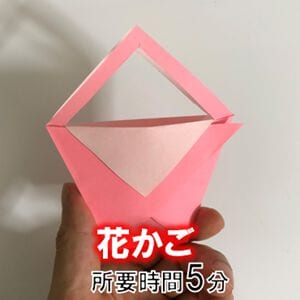
Here is how to fold an origami “flower basket”.
It is a practical little container that you can really put things inside.
You will need a craft knife for one step, but the folding itself is easy enough for anyone, so give it a try.
How to fold a flower basket
STEP 1. Fold it in half.
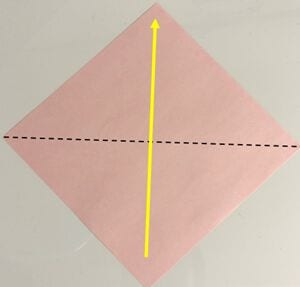
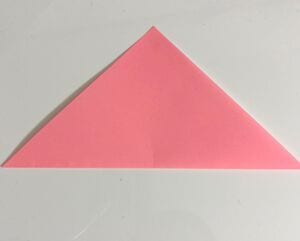
STEP 2. Fold the edges in to meet each other and make a crease.
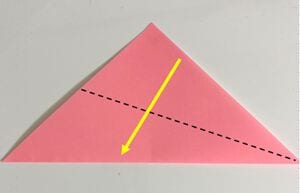
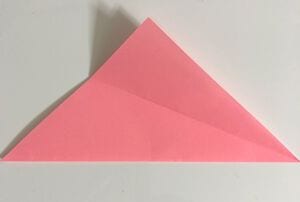
STEP 3. Fold the corners along the creases.
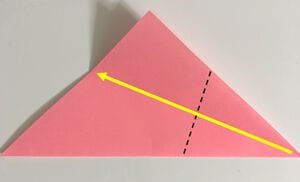
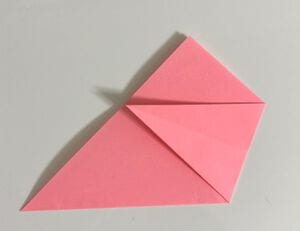
STEP 4. Fold the corners in so that they meet.
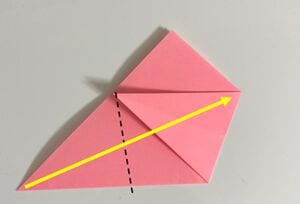
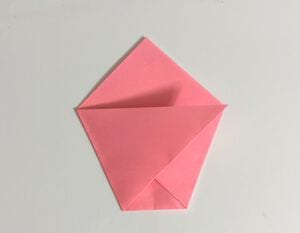
STEP 5. Cut along the solid line with a craft knife.
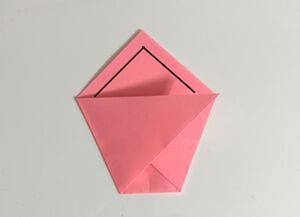
STEP 6. Fold the notched corner down.
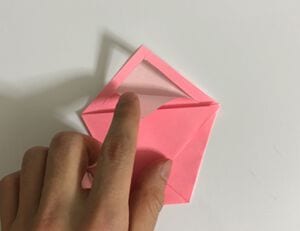
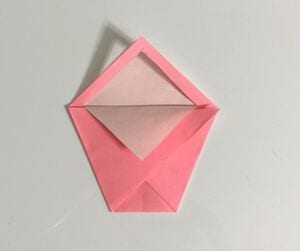
STEP 7. Fold the back side in the same way, and the flower basket is complete.