
Easy Origami Mushroom (10-Step Version)
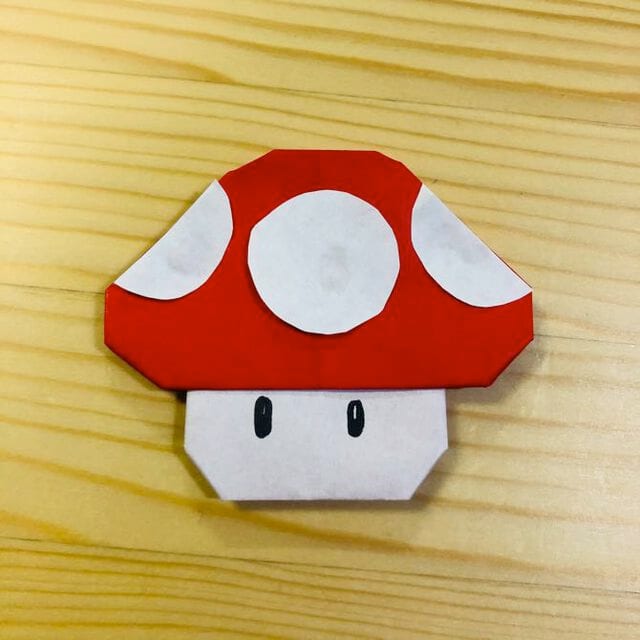
If you want a mushroom you can fold in a couple of minutes, this is the version to learn. It is the short sister of the longer mushroom tutorial on this site: ten steps instead of thirteen, and almost every step is one you have already done, just mirrored on the other side.
That repetition is what makes it so forgiving. Once you understand the first two folds, the rest is mostly turning the paper over and doing the same thing again, and the cap takes shape almost by itself in the middle of the tutorial. It is a nice little model for a forest-themed mobile, a place card, or a first folding project with children. Two-colour paper with a red or brown side works beautifully for the cap.
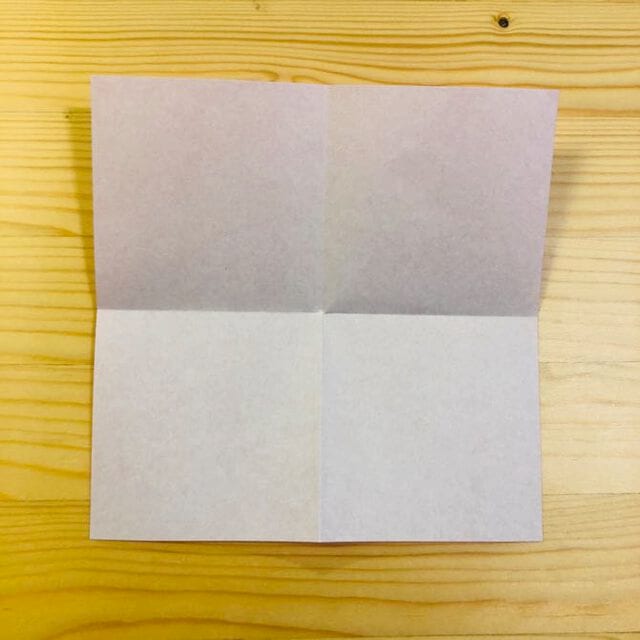
STEP 1
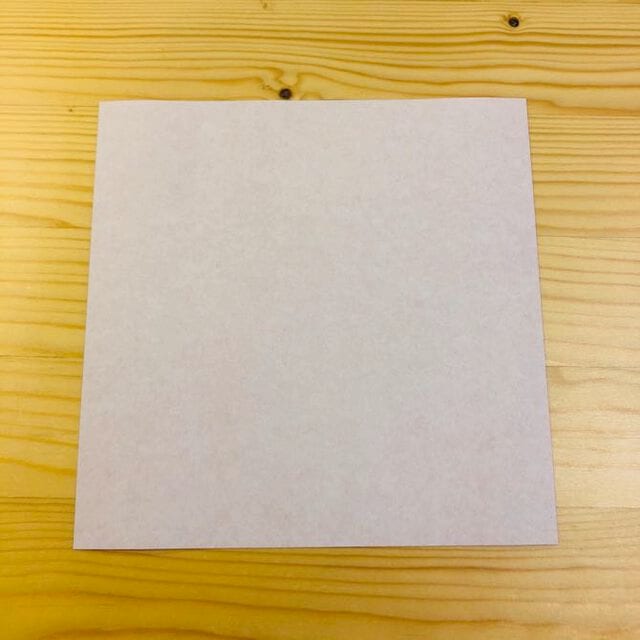
Fold it in half and make a crease.
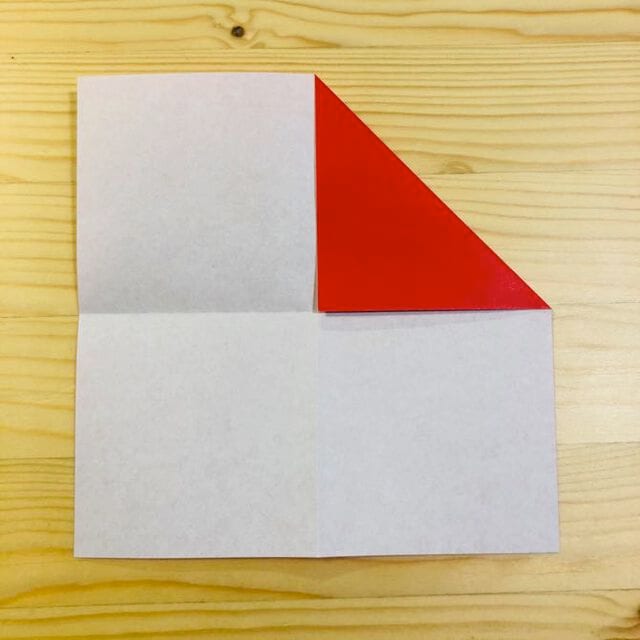
STEP 2
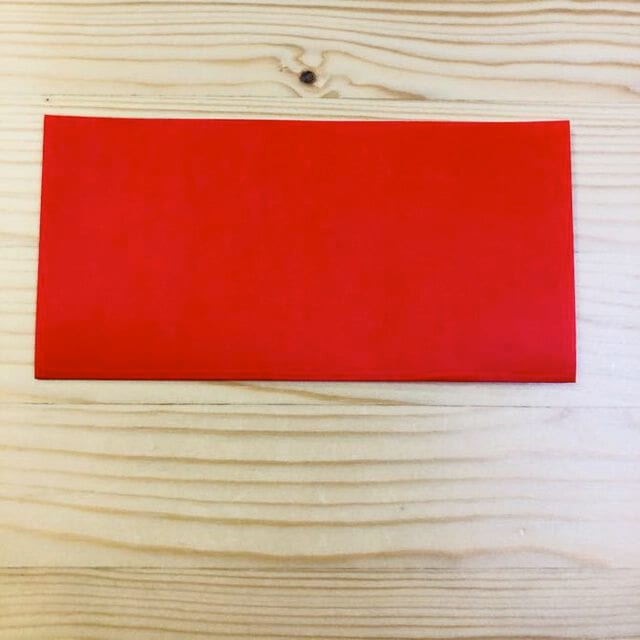
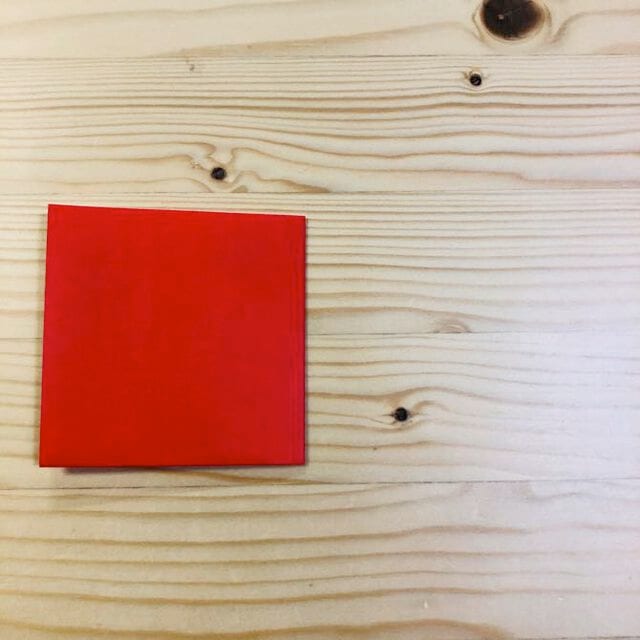
Fold it at the position shown in the photo.
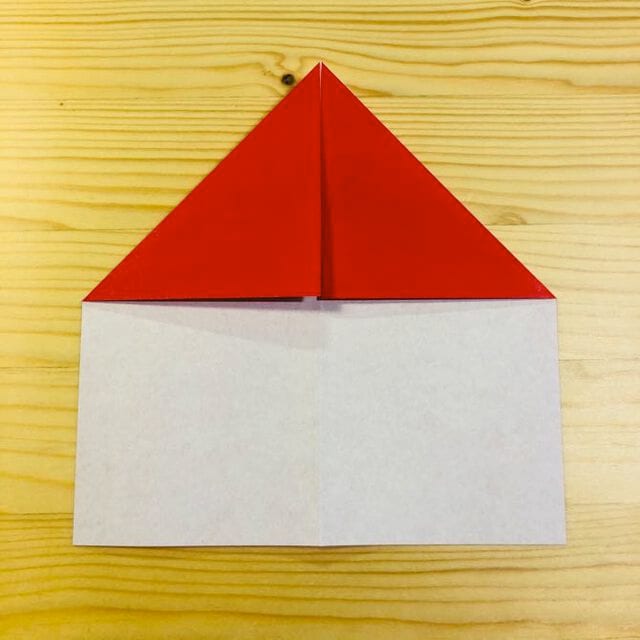
STEP 3
Turn it over, as shown in the photo.
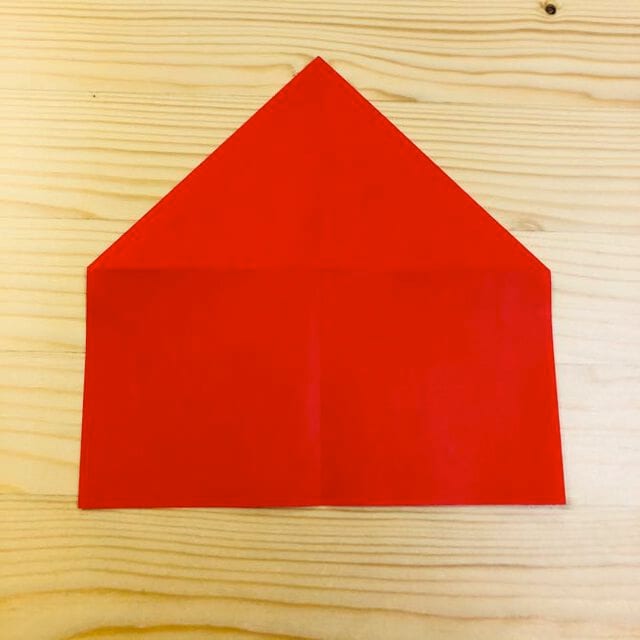
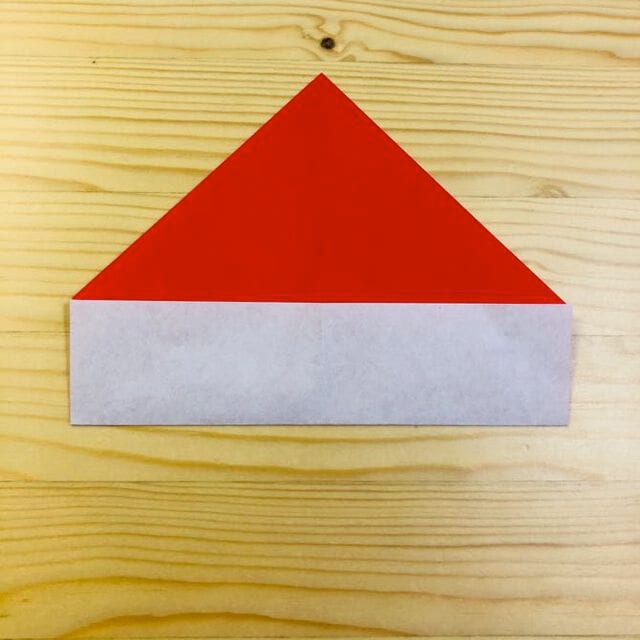
STEP 4
Turn it over, as shown in the photo.
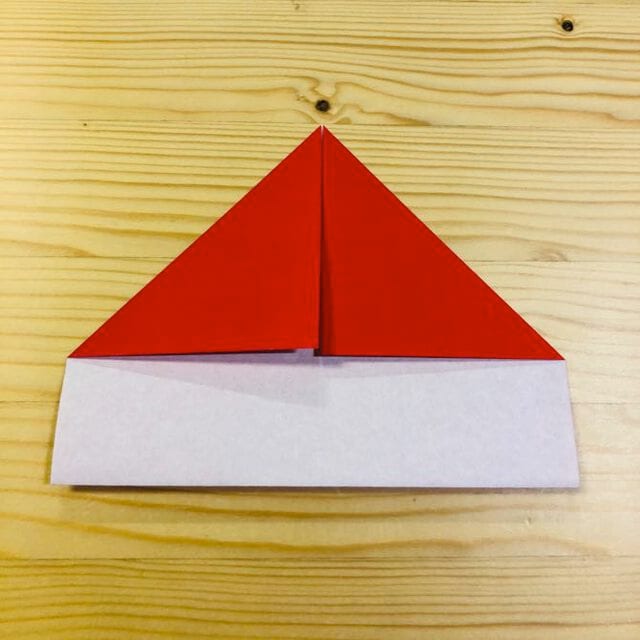
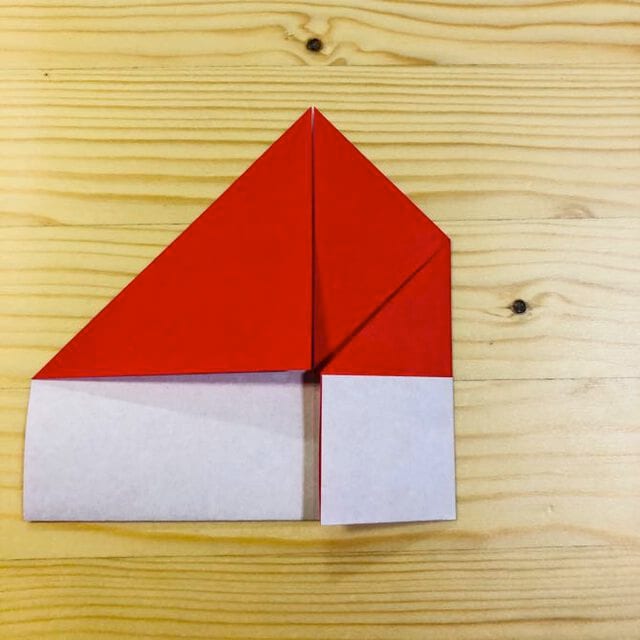
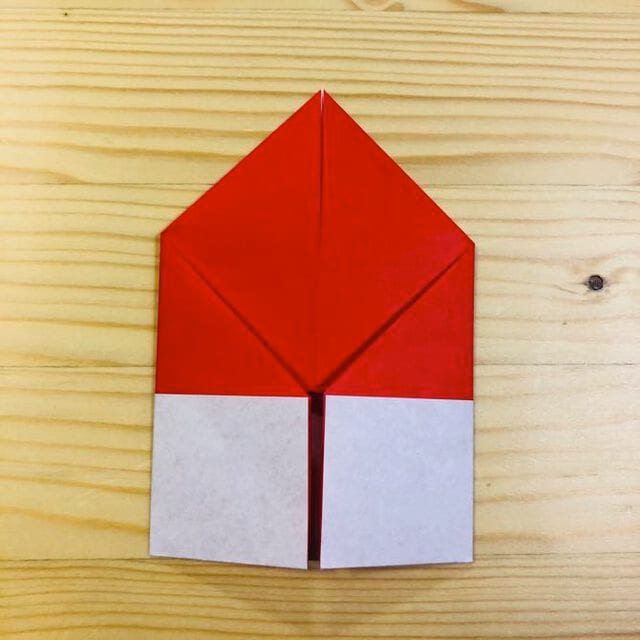
STEP 5
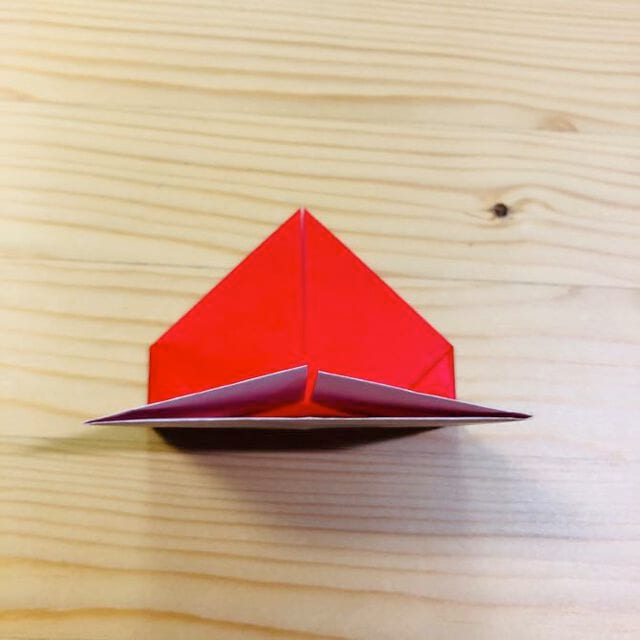
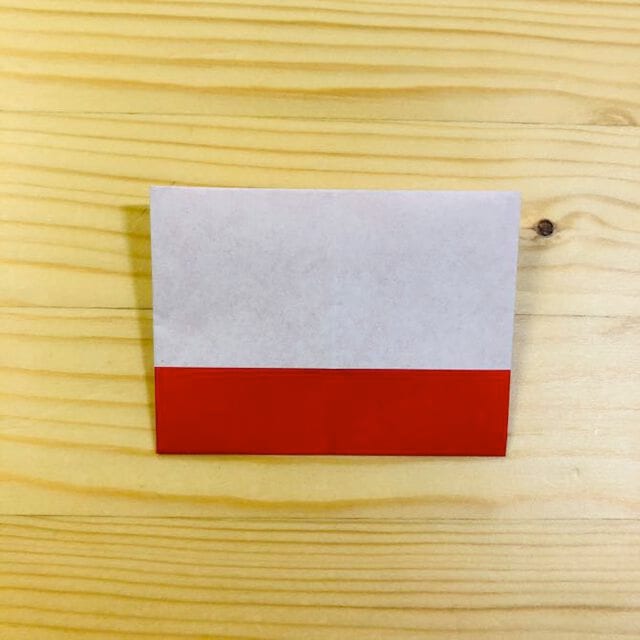
Fold it up at the position shown in the photo.
STEP 6
Fold it down at the position shown in the photo.
STEP 7
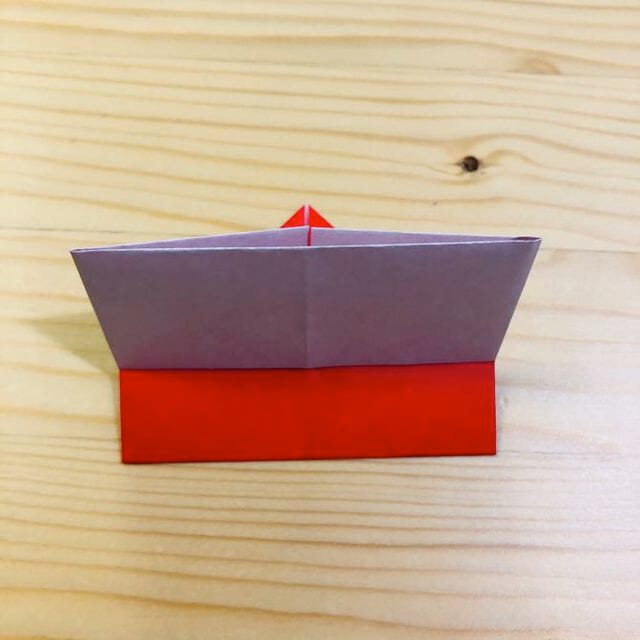
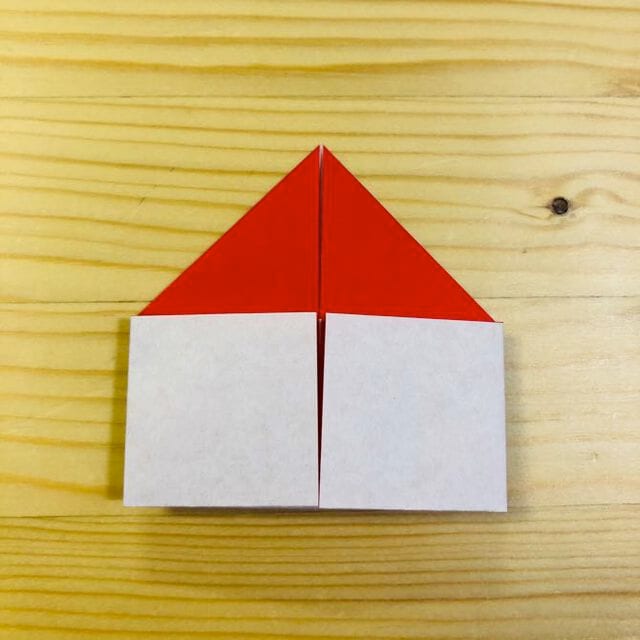
Make a crease at the position shown in the photo.
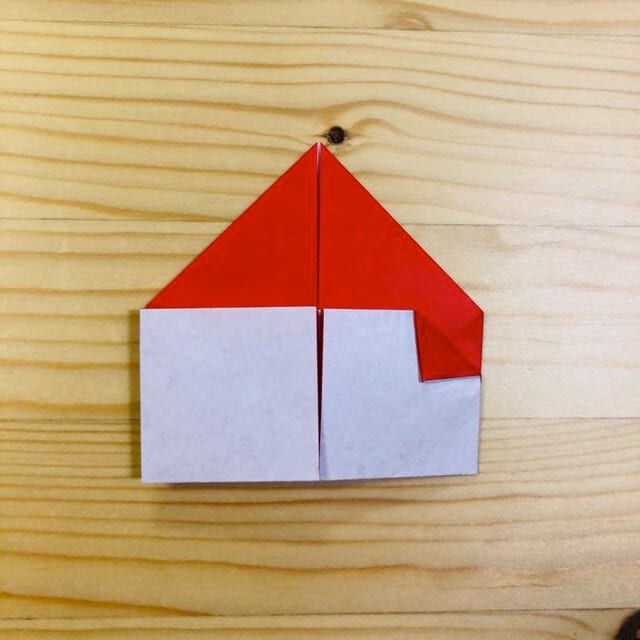
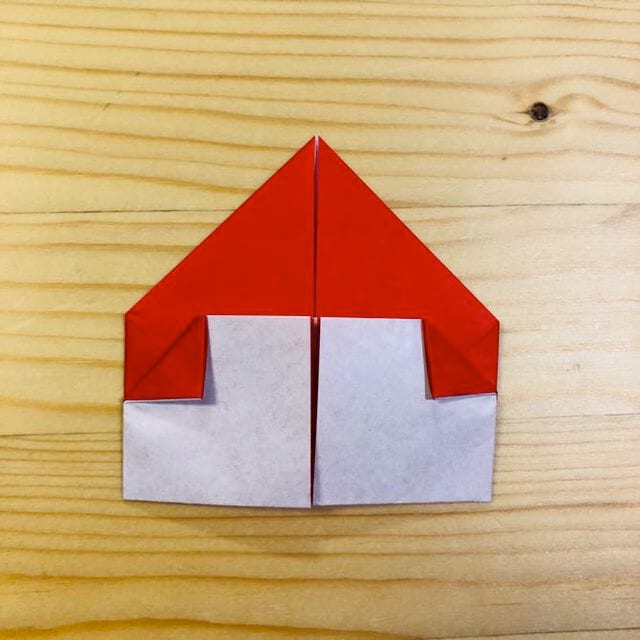
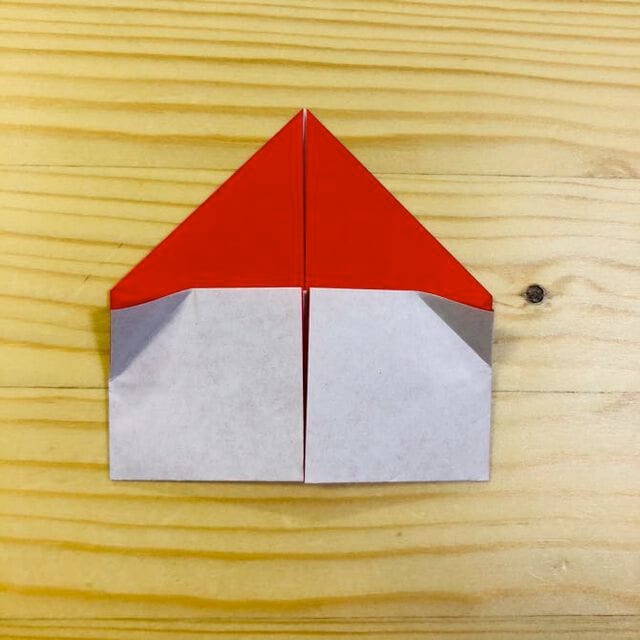
STEP 8
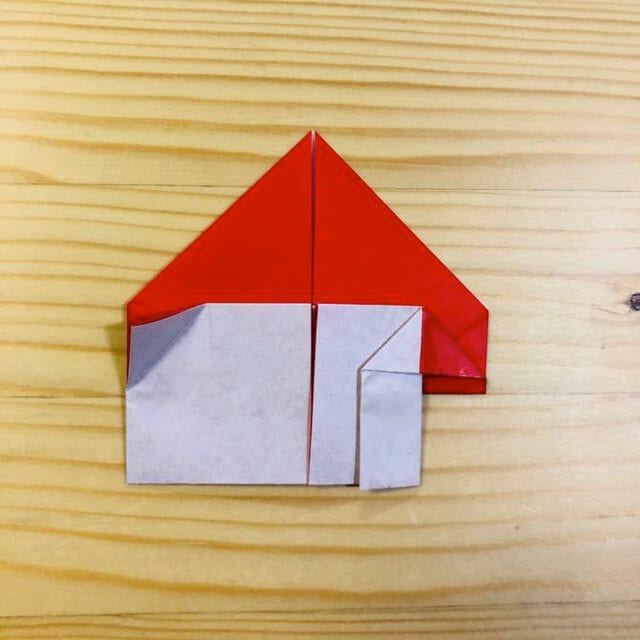
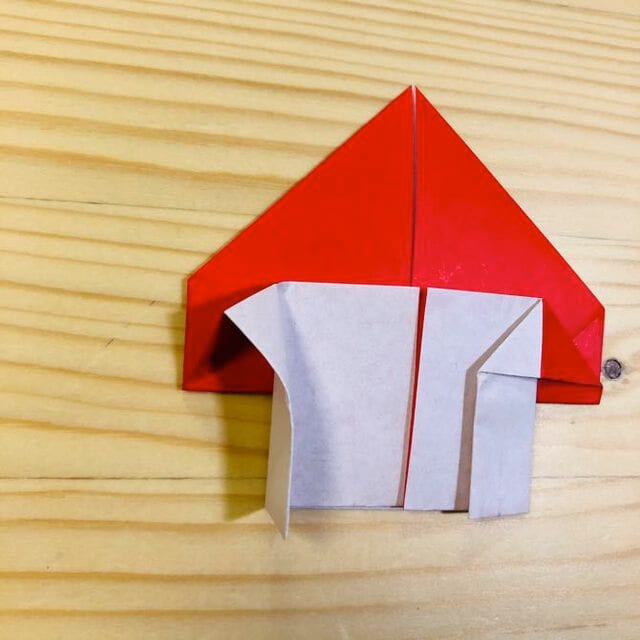
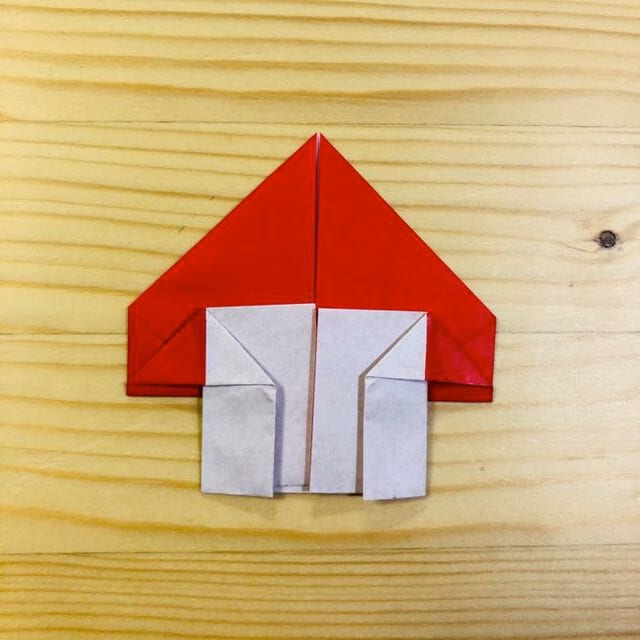
Open and fold as shown in the picture.
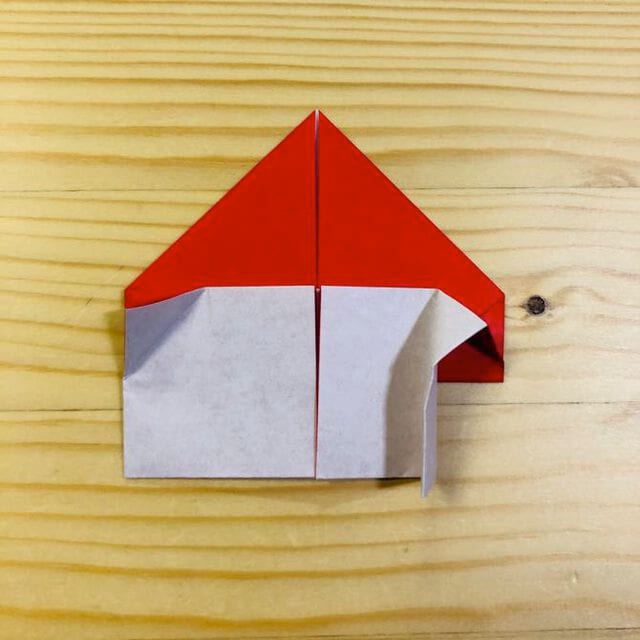
STEP 9
Fold it at the position shown in the photo.
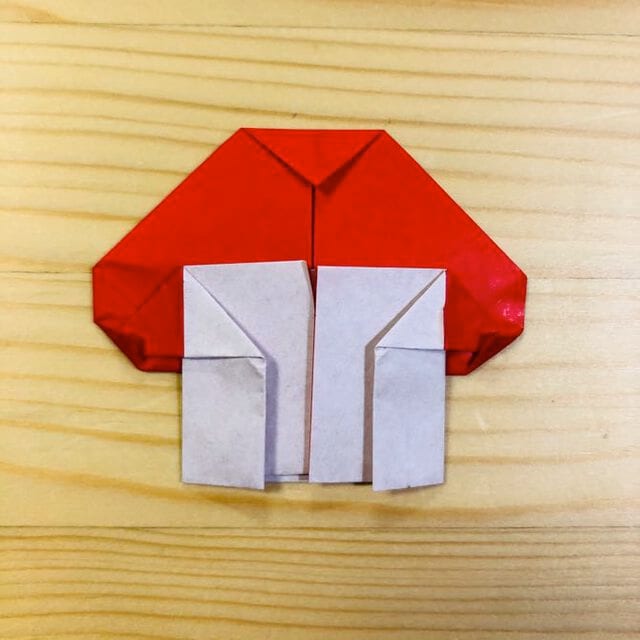
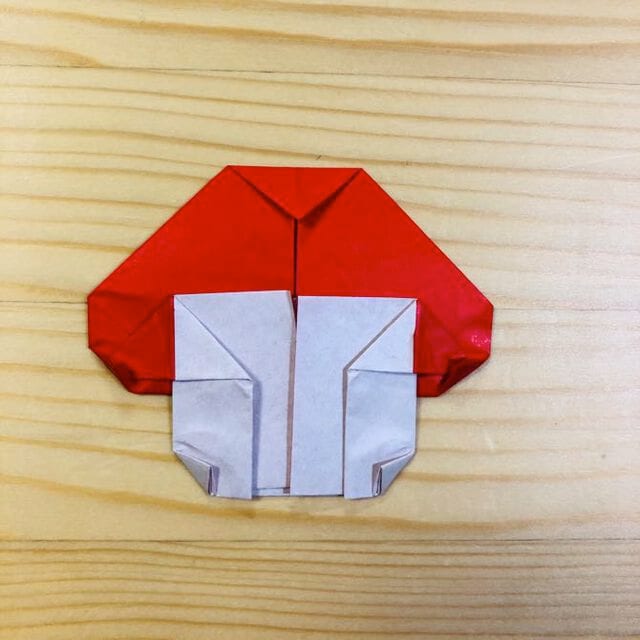
STEP 10
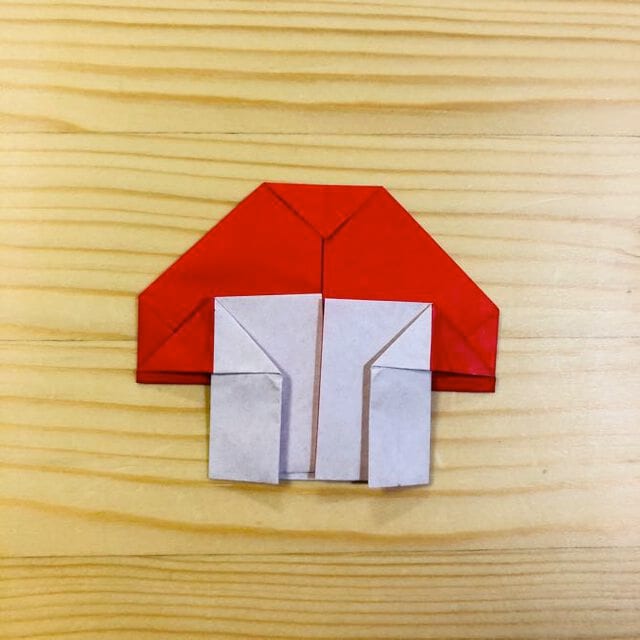
Turn it over.
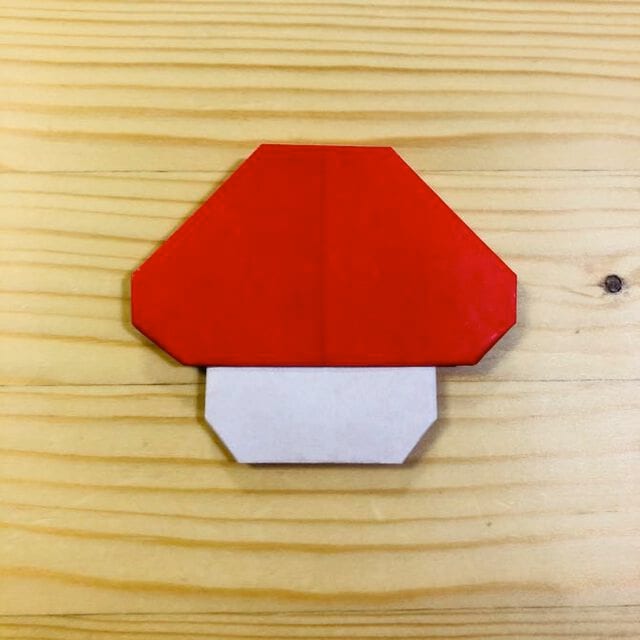
FINISHED!
The mushroom is complete.




