Shuriken (Short Tutorial)
A shuriken is the iconic ninja throwing star, and folding one out of paper is a rite of passage for any young origami fan. This short tutorial is the quick, colorful version — two half-sheets slotted together into a four-pointed star you can actually spin and toss.
The best part is that it is playful from start to finish: you get to pick two paper colors, do a handful of simple folds, and then watch the two halves click together into a real star. It is easy enough for elementary-school kids, so grab a couple of sheets and let's make a ninja star.
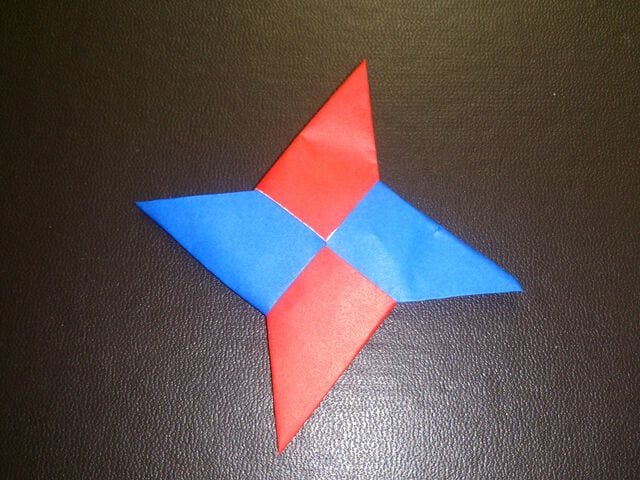
Easy way to make an origami shuriken!
There is a step where you cut the origami in half, so if you cannot cut it cleanly, see the guide on how to cut it.
You can make this from one sheet, but because it is cut in half and used, I prepared two sheets to make it colorful.
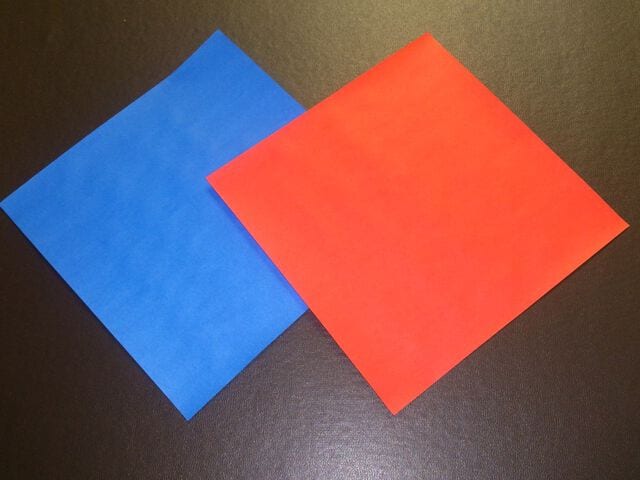
STEP 1. Cut both sheets in half.
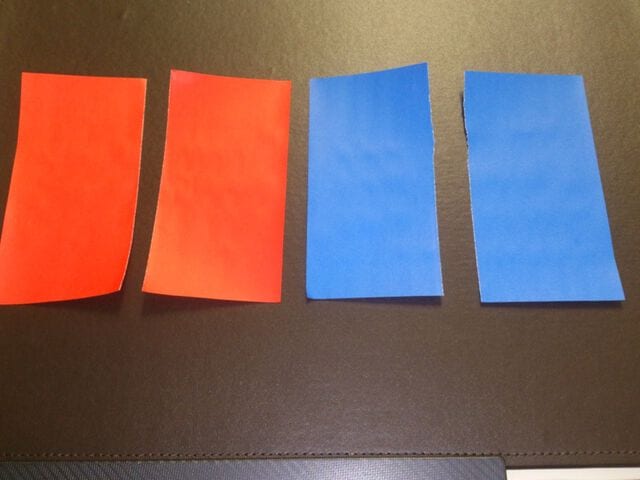
STEP 2. For one shuriken, use two of the halved sheets.
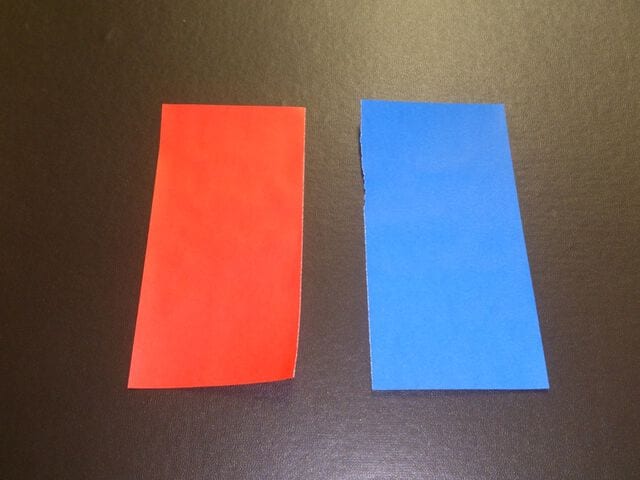
STEP 3. Fold each strip in half vertically.
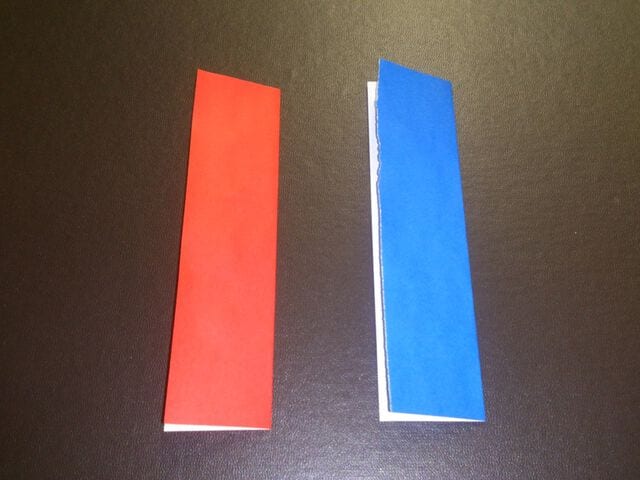
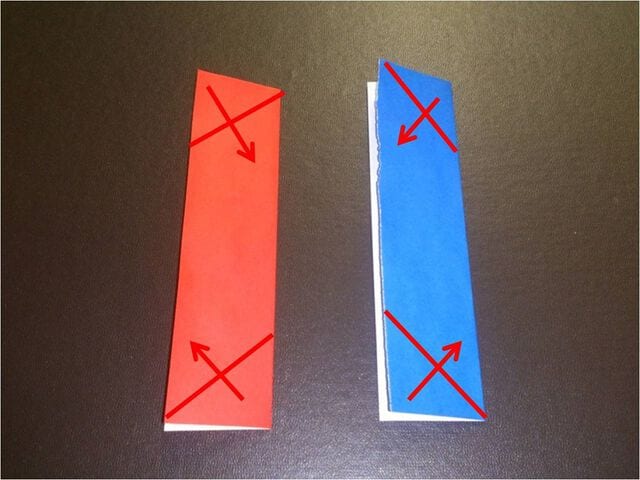
STEP 4. Valley-fold the corner along the red line. Fold the red and blue sheets in opposite directions.
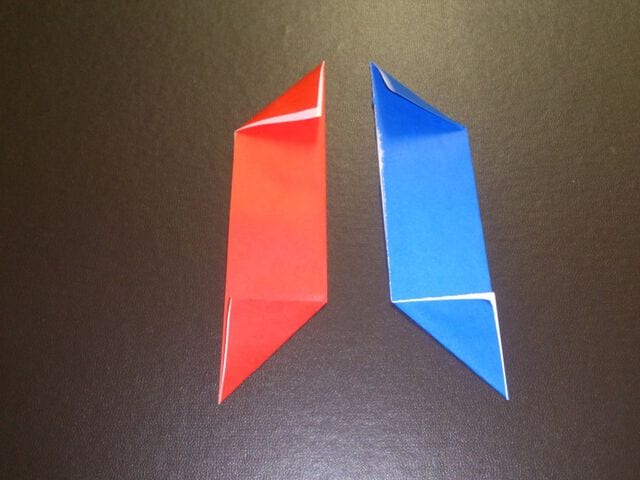
STEP 5. Valley-fold so the red dotted lines line up.
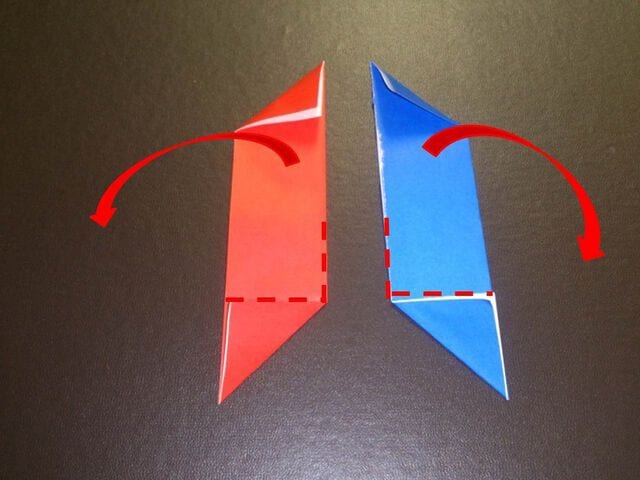
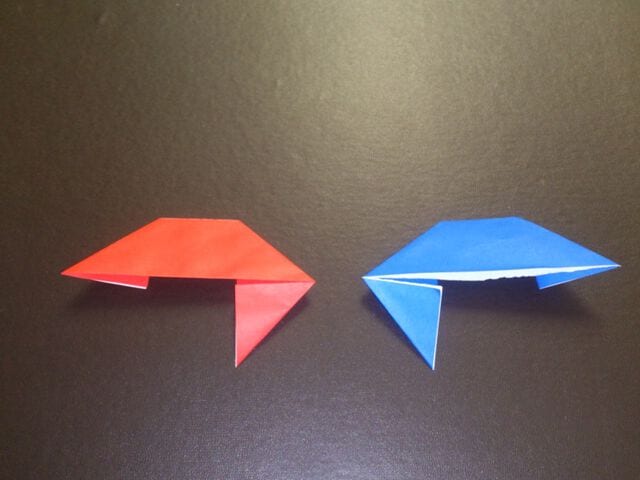
STEP 6. Mountain-fold along the red line.
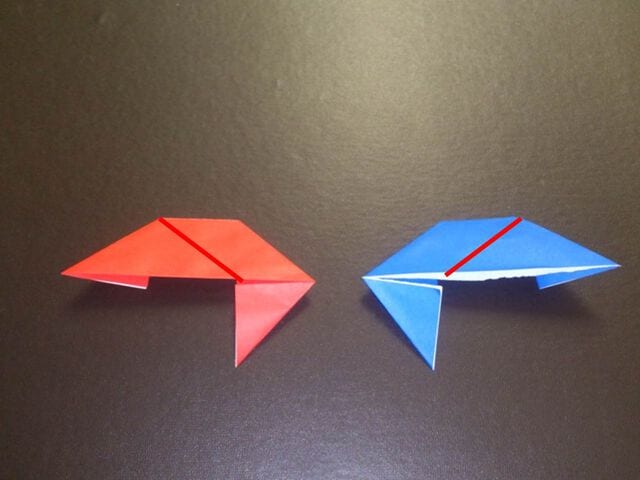
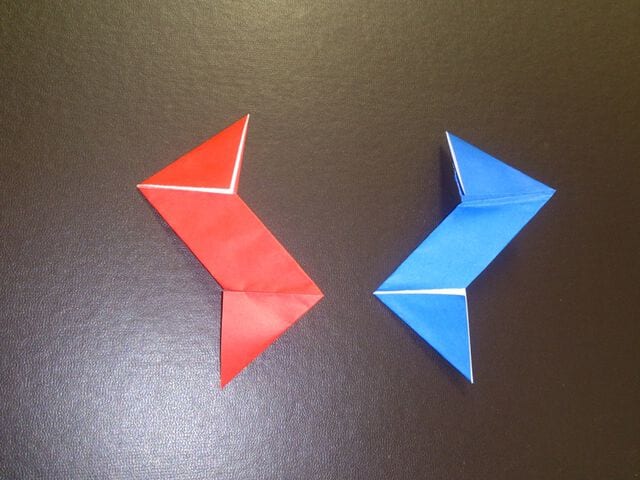
STEP 7. Lay the blue sheet on top of the red sheet, then place it over.
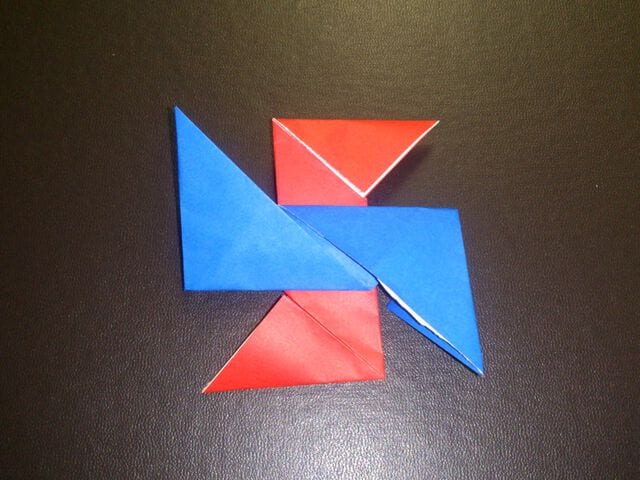
STEP 8. Insert the red sheet into the blue sheet as shown by the arrows.
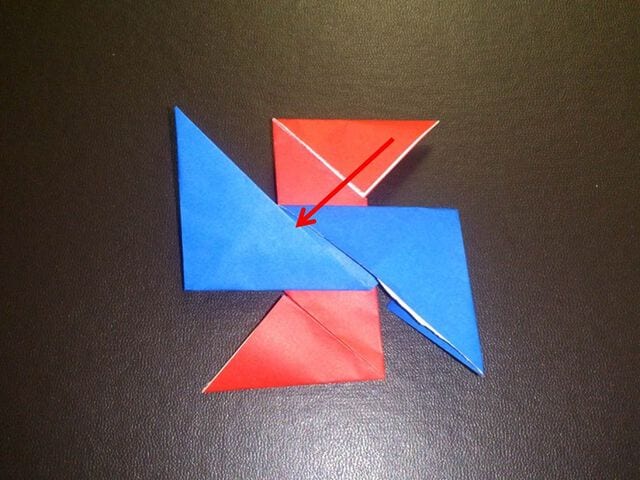
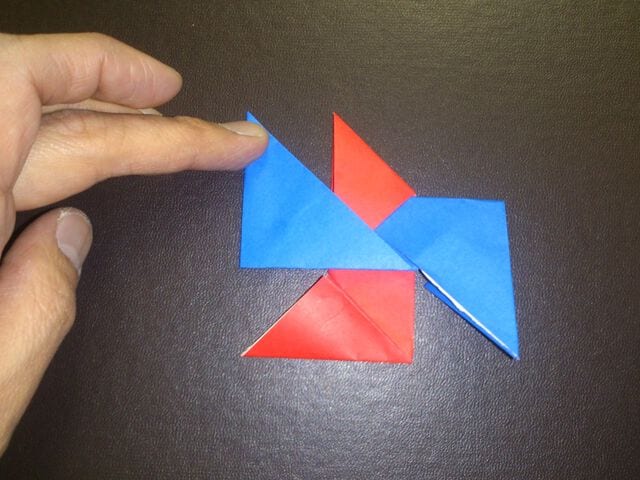
STEP 9. Sandwich the reversed piece between the blue sheets.
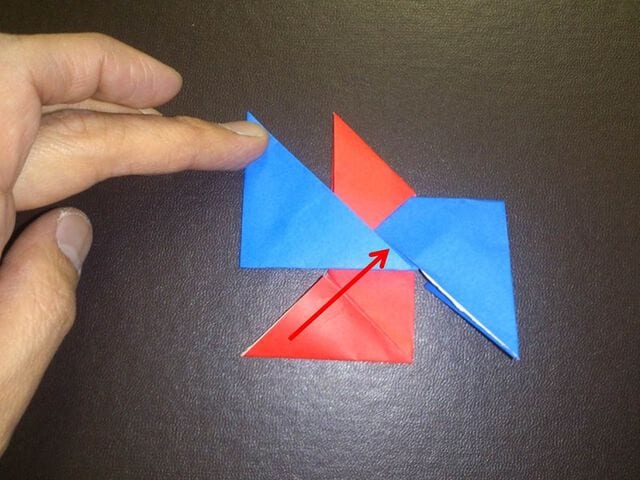
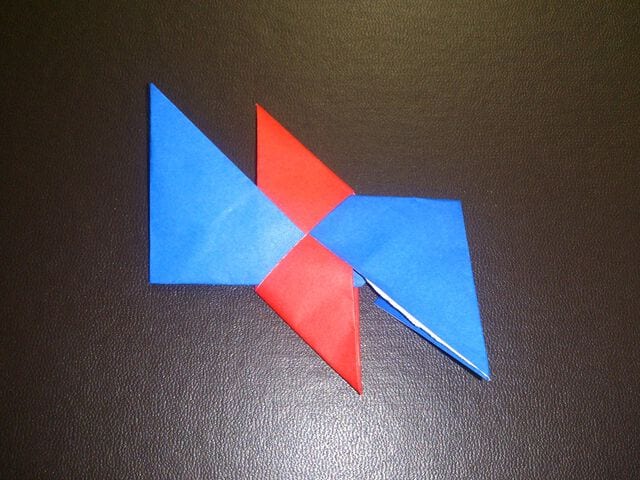
STEP 10. Similarly, sandwich the blue sheet between the red sheets.
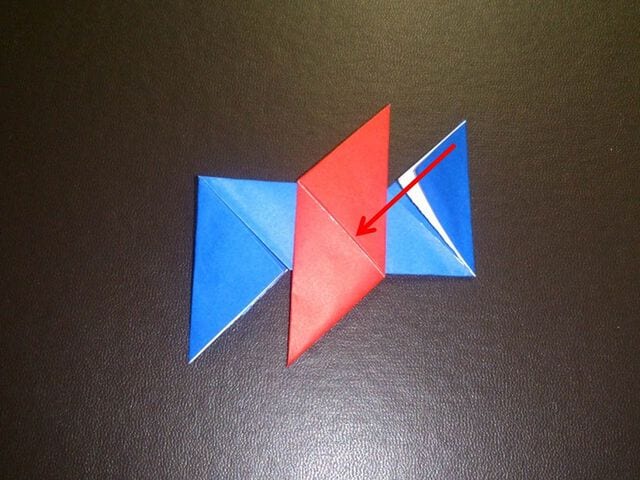
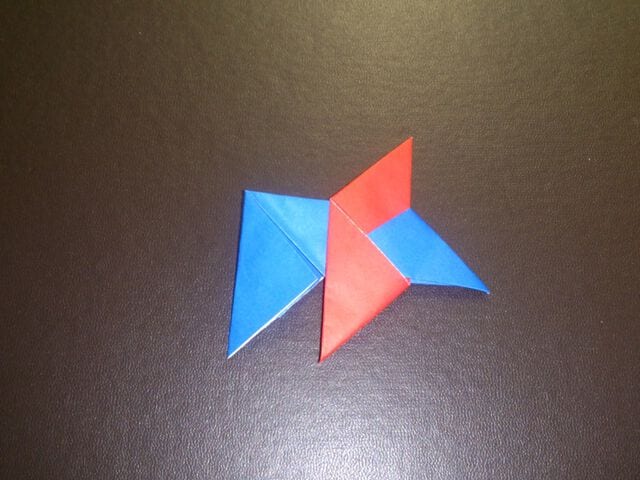
STEP 11. Do the same with the red sheet.
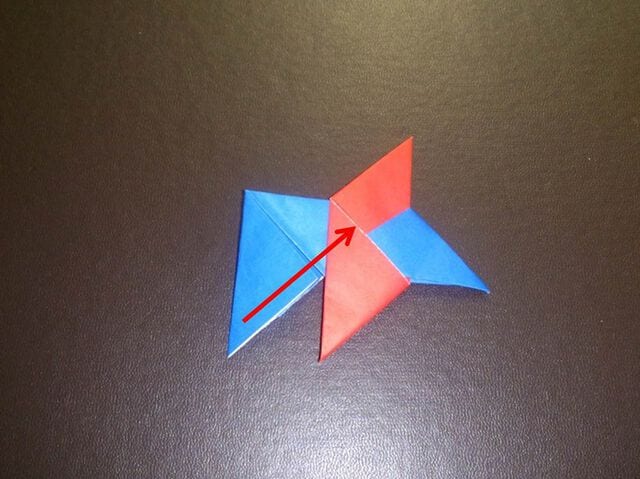
COMPLETED! Your origami shuriken is finished.